Fractal Design Define Mini C Windowed Edition Review
A Closer Look at the Fractal Design Define Mini C
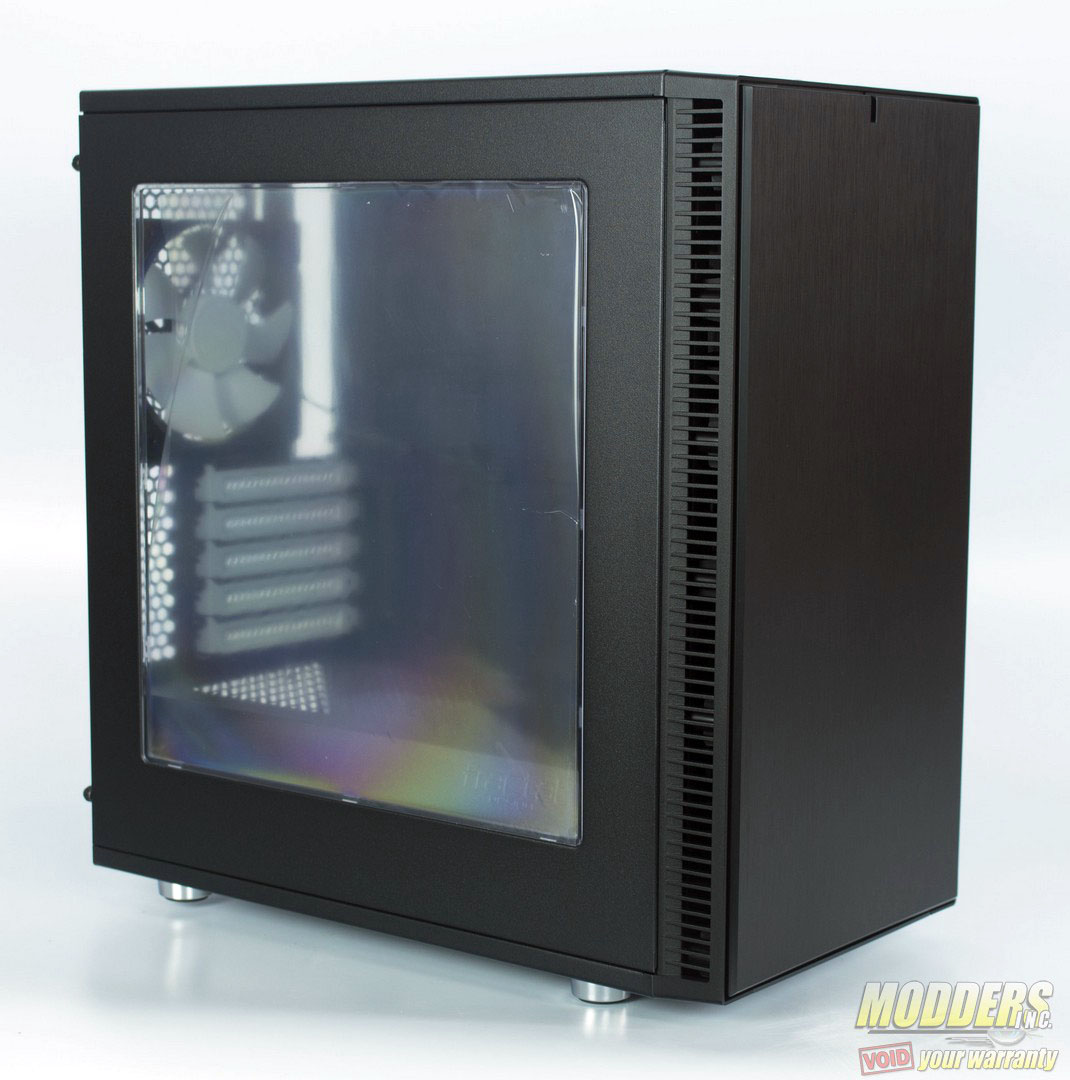
Overall the design remains the same as with previous Define Mini cases, having a minimalist clean exterior with faux brushed aluminum front panel an interior that supports a multitude a watercooling configurations and a set of faux chrome feet. The Mini C does come in two variants, one with a solid panel with sound dampening foam and the other, the model sent to us, features a large window, that stretches the length of the case. The case comes in a flat black finish with a few white accent pieces.
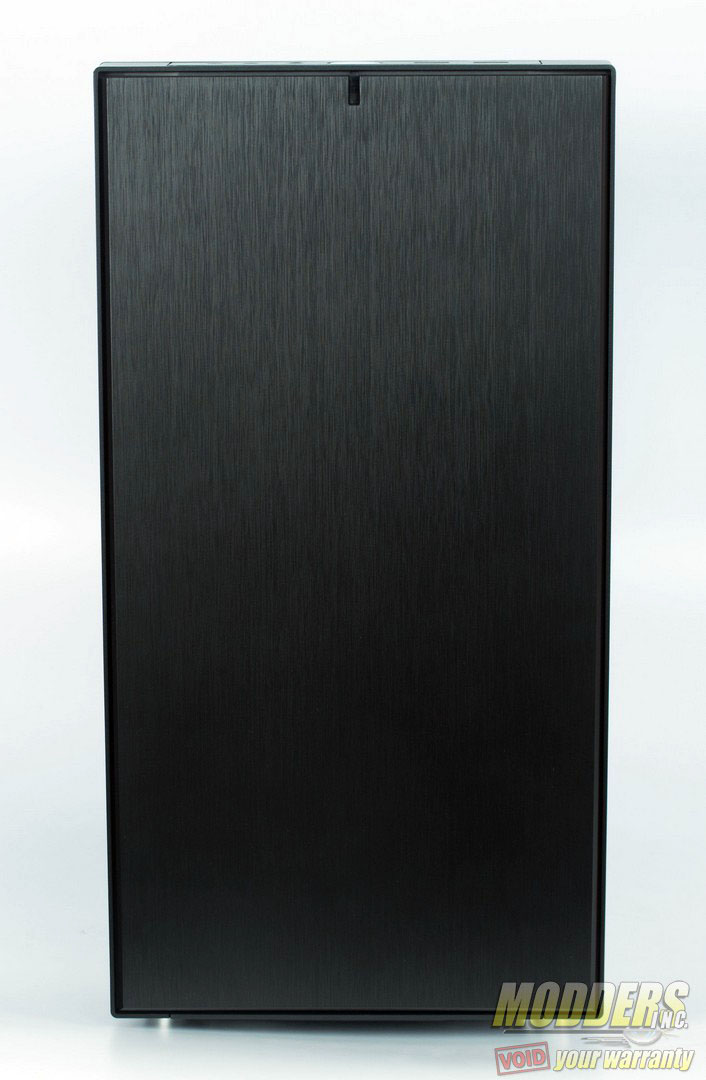
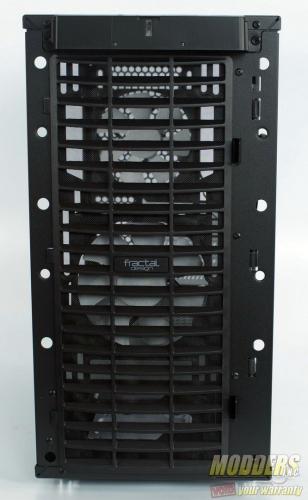
The front panel is constructed from a very sturdy plastic that has ventilated slits running down the sides of the frame and a large faux brushed faux effect.
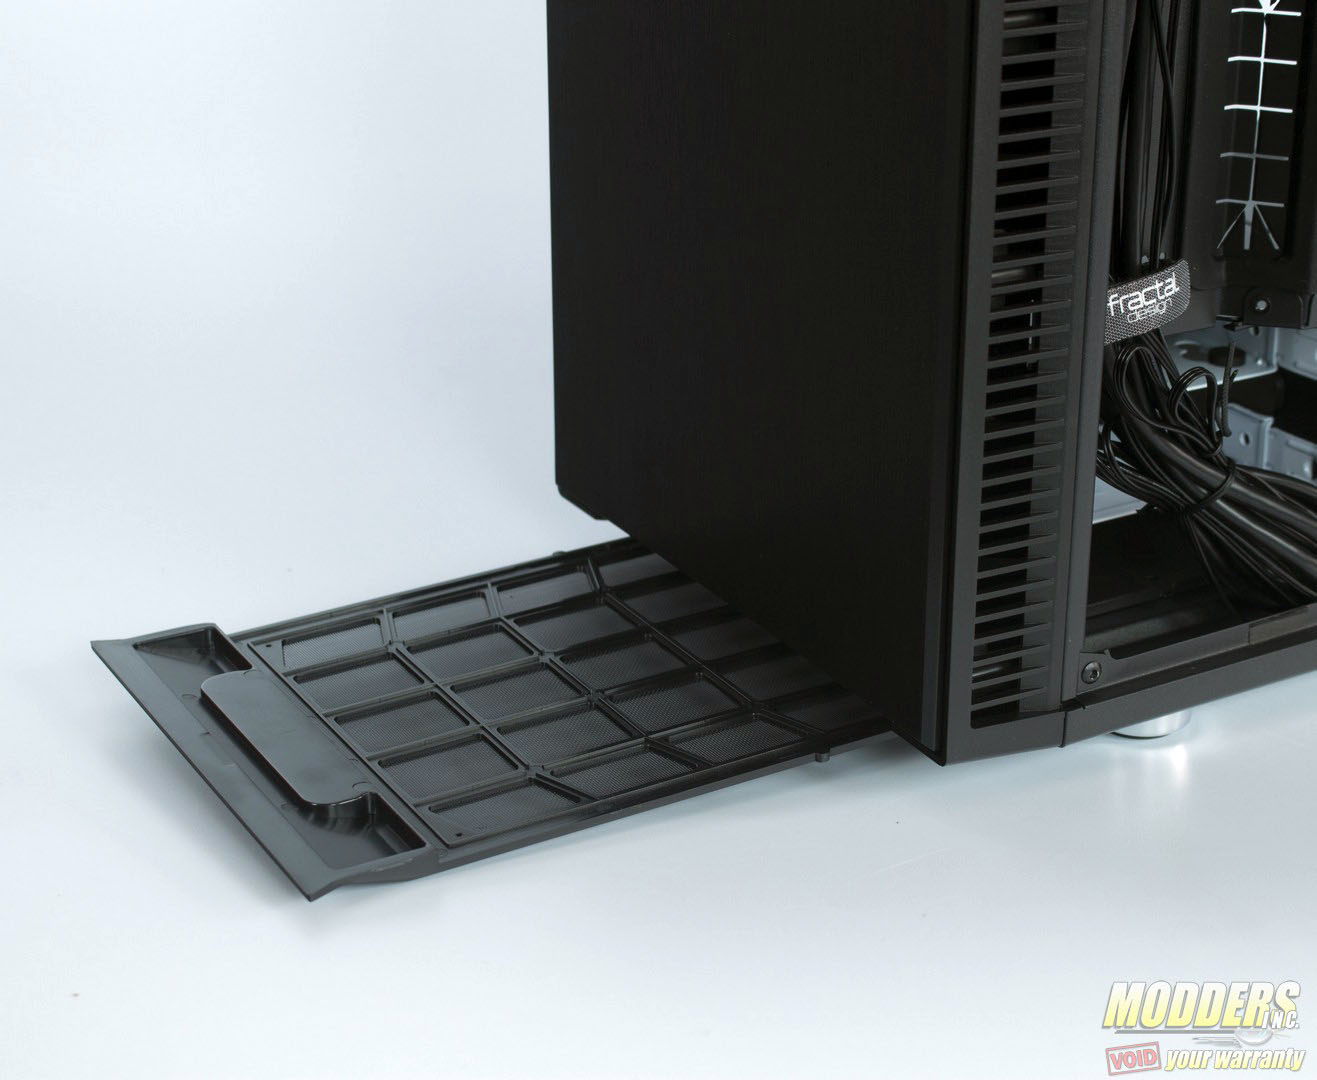
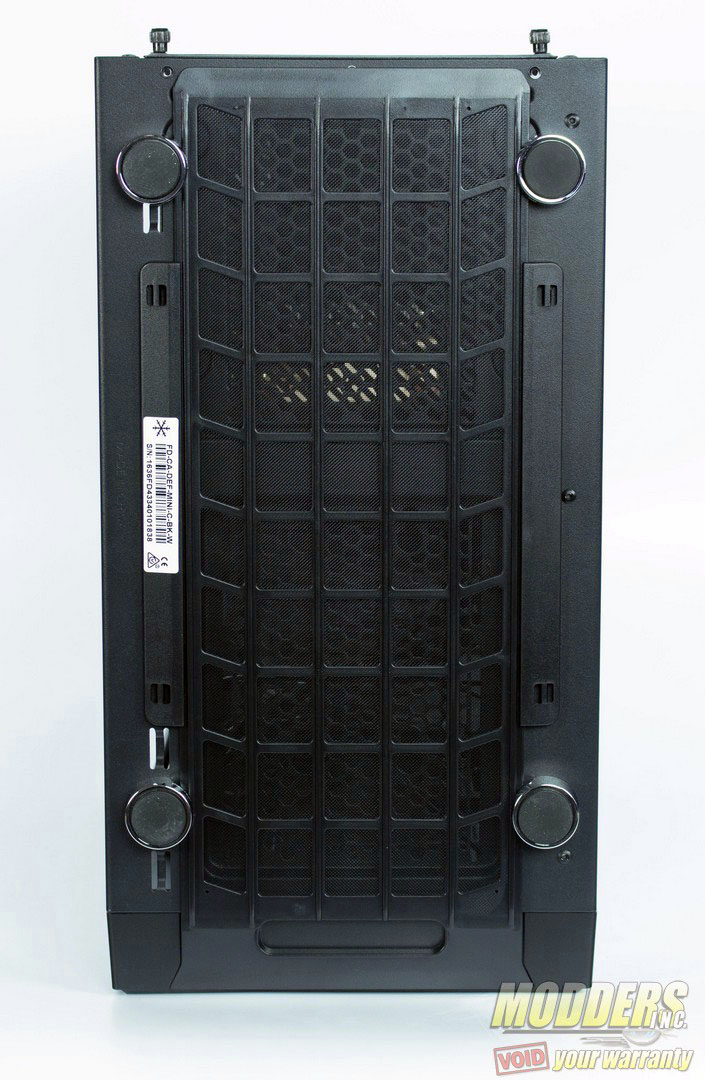
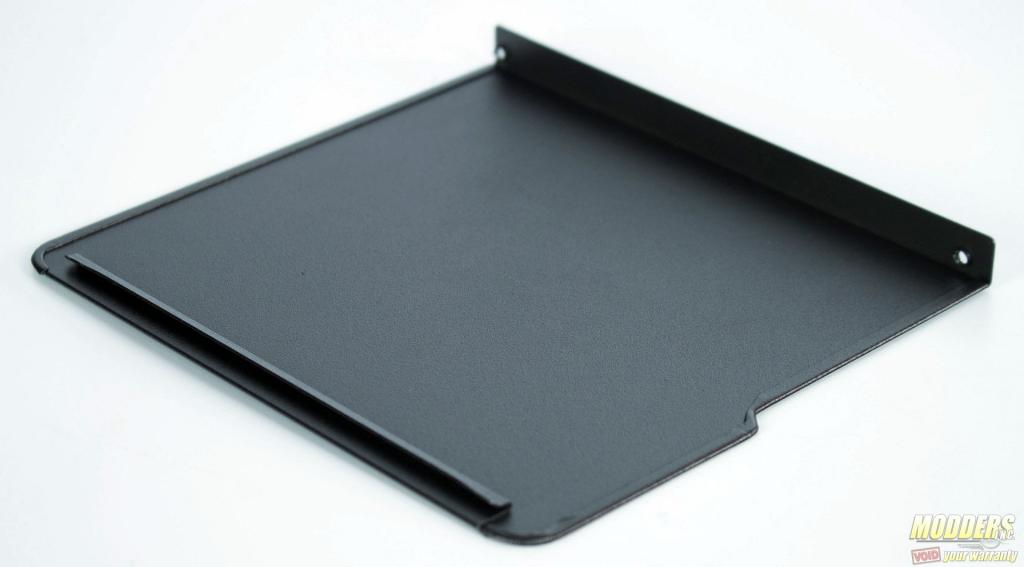
At the lower section of the front panel is an included dust filter. The filter is tool less and uses a system of rails and a clip on the lower panel to lock into place. Removing the filter, allows access to an opening at the bottom of the front panel. Using this opening, the front panel can be removed by pulling forward. The filter runs the entire length of the chassis, and is held in place by two rails placed between the case feet and latches in place with a small grove at the front of the case.
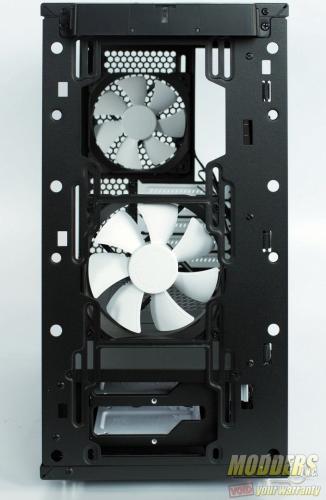
Beneath the front panel lies another tool less filter that locks in place using three pegs and two latches. Beneath the filter are locations for two 120/140 fan configurations, which will also support up to a 280mm radiator or radiators with a maximum width of 144mm. Included with the case is a pre-installed Fractal Design Dynamic X2 GP-120 fan, which features a black frame and white fan blade assembly.
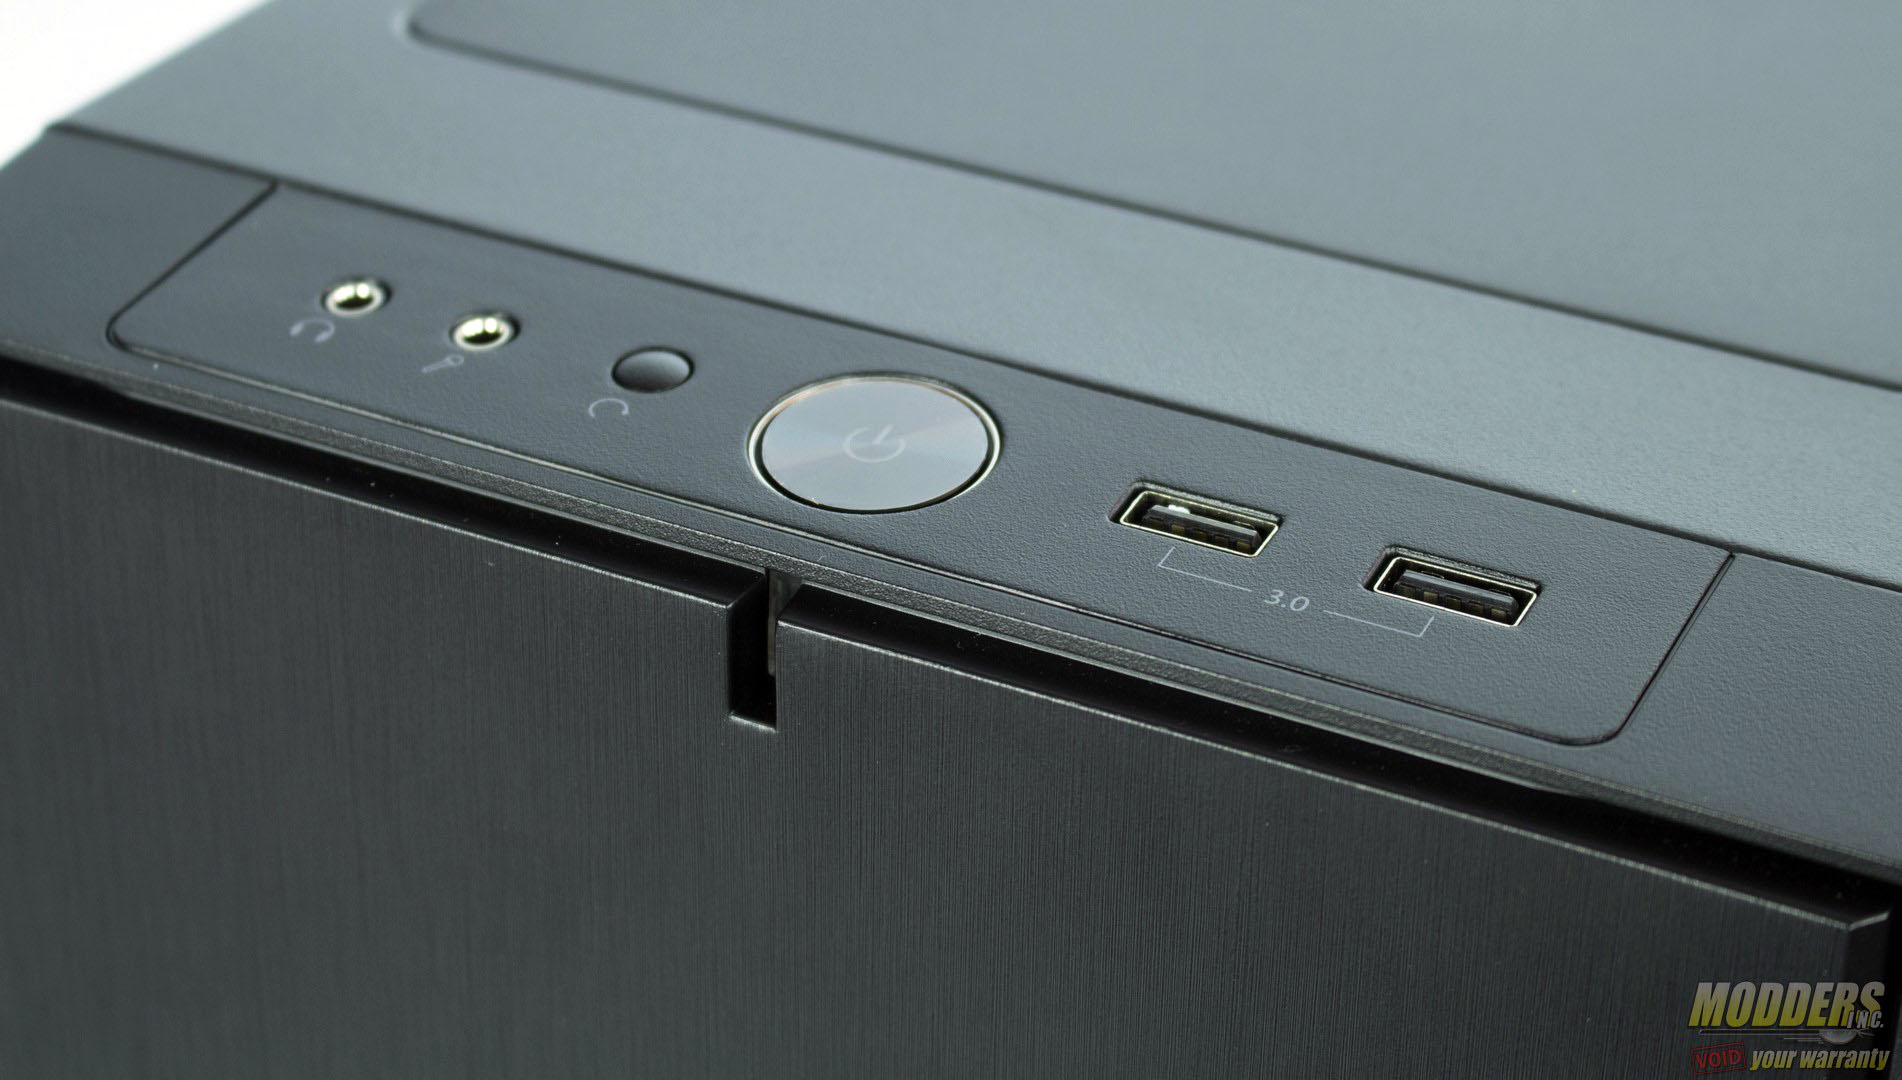
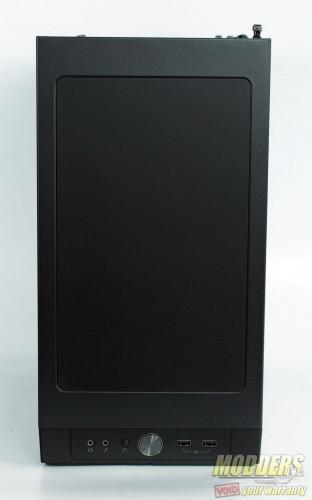
Located at the top of the front panel, is the I/O panel, consisting of a large power button in the center, a small reset button and audio in/out to the left. To the right of the power button are dual USB 3.0 ports but rather than the stock blue PCBs, the Mini C feature black PCBs, which matches the aesthetic much better.
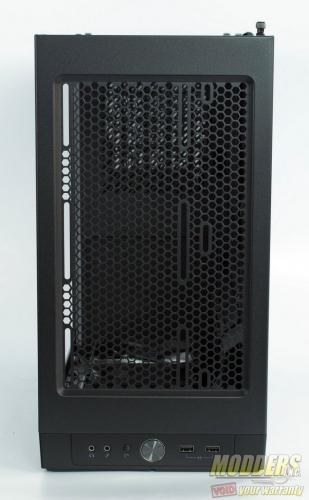
The top panel, features Fractal Design’s patented ModuVent system which can be used to create a cleaner aesthetic or removed to let more airflow into the case. The ModuVent panel attaches to the top panel using a series of clips. Removing the ModuVent panel is best approached by pressing the clips from the inside, due to the very low profile fit. This is not a negative mark against the case, but an advisement against trying to pry it off from the outside, as it could mark up the panels.
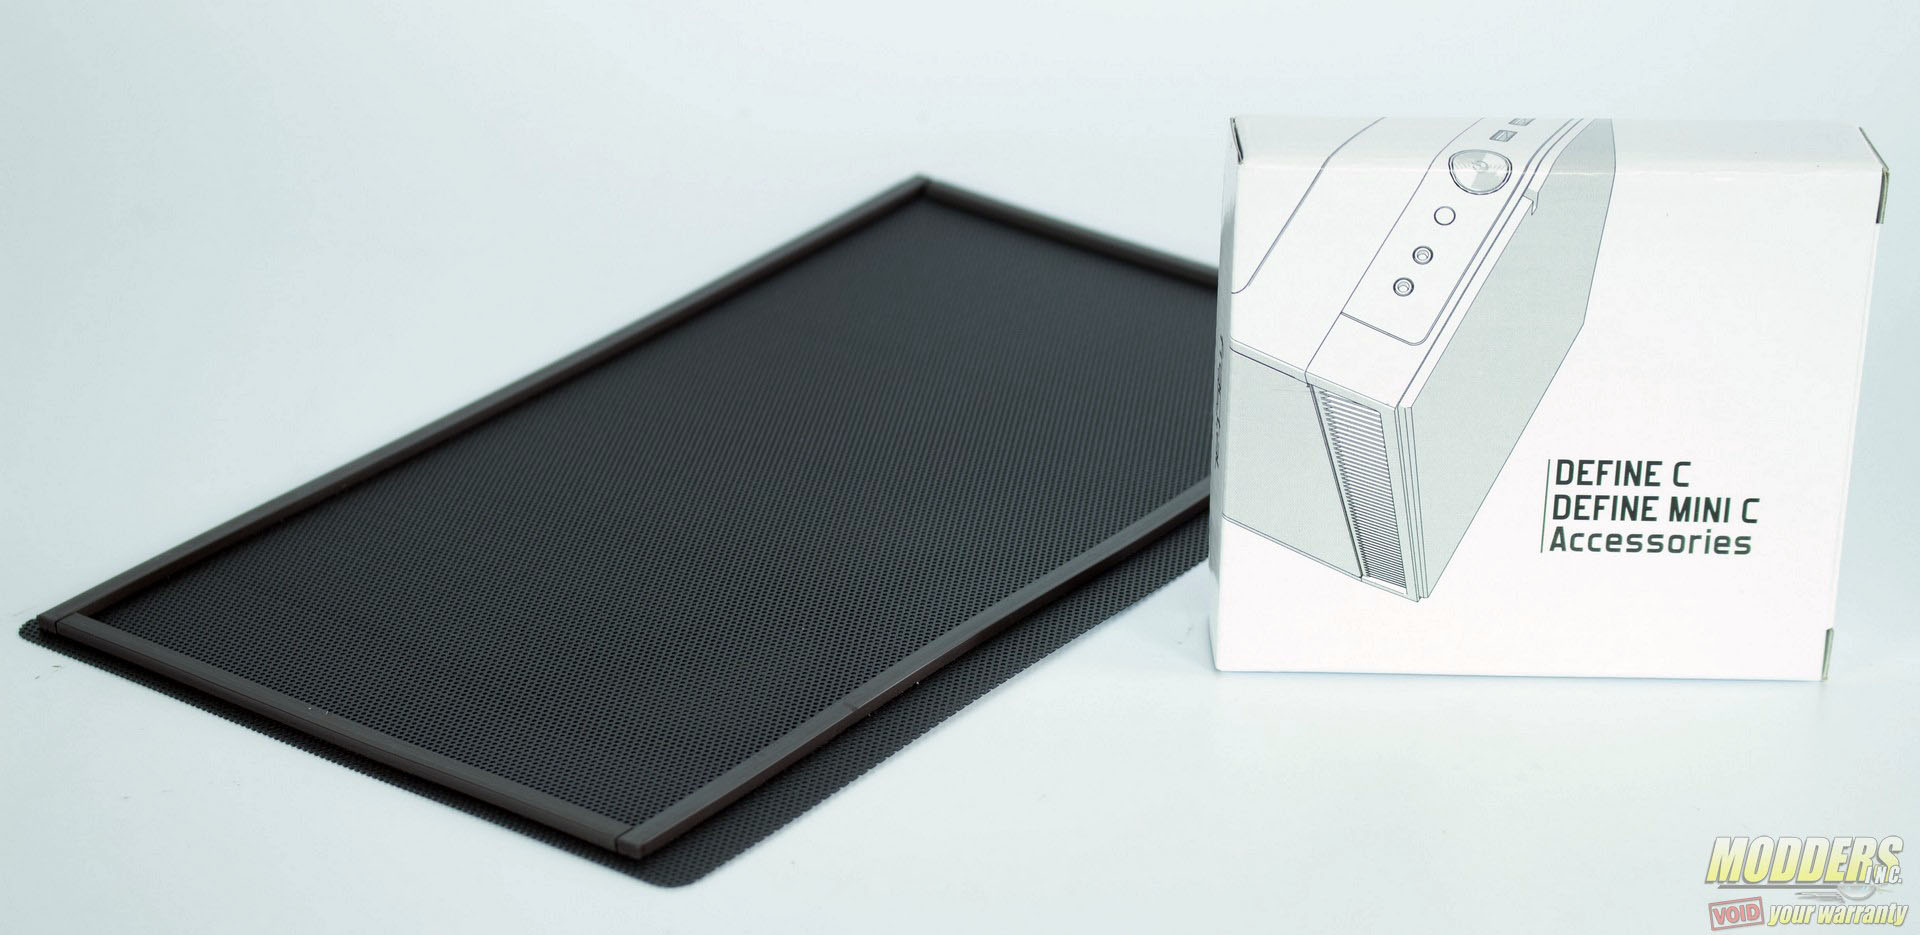
For those not interested in using the ModuVent system, or would rather use intake fans, the Mini C comes with a top magnetic filter that attaches to the outside of the case. The top panel will accommodate dual 120/140mm fans but will only fit up to a 240mm radiator, with a total depth of 40mm from top of the case to the top of the motherboard. This does mean radiator choices are slim and may restrict users to certain AIO’s with low profile fans.
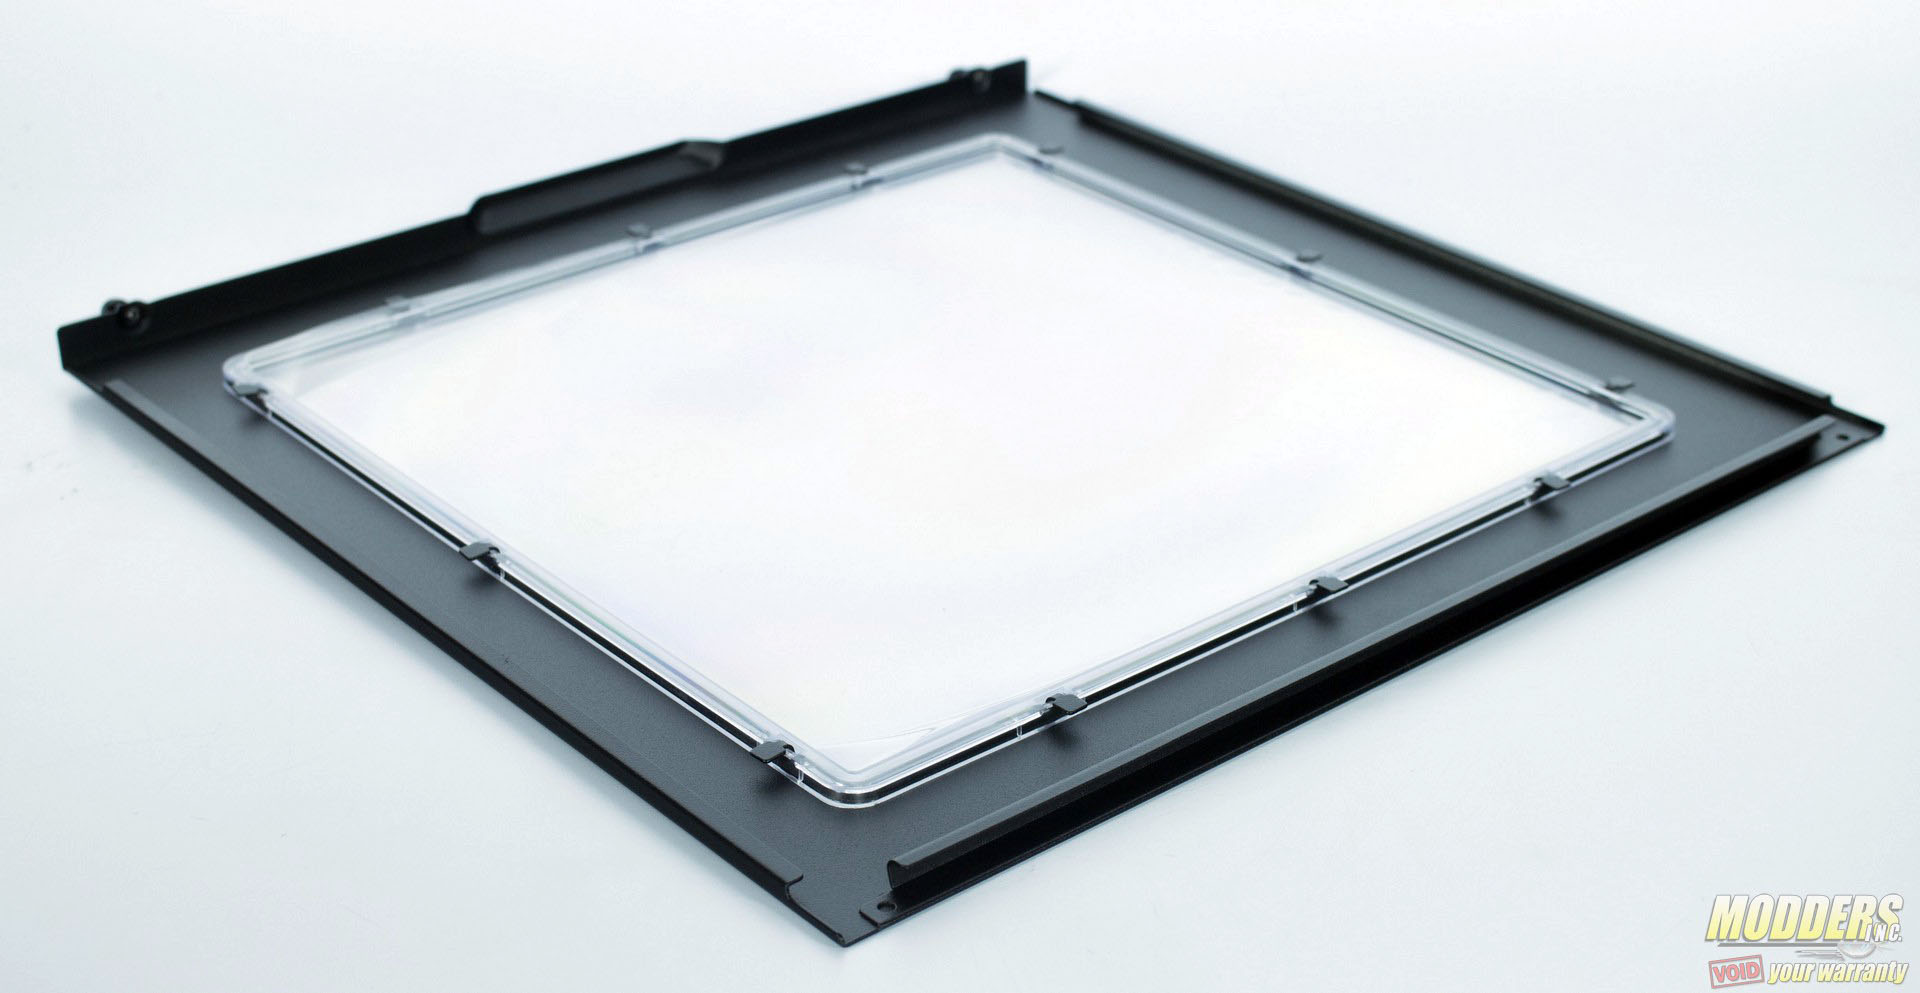
Fractal takes very good measures to insure that the window will not be scratched or scuffed by not only applying a protective film to the outside of the window, but another one inside as well. The panels features a large molded window that is secured in place by tabs that are bent down. I personally am not a fan of molded windows as they tend to have some color diffusion where you can see color spectrum rings refracting on the surface. However this is a common practice among budget friendly cases, and can always be modified with your choice of material.
The opposite panel, is a solid construction, free of any perforations and features the same noise reducing foam found on the back of the front panel.
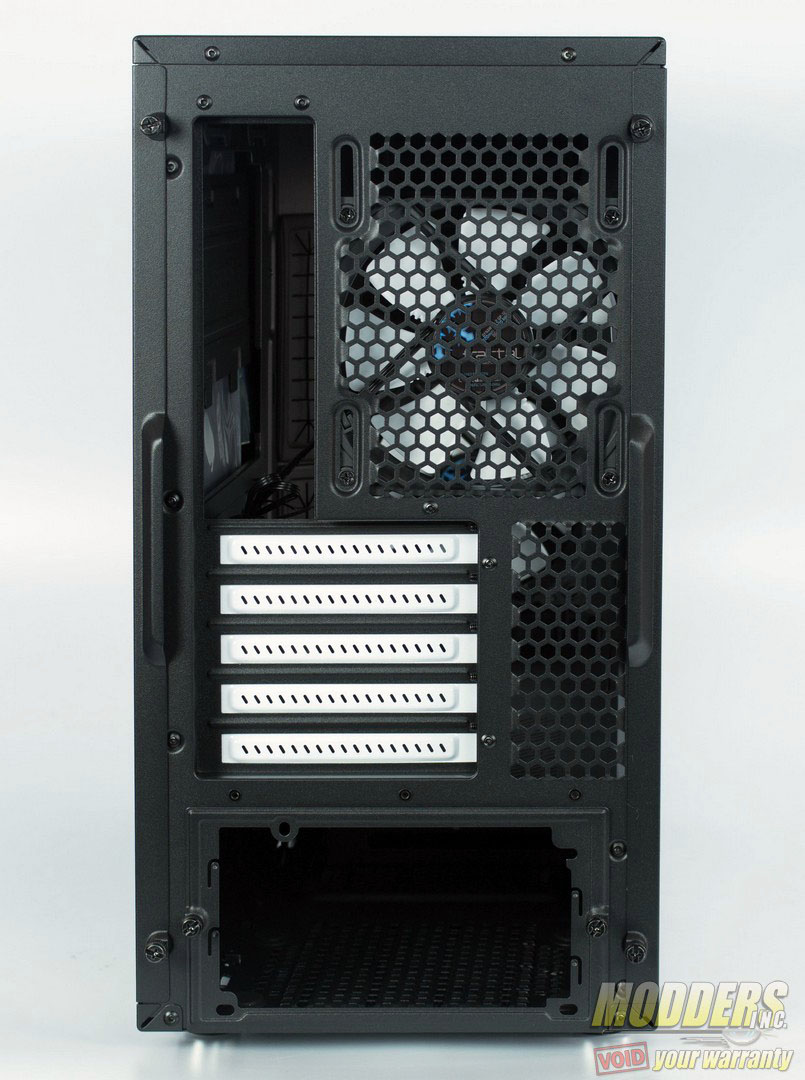
The back panel, features an extended mATX I/O panel with not four, but five ventilated expansion slots, all accented in white. For the exhaust the Mini C is outfitted with a single 120mm adjustable mount, and included with the case is the second Fractal Design Dynamic X2 GP-120 fan. The rear exhaust does support a single 120mm radiator but with a maximum width of 125mm, heavily restricting your options. Located at the bottom of the rear panel is a removable PSU bracket. The bracket is secured in place by two thumbscrews and is reversible. To install the PSU into the Mini C, this bracket will need to be removed and then the PSU placed into the chassis.
