Define 7 Interior
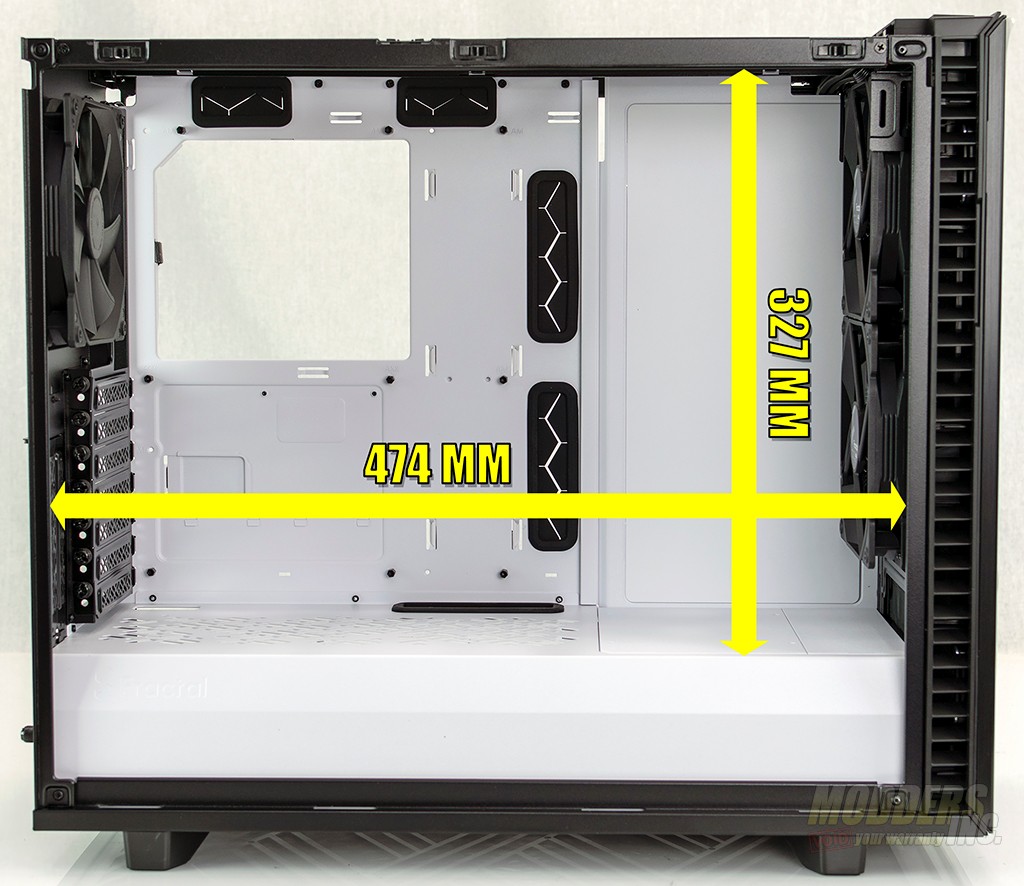
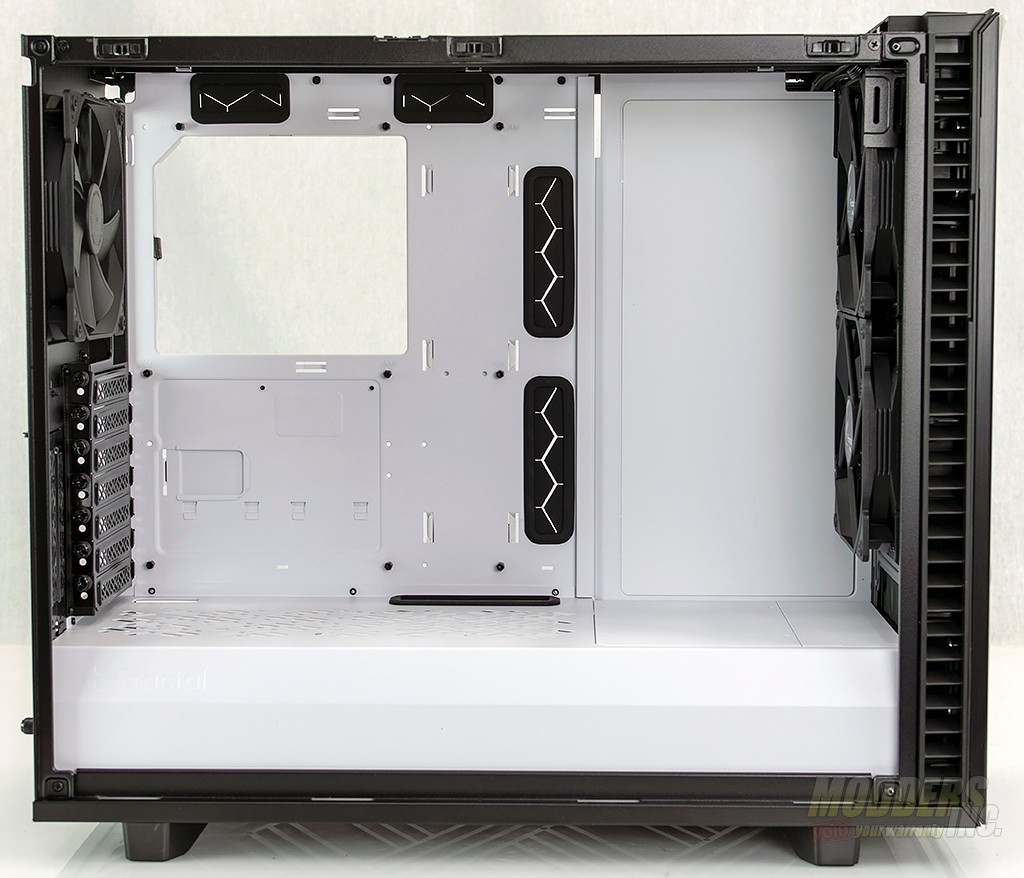
To start off, the interior of the Define 7 measures in at 474mm in length and 327mm in height.
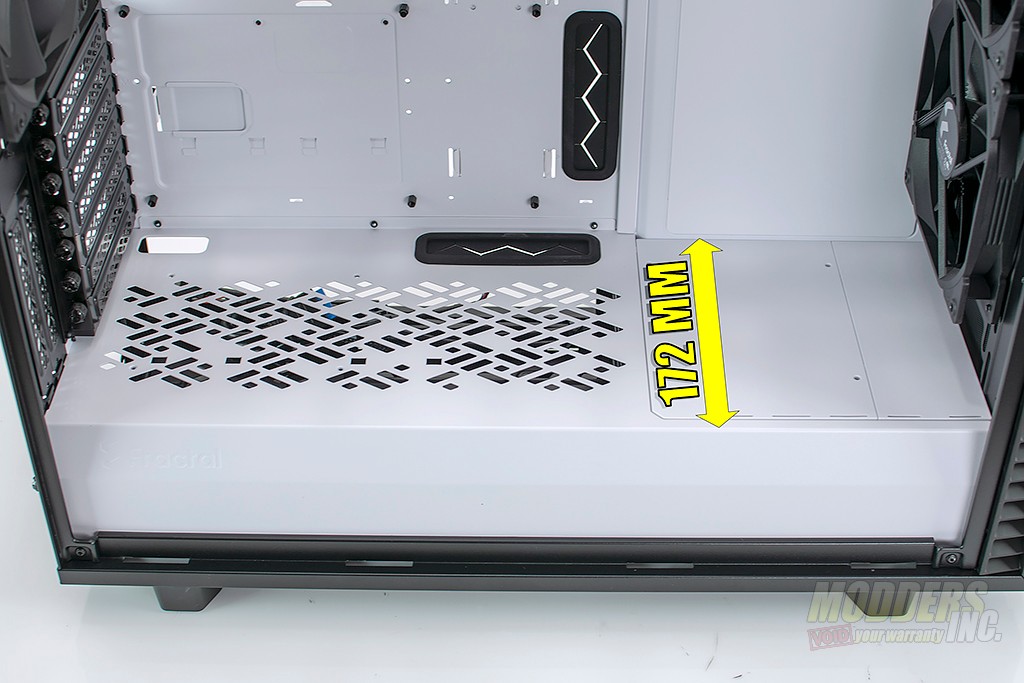
The power supply shroud measures 127mm from at the shortest distance from the motherboard tray to the 1st bend in the power supply shroud.
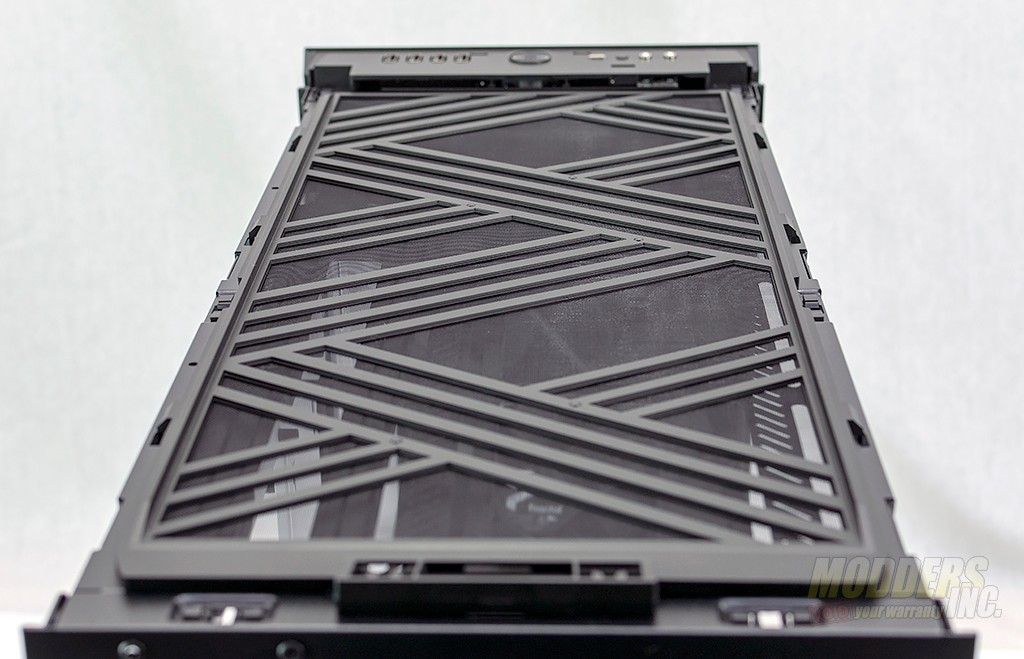
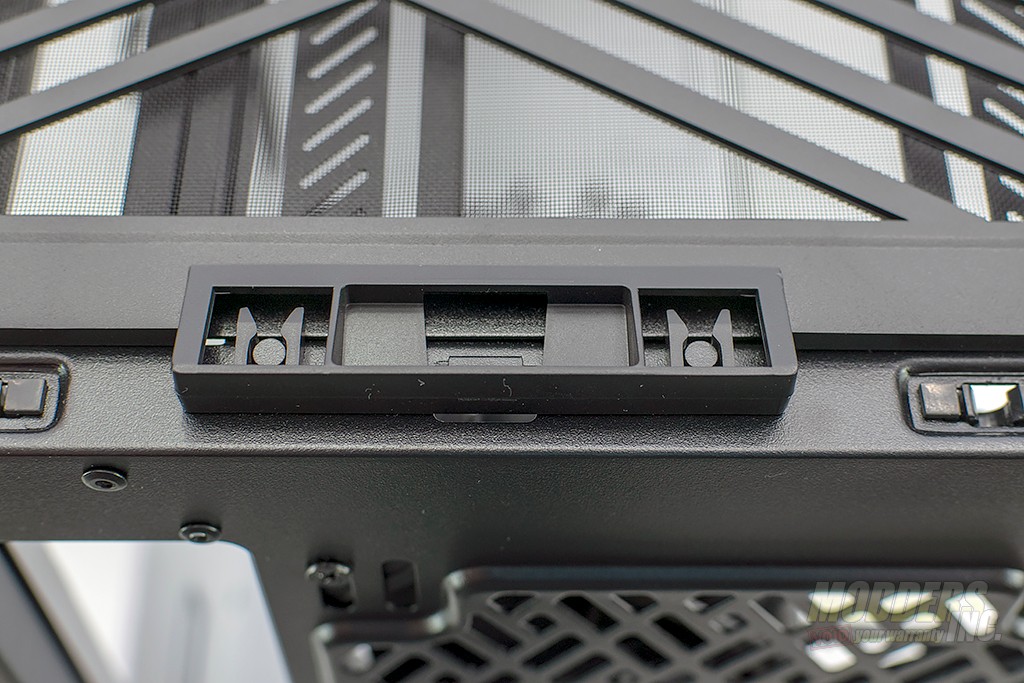
Starting at the top of the case, I pulled off the top panel. Again this just pops into place much like the side panels. Underneath, was another full-length filter. To remove the filter, pull back on the handle and it unsnaps from its location.
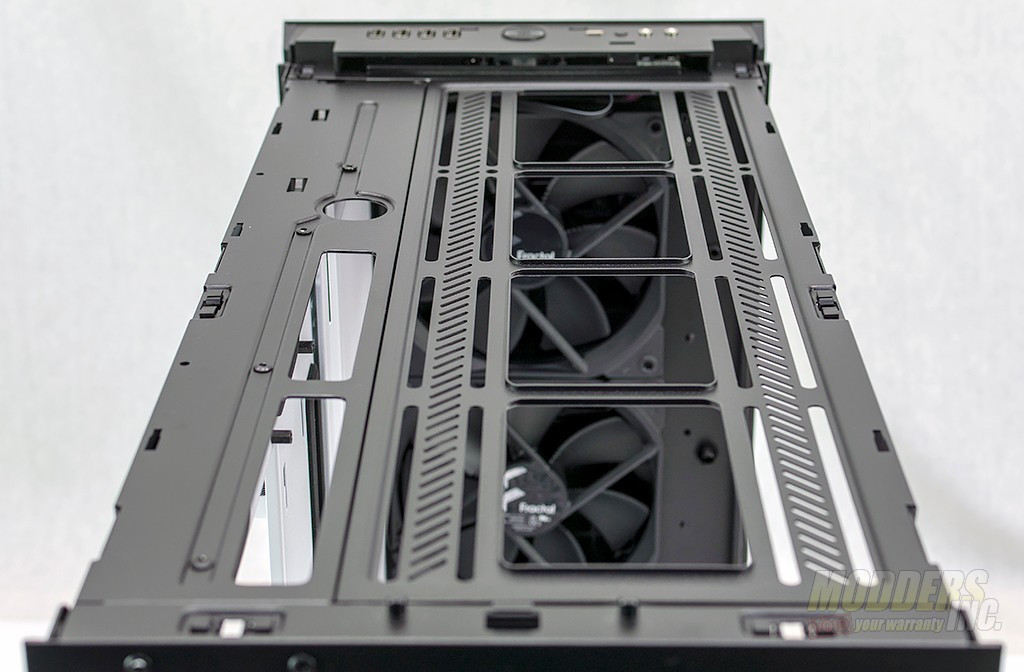
Under the filter is the frame for mounting either fans or radiators. Also note that near the front left of the case, there is a spot for a fill port for those users that choose to water-cool their system in the Define 7. The top mount can support up to a 420 mm radiator. Oh and the best part? The section where the radiators mount can be removed. removing this piece until the end of the build made a bit more room for those of us that have sausages for fingers and meat hooks for hands.
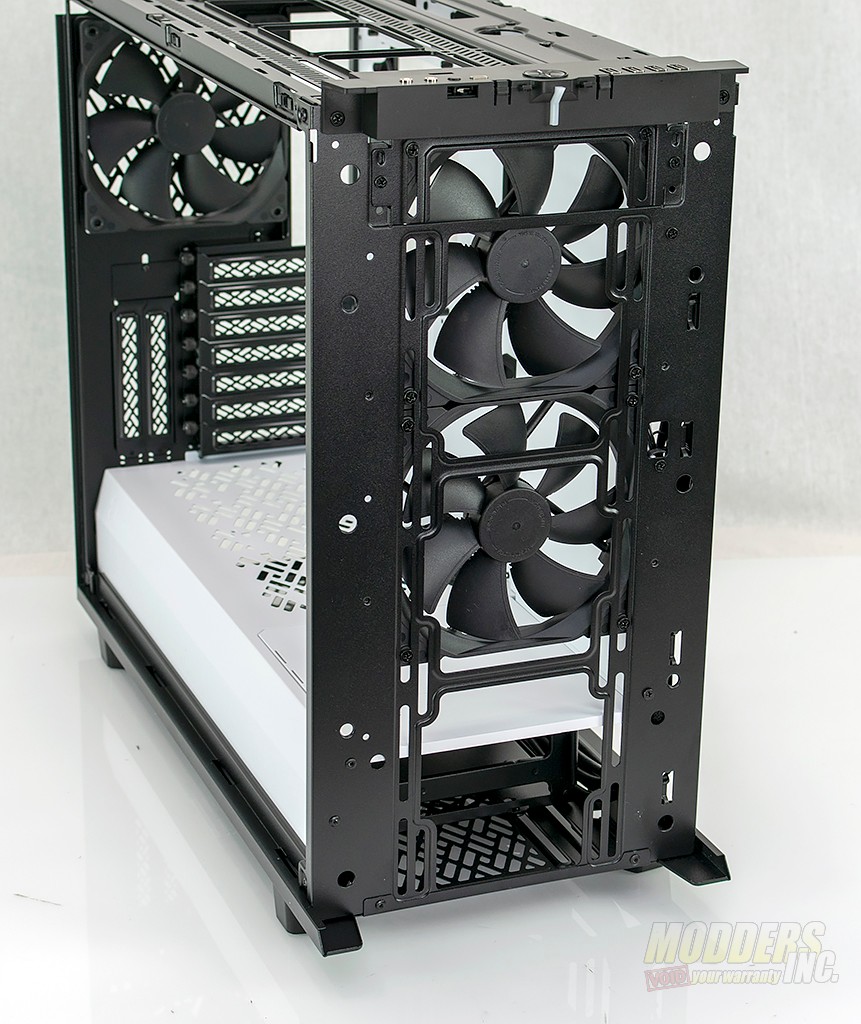
Next up, the front panel of the case comes off. The door and the panel can come off in one piece. The front of the case supports 3 140mm or 120mm fans or a 360mm radiator.
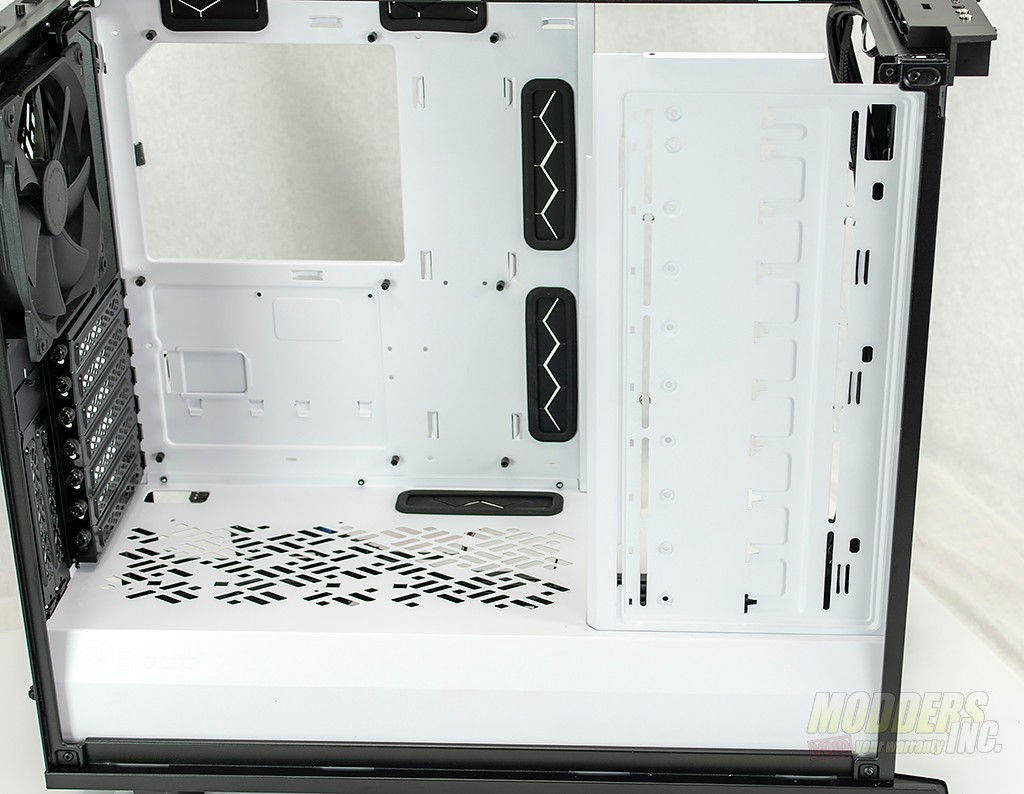
On the component side of the case, the Define 7 ships in the open configuration. This means that you can slap in hardware without moving the case panels around too much, unlike the shipping configuration of the Define R6. Inside I found there was plenty of room to work without the case getting in the way.
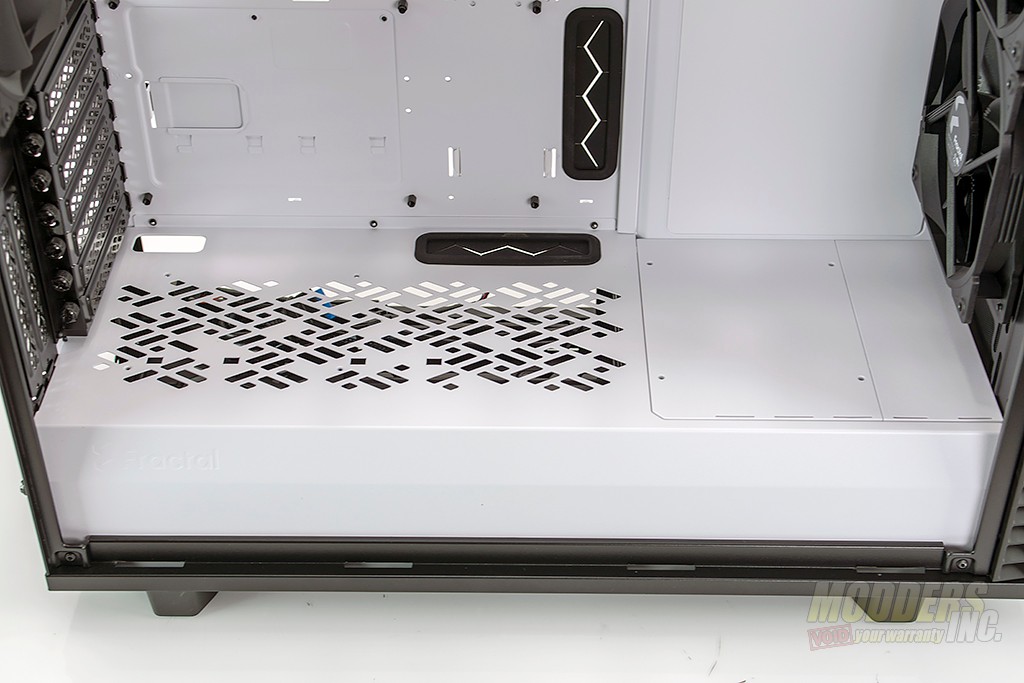
The power supply shroud runs the full length of the case. The rearward portion of the shroud contains ventilation holes as well as mounting locations for a PCIe extension. The front part of the shroud features two removable plastic panels that pop out for various configuration changes.
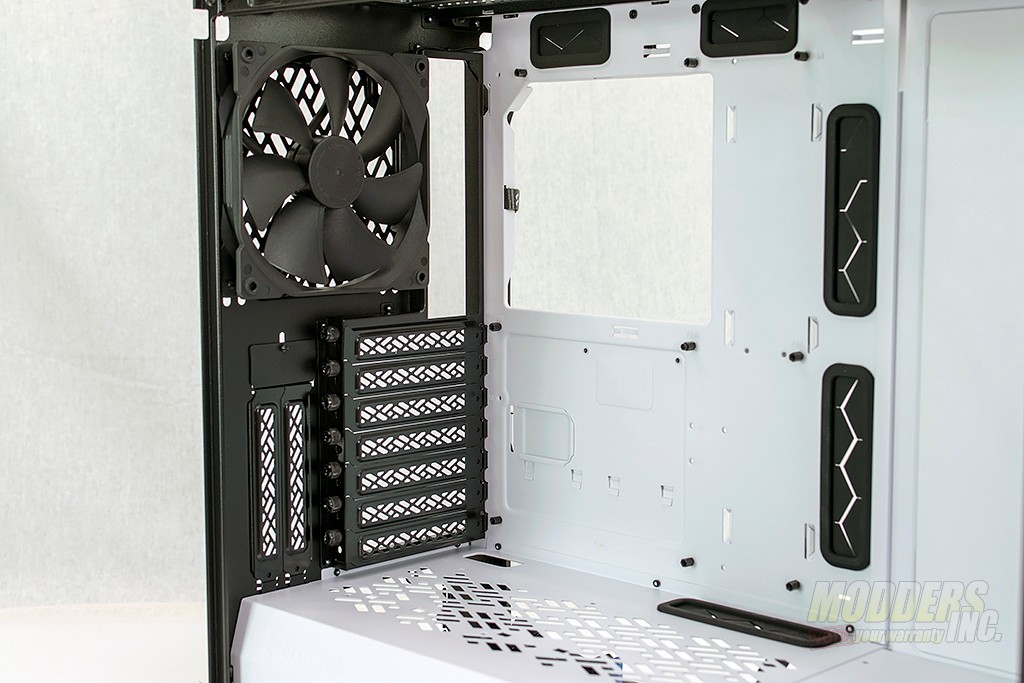
The motherboard tray in the Define 7 is large enough to accommodate up to an EATX motherboard. There are 5 spots for cable pass-throughs that are protected by rubber grommets. A single fan is installed at the rear of the case.
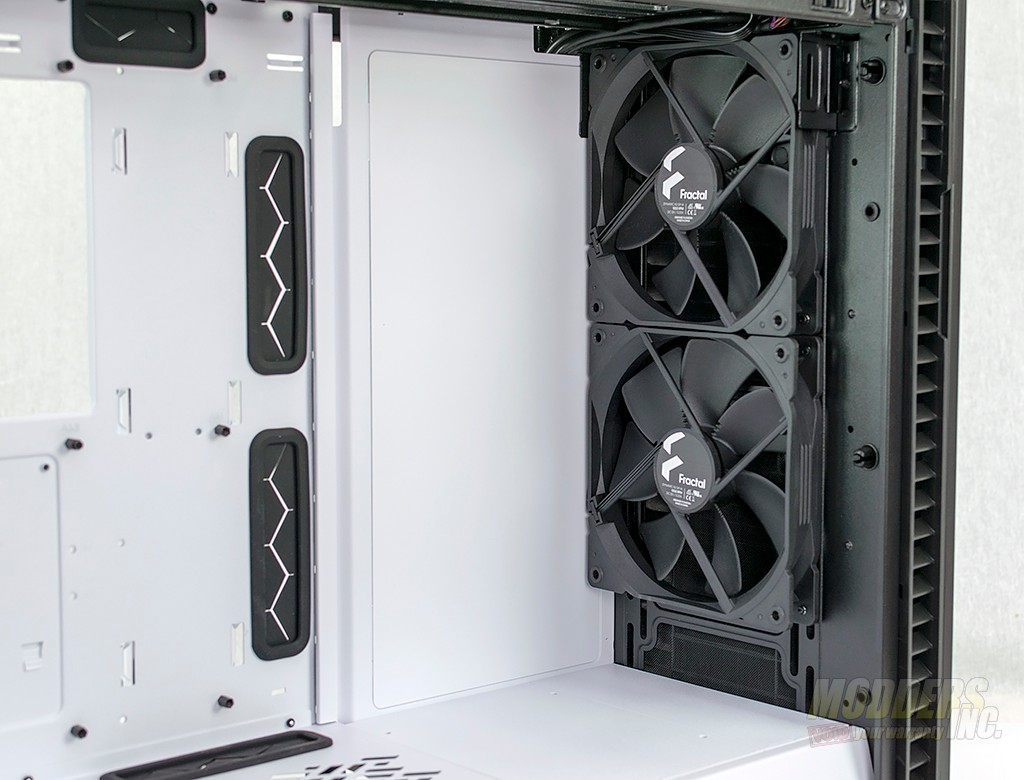
The front of the case features two 140mm Fractal case fans. Notice the plastic panel on the vertical face next to the fans. This can be removed as well. I’ll be covering that soon.
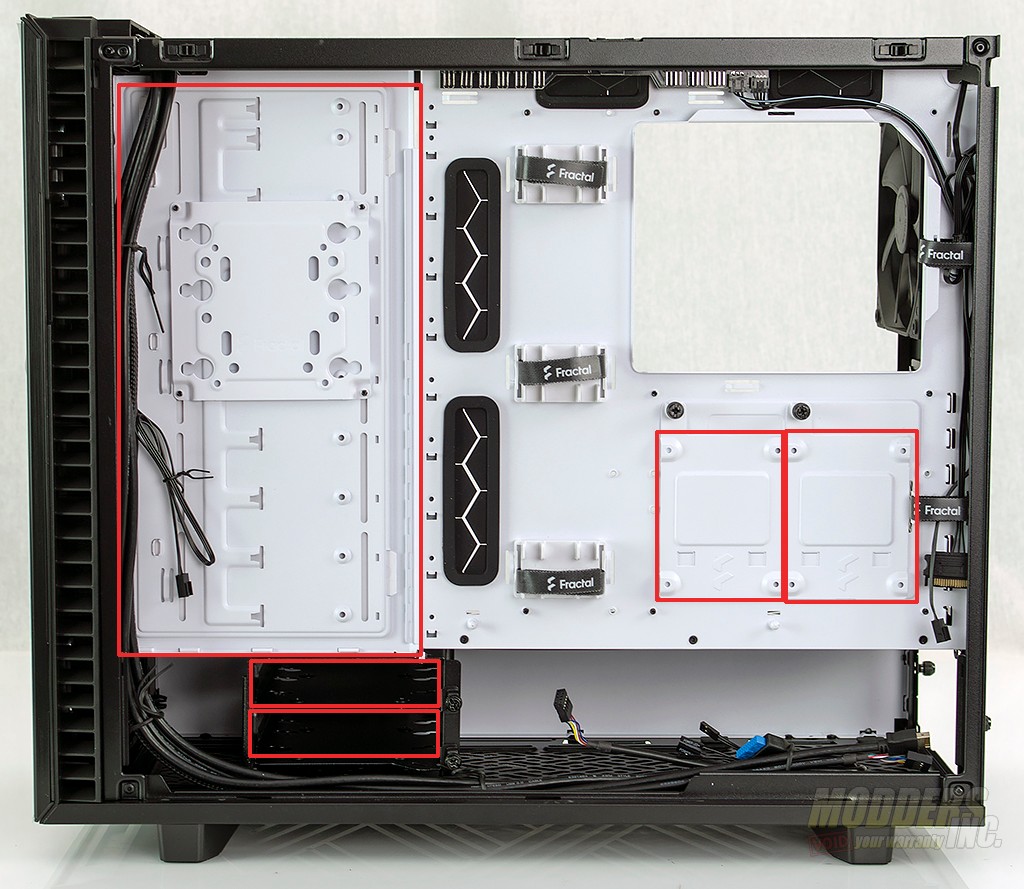
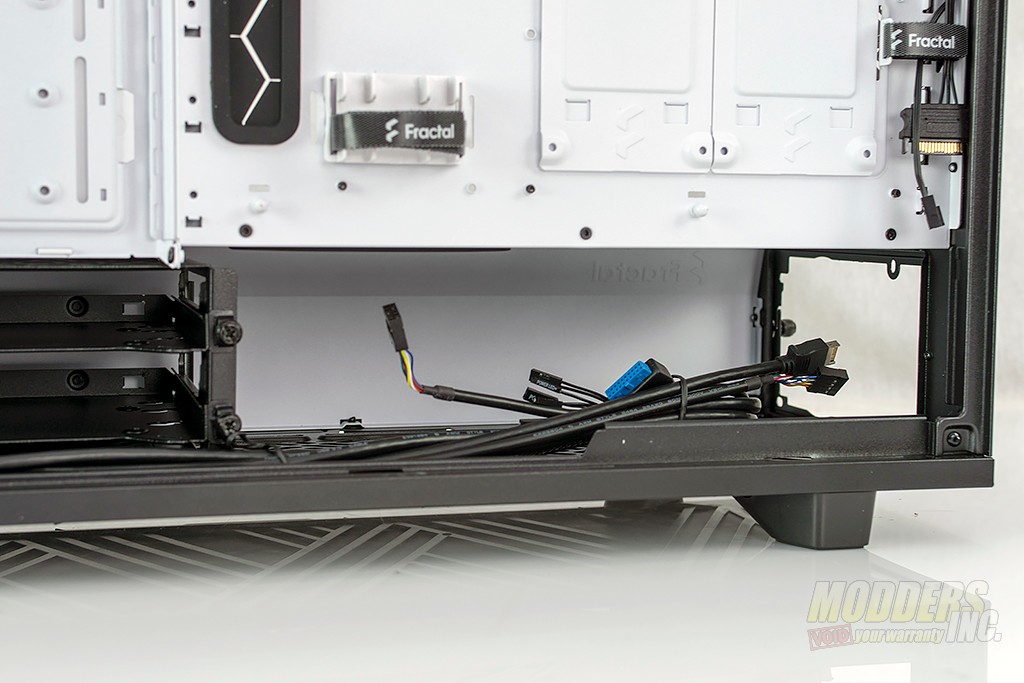
The cable management side of the case features hard drive mounting locations. There are spots for two 2.5″ hard drives, two spots for two 3.5″ hard drives in the basement, and a multi-function bracket that can hold an additional 2.5″ or 3.5″ hard drive. Cables from the front panel are routed down the front face of the case and into the basement. there is enough length on the cables to reach nearly anywhere on the motherboard. Cable management is helped as Fractal added some heavy-duty plastic clips and velcro staps not to mention the many locations that can be secured via zip ties.
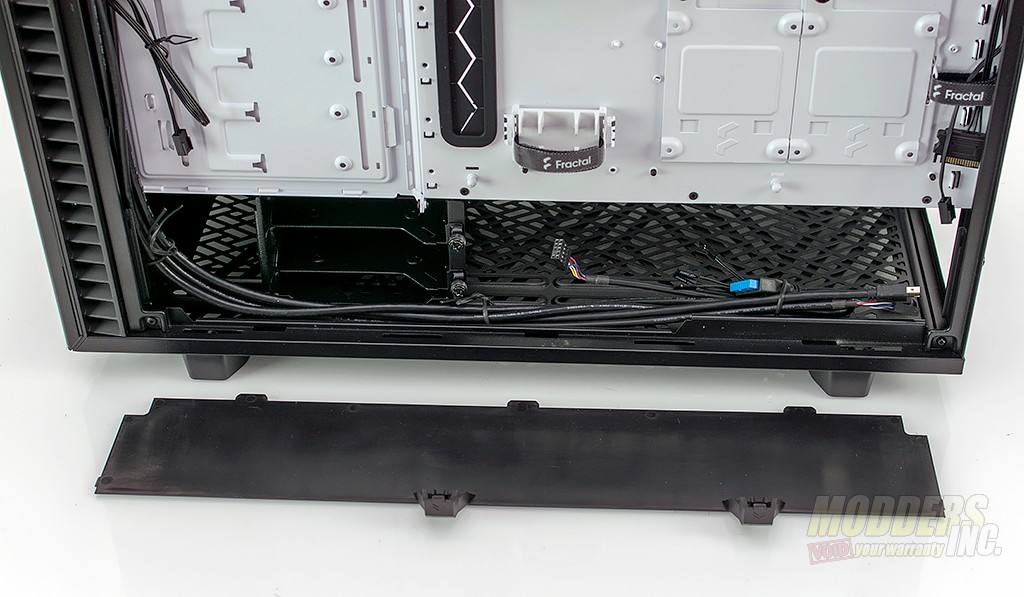
While not pictured above, there is an additional plastic panel on the cable management side of the case. This panel runs the full length of the case and covers the basement to allow you to further organize cables. This panel snaps into place using the same type of ball locking mechanism as the side and top panels.
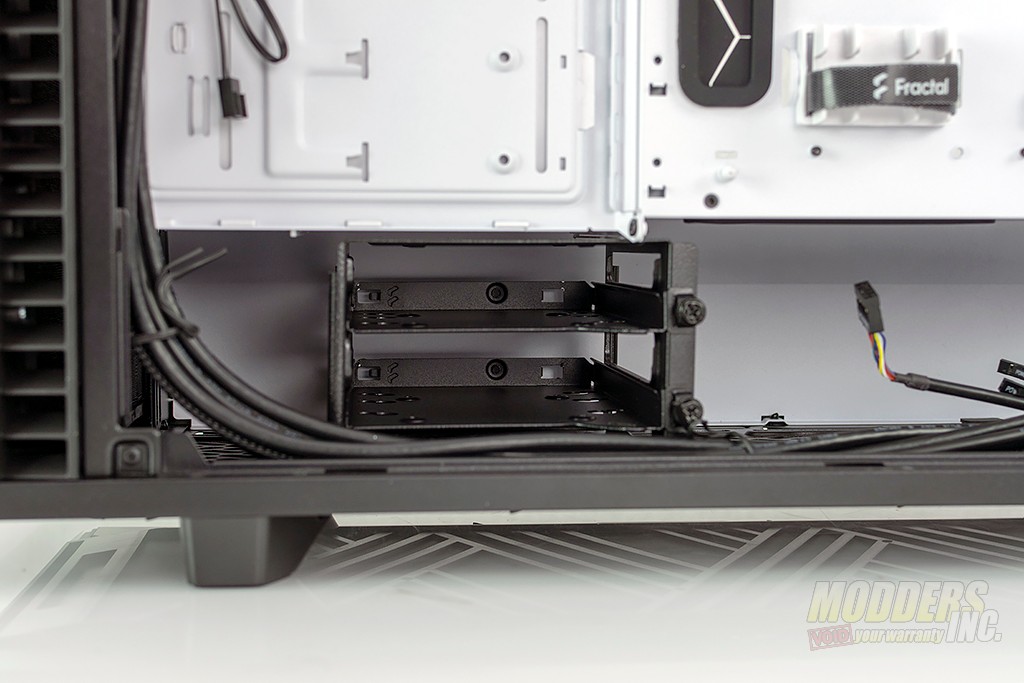
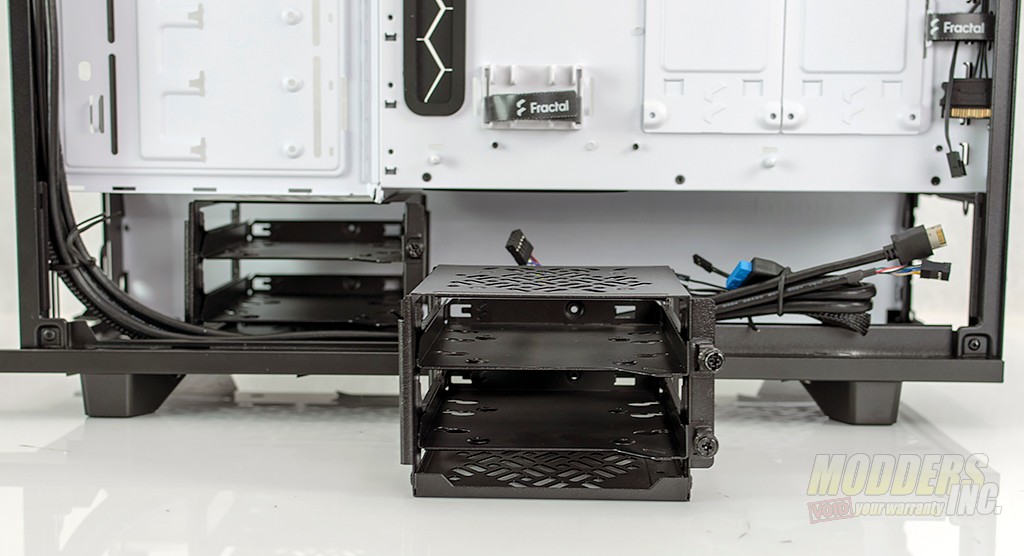
There is plenty of room in the basement of the Define 7. With the hard drive trays installed, the power supply is limited to 250mm in length.
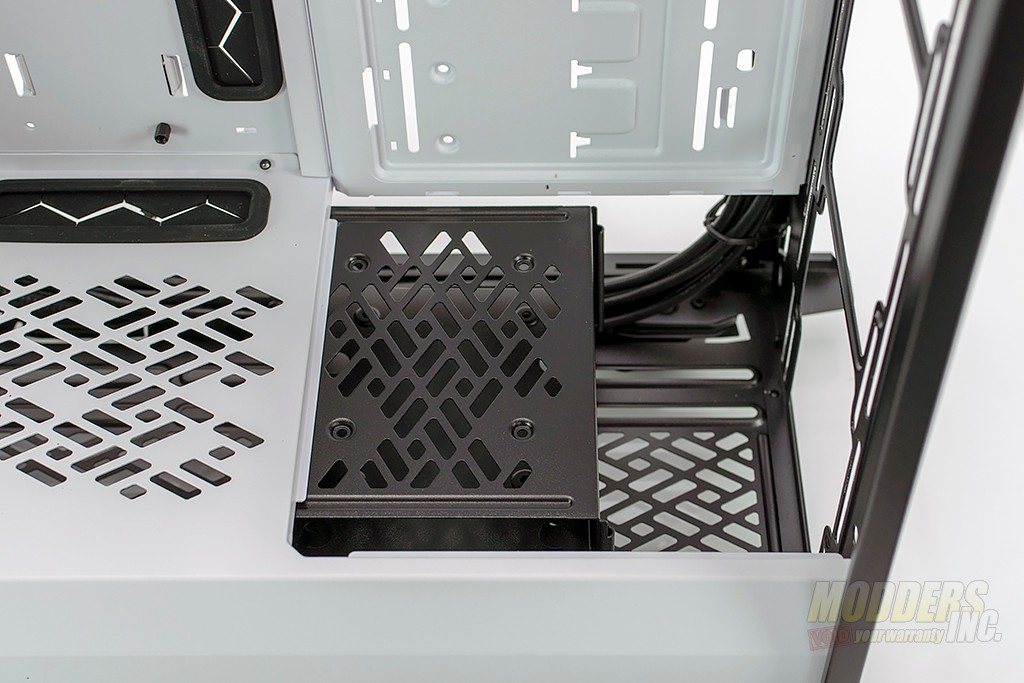
In the front part of the basement, there is one dual bay hard drive tray pre-installed. It supports both 2.5″ and 3.5″ drives. If you’d rather have space, it can be removed all together.
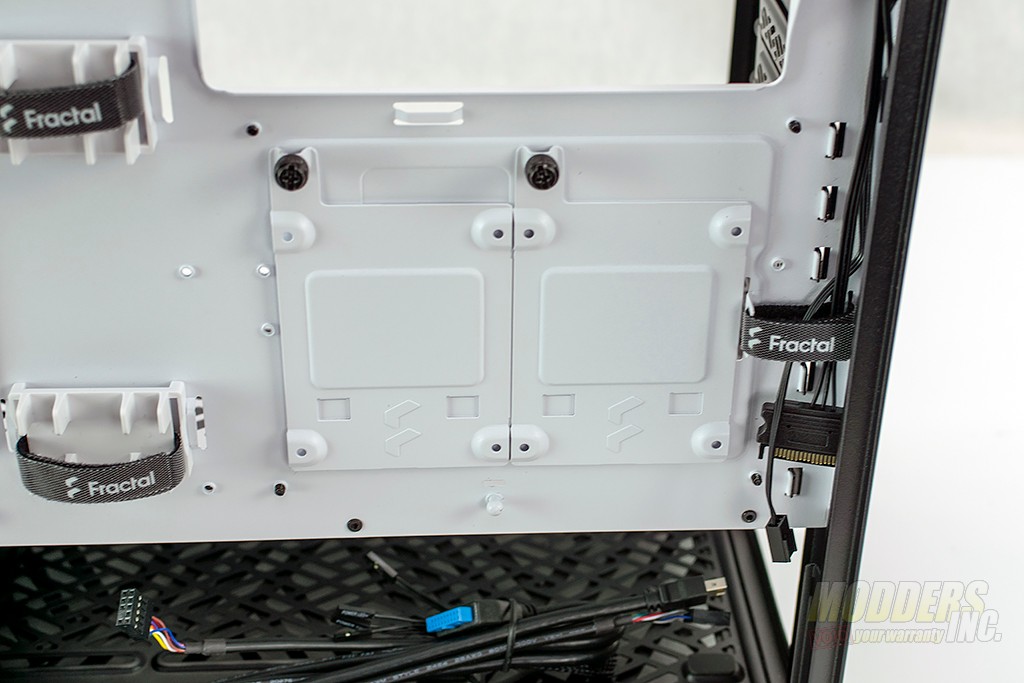
Two 2.5″ drive mounts are provided on the back of the motherboard tray much as we saw in the Define R6. If they are not in use, they can be removed.
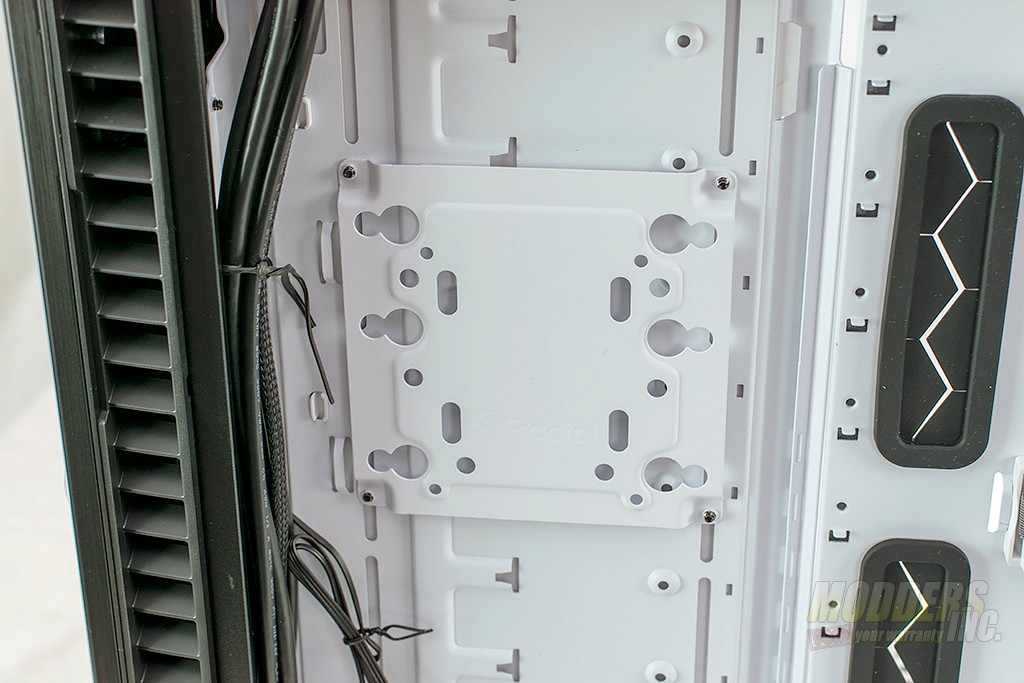
The multipurpose bracket comes pre-installed as well. A 2.5″ drive or a 3.5″ drive can be mounted. It does have another purpose. It can be used as a pump mount. We’ll go over that in a bit.
As I stated earlier, the Fractal Define 7 can be reconfigured into a storage-based configuration. Here’s how it’s done.
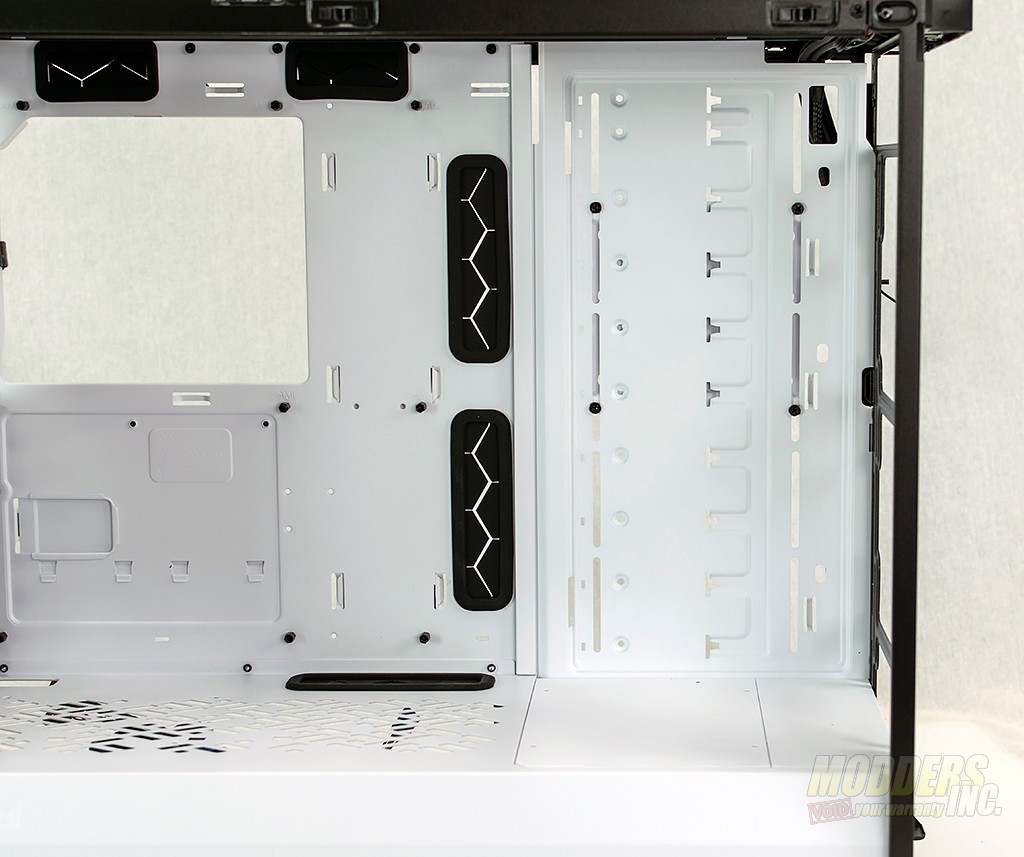
First, you’ll need to pull the front fans out of the case. Next, you’ll pull the plastic cover off the vertical case piece pictured above. With the cover removed, the four screws holding the multifunction bracket on are now exposed and will need to be removed.
ideally, you’ll remove the two plastic covers at the front of the case on the power supply shroud.
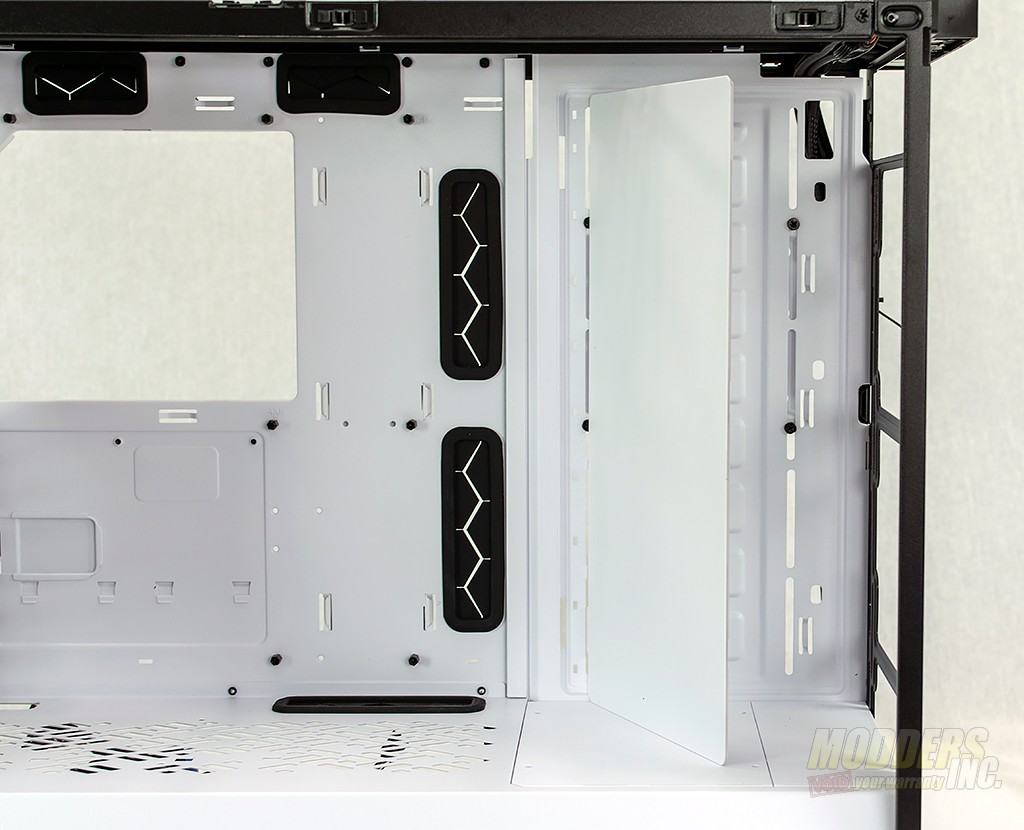
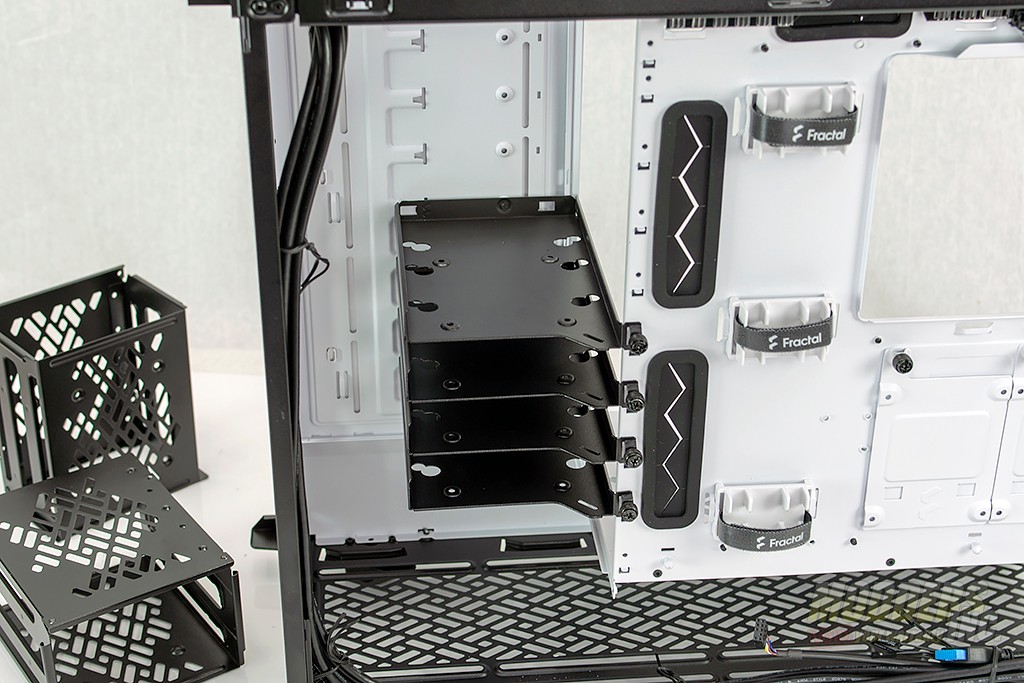
There are 3 screws holding that vertical panel in the case. Remove them, and move the panel to the edge of the power supply shroud as shown. Secure the panel using the locations provided int he new position.
With the panel now secured in the new location, this can now be used as storage. The hard drive trays clip into the panel and are secured by a captive thumbscrew that threads into the edge of the motherboard tray. The hard drive trays are the same ones used in the drive cages mounted at the bottom of the case. 10 drives (additional trays needed) can be mounted in the panel, two dual-bay drive cages in the basement and two 2.5″ drives mounted on the backside of the motherboard for a total of 14 drives can be installed in the Define 7.
I mentioned earlier that an additional drive bay can be installed in the basement of the case and can house two drives each.
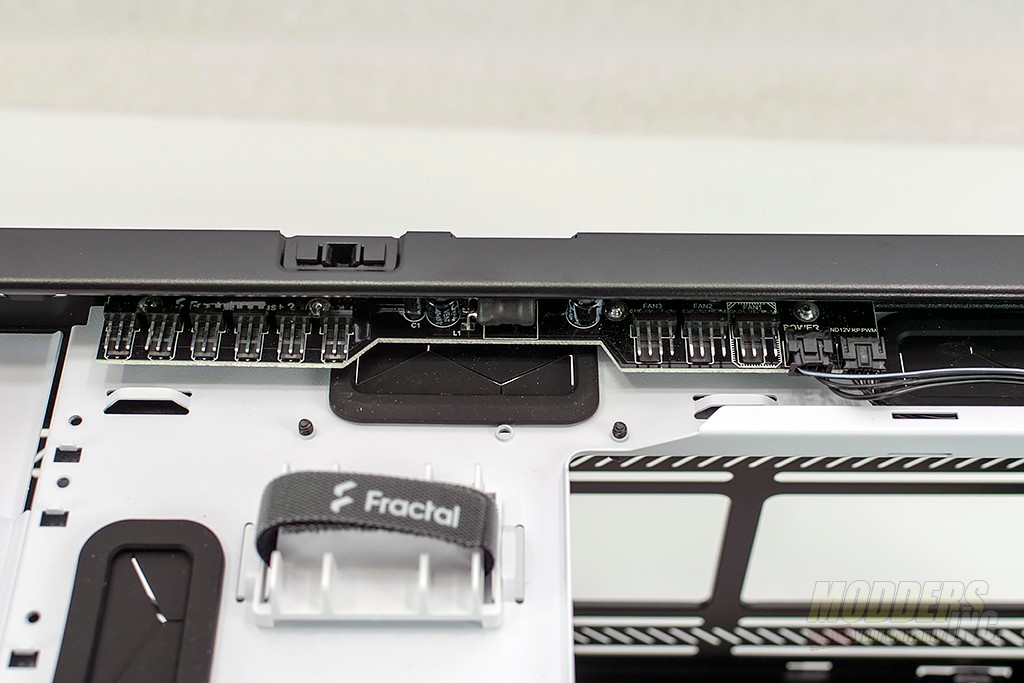
Rounding out the cable management side of the case is the included fan hub. The fan hub can support 3 4-pin case fans and 6 3-ping fans.
For the installation, I reconfigured the case back to the open version and removed all the drive trays.



the 5.25″ drive bay is nice, but you cannot install any device because fractal design just forget mounting points. sure you can remove the front cover, but where to put the screws to mount the device inside the define 7? only fractal design knows about self hovering/levitating 5.25 devices…
and in no test i found this was testet with a real ODD or a 5.25 adapter (e.g for tapes or hotplug devices)