Fractal Design Define 7 Compact
Introduction
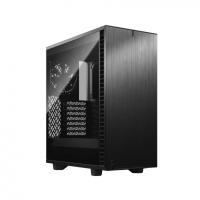
Fractal Design’s Define series has been in continuous production for over a decade, with its seventh generation of Define cases launching in early 2020. The series has historically been known for its clean aesthetic and excellent build quality. The Fractal Design Define 7 Compact is the third member of the seventh generation lineup, following the Define 7 and Define 7 XL. It features many of the same design elements as its larger siblings but takes up significantly less volume, which should make it a strong competitor in the ATX mid-tower market. So does it live up to its heritage? Let’s find out.
Specifications
| Material | Steel, Aluminum, Tempered Glass |
| Front Panel | Brushed Aluminum w/ Sound Dampening Foam |
| Left Panel | Dark Tempered Glass |
| Right Panel | Steel w/ Sound Dampening Foam |
| Top Panel | Steel
Steel w/ Sound Dampening Foam |
| Front I/O Ports | 2x USB 2.0 Type A
2x USB 3.0 Type A Power Button 2x Front Audio USB 3.1 Type C Reset Button |
| Dimensions (L x W x H) | 427 mm x 210 mm x 474 mm
16.81″ x 8.27″ x 18.66″ |
| Weight | 8.76 kg
19.31 lbs |
Compatibility
| Motherboard Compatibility | ATX, MATX, ITX, DTX |
| Max Cooler Height | 169 |
| Max GPU Length | 360 mm
341 mm w/ front case fan |
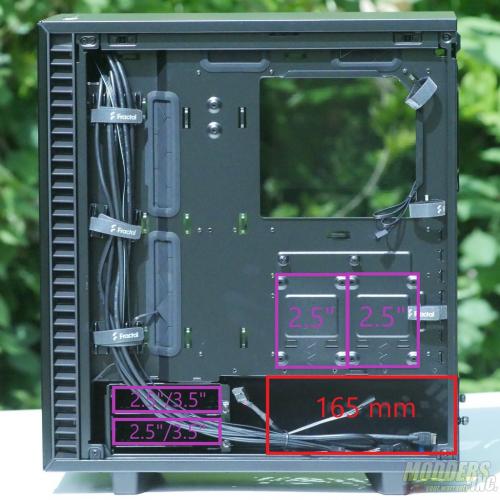
| Max PSU Length | 165 mm w/ front-drive cage |
| Power Supply Type | ATX |
| Storage Drive Bays | 2x 2.5″ (Motherboard tray)
2x 2.5″ 0r 3.5″ (Drive cage) |
| Expansion Slots | 7 |
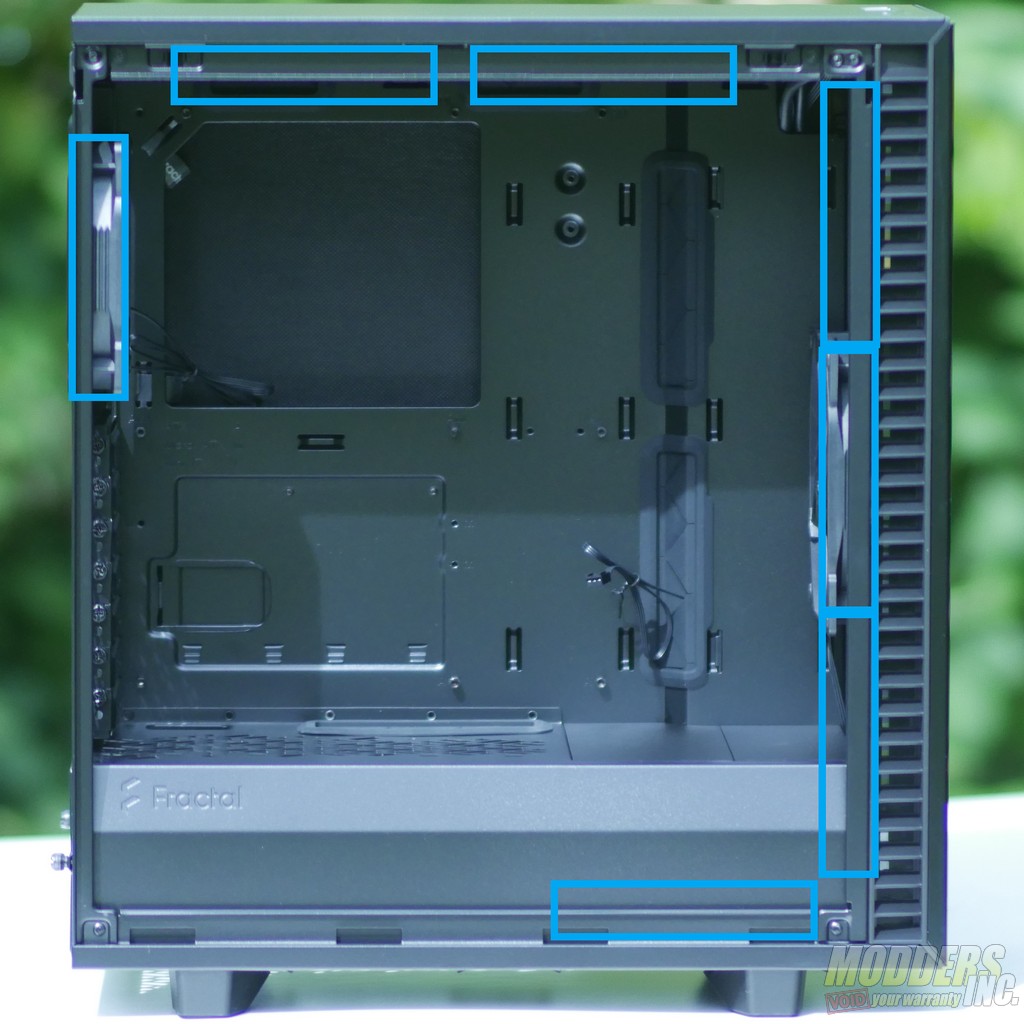
| Total Fans Supported | 7x 120 mm
4x 140 mm |
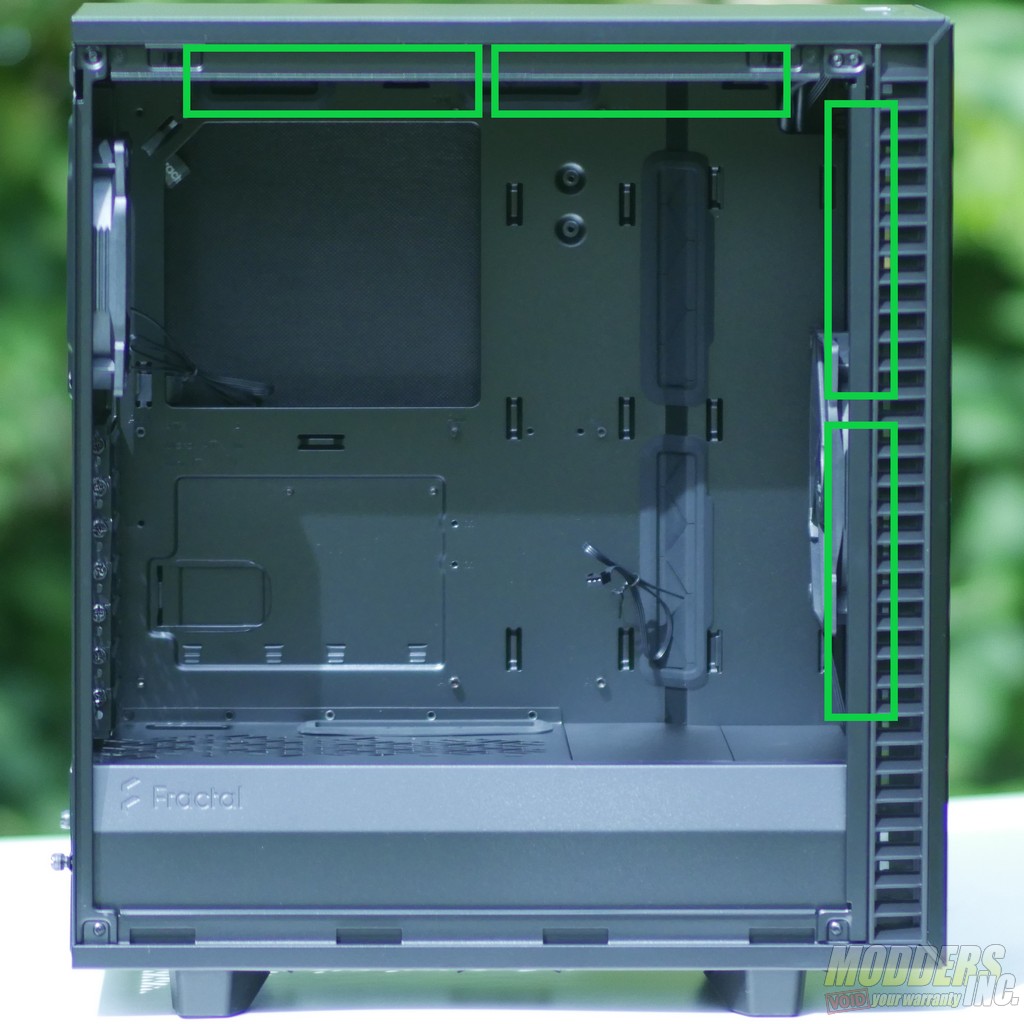
| Top Fans / Radiators | 2x 120 mm
2x 140 mm |
| Front Fans / Radiators | 3x 120 mm
2x 140 mm |
| Bottom Fan / Radiator | 1x 120 mm |
| Rear Fan / Radiator | 1x 120 mm |
Included Accessories
| Top Panel | Optional vented top panel |
| Accessories Box | Screws and a microfiber cleaning cloth |
Packaging
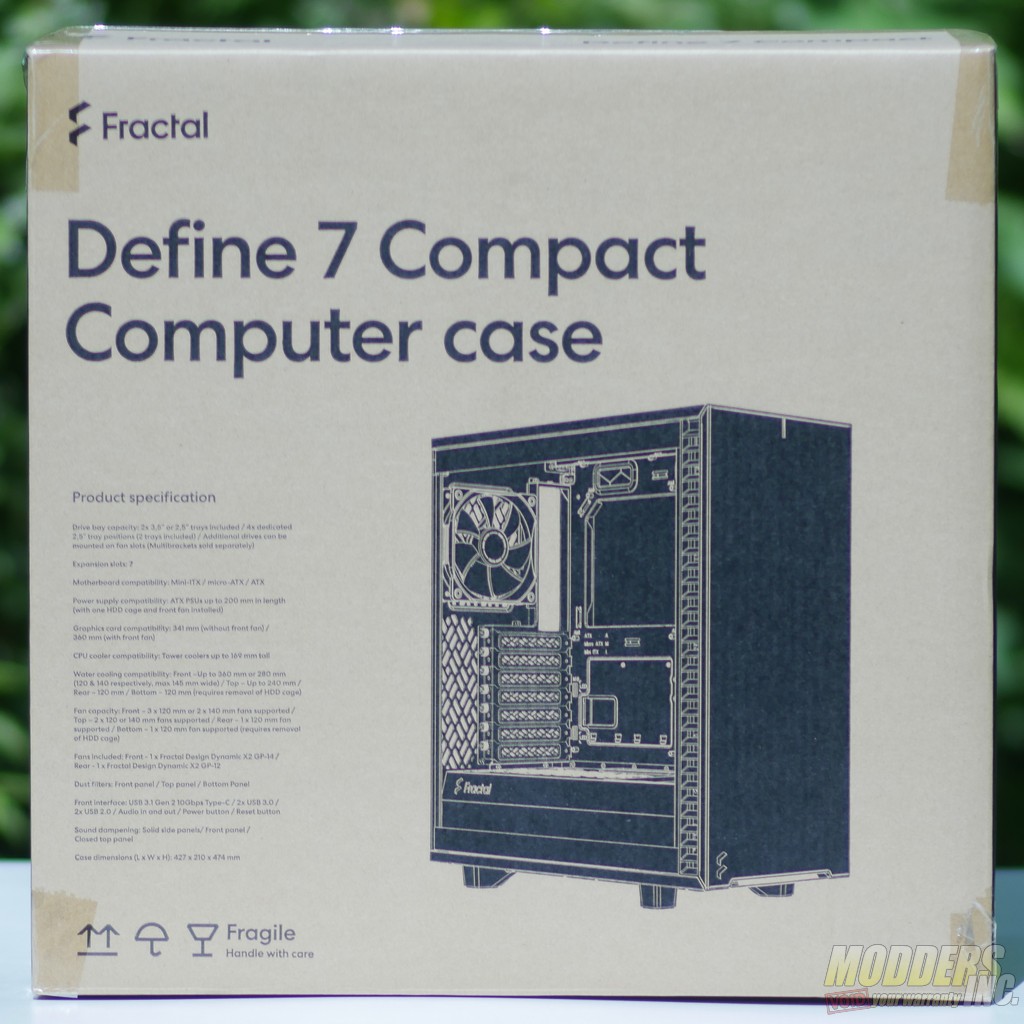
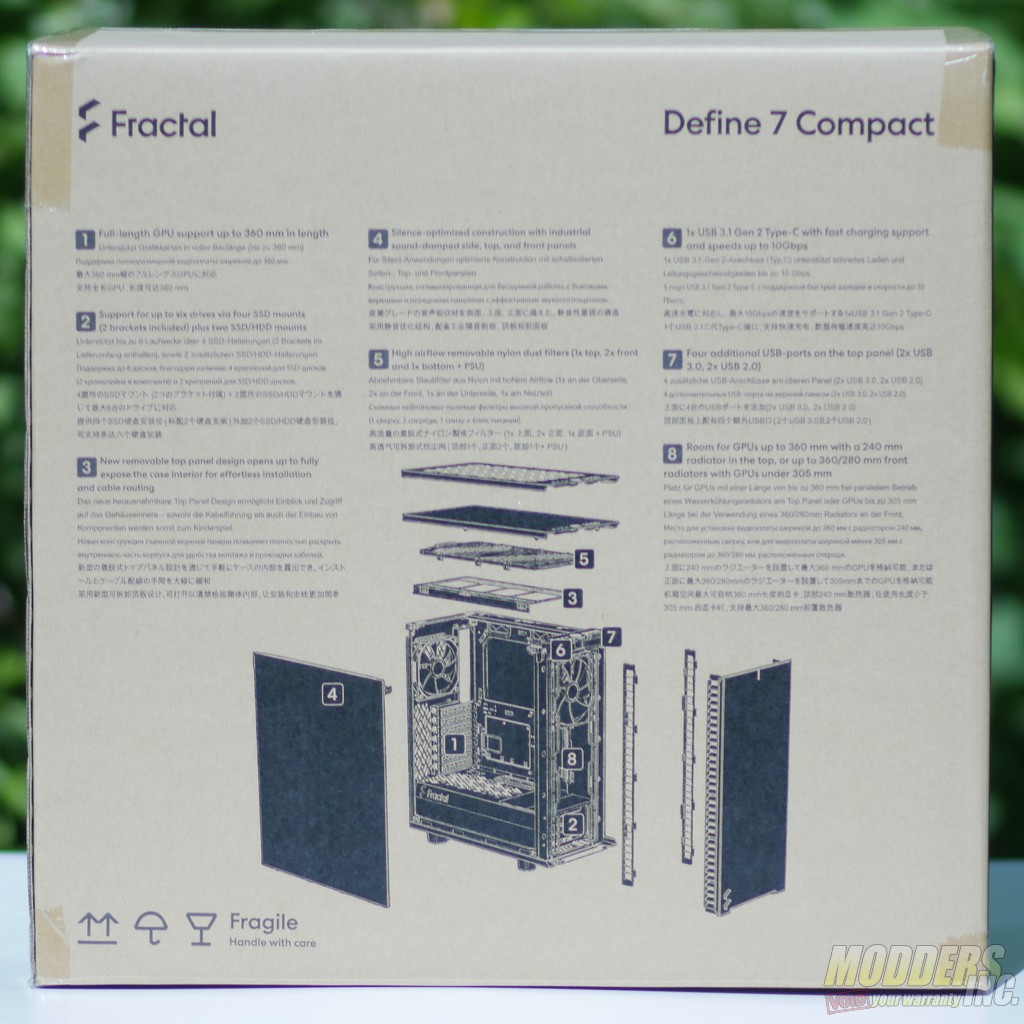
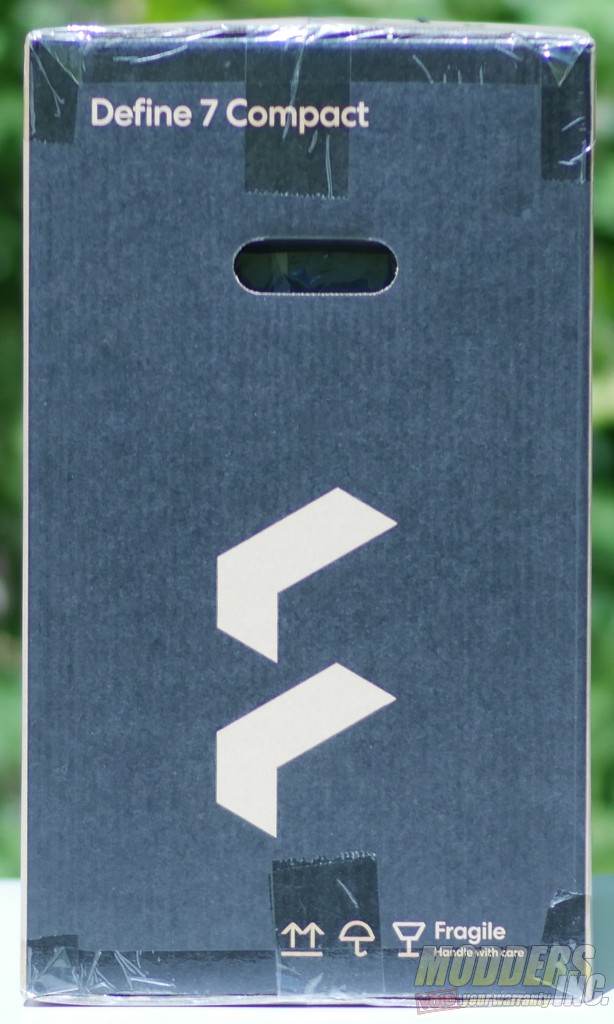
The Define 7 Compact comes in a simple brown box that features a picture of the case on the front, and exploded view of the case on the back, and two Fractal logos on the sides.
Unboxing
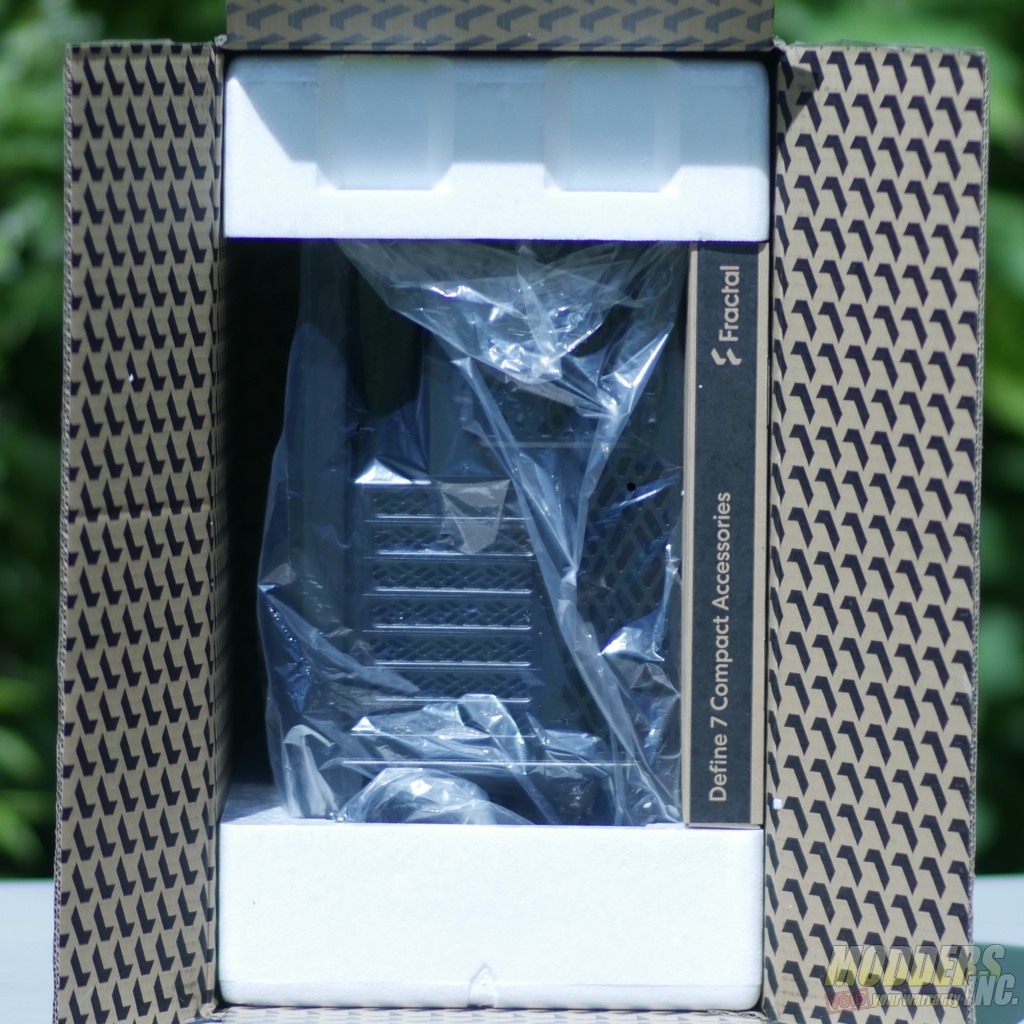
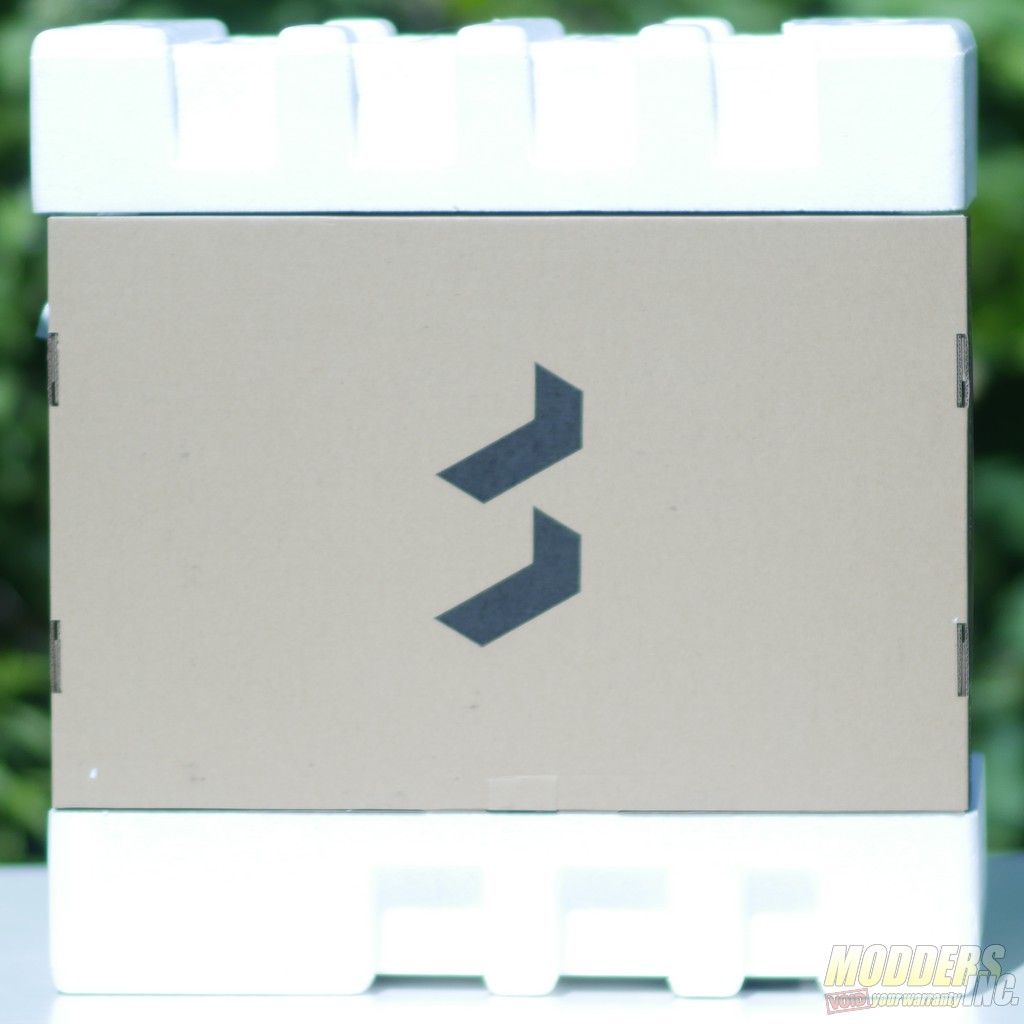
Inside the box, the Define 7 Compact is protected by two pieces of expanded polystyrene foam, which is pretty standard for an ATX mid-tower. Filling in the space between the foam and the glass side of the case is a large accessories box.
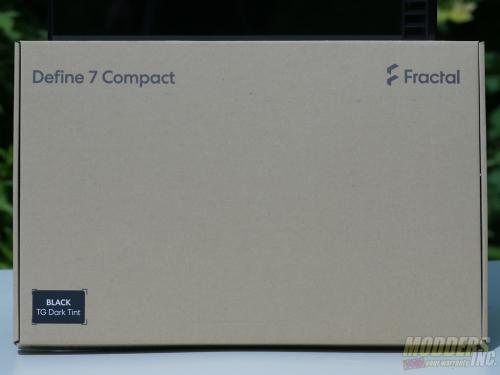
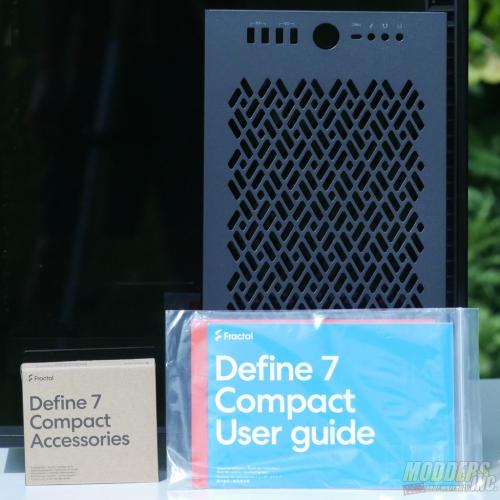
The outside of the accessories box features the name of the case, a fractal logo, and a small sticker indicating the “color” of the case. The sample we were sent is the dark tempered glass version. Light tempered glass and solid panel versions are also available. In terms of actual colors, the options are much more limited. Like with Ford’s Model T, you can have the case in any color you want, as long as that color is black.
Inside the accessory box, you’ll find the manual for the case, an alternate vented top panel, and a small box containing various screws and a cleaning cloth. The top panel features a geometric motif that carries throughout much of the case.
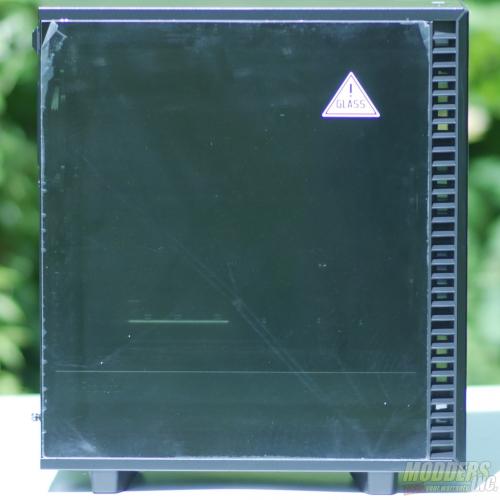
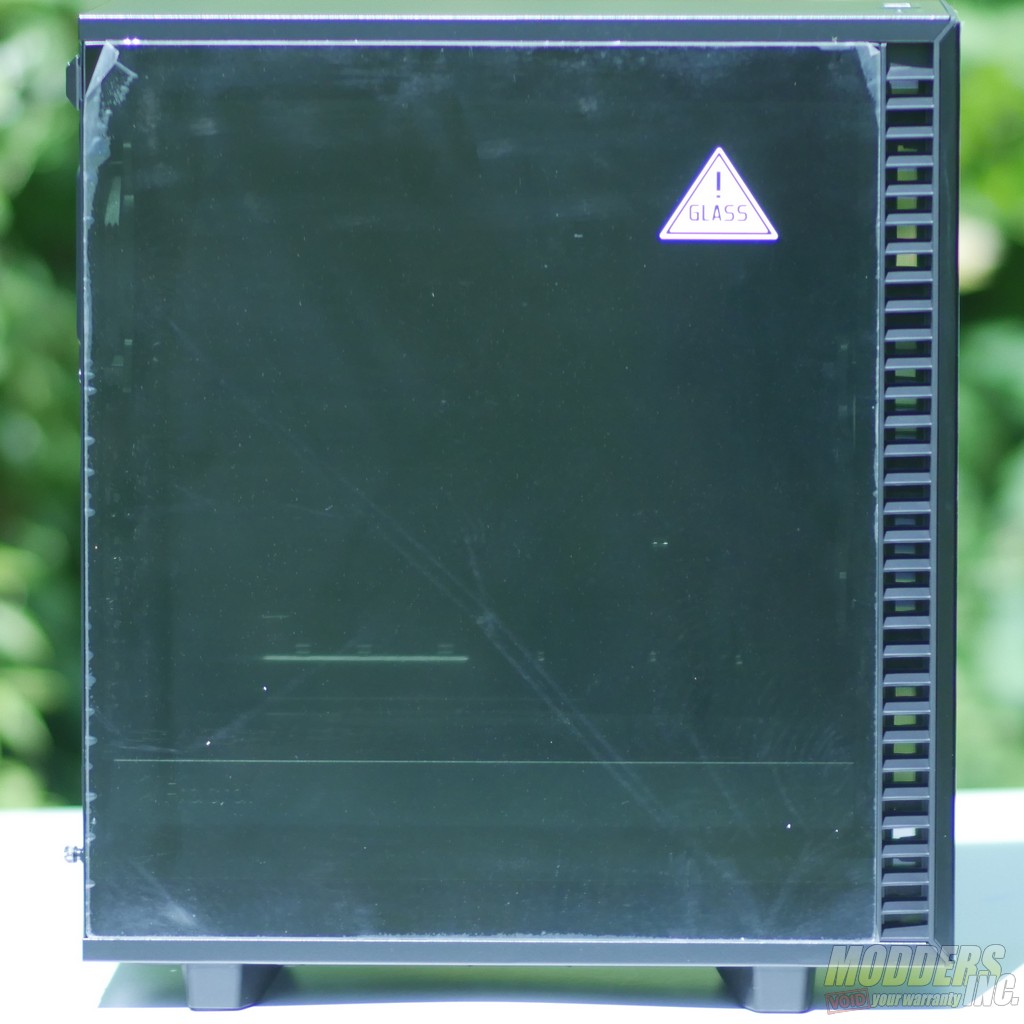
The case itself comes with plastic film protecting both the glass side panel and the aluminum front panel.
A First Look at the Define 7 Compact
At 427 mm (16.81″) long and 474 mm (18.66″) tall, the Define 7 Compact is not actually very compact, falling more in line with modern small mid-tower cases than with true compact ATX cases like the Sliger Cerberus or the Thermaltake G3. The “Compact” moniker seems to exist primarily to differentiate the case from the original Define 7, which is 30 mm (1.18″) wider and 131 mm (5.16″) longer. For comparison with other small mid-towers, the Define 7 Compact is almost the same size as the NZXT H510, and is slightly larger than both the Phanteks P300 and Fractal’s own Meshify C. This is a popular and very competitive market since these cases are generally just large enough to fit the average gaming computer without significant empty space left over.
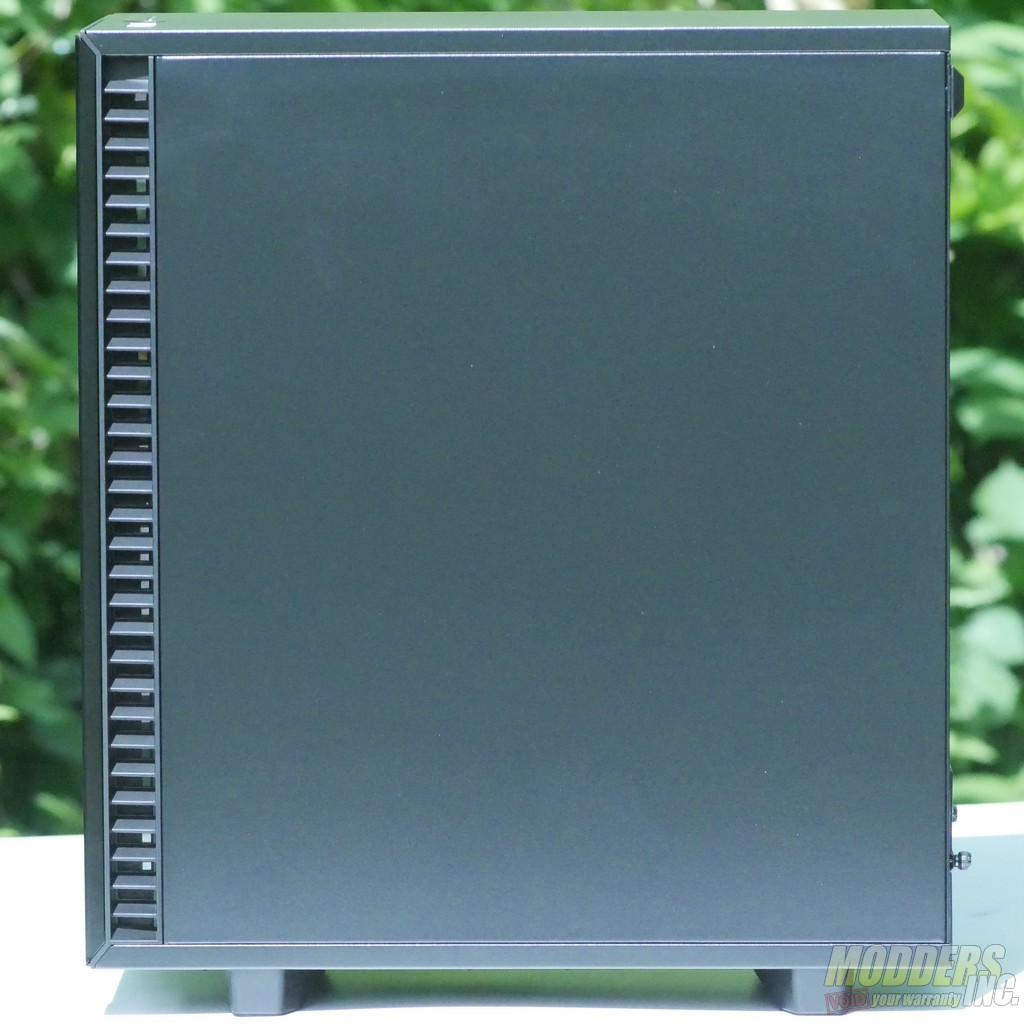
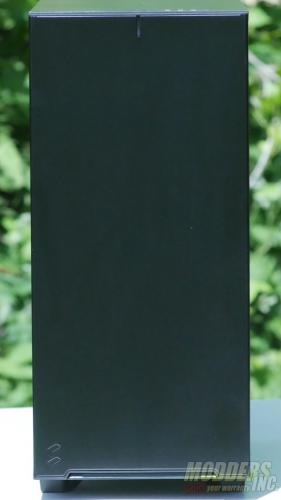
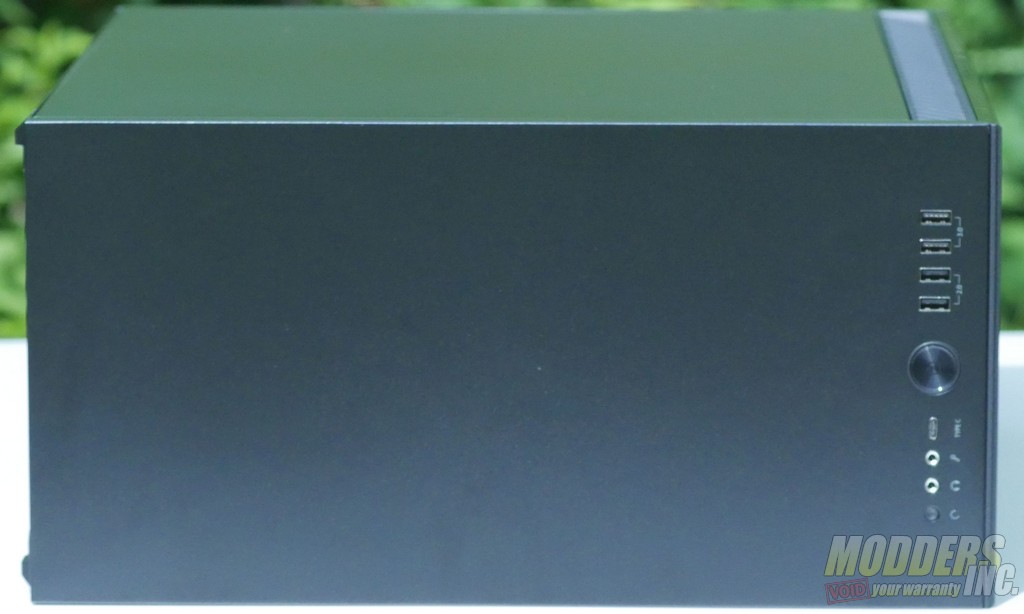
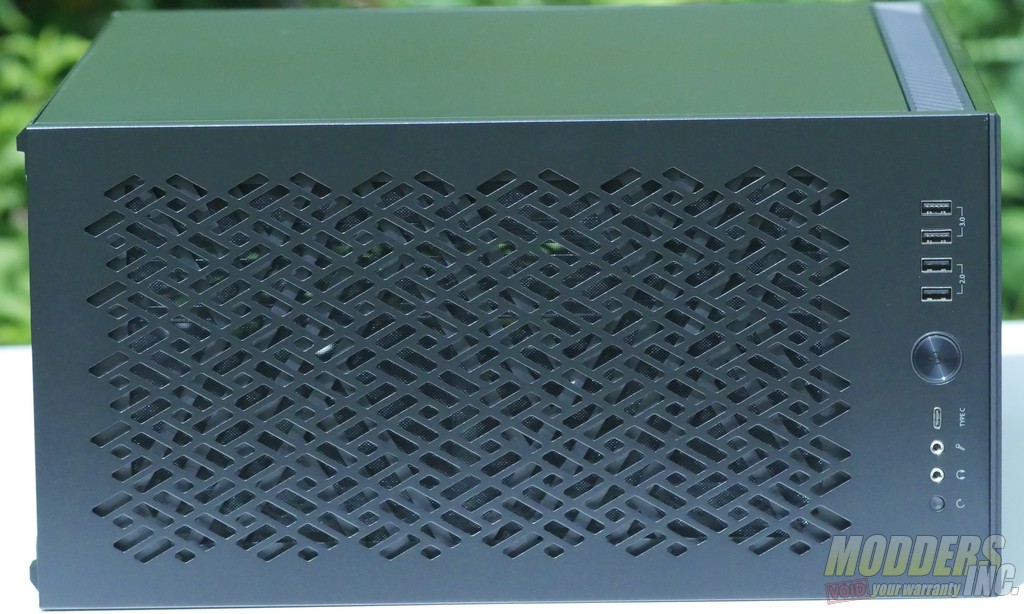
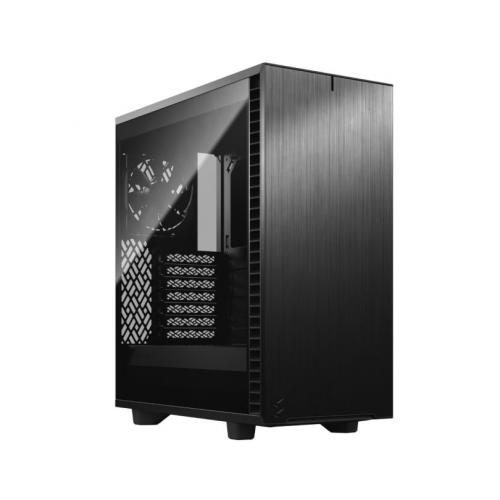
The case is outwardly very similar to previous Define cases, with plain black panels broken only by the front I/O and two sets of louvered vents at the front of the case. The case’s overall look is classy and reserved but feels dated. The left side of the case features either a tempered glass window or a solid steel panel depending on which version of the case you choose. The right side panel is a plain steel panel on all versions of the case. The vents at the front of the case separate the front panel from the sides of the case and provide air to the front intake of the case. There are two small dust filters tucked just inside the vents.
The front panel of the case is a single sheet of brushed aluminum with the Fractal logo cut into the bottom left corner and a small notch at the top edge for the power LED. Unfortunately, the front panel’s brushed finish doesn’t carry over to any other part of the case, making it feel a little out of place. Expanding the brushed finish to the top panel would go a long way towards making the case feel more like a complete unit, but I can’t see this changing any time soon since the Define series has historically only had a brushed finish on the front panel.
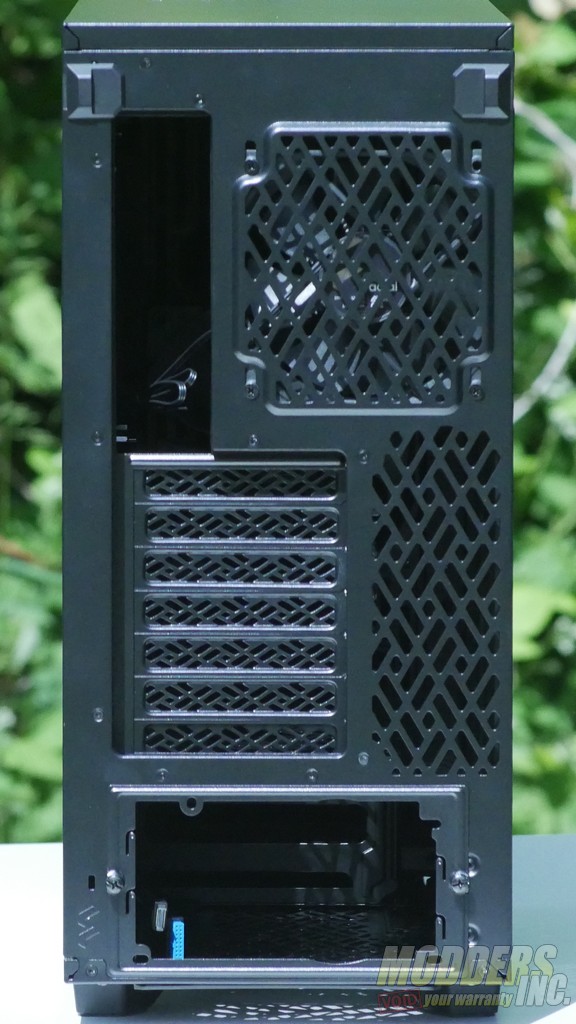
The rear panel of the case is fairly standard but still has a few notable features. The ventilation in the panel features the same geometric motif as the alternate top panel, as do the expansion slot covers. Unlike most cases, there are no crossbars between the expansion slots. This was done to allow users to install aftermarket vertical GPU mounts without having to modify the case. The rear panel also features a removable power supply bracket, a feature that is still rare, even among higher-end cases. At the top of the case, we can also see two plastic tabs that are used to open the side panels.
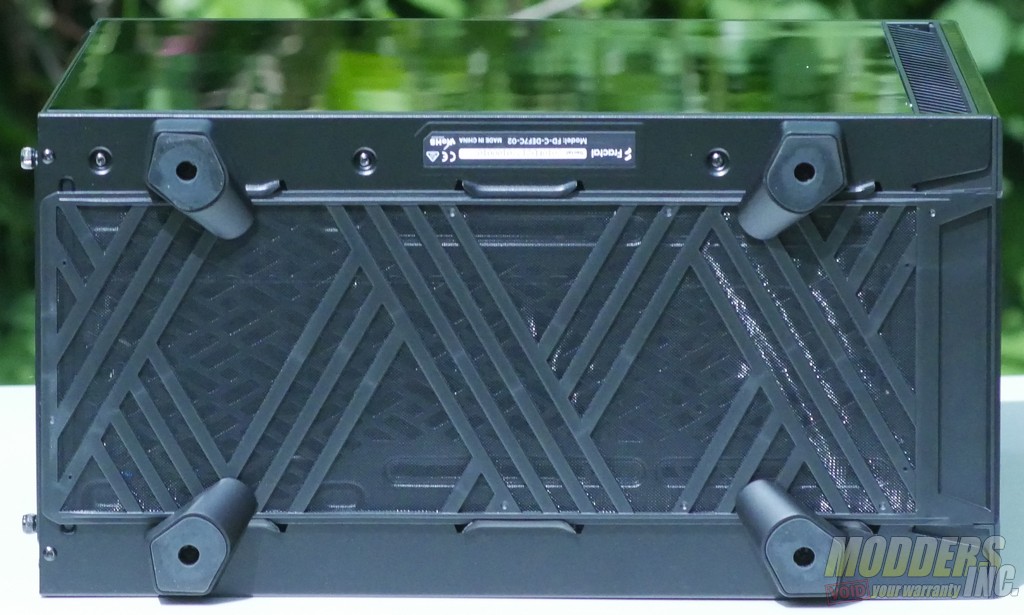
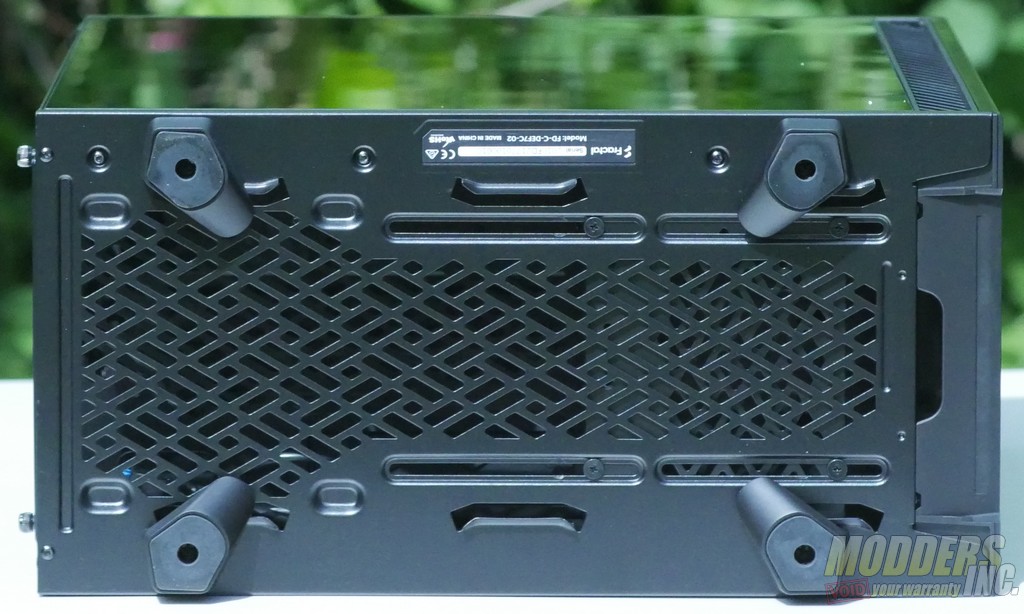
The bottom of the case is covered by a full-length plastic dust filter that uses an ‘X’ shaped bracing pattern for added visual interest. Under the filter is a large area of ventilation that uses the same geometric motif as the top and rear panels. Also exposed by removing the filter is the pull handle for the front panel of the case and a set of rails for mounting either a 120 mm fan or a front-drive cage. The case stands on a set of tall feet that extend over the dust filter and raise the case significantly to provide the power supply with adequate ventilation.
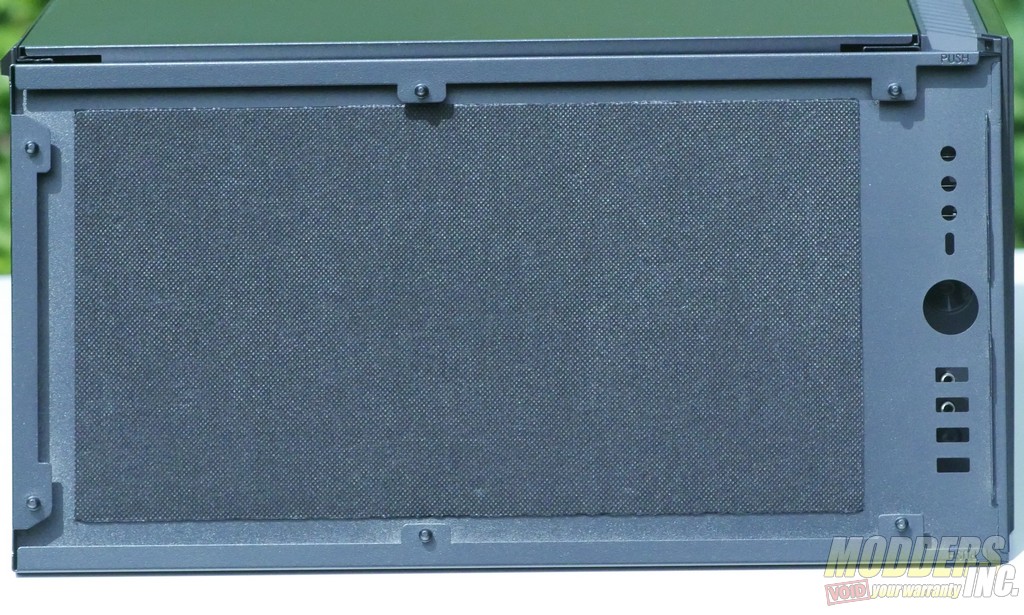
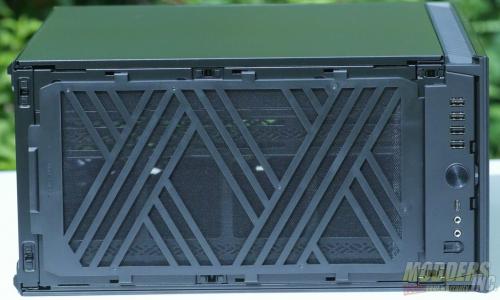
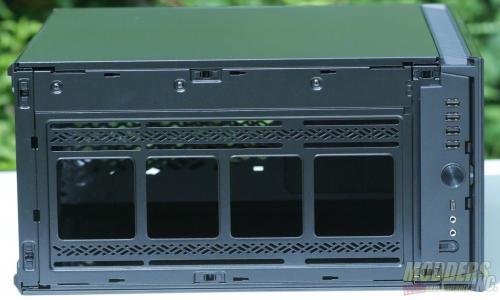
There are two options for the top panel of the case, both of which are included with all versions of the Define 7 Compact. The first option is a solid steel panel lined with a noise-dampening foam. This panel is recommended only for users who want to cut down on the noise emitted by their system, as the panel completely blocks all airflow through the top of the case. The second option is a vented panel featuring the case’s signature geometric motif. Both panels have cutouts for the front I/O, which consists of power and reset buttons, 1/8″ headphone and microphone jacks, two USB 2.0 type-A ports, two USB 3.0 type-A ports, and a USB 3.1 type C port.
The top panel is held in place by six ball and clip latches around the perimeter of the case. Removing it is as simple as pulling up on the section of the panel that overhangs the front vents. Underneath the top panel is the front I/O block and a large dust filter in a thick plastic frame. The dust filter uses a hook style mounting mechanism similar to traditional side panels and is prevented from sliding around by a rudimentary clip system. It isn’t an elegant or compact solution, but it does work. The bracing pattern on the dust filter is the same as on the bottom dust filter. Here though, that pattern clashes with the pattern of the vented top panel, resulting in the top of the case looking rather chaotic and unrefined.
Inside the Define 7 Compact
Opening the Define 7 Compact basically requires that you read the manual. There is little obvious indication of how the panels are supposed to open, and there are no visible latches or screws whatsoever. The trick to the side panels is that pulling outwards on the little black plastic tab at the back of the case will pop the top of the panel outwards, allowing it to be removed from the case. They should come loose with a minimal amount of force.
Unfortunately, the glass panel on our sample does not open at all unless the top of the case is opened and the panel is pushed outwards from inside the case. There was no visible damage to the case or its packaging, so the problem is likely tied to a rare defect where one of the front ball and clip latches is slightly tighter than normal or the case is slightly out of square. That alone would not be enough to prevent the panel from opening, however. The stiff latch is exacerbated by the fact that force can only be applied to one corner of the panel instead of across the whole top edge. This causes the panel to attempt to flex instead of unlatching the panel. While this is fine for a steel panel, flexing a glass panel is a recipe for disaster. You are very unlikely to encounter the same issue I did and will most likely never have an issue with the latch mechanism. I contacted Fractal about the specific issue I had and they demonstrated on other Define 7 Compact cases that the panel does in fact open easily.
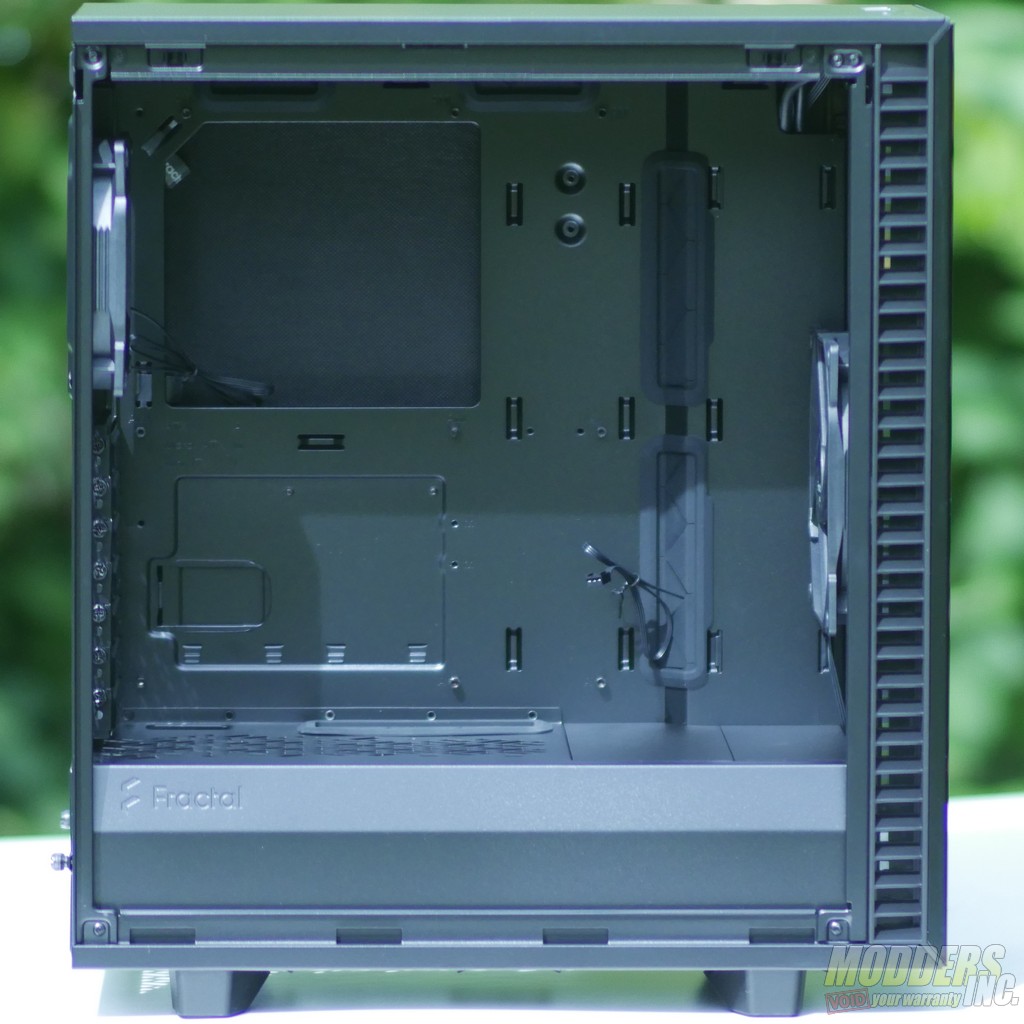
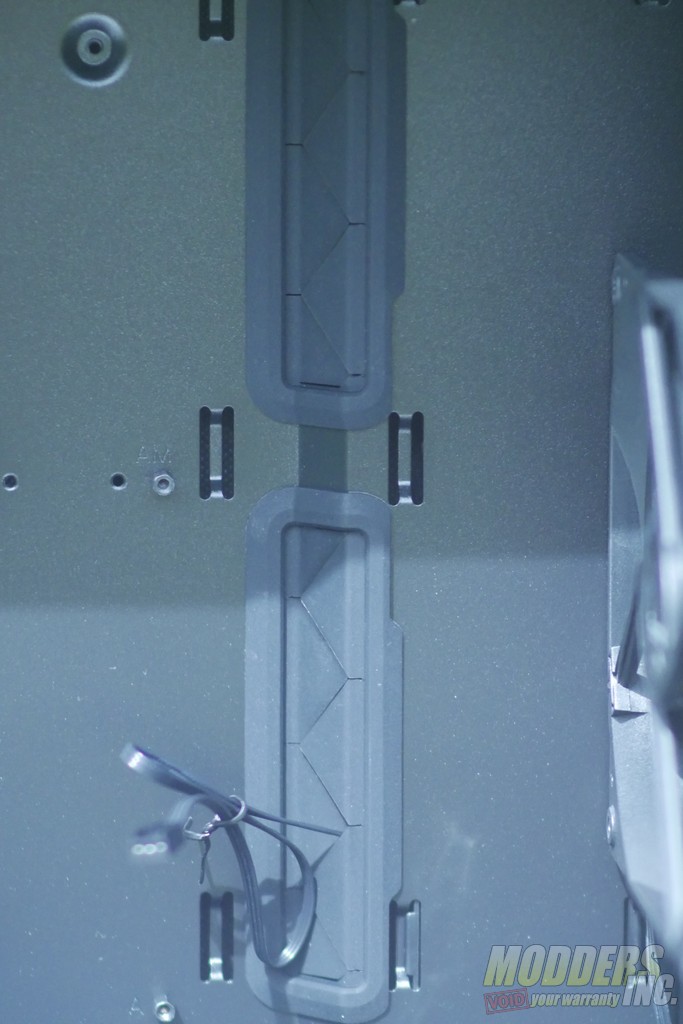
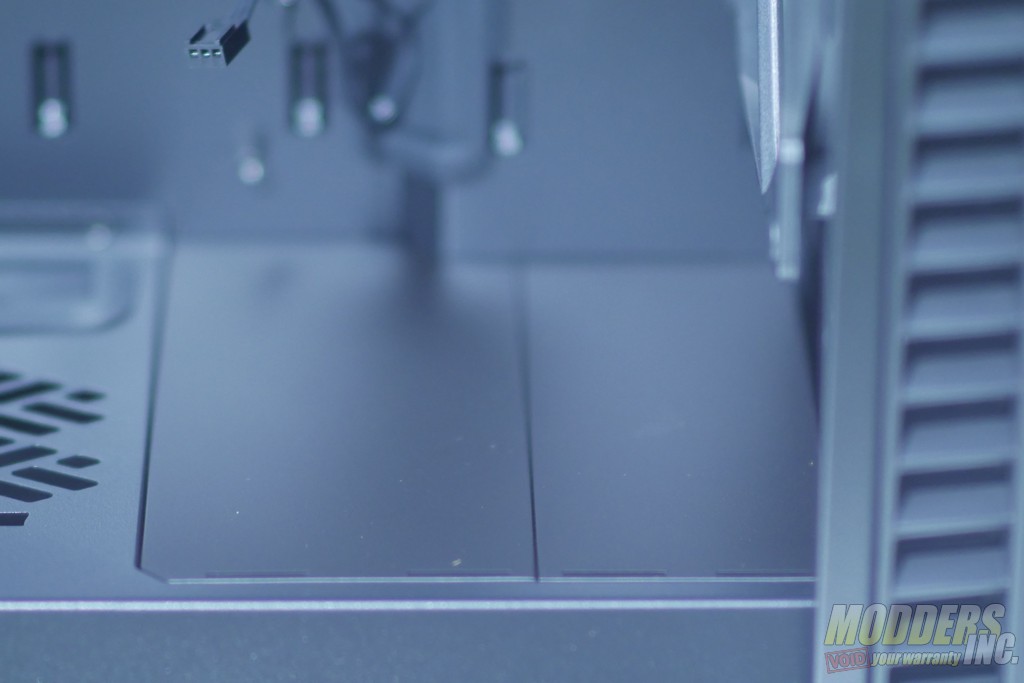
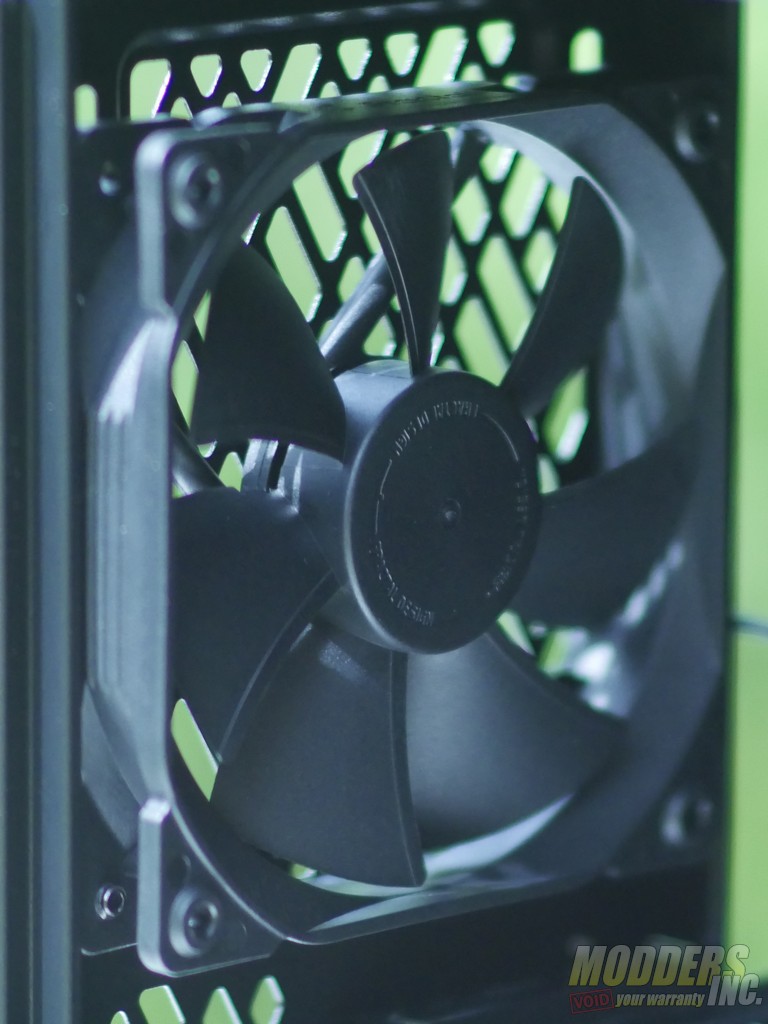
Once you are inside the case, you are greeted by a fairly generic interior, with an ATX sized motherboard tray, a power supply shroud, and a raised section that gives more space in the back for cable management. Most of the pass-through holes in the motherboard tray and power supply shroud have rubber grommets, which is a nice touch. Two sections of the power supply shroud can be removed to accommodate larger radiators or to allow a bottom-mounted fan to feed air into the case. Two basic black fans are included with the case, a 120 mm in the rear, and a 140 mm in the front.
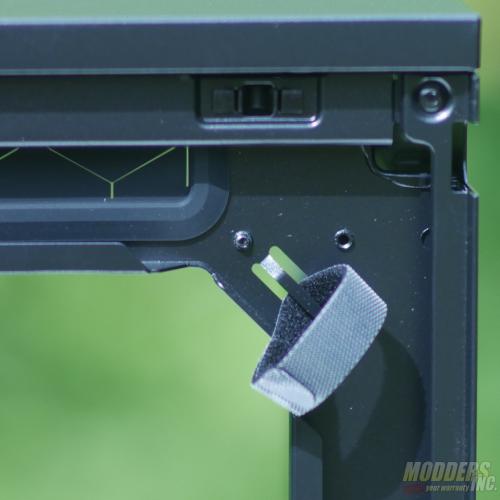
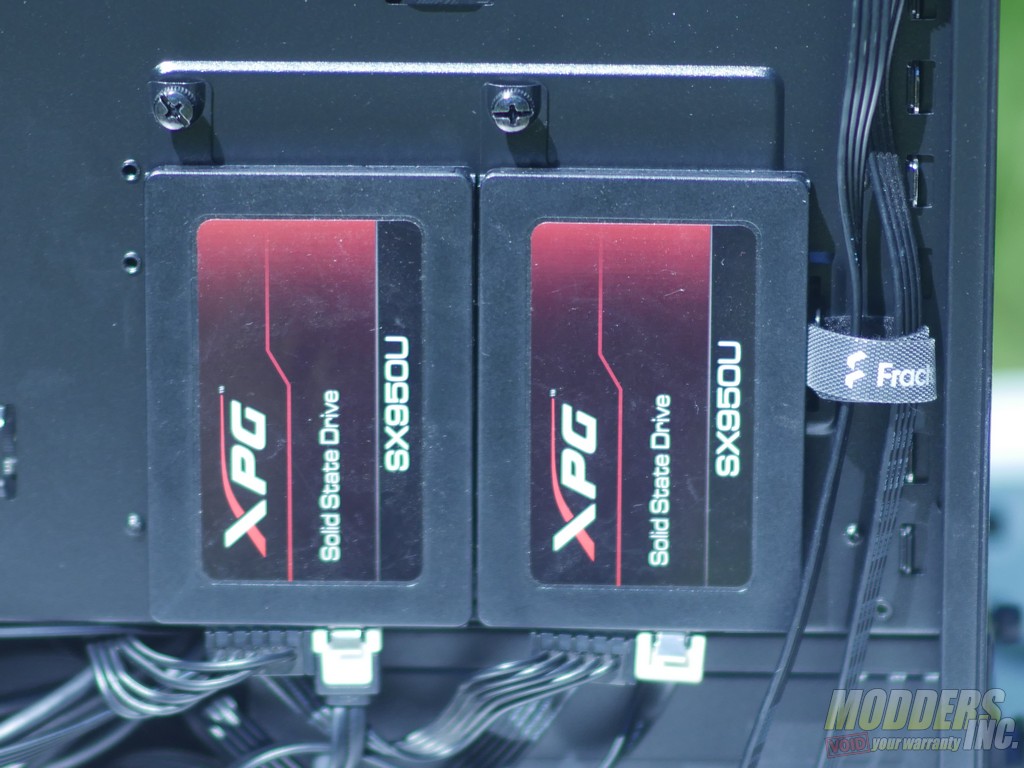
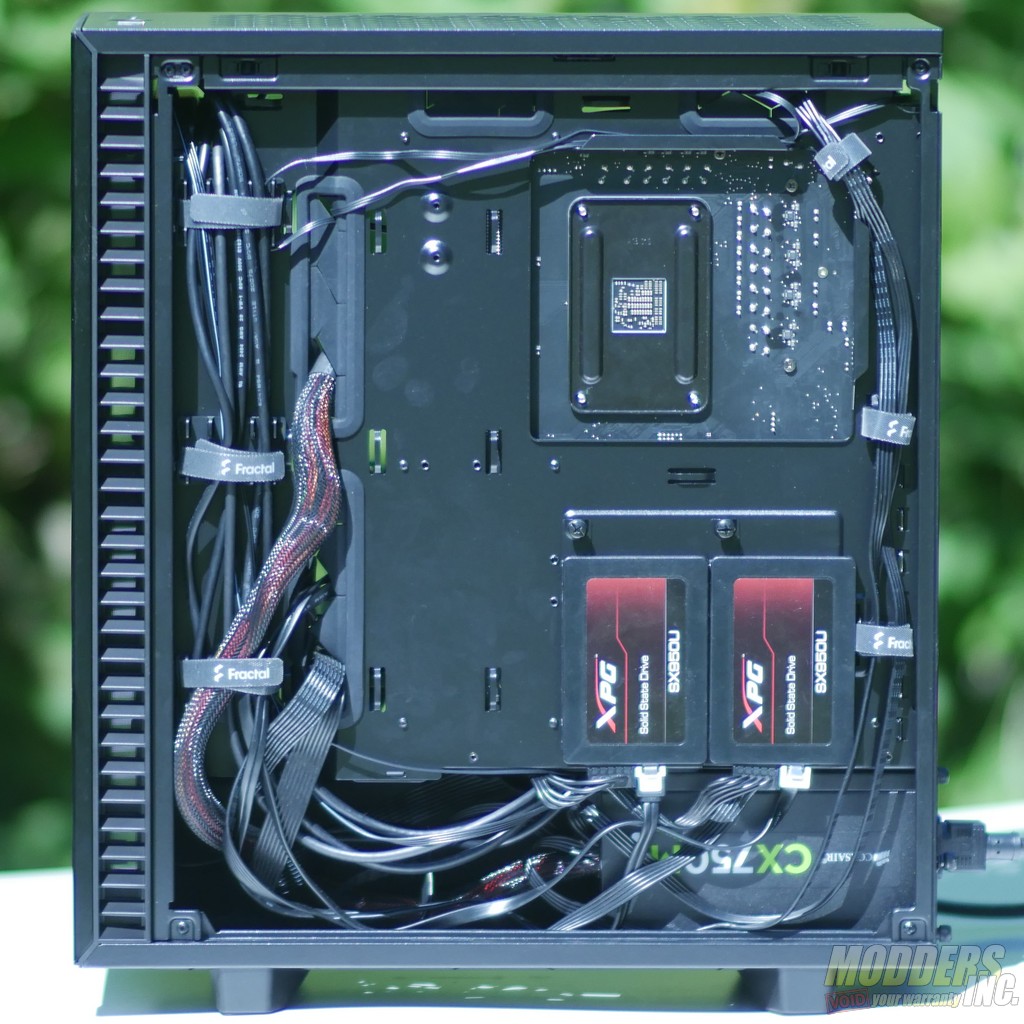
Removing the back panel reveals a pair of 2.5″ drive trays, a drive cage for a pair of 3.5″ drives, and six velcro cable ties, all of which are movable to some degree. The 2.5″ trays can be removed individually by unfastening their thumb screws, while the 3.5″ cage can only be moved or removed as a single unit. Three of the cable ties are mounted by default along the path of the 8 pin EPS cable. It is still fairly uncommon to see any cable management for the EPS cable at all, so this is definitely a mark in the case’s favor.
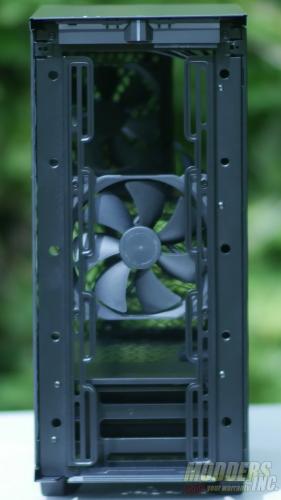
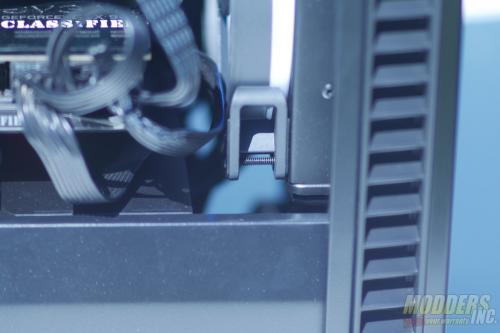
Unlike basically every other panel on the case, the front panel does not use ball and clip latches. Instead, Fractal opted for the large cylindrical plastic clips that are common on older budget cases. Removing the front panel of the case gives us access to the front fan mounts for the case.
Under the top panel and dust filter is another set of fan mounting rails for adding top fans or a radiator to the case. Unlike other small mid-towers, there is sufficient clearance below the Define 7 Compact’s top panel to comfortably fit a 240 mm or 280 mm radiator with minimal clearance issues. This is probably the biggest selling point of the Define 7 Compact, though there are competing cases like the be quiet! Pure Base 100 also supports a top-mounted dual-fan radiator.
Compatibility and Clearances
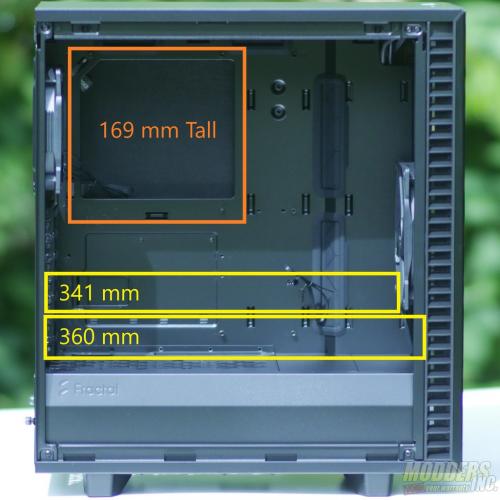
The Define 7 Compact supports CPU coolers up to 169 mm (6.65″) tall and graphics cards up to 360 mm (14.17″), or 341 mm (13.42″) with a front fan.
The case can fit up to seven 120 mm fans, or up to four 140 mm fans. The bottom 120 mm fan position is only available if the drive cage is removed, and requires the removal of the two front segments of the power supply shroud to be useful.
In the back of the case, you can fit two 2.5″ drives behind the motherboard tray and two 2.5″ or 3.5″ drives in the drive cage. With the drive cage installed, Fractal recommends that your power supply not exceed 165 mm (6.50″).
Full System Build
Here are the parts I used to build a test system in the Define 7 Compact:
| CPU | AMD Ryzen 5 2600 |
| Motherboard | MSI X370 Gaming M7 |
| Cooler | Fractal Celsius+ S28 Prisma |
| GPU 1 | Nvidia GeForce GTX 1070 |
| GPU 2 | EVGA GTX 980 K|NGP|N |
| Power Supply | Corsair CX750M |
| Storage | 2x XPG SX950U |
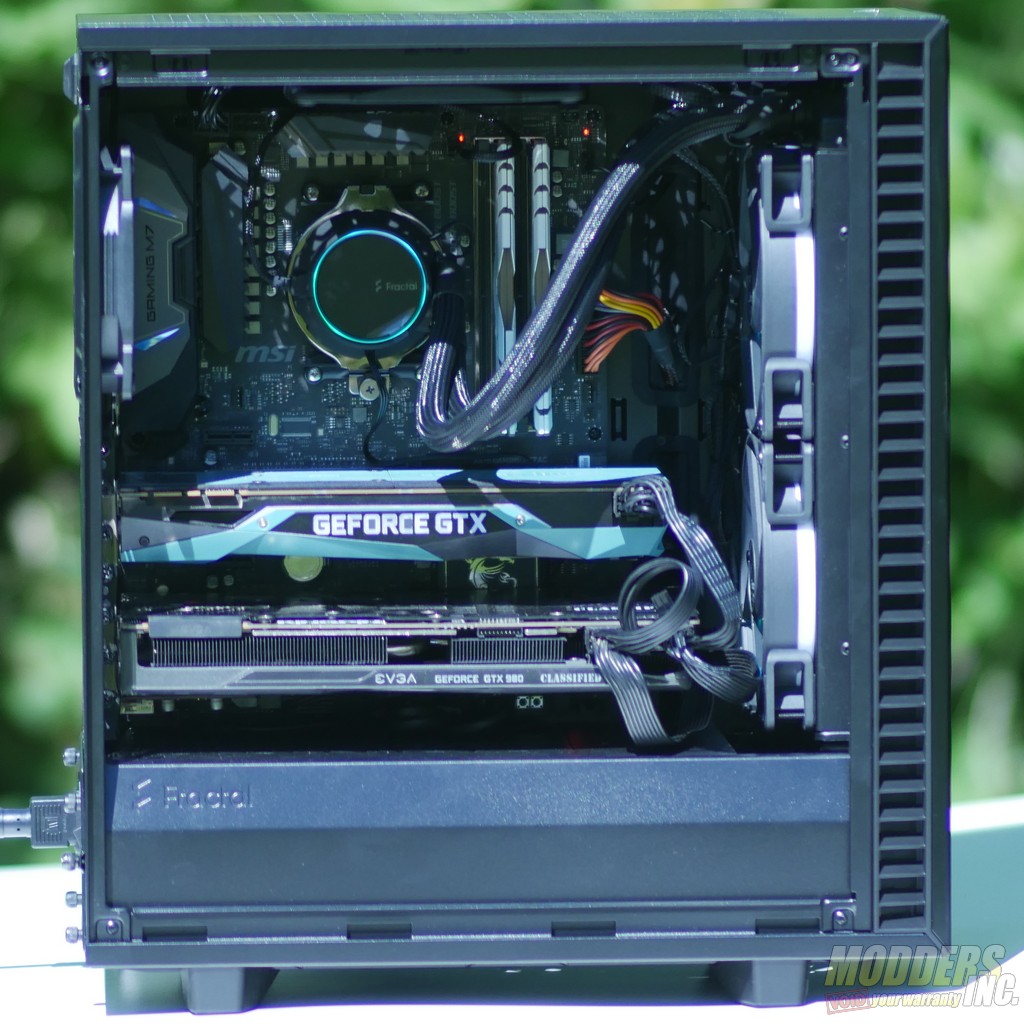
Once I had gotten the left side panel open, installing a motherboard in the Define 7 Compact was quite easy. The case comes with a centering pin standoff that’s installed in the center ATX mounting hole position. This makes lining up the board significantly easier, but Fractal also included a spare standoff in case you don’t want to use the centering pin. The Celcius+ cooler mounted in the front with relatively little difficulty, though there was no space to route the fan cables behind the cooler, and I had to remove one of the panels from the power supply shroud to fit the radiator in the pull configuration I decided to use.
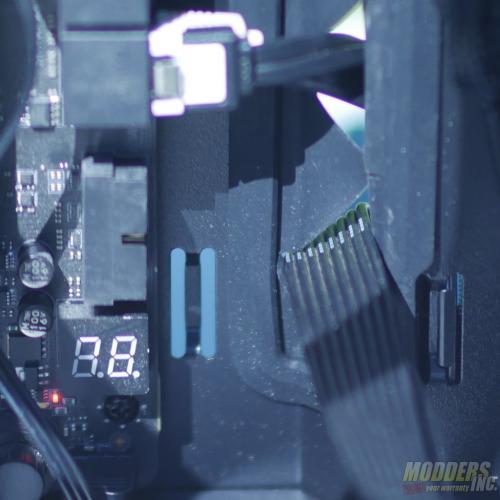
That’s about where the easy part ended for me though as plugging in the case’s front panel cables proved to be unusually difficult and I only had more issues from there. To start things off, the plug of the USB 3.o cable was too long to plug into right angle USB headers on the right edge of the board. The plug collided with the edge of the cable routing hole, which prevented me from using the USB 3.0 port on the right edge of my board.
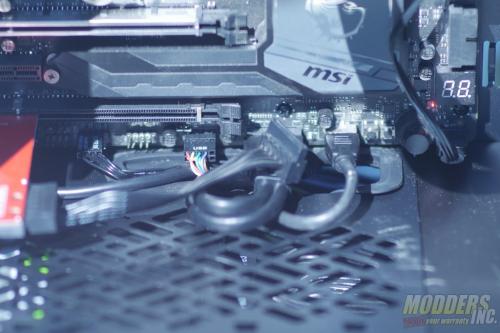
Moving down to the bottom of the board, things didn’t get much better. The routing holes in the power supply shroud are very close to the edge of the motherboard, meaning that the thick USB 3.0 and 3.1 cables had to make sharp 180 degree bends in a very limited amount of space. To make matters worse, the power supply shroud was so close to the top of the power supply that one of the routing holes was completely blocked off and the other was halfway blocked by the end of my power supply. If you have a short power supply, this isn’t as much of an issue, but many power supplies are long enough to render the bottom cable routing holes mostly useless. Overall, the cable routing around the bottom of the Define 7 Compact’s motherboard area is the worst I have seen from a case in its class.
Installing the power supply was also a hassle for me, despite the inclusion of a power supply bracket that allows the unit to be slid in from the back instead of from the right side. The power supply snagged on everything in its path, including the front I/O cables and the grommet of the forward-most routing hole. How difficult installing the power supply is depends a lot on the power supply you choose to install, as longer units cover more of the routing holes, and some manufacturers build their power supplies slightly taller than the ATX/PS2 specification for power supply height. That being said, I encountered issues with not only the long Corsair CX750M, but the much shorter CX430 as well. Neither power supply is taller than the ATX specification. I had to reroute my front audio cable because the power supply was getting caught on it due to a lack of space, and the USB cables had to be shoved towards the front of the case to get the power supply in at all. On my call with Fractal, I brought up these two issues I was having and I was shown that there is actually enough space between the power supply and the power supply shroud to allow the front audio cable enough space to route, but even with Fractal’s own power supply there was only enough space for the cable itself and not the connector.
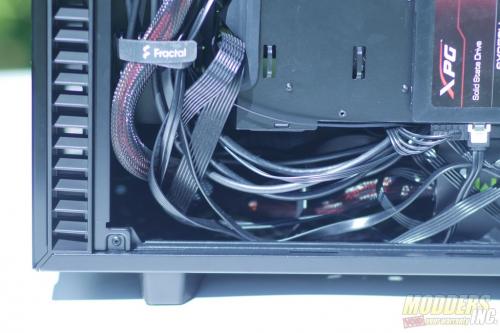
To follow that up, I then had to route the main power cables. Most modern cases are fairly forgiving when it comes to cable management, as cables are generally fairly compressible and traditional side panels lock in place firmly enough that they can’t be pushed open by cables routed through narrower sections of the case. This was not the case for our sample of the Define 7 Compact, and fact that the case has less cable management space than its predecessor does not help matters. The case has a cable management choke point in front of the hard drive cages due to how they are oriented. Despite my best efforts to tie my cables flat, I was unable to close the case with my 24 pin and two GPU cables routed past the hard drive tray. The small amount of pressure exerted by the cables combined with the weight of the side panel was enough to overwhelm the top latching system and pop the side panel open when the case was standing upright. My contact at Fractal demonstrated that the very flexible ribbon cables on their power supply made cable management in the case much easier and wouldn’t pop the side panel open, but the cables on most power supplies are a lot less forgiving. Rotating the drive trays towards the front of the case like in the Phanteks P300 would likely prevent this issue from occurring, but the cages face the right side of the case by default.
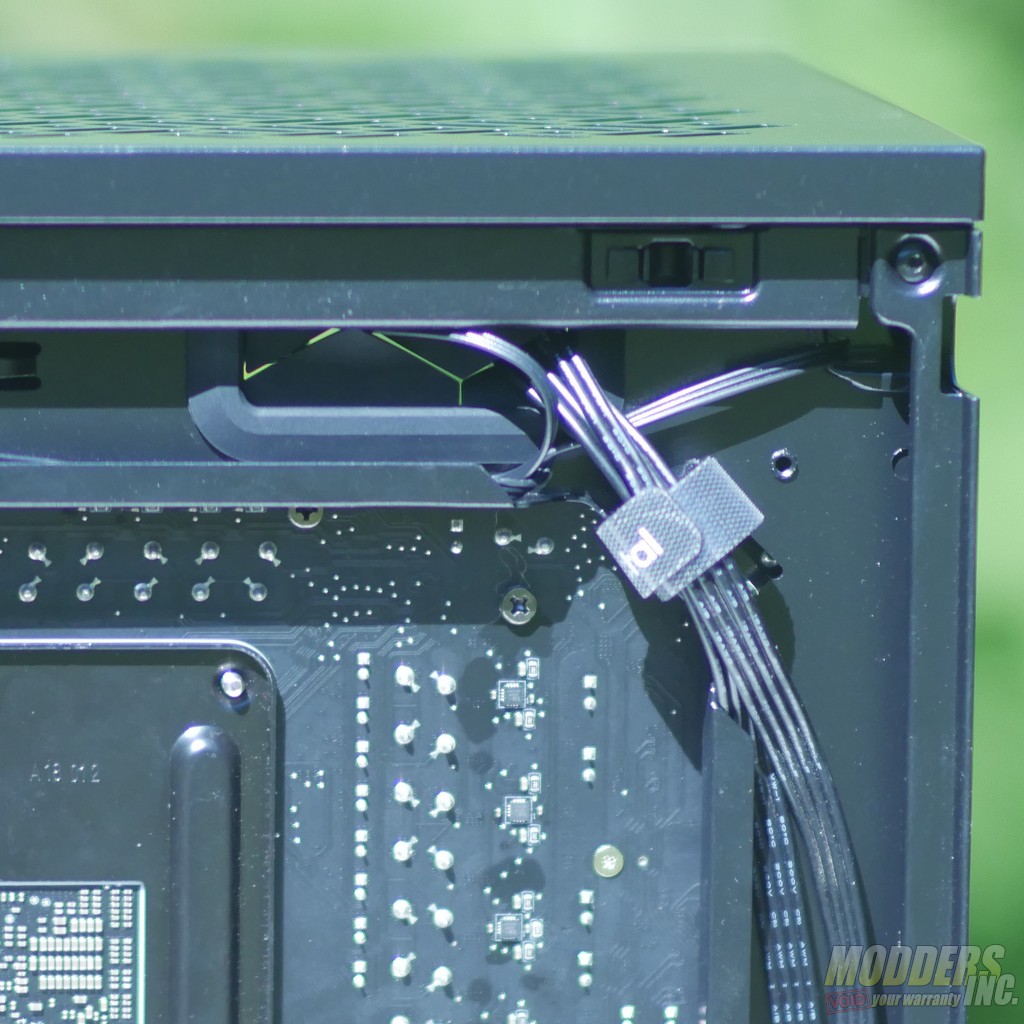
I encountered one final cable management issue in the process of completing the build. The top routing holes are partly covered by the top edge of the chassis and the resulting openings are not large enough to comfortably fit a standard 8 pin EPS connector unless the grommets are removed. This wasn’t a huge issue, but it made passing the EPS cable through the opening far more difficult than it needed to be.
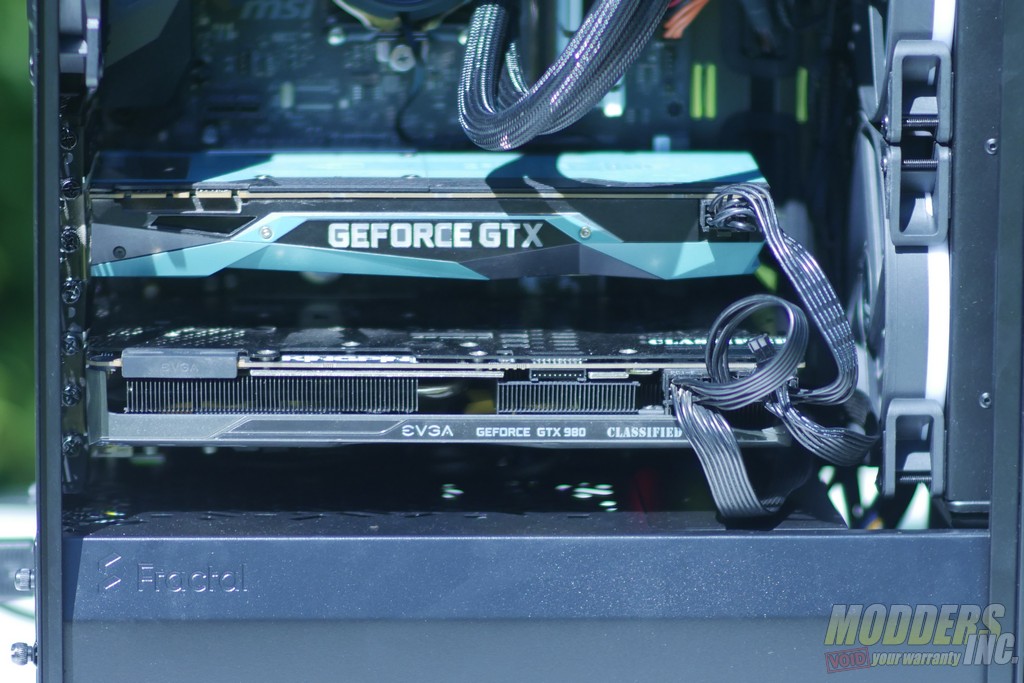
Once all the big cables were routed, installing the graphics cards and SSDs was pretty straight forward. Even the large GTX 980 K|NGP|N fit comfortably in the case without issue, and wiring up the drives was a breeze. The drive trays all feature captured thumb screws, a small detail that makes the build just a little easier.
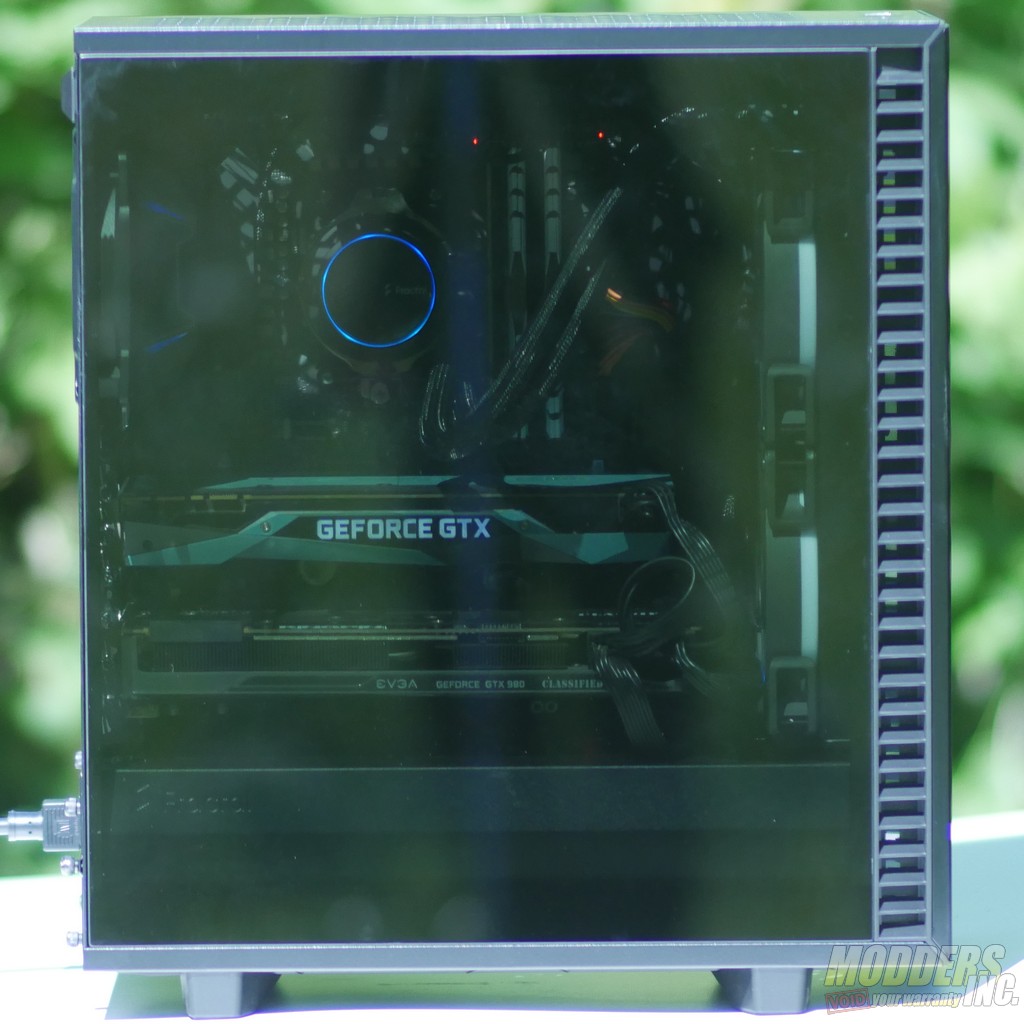
Despite how frustrating the build process was, the end result is an elegant build that mostly stays true to the clean and refined aesthetic that the Define series is known for. The dark tempered glass lets the system’s lighting really shine through while keeping with the dark look of the rest of the case.
Final Thoughts
| Pros | Cons |
| Well written documentation | Poor cable management around PSU shroud and drive cages |
| Classy exterior design | Drive cage cannot be removed while the power supply is installed |
| Excellent water cooling support | Removing power supply shroud segments is very difficult |
| Support for aftermarket vertical GPU risers | The front panel uses an outdated mounting mechanism |
| Good clearance around air intakes | USB 3.0 cable cannot be plugged into right-angle headers |
| USB 3.1 Type C front panel port | No place to route front radiator fan cables |
| Modestly sized | Filter bracing panel clashes with the top panel vent design |
| Classy geometric vents | |
| An extensive array of quality of life features |
Conclusion
So who is this case for? If you’re an experienced builder looking for a water cooling oriented small ATX mid-tower, the Define 7 Compact is a fairly nice case. It has a fair number of quirks, but as long as you don’t get a defective unit as I did, there isn’t anything an experienced builder can’t handle. If you’re looking for a case that looks more traditional but is full of new features, the Define 7 Compact is a decent contender. However, new builders should be a bit more cautious about buying the Define 7 Compact. There are plenty of offerings from other companies that are equally well equipped, but have more modern styling, are less expensive, and are far easier to build in. For me personally? The Define 7 Compact really isn’t for me and I wouldn’t buy one. It is a decent case, but it is not interesting enough to make up for its strange shortcomings.
See more about Fractal Products we have reviewed
Reviewer’s Note 06/09/2020 – I have updated some content in the article to better reflect the experience that I had with this particular sample.
Reviewer’s Note 06/12/2020 – Information about the side panels and cable management has been edited for clarity.
