Fractal Core 3300 ATX Mid Tower Case Review
A look inside of the Fractal Core 3300
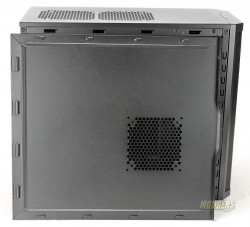
The sides panels are your typical slide off and on with tabs that lock into the top and bottom of the case’s side. It is this way to help the case to be more rigid, but even with the side panels off the Core 3300 felt very solid. The left side panel comes with ventilation holes in it which will allow you to install either a 120mm or 140mm fan to help cool your hardware. Each panel has a handle that is part of the metal that makes up each side panel at the rear of the case. The side panels are held into place with two thumb screws located at the rear edge of the each panel.
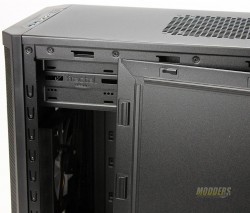
When we remove the plastic front bezel by slightly pulling on it at the bottom, we can see that another 140mm fan has been installed.
This 1000 RPM fan is installed in the pull mode. Working with the rear fan you will be pulling cool air into the case and removing it out the back for cross flow ventilation. Two 140mm or 120mm fans can be install at this location.
With the right side panel off we get a nice look at the place where most of your cables will be routed to make the other side look clean. A nice size hole is provided to allow you to change out the CPU with whatever you want to be used that may require a backing plate. Also you can install two SSD drives on the backside of the motherboard tray, but you must do this prior to the installation of the motherboard. I am not sure why Fractal did it this way, but lesson learned.
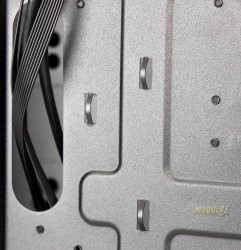
Along with a few large pass-thru holes Fractal gives you some places where you can tie-wrap your cables to the back of the motherboard tray. These will help anyone cleanly route the cables.
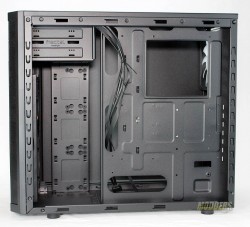
At this view you can see the side that the your HDD’s will mount to. You can also see that there is plenty of room to place parts of your water cooling system. To the left at the front of the case you can mount at radiator here. Either a 240 or 280mm can be placed here.
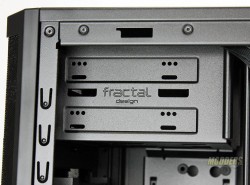
Two ODD (Optical Disk Drive) bays are in the Core 3300 for those of you that might need them. There are no fancy clips, locks or such. It is back to the old school ways of using screws and I tell you what there is nothing wrong with that. Used correctly, the drives will never come loose and besides, when was the last time you had to quickly change out a CD/DVD? And yes the screws are included to secure the drives.
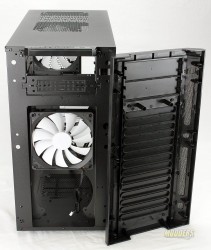
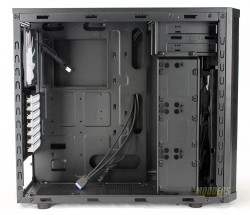
The left side panel is removed to give us a look at the working side of the case.
Here is where your hardware will live its life while in the case. Two cables come from the connections that are at the top of the case. I did find that the HD audio cable was too short to reach the header on the motherboard and I route it directly though the inside of the case. The power supply rest at the bottom at the rear of the case.
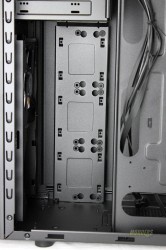
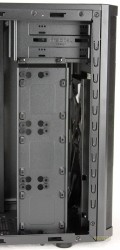
Let’s look at the hard drive bracket. In case you have not noticed there is not your typical hard drive cage in the Fractal Core 3300. What they have done is moved all the drive to a single vertical holder. Doing this allows you room for water cooling hardware, if that is the direction you are going. You will have plenty of room to add a front mounted radiator, pump and reservoir at this location. What Fractal Design says about this is that a “30mm thick 240 or 280mm radiator: 15mm fan spacing required for full fastening, radiators with 20mm fan spacing can be used with only the top half fastened to the case. (radiators of any thickness may be used if all 3.5″ positions are empty)”.
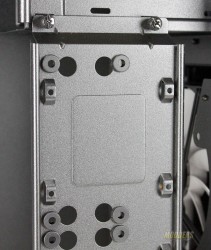
Taking a closer look we can see that there spots for your standard 3.5 drives and SSD drives too. A total of three 3.5″ drive and three 2,5″ drive can be mounted to the vertical bracket with the included screws. The mechanical drives will mount on the side that is facing inwards while the smaller drives will mount on the outside. The rubber mounts are where you would place your mechanical drives as the rubber will help with any vibrations that might be transferred to the bracket and also if you plan on moving the case a lot, this lessens the jarring the drive will take. Your 2.5″ drive will mount to the raised supports that are located on the outside of the vertical bracket. This setup will have the connection end of the drive facing towards the front of the case. You will see this in action in the hardware install section.
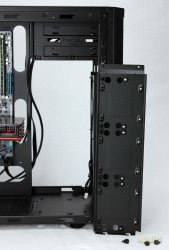
This holder is removable by unscrewing two thumb screws and sliding the bracket out of two tabs in the bottom of the case. This is a great option to have but on a personal note, I would have really liked to have been able to install the bracket on the backside and have easier access to my water cooling hardware.
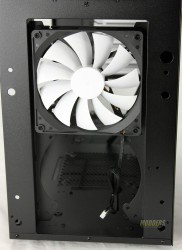
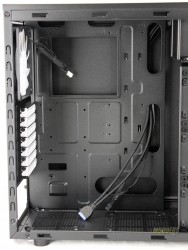
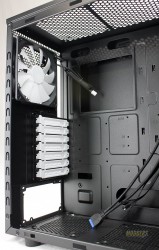
From here we get a nice look at the rear of the case from the inside. Vented white I/O (In/Out) slot covers and fan blades make a nice contrast to the all black Core 3300. We can also see at the top of the case where you can install more cooling fans which should be in the push mode.
