Gumball Case – Part 1
The official dates for Quakecon 2017 have just been announced for August 24 through 27, and that means it is time to start building my case mod now! This is the beginning of my official worklog for my entry in the 2017 Staff-vs-Staff casemod competition. The theme for this year is “Coin-Op”, which includes everything and anything involving coin-operated fun. From arcade cabs to vending machines, the possibilities are limitless. You could even make a mod based on the shopping carts at Aldi’s, we accept all kinds at Modder’s Inc.
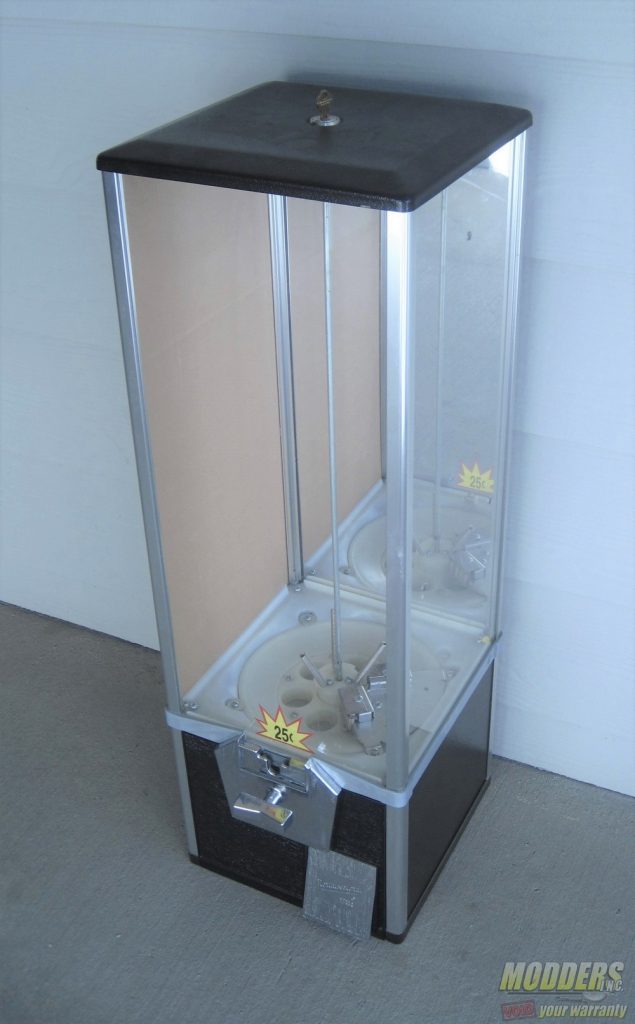
Personally, I will be submitting a casemod based on a magnificent Northwestern 30″ gumball machine I bought on Craigslist. I got this hulking machine for $35 cash, which is a steal in my book. The goal is to have a functioning gumball machine with a functioning computer inside. I haven’t fully realized its design, but I have nailed down a few details. This case like all other Staff-vs-Staff casemod entries will be on display at the Modders-Inc booth at QuakeCon where tens of thousands of people will be passing through. Needless to say, several bags of gumballs and gumball refills will have to be ordered as well to make sure there is enough for everyone passing by.
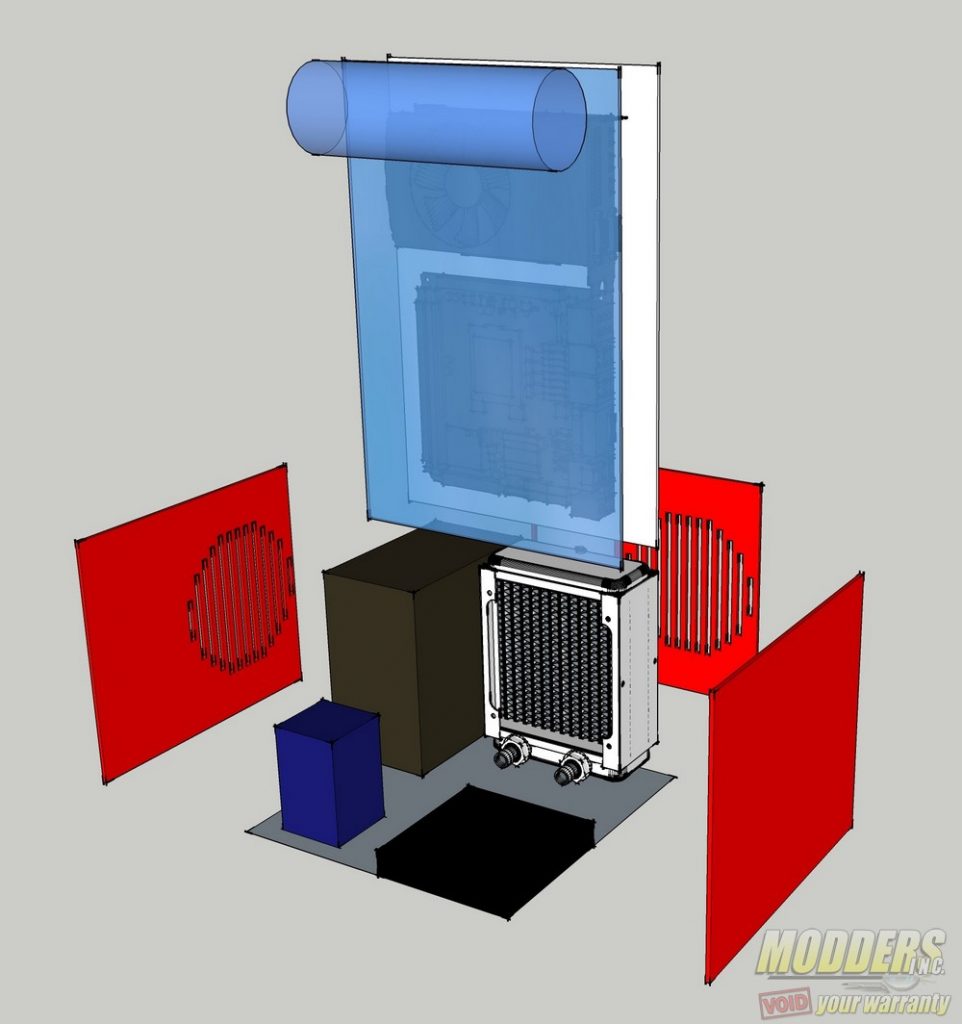
The machine is only 9.5″ wide, which means I’ll need to use a water-cooled mini-itx motherboard to fit inside (full ATX boards are 9.6″ wide, not including the extra width added by plugged-in cables). The guts will fit in both the base and the upper reservoir, roughly according to this quick Sketchup layout I did:
I will probably cut down the size of the reservoir, so it isn’t significantly taller than the length of the motherboard and GPU. To keep with the theme of nostalgic vending machines of yesteryear, I will use a color scheme of classic cherry red, chrome, and black. In order to have custom-cut side panels, I intend to 3D print and paint my own.
The first sponsor of the casemod is Raijintek, a German company known for their great value-to-quality ratio products such as the Raijintek Styx case (reviewed here).
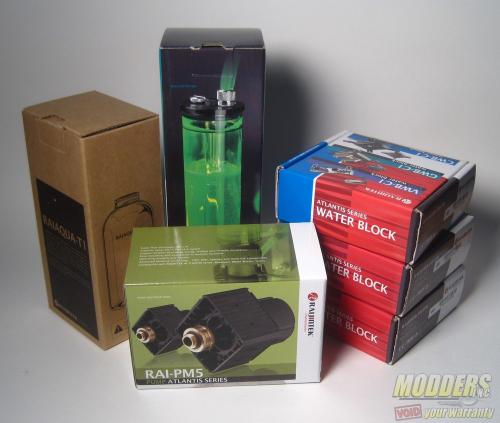
In order to get me started on this casemod, Raijintek generously provided some vital water-cooling parts. All other components are still being sourced out and measured so let us take a closer look at what the Raijintek Atlantis watercooling features have first. This is the set which is also available separately. It consists of:
- Raijintek RAIAQUA-T1 coolant
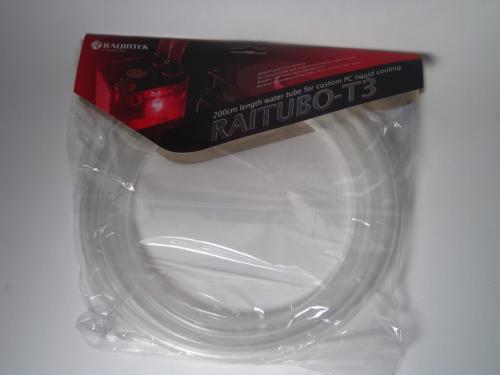
- Raijintek RAITUBO-T3 tube
- Rainintek WB-C1 Atlantis series VRM water block
- Raijintek GWB-C1 Atlantis series GPU water block
- Raijintek CWB-C1 Atlantis series CPU water block
- Raijintek RAI-PM5 Atlantis series pump
- Raijintek RAI-R20 200mm reservoir
This set contains all the essentials needed for most setups. Depending on the loop design planned, more tubing might be required as well as more coolant. Raijintek’s RAIAQUA-T1 comes in a 500ml bottle and this coolant starts clear. Included with the package are three 10ml green, red and blue dyes with a dropper so that the user can mix and match the combination to get the resulting color that matches the build. This coolant is made up of 95% water and 5% Propylene glycol and can withstand freezing temperatures up to -5C.
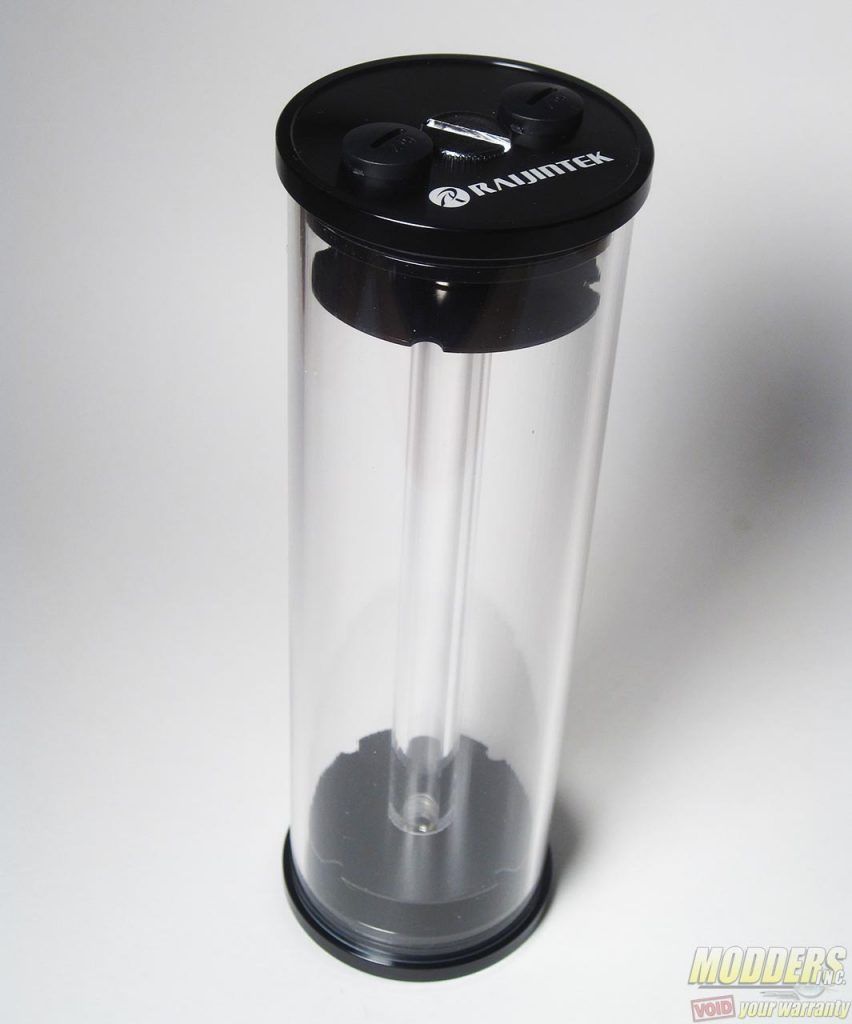
The Raijintek Atlantis reservoir is offered in two versions including a 200ml version and a 400ml version, both of which are available in four different colors: gold, blue, red and black. Both have a clear Φ64mm PMMA body and aluminum top and bottom ends. The one pictured here is the larger 400ml version. It uses standard G 1/4″ threads and utilizes a water-fall design when it gets flowing inside.
The Raijintek RAI-PM5 pump handles the actual flow of the coolant itself once everything is assembled. It can even be attached directly below the reservoir (already has o-ring) and has a flow rate of 480 L/H. It runs off a 12V fan header and has a thermistor attachment for undervoltage adjustment. It does not need any special mount as it can actually stand on its own because it comes pre-installed with a bracket (which can be removed via screws of course).
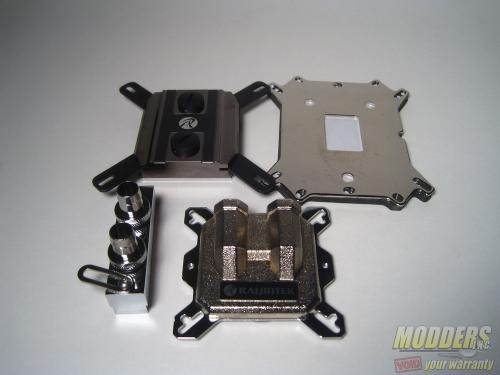
The last part of the Raijintek Atlantis kit are the waterblocks and there are three different types: one for CPU, GPU and VRM. All have a polished mirror base which are nickel-plated.
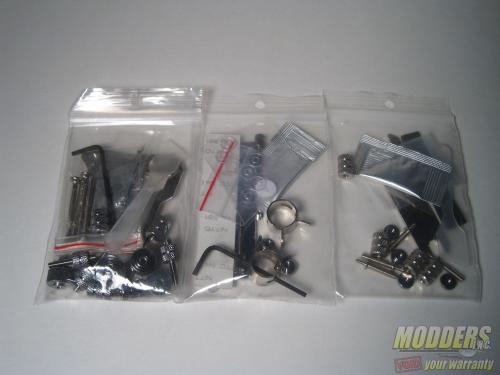
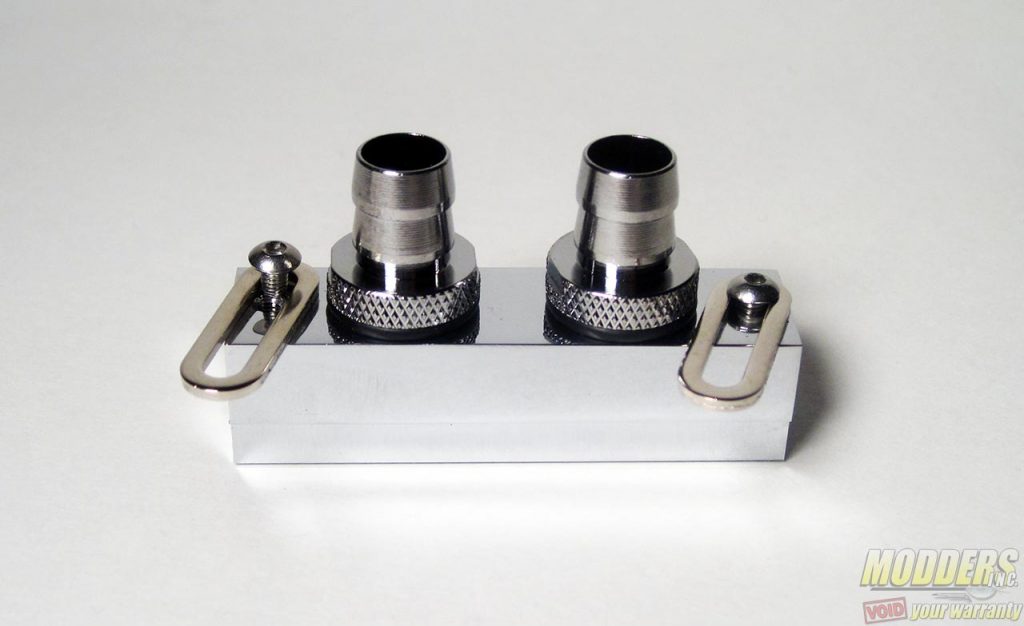
The VWB-C1 is the block designed for a motherboard’s voltage regulation circuit. It measures 16 x 58 x 16mm and weights 135 grams. It is made of copper but is fully nickel plated and has G 1/4″ thread side by side at the top with barb fittingss pre-installed. This block is optional for most builds, especially newer motherboards which use highly efficient FETs. The block has movable mounts to accommodate as many motherboards as possible due to the differences in mounting hole distance. Included in each pack aside from the block itself are 2x M3 screws, 2x M2 screws, a metal plate, a thermal pad, 2x hex socket cap screw, 2x metal nuts, 2x clamps (for use with the barbs), thermal grease with plastic brush and Allen key. Users can swap out the barb fitting with a compression fitting if they wish.
The Raijintek GWB-C1 water block on the other hand is quite a bit bigger and is designed as an one-size-fits all solution for video cards. It is also made of copper and nickel plated but has a textured, pockmarked surface at the top of the block. There are no pre-installed fittings but it also uses G1/4 threads along the side. It measures 69 x 69 x 20.2mm and weighs 188g. It is compatible with AMD Radeon RX480, R9-290, R9-280x, R9-270x, R9-270, R7-260, R7-250, R7-240, 5450, 7750, 7770, 7790 and Nvidia GF210, GT610, GT620, GT630, GT640, GTX650, GTX660, GTX670, GTX690, GTX760, GTX770, GTX780, GTX TITAN video cards.
It does not require a backplate to mount but it includes four double headed screws, four tall metal nuts, four short metal nuts and eight insulating washers for installation (one per side so no bare metal to PCB contact).
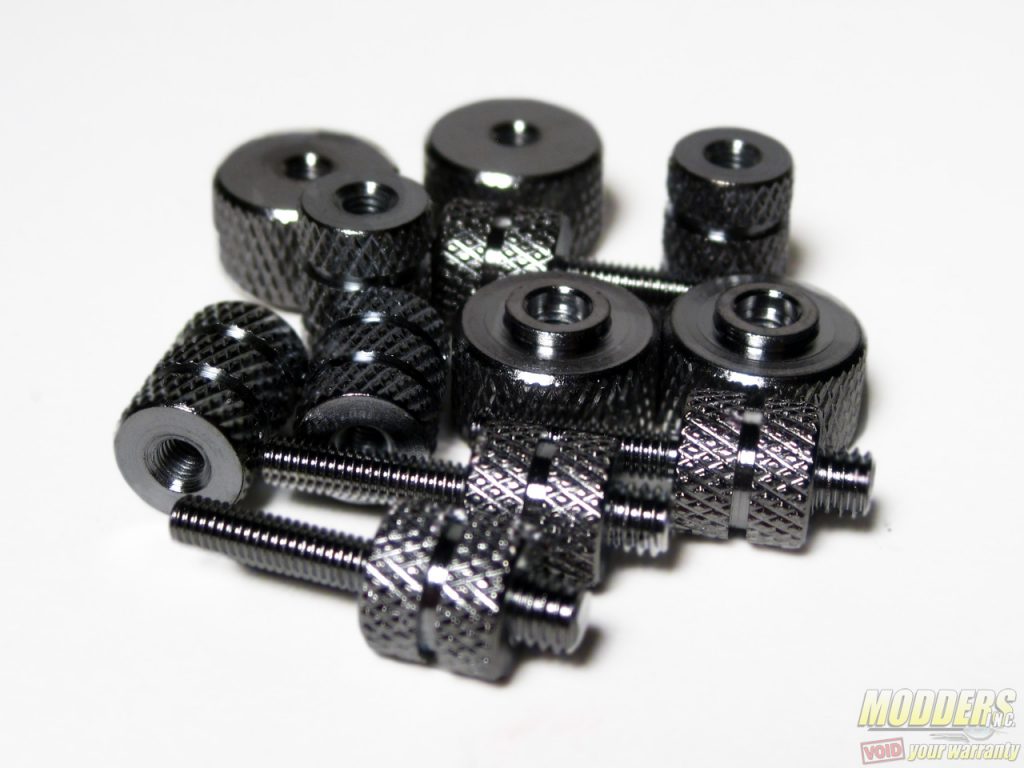
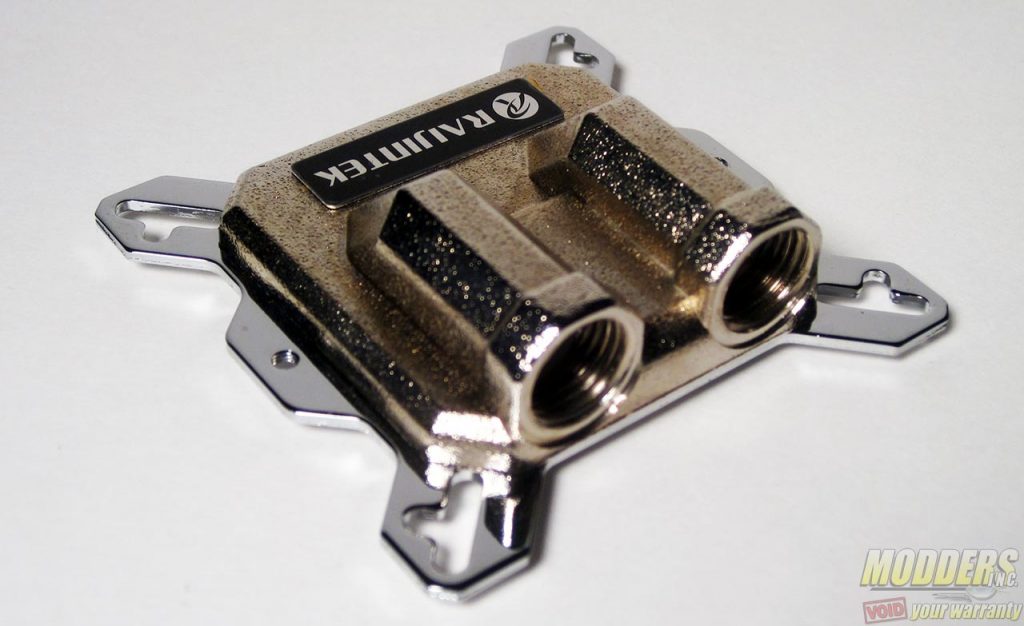
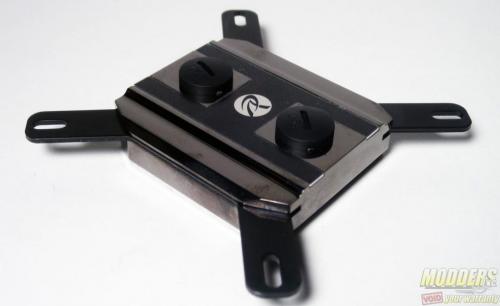
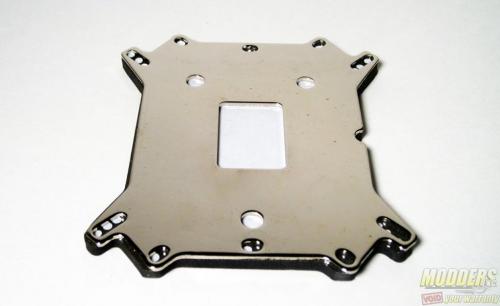
The CWB-C1 CPU block is the last and most important piece in the kit. It is the only one that requires a backplate which is included as well. It is a universal backplate and paired with the corresponding mounting clip can be installed on either AMD or Intel sockets. It already comes with Intel mounting clips pre-installed so these need to be removed first if installing on an AMD system, otherwise, just leave them on as it is a one-size fits all mounting clip for LGA775, LGA115x and LGA1366/2011 motherboard sockets. It measures 54 x 60 x 14mm and weighs 325g. Like the GWB-C1, there are no fittings pre-installed and it also utilizes G 1/4″ threads. Also included in the kit are all that is required for mounting on a motherboard including thermal grease.
As you can see it is an almost all-in-one DIY solution for water cooling. It is ideal for those starting out since it has most included already. All that are needed are the fittings and the radiator. Depending on the room available inside the gumball machine a smaller radiator might suffice, maybe a 120mm or 240mm if there is still room. The fittings will have to be planned as well since there will be tight space for the motherboard so the Raijintek CWB-C1 CPU block fits well there if paired with a 90-degree fitting.
That is all for now, back to more planning again but stay tuned for updates as more hardware come in and the design gets finalized. QuakeCon is not until August 2017 but getting a headstart on the mod is not a bad idea as it will free me up to do more mods in between.

