EVGA Z170 FTW Motherboard Review: An Overclocking Gambit
Bundled Software, UEFI and Overclocking
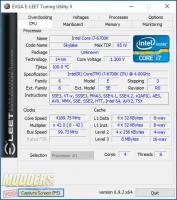
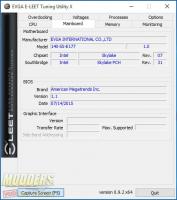
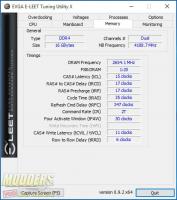
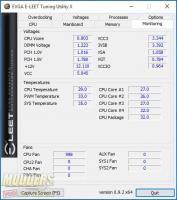
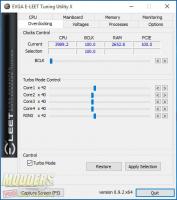
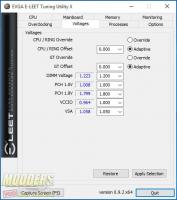
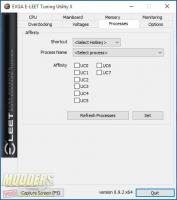
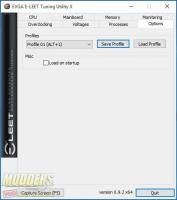
The driver disc only contained the essential drivers and EVGA’s E-LEET software was only available as a download link from the disc (users have to be signed in to EVGA.com to download). E-LEET is basically a beefed up CPU-Z that has similar CPUID capabilities but extend to provide overclocking, monitoring and voltage control in a single program. Users can overclock directly via the E-LEET software or use it to safely boot to Windows and “walk” the overclock to max validation.
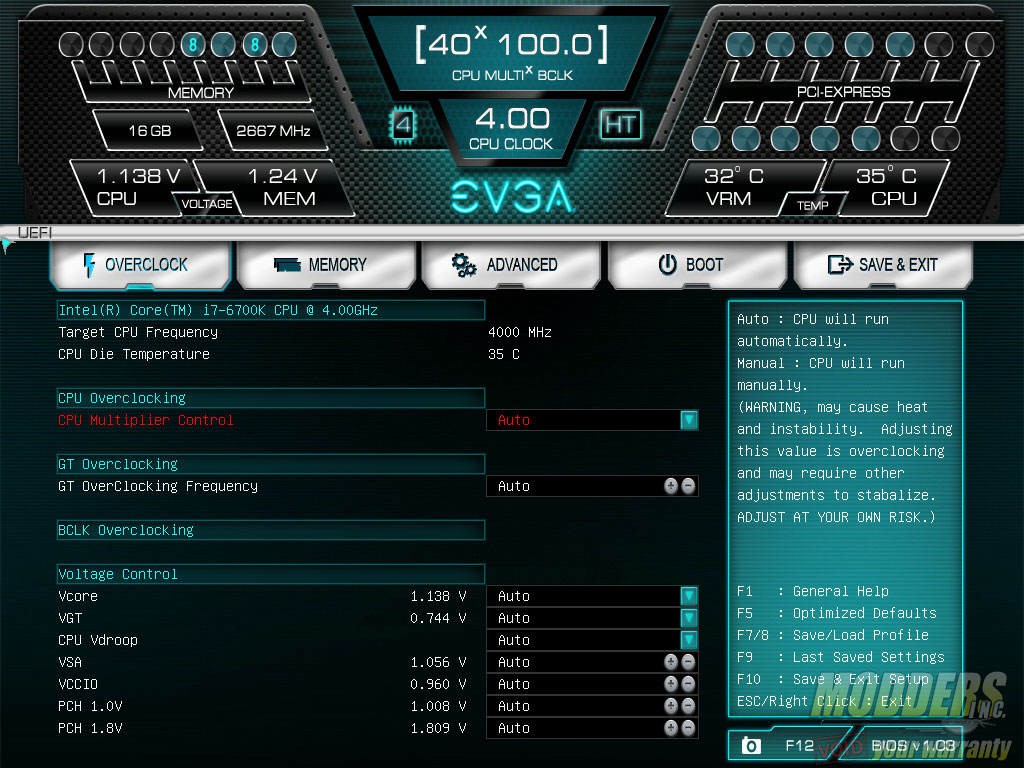
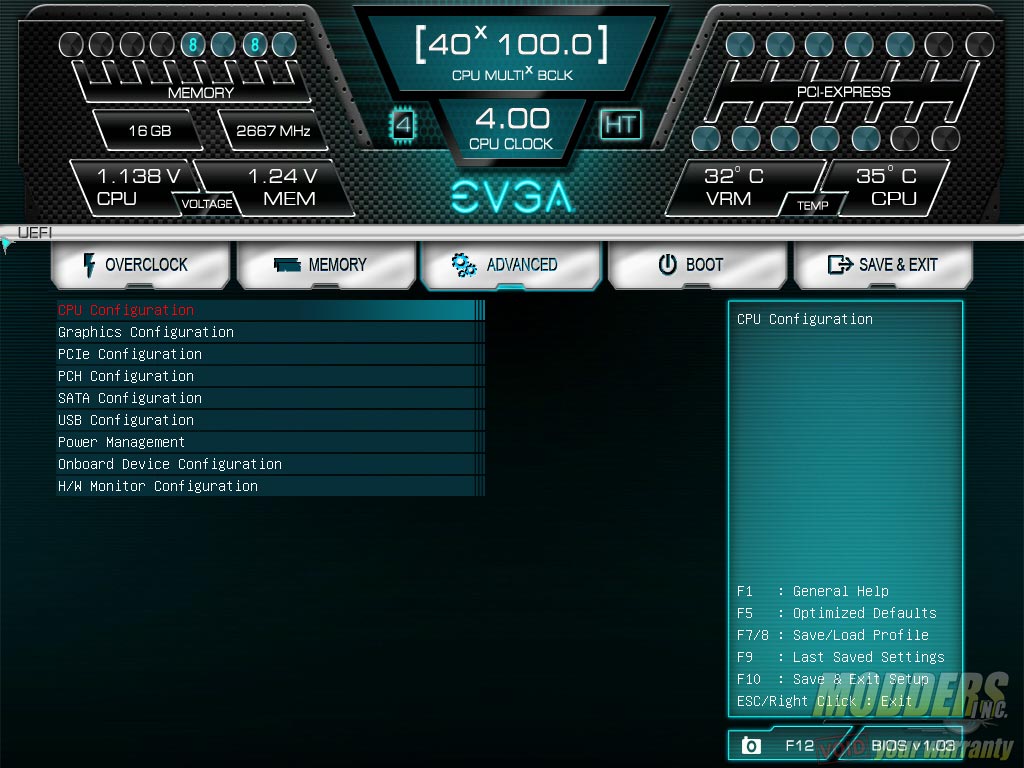
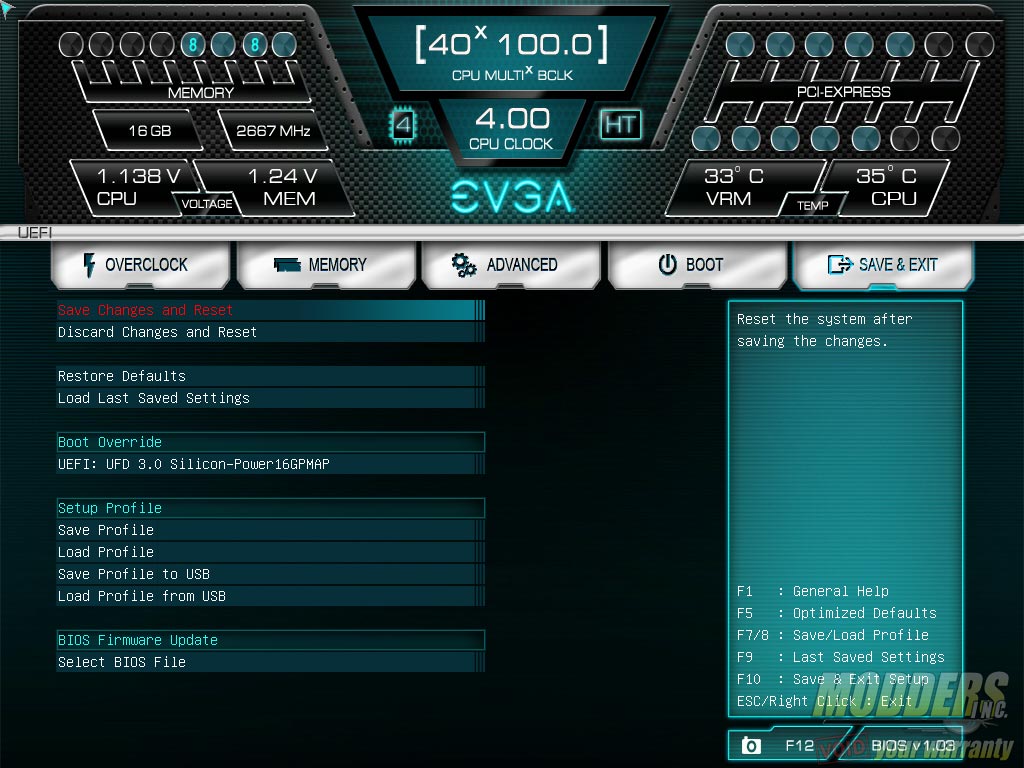
The UEFI itself is overclock-centric with the main page dedicated directly for overclocking and has a 1024 x 768 pixel resolution for compatibility. The top part remains constant and displays the current values. The center shows the mutiplier and BCLK with a toggle icon for the number of cores enabled and whether hyper-threading is enabled. The top left side shows the current memory population, capacity and current speed setting with live CPU and memory voltage display. The top right side shows the PCI-E population and the temperatures for both CPU and VRM. A floating status window is constantly on the right side with dynamic text content explaining the options available for the highlighted line and also lists the quick hotkeys available any time.
Note: This is the BIOS v1.03, the latest update available at the time of publishing of this article, it includes stability updates and improved memory overclocking support.
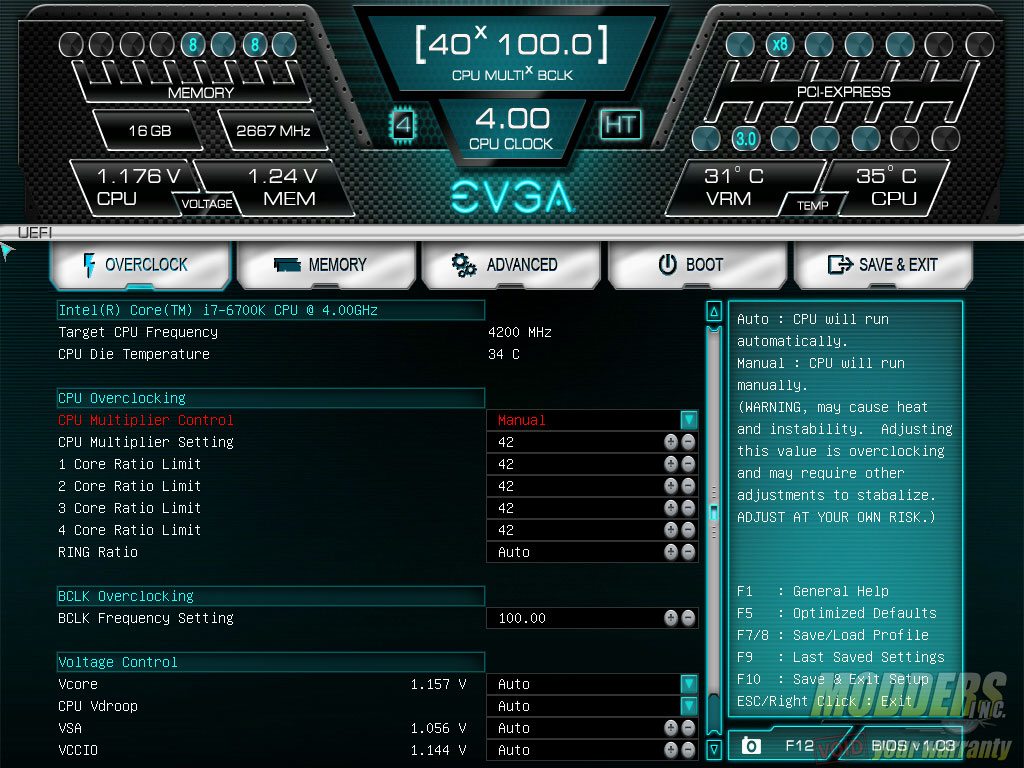
The first overclock tab is very straightforward with all the settings set to auto by default (you can reset values by typing in “0” anytime in the field and it will set to Auto. To overclock the CPU, simply change CPU multiplier from auto to manual and it will change to the max per core turbo limit value. By default the Intel Core i7-6700K can turbo up to 4.2GHz from 4.0 GHz default so changing the multiplier limit from 42 to 50 for example will result in a 5GHz overclock. Even though the value at the very top does not change, the target CPU frequency displays the resulting CPU clock from the changes made from the options below it.
Maximum CPU multiplier available for the i7-6700K is 83. The Ring/Cache ratio can also be adjusted manually if wanted here as well (shares the same voltage rail as the CPU now so they are adjusted together) . By default the BCLK is 100 but it can be adjusted in fine granular increments of 0.05 combined with the multiplier to get the overclock you want. It is not tied down to the PEG and DMI ratios in Skylake. Voltage control is also on this page with a simple VDroop toggle (enabled or disabled) instead of levels for the Vcore. Vcore can be set to auto, adaptive (offset) or override (full manual). All the other voltage domains can be adjusted here separately such as the VCCIO and VSA which are essential for DRAM overclocking. The simple approach is appreciated, especially for those who are beginners but the lack of option is disappointing for advanced users, especially considering the VRM hardware on this board.
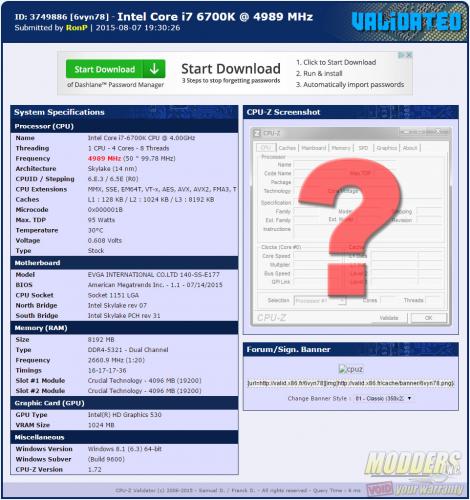
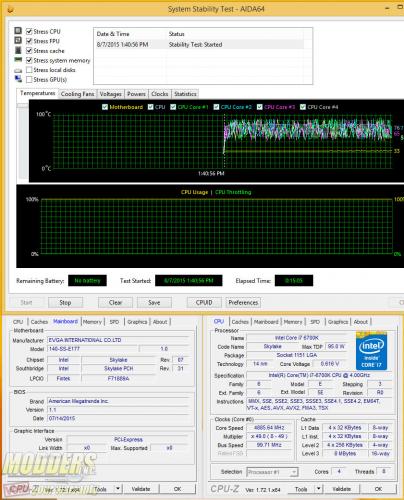
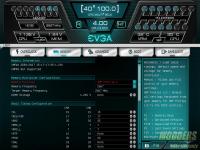
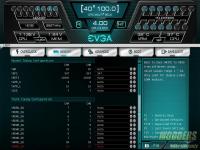
Nevertheless, highest multiplier OC boot validated on v1.01 BIOS was 5GHz on my i7-6700K engineering sample with 2666MHz XMP loaded and using IGP. AIDA64 stable at 4.9GHz. I will update this review later next week as I bench more motherboards for comparison and play around with BCLK and memory overclocking. Speaking of which, the second tab is completely dedicated to memory with the same style layout as the overclock section for the CPU but with the XMP information at the top and options at the bottom, except a lot more numerous with secondary and tertiary timings. tRD and tRCP are tied together now in Skylake so they share the same value. Maximum frequency setting available is 4133MHz with the latest v1.03 BIOS.
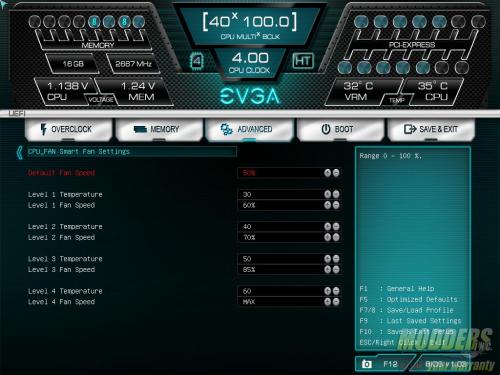
The Advanced tab is where the bulk of the other options are, including chipset, sub-systems, miscellaneous CPU settings, power and fan control. While this is organized and easy to navigate into, a full directory path would be a nice addition to include so that users know where they are in at the moment, especially in settings that are nested twice from the main Advanced tab. The only indicator for a nested option is a left arrow at the top left corner underneath the tab.
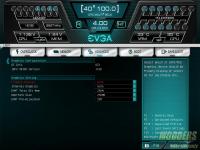
CPU options include EIST, C-states, Hyper-thread, VT-d, and processor Core Toggling. Graphics configuration includes IGP toggle as well as memory and aperture size adjustments.
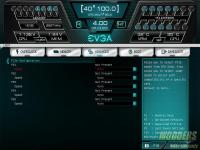
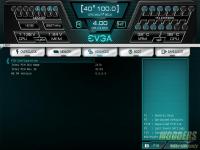
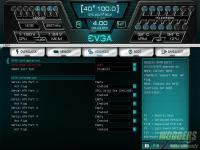
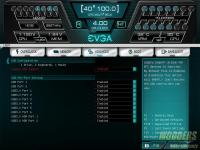
PCI-E configuration options allows users to detect device installed and set the speed to Gen 3.0 or lower. SATA configuration allows for mode selection between AHCI and RAID (no IDE options anymore in Skylake) as well as toggle S.M.A.R.T. self-test (disabled by default) and enable hot-plugging on all six SATA ports. USB configuration is similar with toggling option for all USB 2.0 and USB 3.0 ports.
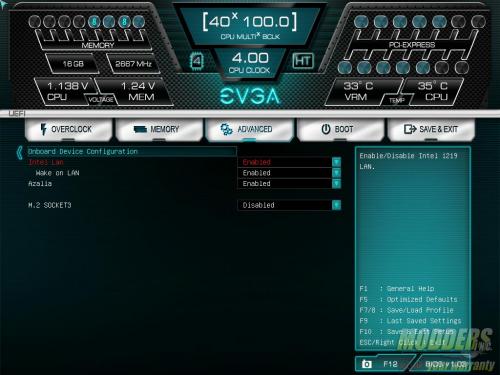
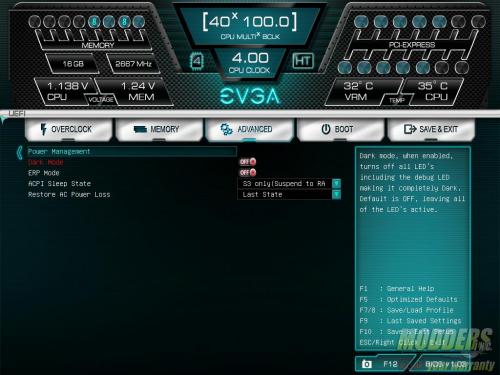
Power Management allows for adjustment of sleep state and power loss restore settings as well as toggle “dark mode” which disables all onboard LEDs. The onboard device configuration lets users disable LAN (including WoL option), audio and M.2 storage.
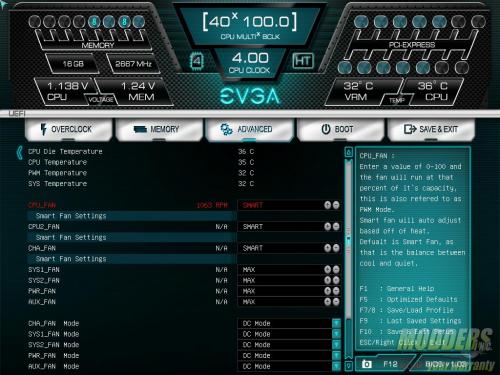
Hardware Monitor displays current system temperatures as well as provide fan control for all seven fan headers. The CPU, CPU2 and CHA fan have S.M.A.R.T. sub-options to fine tune fan control further. Users can switch to PWM or DC mode for the CHA, SYS1, SYS2, PWR and AUX fan headers. In DC mode, users can adjust these with a 5% stepping while the CPU fan can be set with 1% stepping.
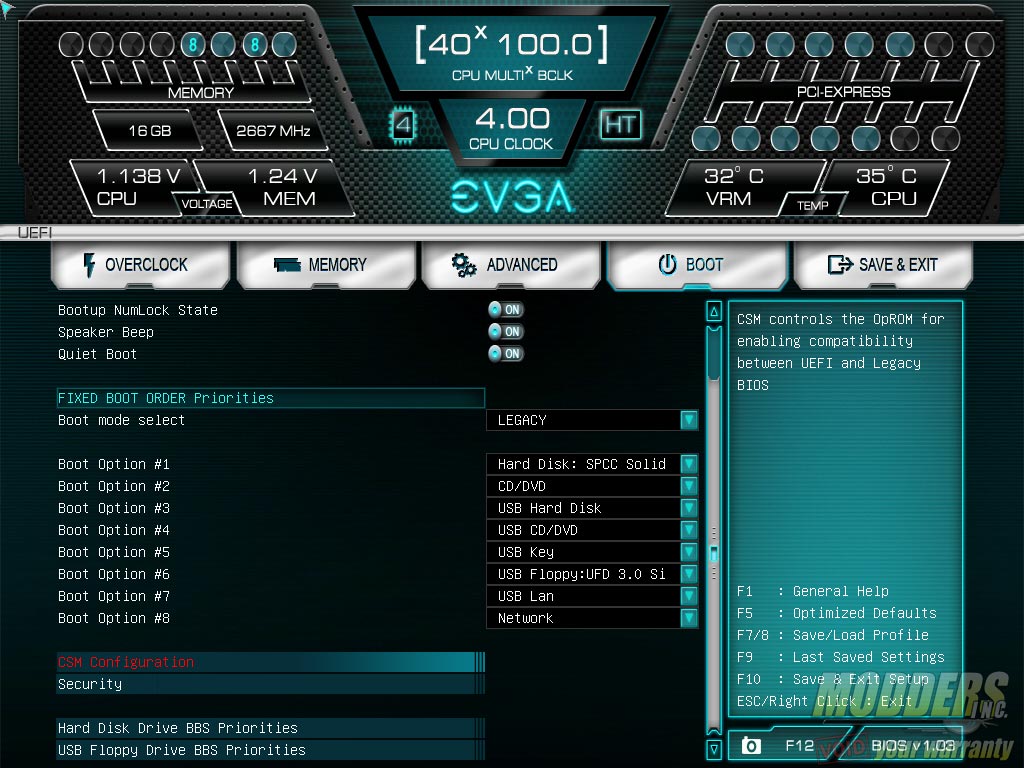
The Boot tab allows users to fix boot order priorities with up to eight different boot device options. CSM and security sub-section settings are also accessed from here.
Finally, the last page is the “Save and Exit” tab that allows users to discard or save settings, and even save or restore profiles locally or on a USB drive. Users looking to upgrade their BIOS firmware can also use the built-in tool in this section. The boot override is located here as well.
