EVGA DG-77 Alpine White Midtower Review
Lightning In A Glass Bottle
A Closer Look at the EVGA DG-77
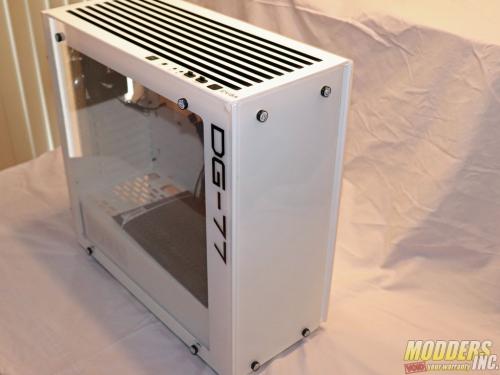
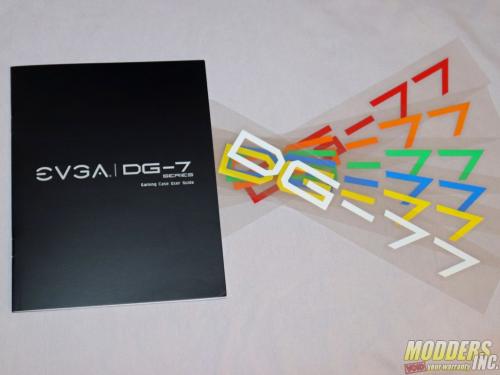
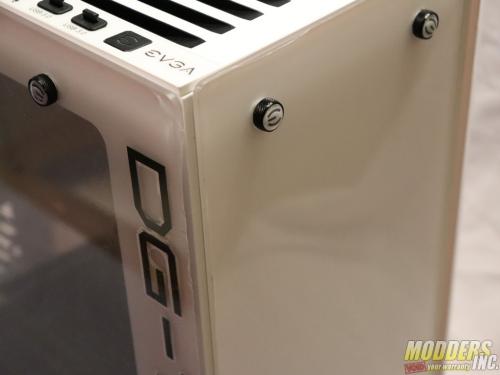
The case ships with all three tempered glass panels installed, and each one has a sticky plastic film covering each side. One unexpected benefit of going with the Alpine White model is that fingerprints are less obvious than they would be if the panels were glossy black. The windows pane of tempered glass is only opaque around the edges, and there’s an attractive DG-77 decal affixed to the front edge. If you’re not a fan, you can remove the decal, or replace it with one of the colored spare decals that EVGA added to the package.
The tempered glass panels are all backed with white paint that obscures anything behind them, but allows soft light to pass through. The edges of each pane are sanded soft, and each one measures 4mm thick. This is thicker than the tempered panel on the Phanteks Eclipse P300 and the InWin D-Frame mini by one and two millimeters, respectively.
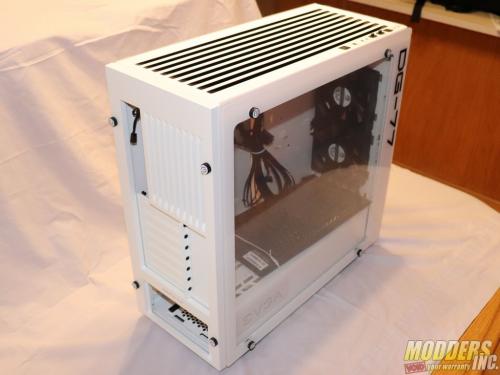
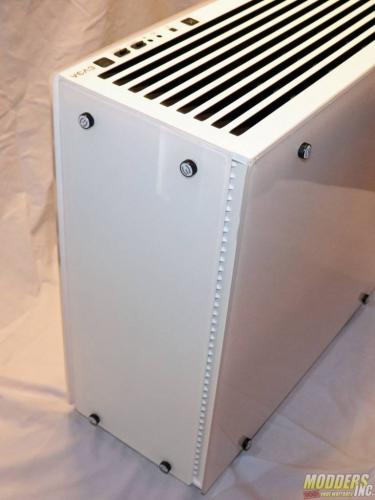
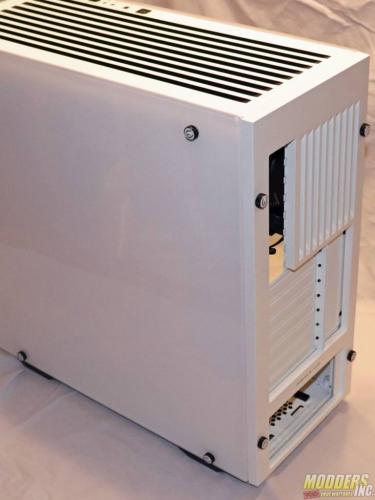
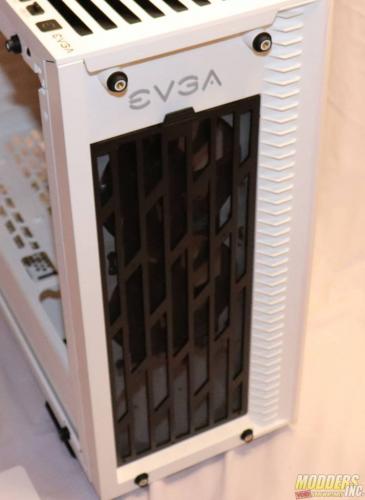
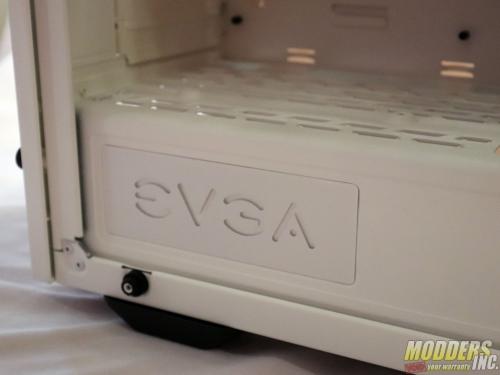
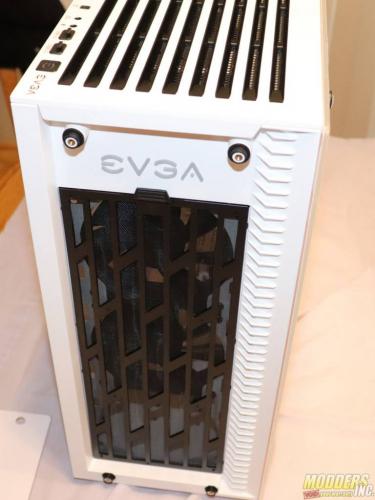
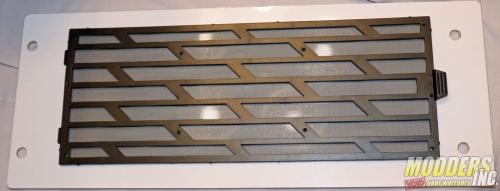
The frame of the EVGA DG-77 is constructed of steel, and every exposed edge is rolled, making it comfortable and safe to work with. Like the panels, the frame is painted white, letting your components be the star of the show. There’s a large PSU bay visible through the window, and it has an RGB LED-backlit EVGA logo. The top and rear of the case feature thick white plastic panels that appear be more aesthetic than functional. We admit they do look nice, especially the two-tone black and white vented top panel. There’s another white slab of plastic on the front side of the frame, and it houses another RGB LED-backlit EVGA logo. There’s a large plastic-framed dust filter that’s held in place with magnets, and it actually looks sharp if you remove the front panel tempered glass. And it’s a good thing too, but more on that later.
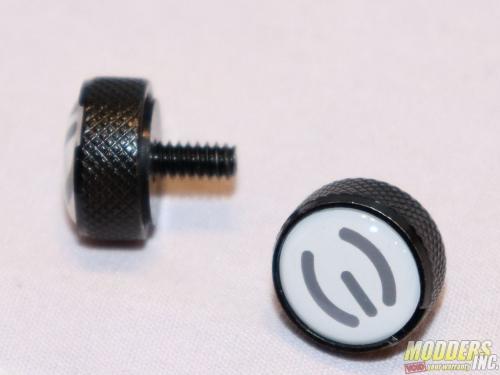
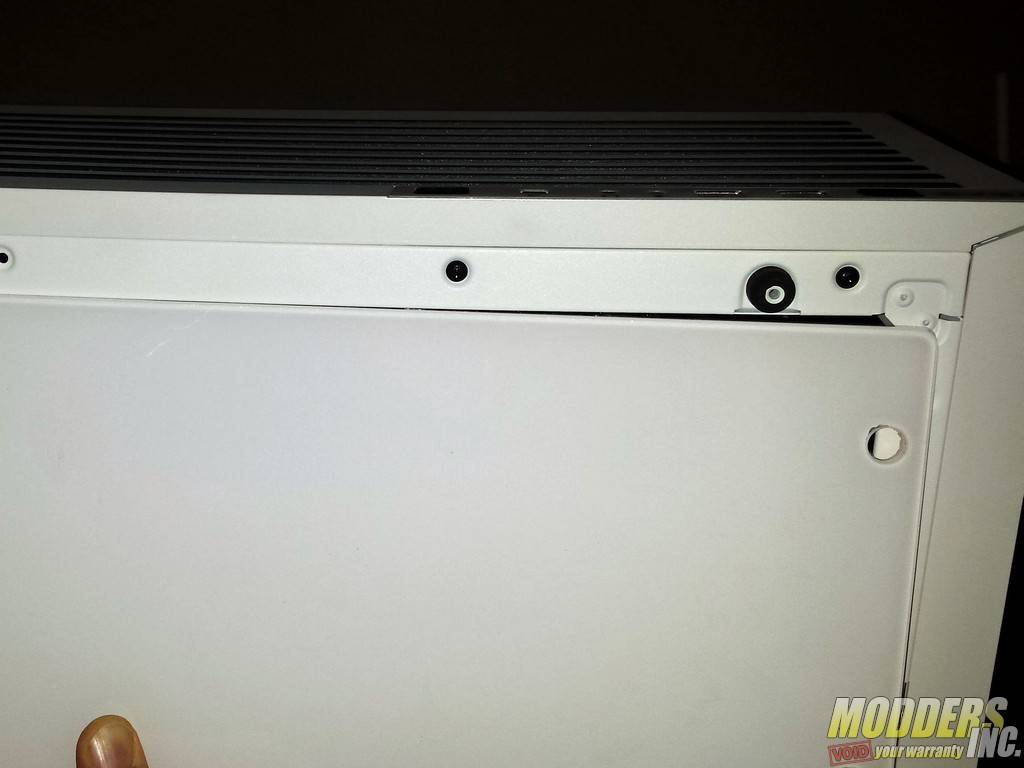
Each pane of tempered glass is secured via knurled thumb screws with rubber pads, and the panels slid onto rubber-covered posts to ensure a safe and snug fit. The rear panel is also secured with extra-long thumb screws. These aren’t run-of-the-mill thumb screws though. Each one is topped with EVGA’s stylized “E” logo, and there are a set of black stickers you can swap in if the white logo screws mess up your color scheme.
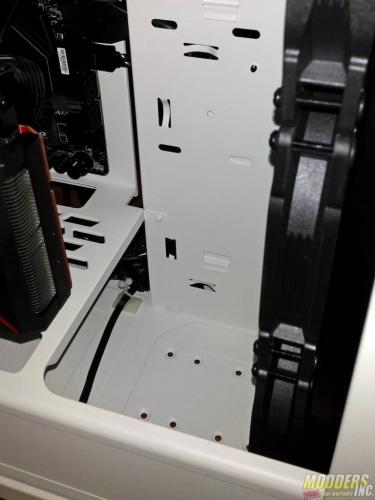
The top and front plastic panels readily pop off, which makes it easy to install cooling components like radiators and fans. The PSU bay cover is riveted in place, but there’s a large cutout toward the front panel capable of accommodating up to a 360mm radiator and massive floor-to-ceiling reservoir. The motherboard tray also features a large cutout, simplifying the process of swapping out CPU coolers.
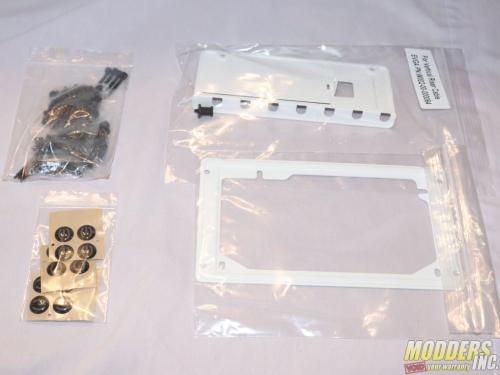
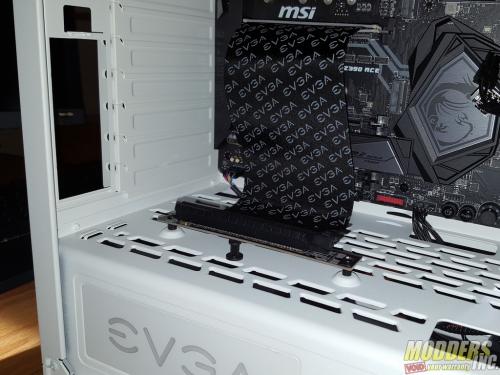
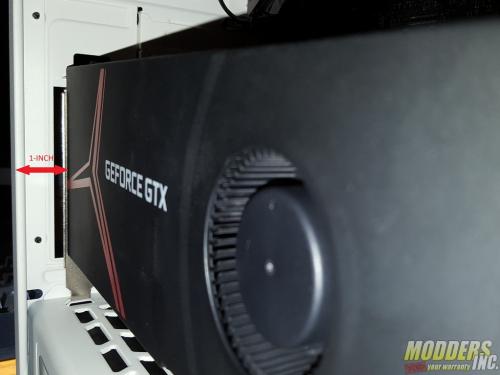
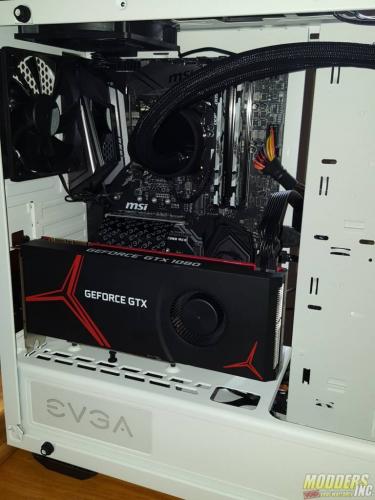
You have the option of installing your graphics card the traditional way, horizontally, in the top expansion slots. Alternatively, you can install it vertically using the riser cable, standoffs, VGA rubber support, and the vertical I/O bracket that EVGA bundles in with the DG-77. The PSU bay is vented at the top, which is good for the PSU, but also for your vertically-mounted graphics card. What is less good for the graphics card is the fact that there’s only an inch between the face of the graphics card and the solid piece of tempered glass. And that’s when you’re using a true two-slot graphics card. Many modern graphics cards bulge below the I/O bracket, which will leave your card completely starved for air in this configuration. Furthermore, liquid-cooled graphics cards mounted vertically may require angled fittings to avoid running into clearance issues.
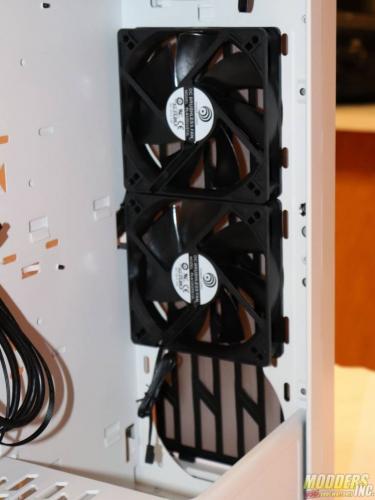
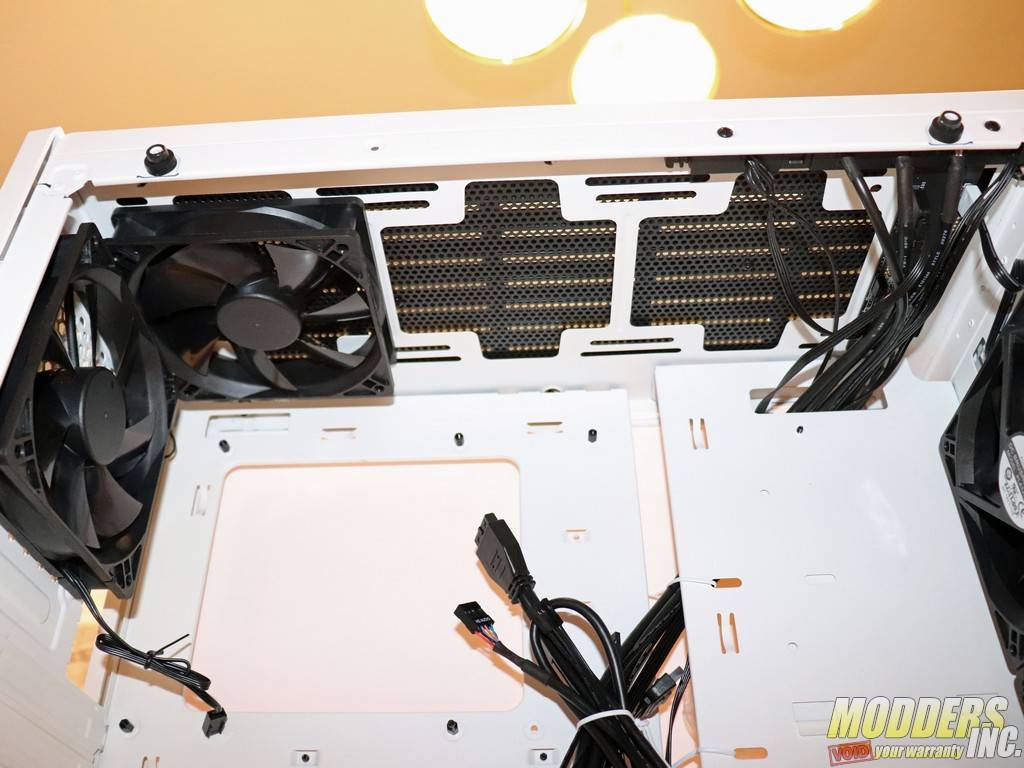
There are spaces for up to seven fans in the EVGA DG-77, and the company generously ships the unit with four fans preinstalled. The 120mm fans are generic-looking Power Logic branded units (model PLA12025S12L) with seven blades.
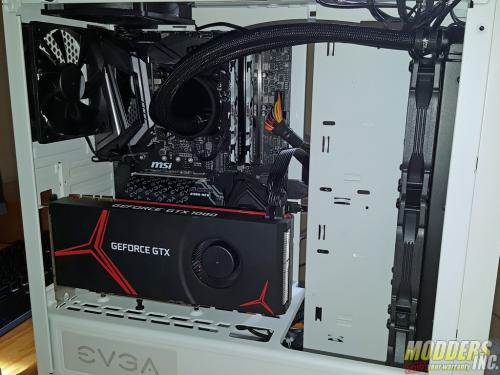
For our testing, we installed Fractal-Design’s S36, a 360mm AIO cooler, in the front panel. This is the case we chose to test the recently launched Intel Core i9-9900K, which you’ve probably heard by now can get very hot when overclocked. At first, we had all three panes of tempered glass in place, but we encountered thermal throttling. If you look at the DG-77 from the front, there’s a narrow three-quarters-of-an-inch gap that acts as the sole intake from the front panel. Like a chunky graphics card in the vertical position, our AIO was choking for air. Once we remove the tempered glass front panel, however, our temperatures dropped nearly ten degrees. Like I said earlier, it’s a good thing the front panel is attractive even without the glass in place.
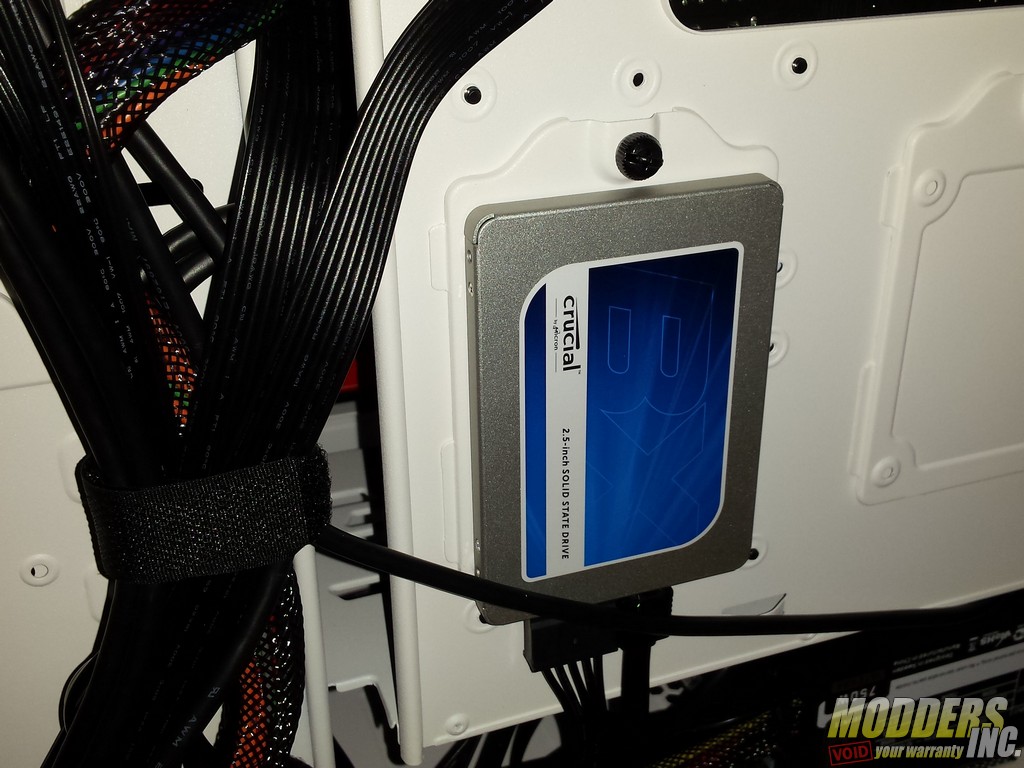
Despite the intake problems, there is a ton of working space in the DG-77. You can fit a graphics card that’s up to 17-inches long (does such a thing exist?). You can also bolt on a 7-inch tall tower-style CPU cooler. The EVGA DG-77 also supports radiators that are up to 60mm thick, though this will reduce the amount of space you have for graphics cards to 14-inches. There are mounts behind the back panel that let you mount four 2.5-inch storage devices, or two 3.5-inch and two 2.5-inch devices.
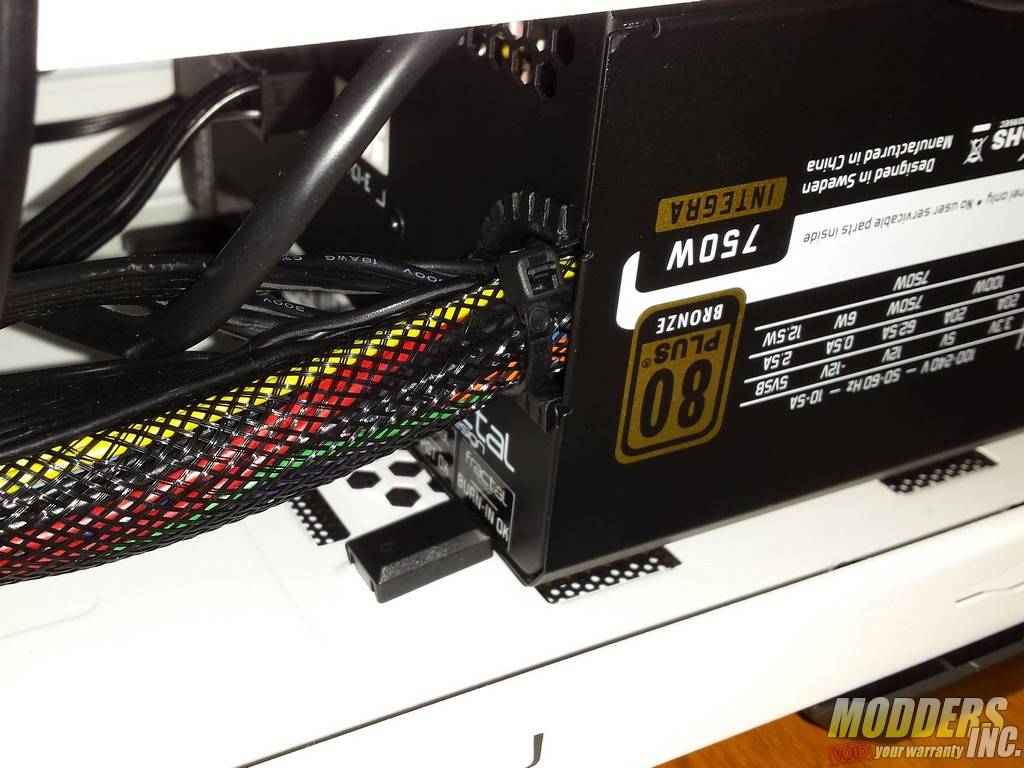
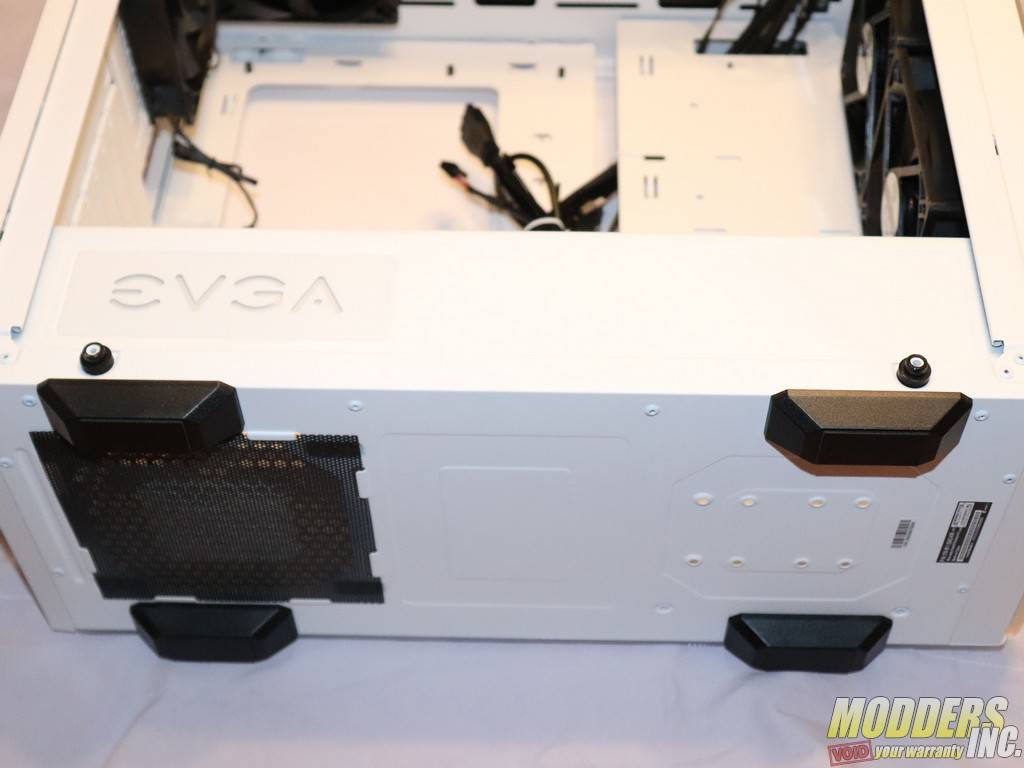
This case also features an exceptionally deep 11-inch PSU bay. There is a quartet of plastic spacers installed in the base of the PSU bay to keep the component elevated, however, the PSU we used was just shy of 5.5-inches long, and it completely missed the second row of spacers, forcing it to balance on top of the first row. The steel floor of the case also flexes a bit due to this balancing act. If these spacers were just a little longer, or movable, this wouldn’t have been an issue. Another issue we noticed with the steel frame was that the top panel of the case bows inward ever so slightly; we managed to confirm it with a straightedge. With the plastic and glass panels all installed, it’s not noticeable, but it hints that EVGA probably should have relied upon a thicker grade of steel.
The bottom of the case features a removable mesh dust filter, and the top panel feature a mesh, though not easily removable, does make it fairly easy to clean periodically. The PSU bay features a removable bracket that screws into the rear panel, so installing it from that side of the case was easy.
The top panel I/O of the DG-77 features a pair of USB 3.0 ports (no USB 3.1 Gen2 Type C), an LED lit power button and K-Boost button, a reset button, and audio line-in/out jacks. Underneath the front edge of the top panel is an RGB control board that lets you sync LED light strips with the case’s backlit EVGA logos.
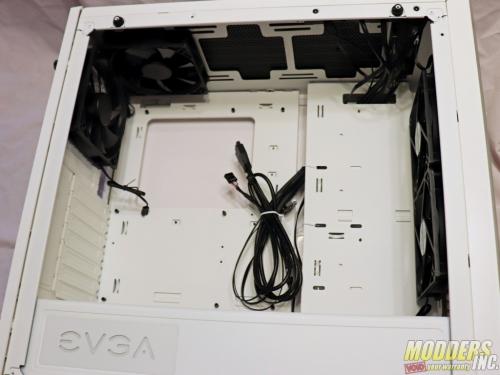
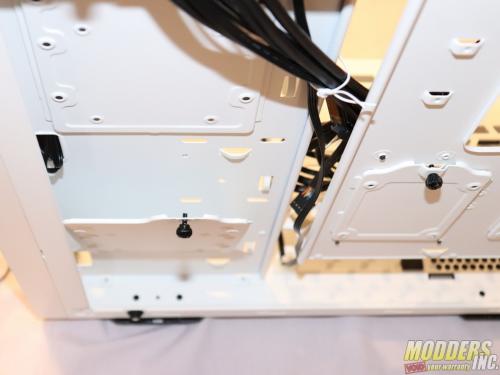
Behind the motherboard tray, you’ll find approximately a half-inch of space for routing cables. There’s a wide cable management channel closer to the front panel. Here you have a generous 1.4-inches of space for routing the graphics card, peripheral, storage data, and ATX power cables. With so much space, and numerous cable tie down points, managing the cabling in our system was easy and quick.
The rear panel exhaust mount on this case features slightly elongated screw holes that let you adjust the position of the 120mm fan you install there, but it’s only a quarter of an inch of total movement. Depending on the air cooler you install, you may not be able to align the exhaust fan to the cooler’s fan.
