EnGenius Cloud Management Software
When it comes to a business-class access point, you will need a way to manage them. Most APs of this class are installed throughout the campus meaning that you could have quite a few access points. If you were to manage and configure them individually that could lead to major headaches as well as installation errors. The ECW230 has a very limited GUI that is used to manage the IP address of the unit and possibly upload the latest firmware and that’s about all you can manage on the AP itself. In terms of management, you have two options, although not specifically for the AP I am reviewing here. These autonomous APs need a wireless controller that tells them what to do, how they are configured, etc. There are on-prem or on-premises controllers or there are cloud-based solutions. Most of the on-prem solutions that I’ve had experience with tend to be rather expensive and there’s additional management overhead as you are responsible for ensuring the device(s) are updated, functional, etc. Cloud-based solutions are nice as you’re no longer responsible for a single box that controls and manages your wireless network. Typically, overall it is less expensive. And in most cases, you’ll pay a yearly maintenance fee per AP to retain the management capability in the cloud.
The first step in getting set up with the EnGenius cloud management software is to create an account. Next, you’ll want to adopt your access points. With the EnGenius solution as with many others, adoption is done using the serial numbers of the access points. This essentially ties that access point to your cloud tenant.
Once you’ve adopted the AP, it will start showing up in the dashboard. The dashboard for the EnGenius Cloud is clean. While I don’t have much in the dashboard, there are clear indicators of how my network is doing. The dashboard will give you the status on all cloud-managed hardware as well as the clients that are connected to the managed hardware. EnGenius offers cloud-managed switches too.
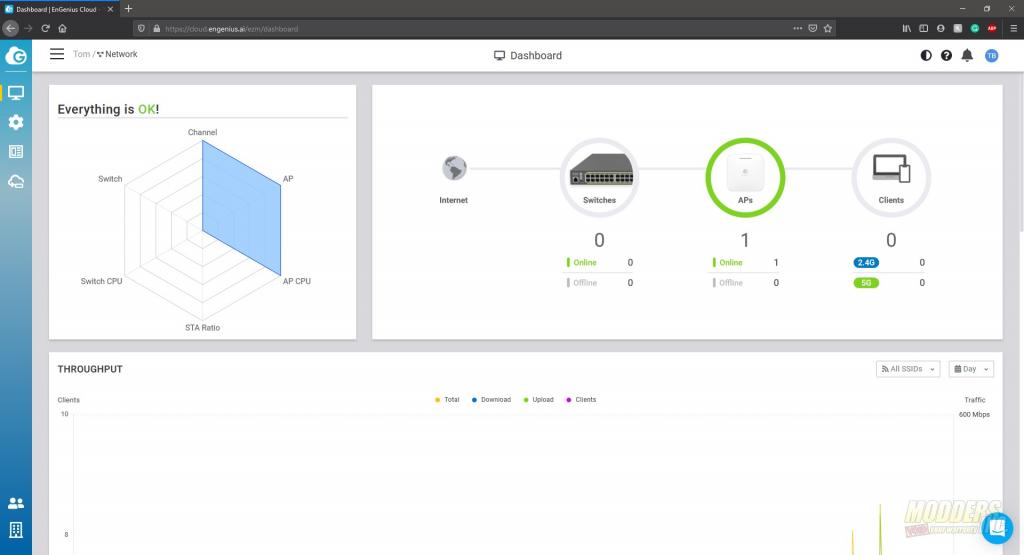
Along the left side of the page, is the menu and submenus. The first menu item deals with physical hardware such as access points, switches, clients, and network topology. Under each of these items, there are configurations for each.
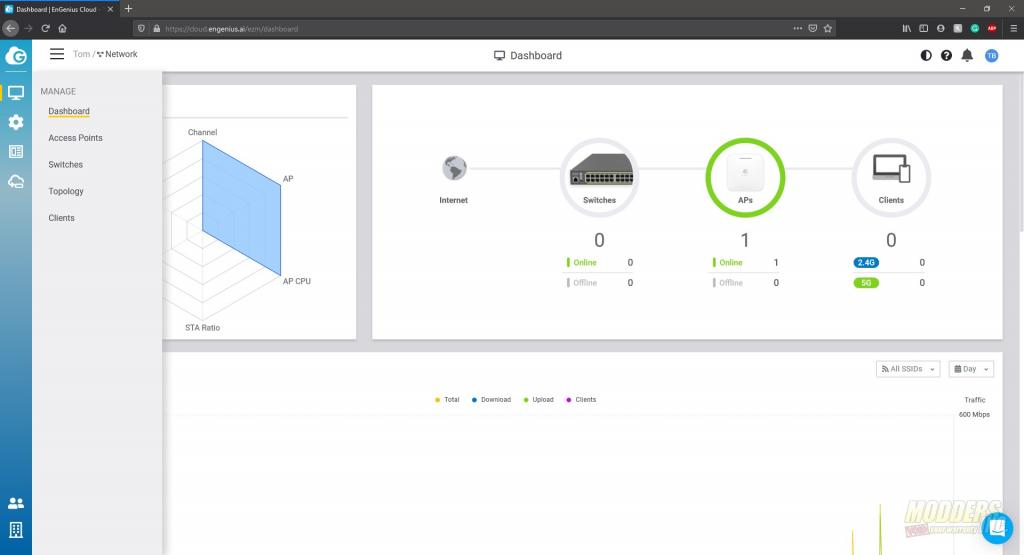
The next set of menus deals with the software side of the hardware. SSIDs, radio settings, RADIUS, and firmware updates can be performed from these menus.
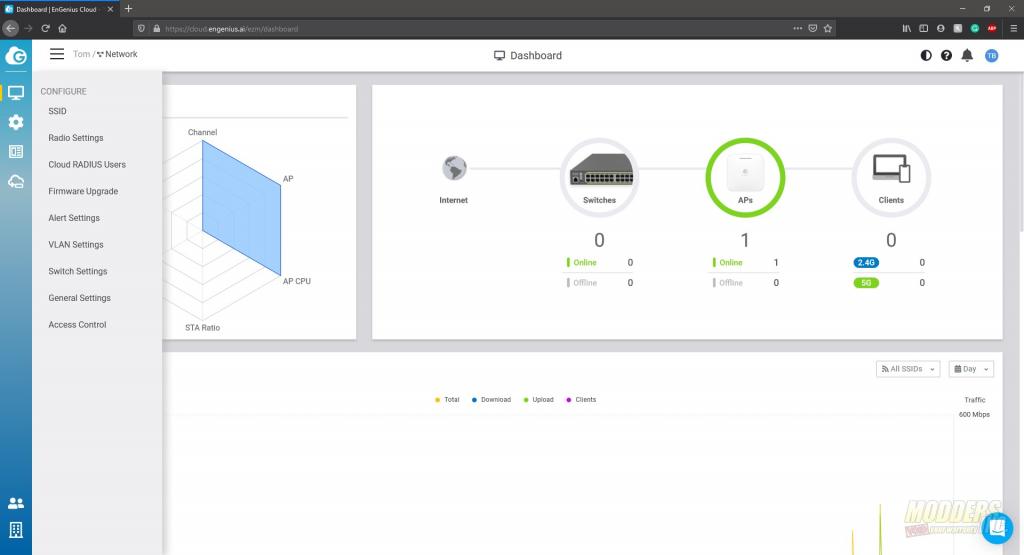
The Analyze menu allows you to dig deeper into what’s going on in the event logs of the devices. This comes in very handy when troubleshooting as long as the device is still communicating with the cloud.
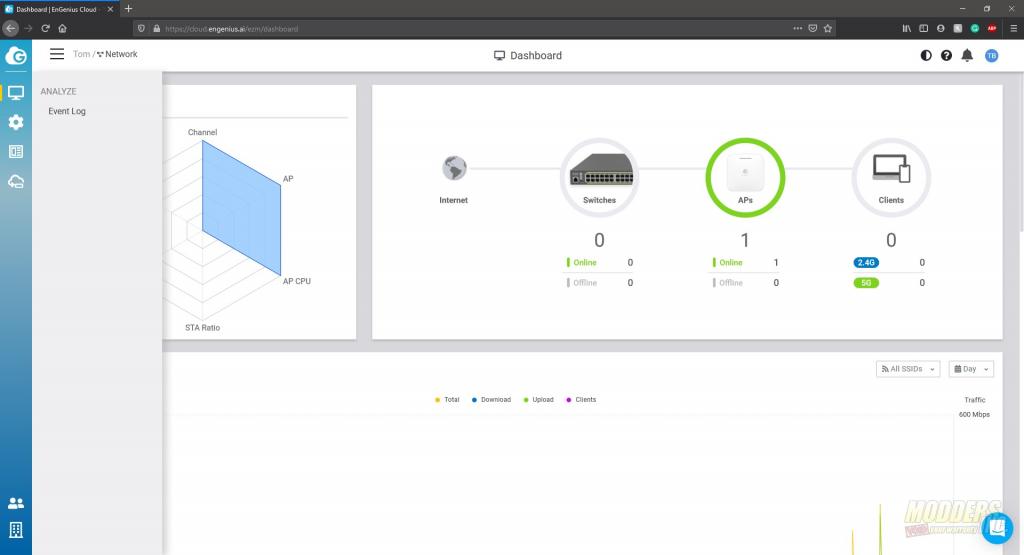
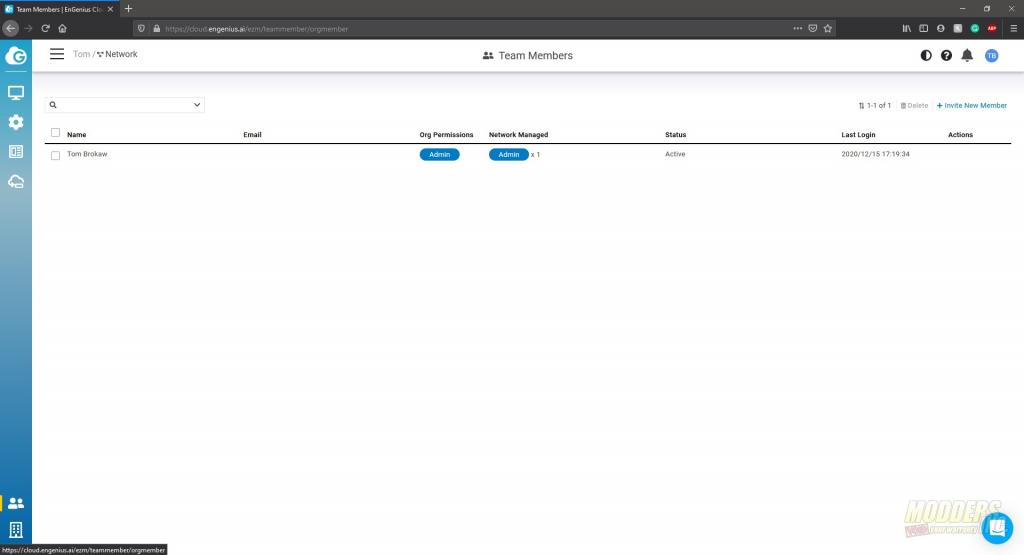
There are two icons at the bottom of the menu. These menus manage EnGenius software. There’s an administrators tab for adding additional administrators to ease the burden of managing the network.
The organization menu allows you to manage the actual inventory of devices. Once you’ve adopted the hardware, it will go into the inventory tab. There you can manage it. Once the AP goes end of life or if it happens to fail, you don’t want old stuff clogging up the works. You’ll remove them from here. In the Security menu, you can enable strict security measures for logging in such as complex passwords or two-factor authentication. 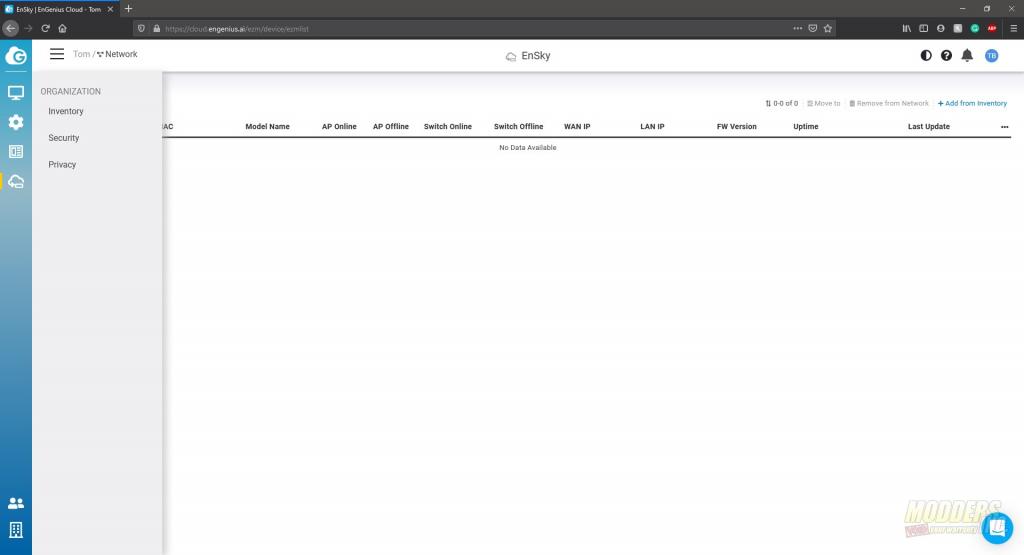
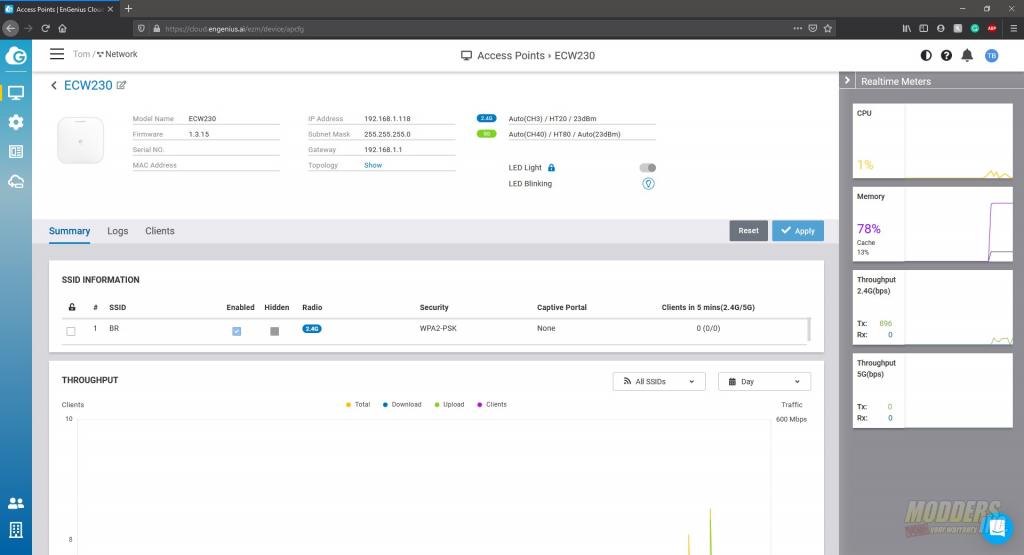
heading into the AP menu, you’ll find your access point(s) listed. If you click on the Details button, you’ll be presented with an in-depth look at the access points configuration as well as some of the reported metrics. At the top of the page, you’ll see the model as well as the firmware version and IP addresses. If you want to shut off the LEDs I mentioned earlier, you can do that here. In the next section, you’ll find detailed information about the SSIDs that the AP is broadcasting. The ECW230 can support 8 SSIDs broadcasting over the 2.4 & 5 GHz channels.
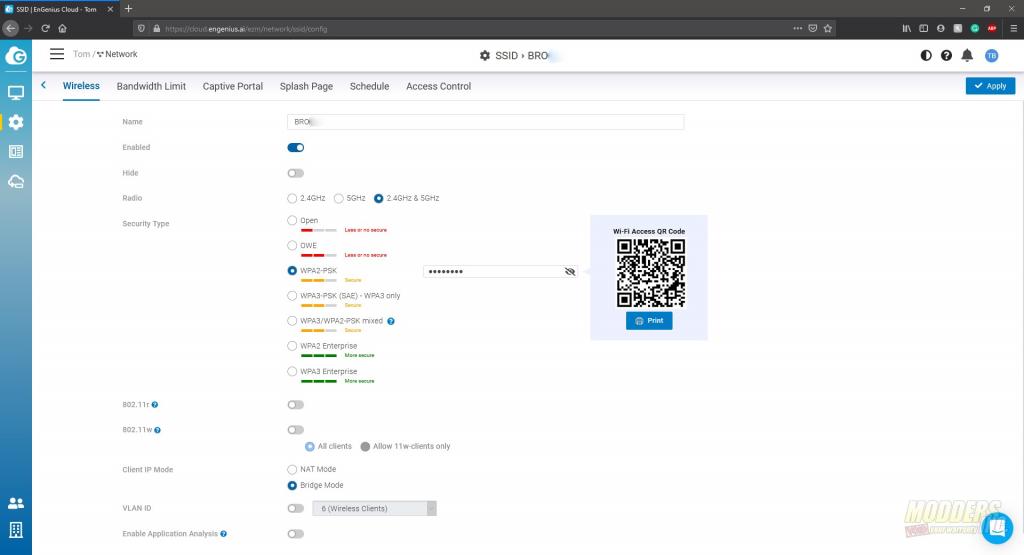
Moving into the SSID menu is where you’ll actually configure the wireless networks that will be broadcast for wireless clients. At the top is the name. You can choose to configure a wireless network but not enable it. You can also choose not to “broadcast” the name by sliding the hidden slider. The next option allows you to chose if you want the SSID to be 2.4 GHz, 5 GHz, or both. The security type is up next. Towards the bottom of the page, you’ll see that you can have this SSID associated with a VLAN or a Virtual LAN. VLANs help segregate traffic at the switch. Typically it is a good idea to have a management and a client VLAN. Not shown below, there is an advanced section where you can enable settings such as QoS or Quality of Service, or Band Steering. QoS allows you to shape the bandwidth available for traffic types. For example, Voice applications need as near real-time traffic as possible. However, someone downloading large files can choke the network out so that voice applications do not work as smoothly as they should. You can set voice traffic to have a higher priority than “data” traffic. This prevents a bandwidth hog from interrupting that important Zoom meeting. Band steering allows you to “steer” clients to either 2.4 GHz or 5 GHz. By default, I set my settings to prefer 5 GHz. Why? Because 5 GHz tends to offer better bandwidth at closer ranges than 2.4 GHz. If your client base is further away from the AP, you may prefer 2.4 GHz as it has more range and is less affected by obstacles such as walls, doors, and windows.
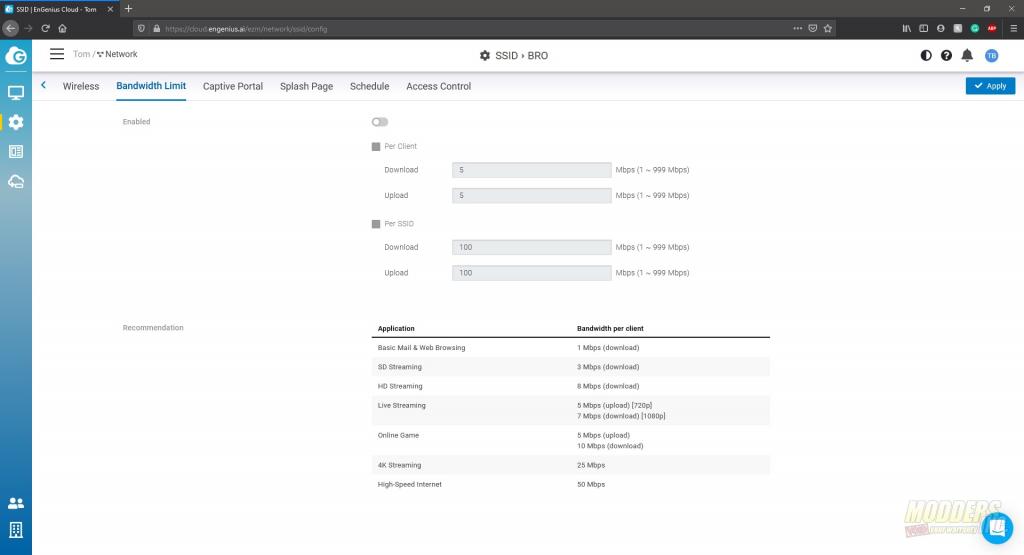
The next tab at the top of the SSID menu allows you to set bandwidth limitations. These limitations can be set per SSID or per client and can limit the available bandwidth.
Captive portal allows you to provide a method for a “guest network”. The guest network can be free or you can charge for it. This allows you to display a splash page to your guests when they connect to the network.
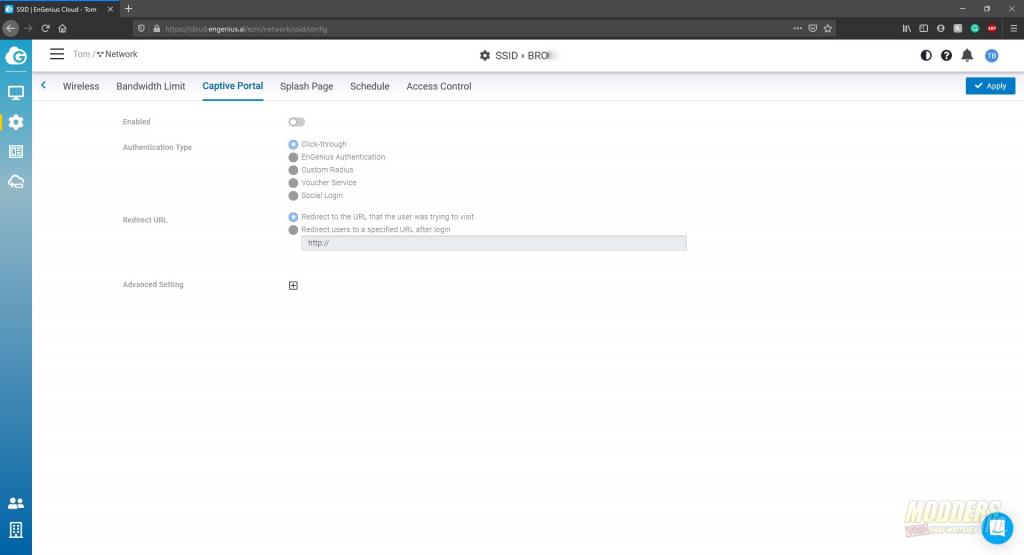
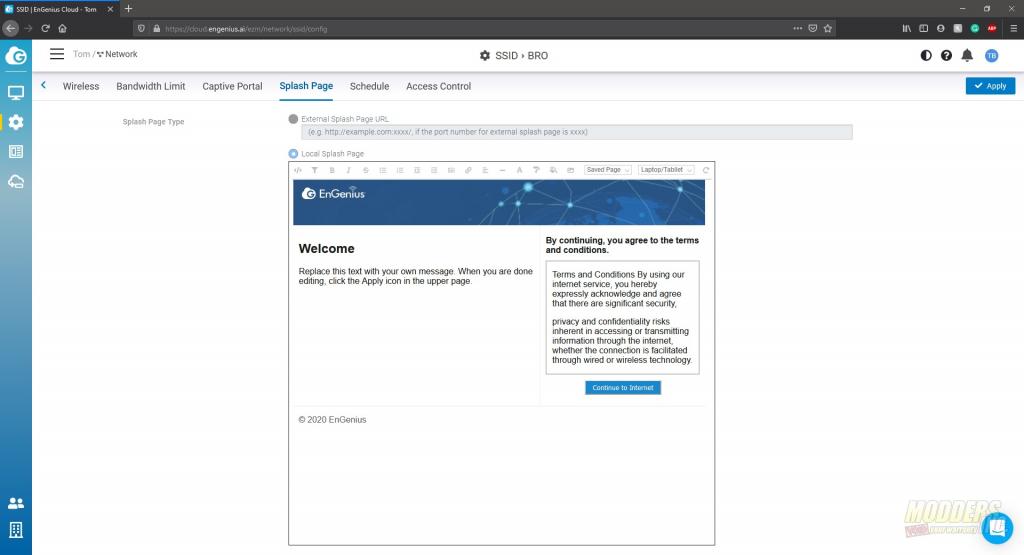
The splash page configuration is next. This is where you will choose or edit what guests will see when they connect to your guest network.
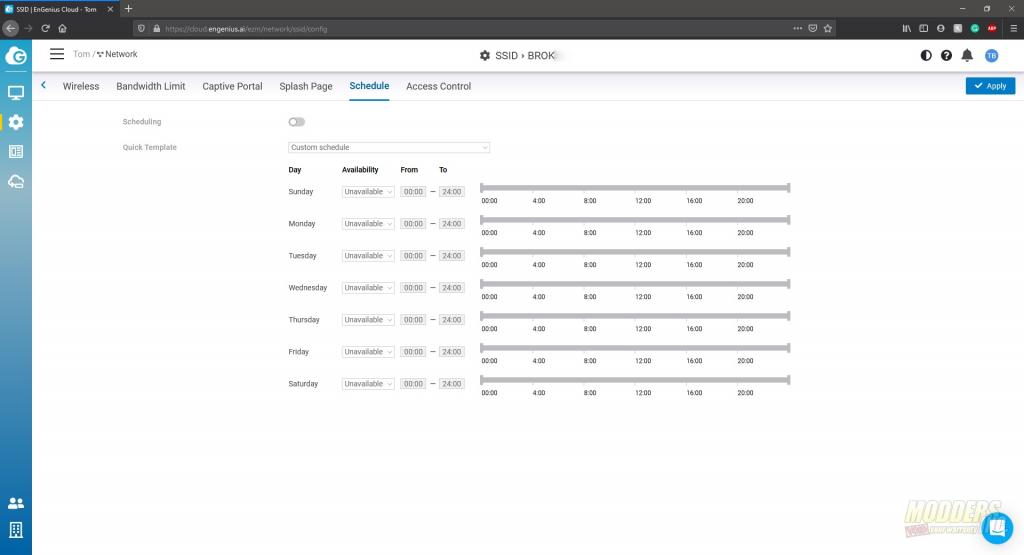
One of the security measures for wireless is scheduling. This page allows you to turn off the SSID when no one is around. If you only want your SSID to be available during business hours, you’d set that here.
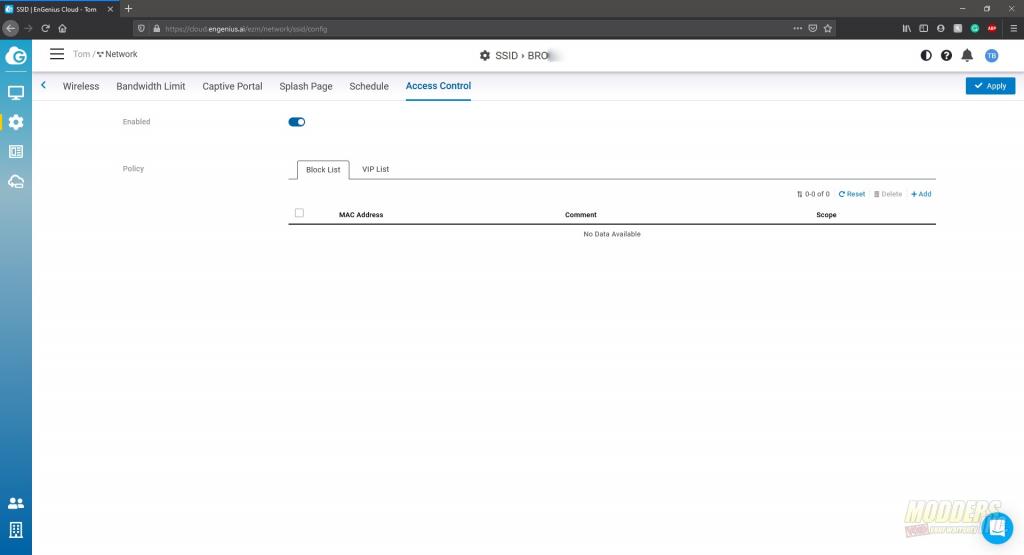
Finally, access control. This allows you to block or give priority to certain clients. If you have a wireless client that is misbehaving, you can add them to the blocked list. They will be blocked from connecting to the SSID. If you have a device that you want to give a higher priority for network access, they would be added to the VIP list.
