A Closer Look at Enermax Ostrog Lite
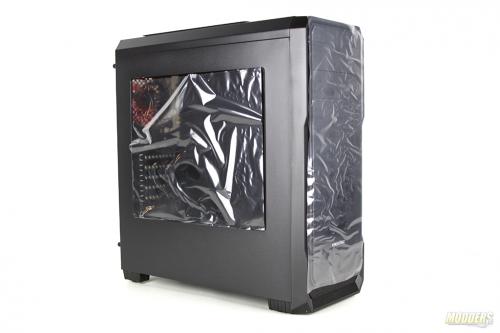
To protect scratchable surfaces Enermax uses an industry standard thin plastic sheet to cover fragile components. The case material is based on SPCC steel. SPCC is a type of a commercial grade rolled steel. SPCC steel provides a great stability/durability and lightweight.
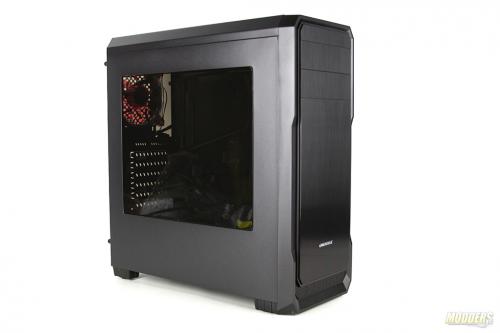
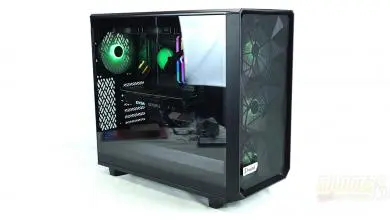
On the left side of the case is a tinted plastic (ABS) windows. The window is generous in size and provides 60 percent visibility into the case.
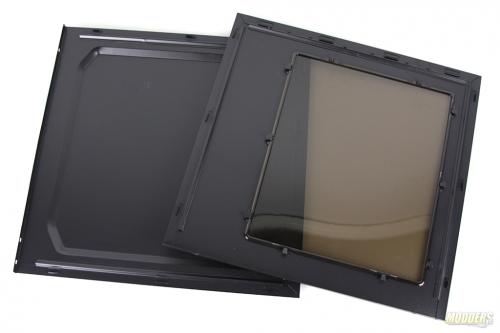
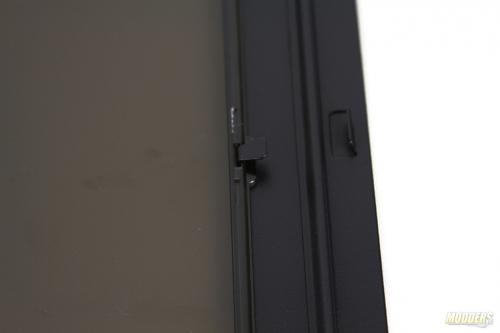
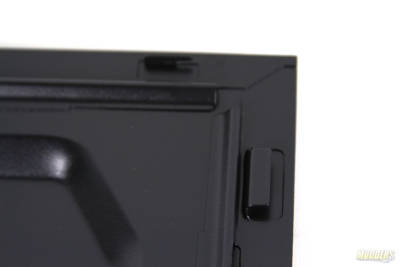
Both doors are made from the same SPCC steel as the rest of the case. The right side of the case has a bump out to facilitate cable management. The window can be removed completely by bending back the locking pins. If you are planning to do some custom painting, removing this window will not be a problem.
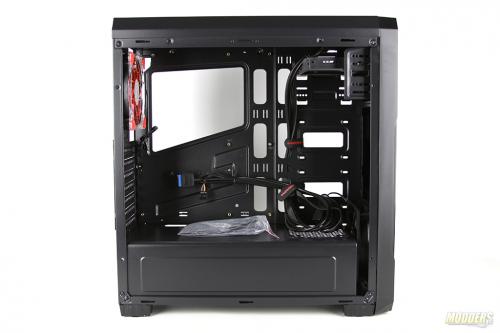
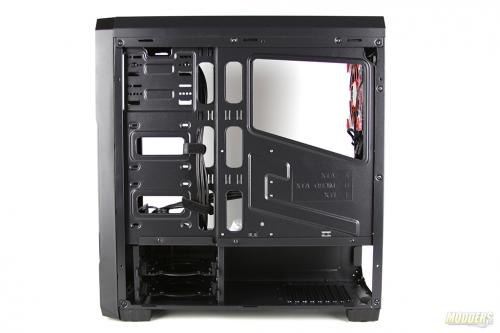
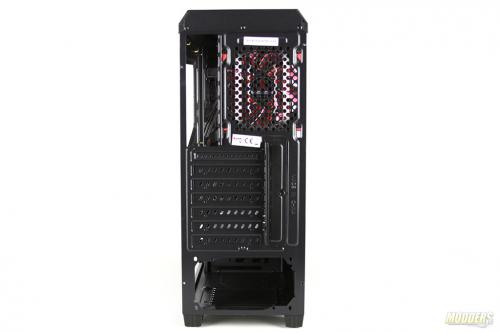
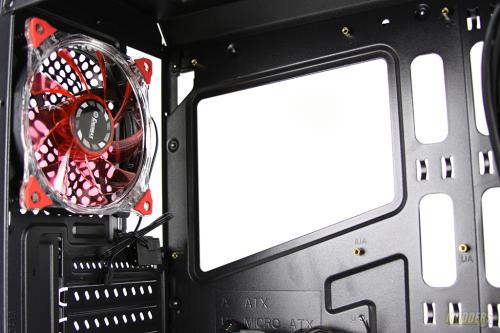
Ostrog Lite is just a perfect size to fit a full-size ATX motherboard. This case also supports Micro ATX and Mini ITX style motherboards. Motherboard tray in this chassis is non-removable however, it has a rather large cut out for CPU maintenance.
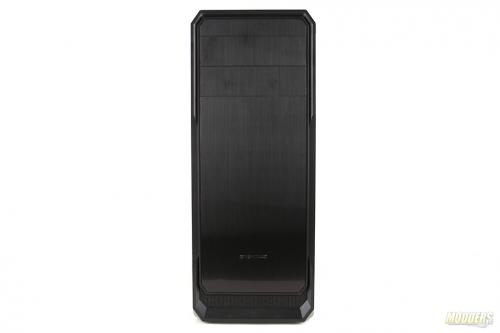
As I have mentioned earlier Ostrog Lite has an ABS front bezel. The finish of the bezel is “hairline” which adds a feeling of brushed aluminum. The material is very strong and not easily scratchable. The back of the case offers up to seven PCI based boards and accessories. A locking mechanism is on the right which is held down by just one screw.
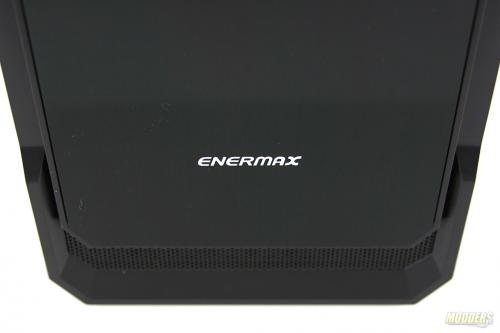
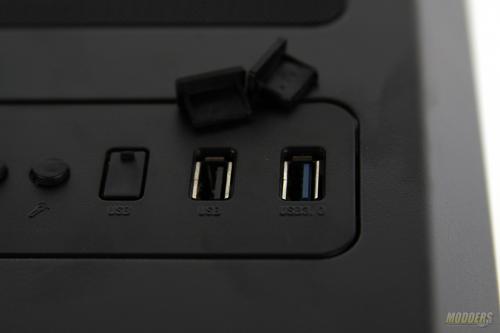
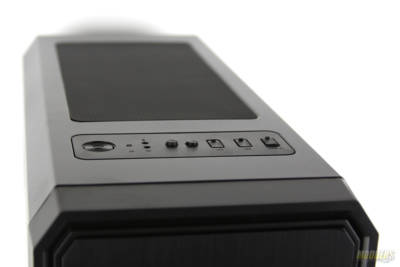
There is only one logo and its “ENERMAX”. I haven’t found any other badges or logos on this case besides on the front bezel. Front facing intake is guarded by a honeycomb built in the front bezel. The top IO panel contains a power switch, reset button, USB 2.0 x 2, USB 3.0 x 1, microphone and headset jacks. The IO ports are covered by rubber inserts.
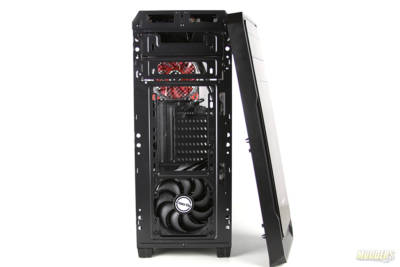
The bezel can be easily removed from the case to perform any maintenance on the front fan or potential radiator. Enermax doesn’t tell us that we can mount a radiator in the front however a small 120mm radiator (for small loops) would fit just fine.
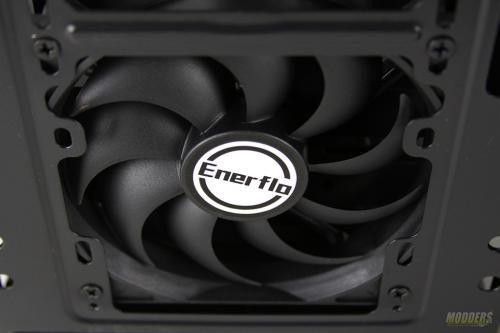
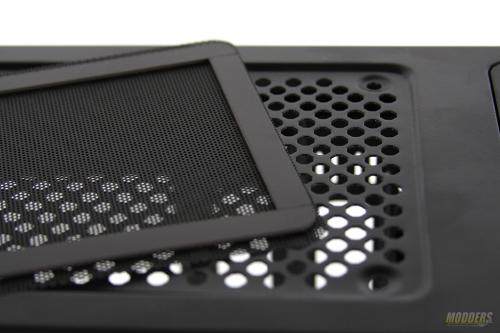
Behind the bezel is pre-installed Enerflo120mm fan. This fan has curved blades to provide the maximum intake of air flow into the case. Top mounting of magnetic honeycomb filter helps keep the system dust free. Looking at the top of the Ostrog Lite it’s is possible to mount two 120mm fans for additional cooling. It is also possible to install a low profile 240mm radiator, however, I strongly advise against it without modding this case.
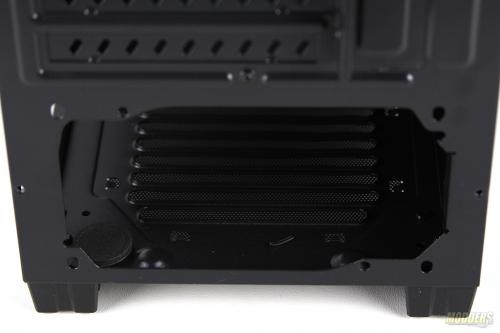
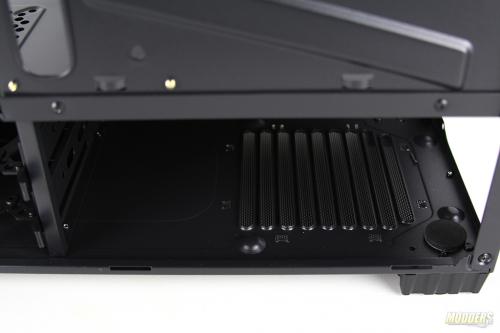
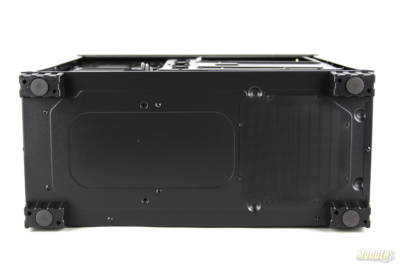
The power supply mounts on the bottom and has two vibration compensators to minimize the vibration from the power supply fan. These vibration compensators could be placed based on the need. Exhaust for the Power Supply is bottom facing.
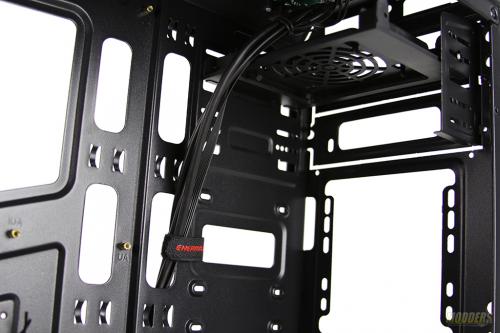
In addition to the front facing intake fan Enermax provides 120mm Red Circular LED fan in the rear. It is a nice addition to this case. Cable management is suggested by using Enermax included zip and Velcro ties. There are numerous indentations on the motherboard tray to help you manage your cables. If you have 5.25″ devices such as BlueRay drives and temp/fan control ports, they can be installed in the front of the case with ease.
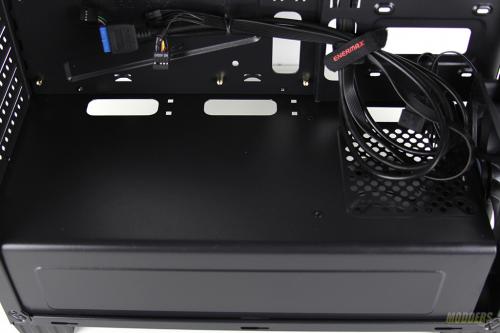
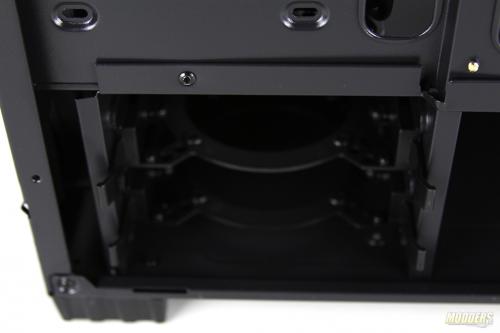
To get to the ports on the bottom of the motherboard you will have to snake your HD audio and USB cables from the bottom of the case. There are two large holes that would help you to guide your IO connections to the top of the case. There are two 3.5″ HDD slots on the bottom of the case.
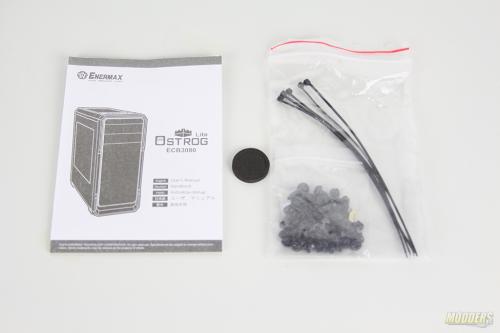
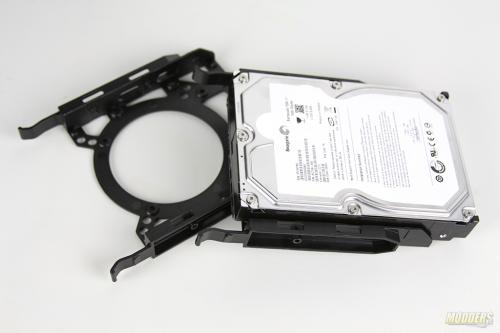
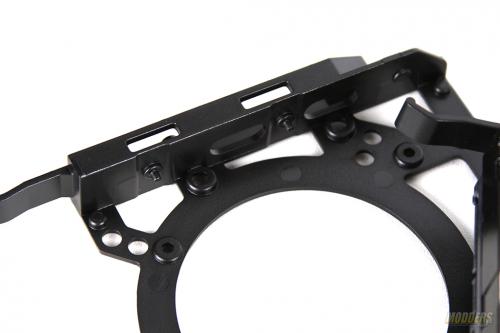
Being a budget case, there aren’t many accessories that come with Ostrog Lite. In fact, I found only one small bag of screws, a handful of zip ties, a set of vibration pads for power supply and instruction manual. Getting hard drives installed is pretty easy in Ostrog Lite. Ostrog Lite has plastic HDD sleds which require no screws for installation. If you looking to install SSDs you can secure them via small screws to the sleds. Pretty straightforward.
