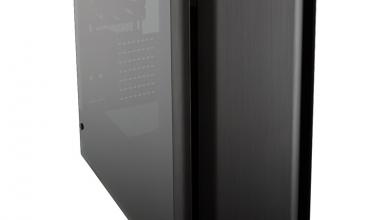
Enermax iVektor Computer Case Review
A Closer Look Inside
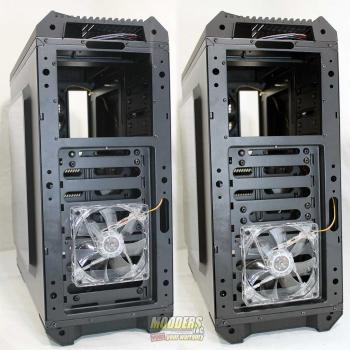
With the front cover taken off we get a look at the included 12cm (120mm) Blue LED fan. The case comes shipped with the fan located close to the center position, but the fan can be moved up or down or another fan can be added.
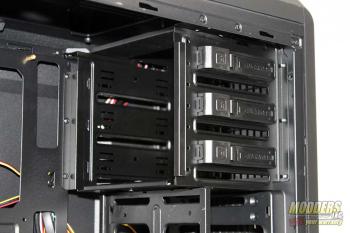
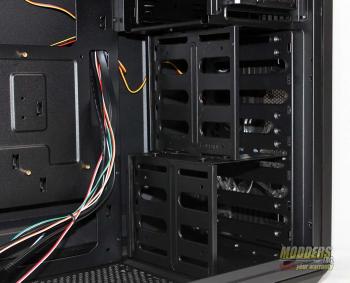
A look into the case shows us that it has the basic layout that we have seen before. The hard drive cages are located at the front. In the shipped state you have the ability to install stuff in the three drive bays at the top, four SSD’s into the center section and three 3.5 drive into the lower section. If you have only 3.5 drive or need more than the three at the bottom you can move the left side panel of the SSD bay area to the left by removing two thumb screws and sliding it over and reattaching. Now you can place seven 3.5 hard drives into the case.
Three bays are placed at the top of the iVektor for those that still use ODD or are wanting to use another fan controller.
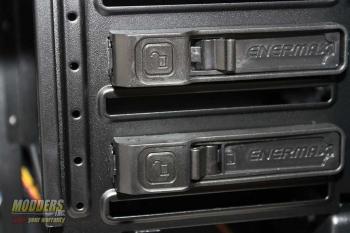
The drive bay holder as so easy to use that I can even operate them. The drive is installed by sliding it into the slot, line up the holes, flip the lever and your done.
The center of the hard drive cage has been designed to hold your 2.5 drives. Placing the smaller drives here creates a indention that the larger graphic cards can use. You should be to able to slide in a second card without any issues. The side of the 2.5 drive cage that is facing us in the image can be removed, or just moved over to allow more 3.5 drive to be installed. The other two cages are non-removalable unless you drill out the rivets.
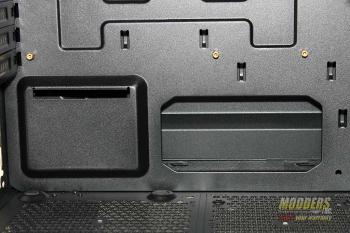
A great sized cut out (7″ x 5.25″) on the motherboard mounting panel is universal enough to allow access to the back of just about any motherboard to install back plated for your CPU cooling solutions.
Located at the power supply station there are some dimples with some rubber that the PSU sits upon. A ridge is also at the top portion where the power supply is located to help keep it in place. Just to the right is another large cut out for routing the power supply cables and other misc cords and cables.
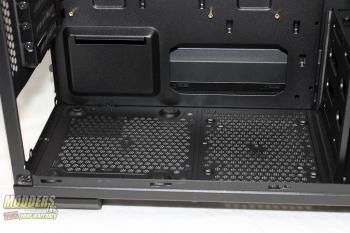
At the bottom of the case there is plenty of holes to allow air flow in and out of the case. On the left we can see where the power supply sits and just to the right is where you can install a 120mm fan.
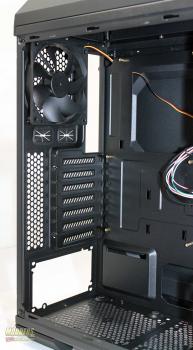
From this angle we get to look at the inside rear of the case. Not much out the ordinary here. The 12cm (120mm) does come installed in the iVektor.
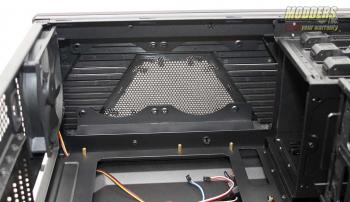
Looking towards the top of the case we can see the trapezoid air vent. Here Enermax says that the iVektor can handle two 120mm fans or a 240mm radiator. No fans are included here.
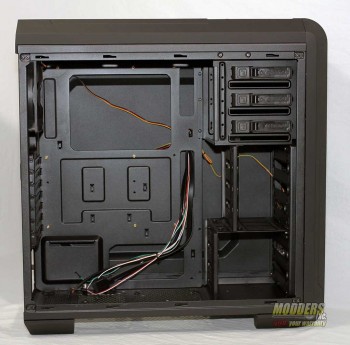
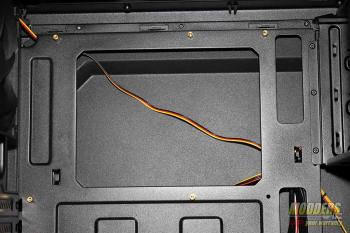
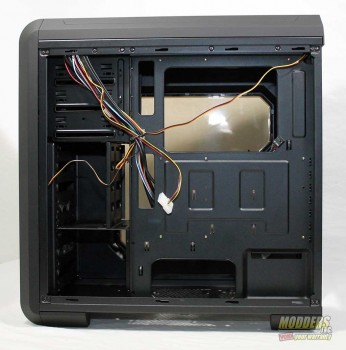
With the right side panel off we can see that there is not much here other than the cables running from the top control panel. Two access cutaways are place vertically next to the where the motherboard goes. Right next to them is a large access hole for getting to the back of the any installed motherboard. At the bottom we be a large 5.25 x 2.75 inch space that will allow you to run/hide the power cables from you power supply.
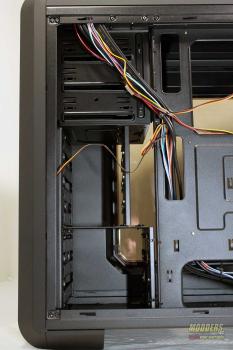
The case is set so that the connections on the drive face towards the rear with a gap just over one inch. This will help keep all the cluster of the cable out of the main part of the case. now if you want to have the drives turned in the other direction it can be done. The wires and cables from the top port travel down this side and back into the main section of the case.
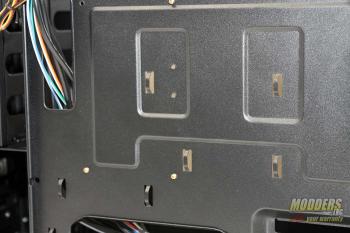
On the back of the motherboard panel are some punch outs that are there for you to use as a way to tie down your cables. This is were the pop out of the side panel come into play. Since there is not a lot of clearance from the flat part of the panel to the motherboard tray, the pop out allows you to route and tie up the cables for a cleaner look.
