Enemy Territory Quake Wars Radio Pack : by AmericanFreak
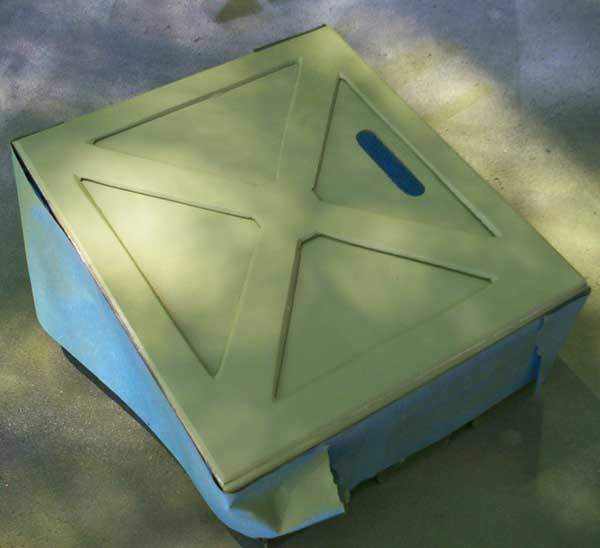
I laid down a base coat of silver since the screen shots show it to have a slight metal look to it.
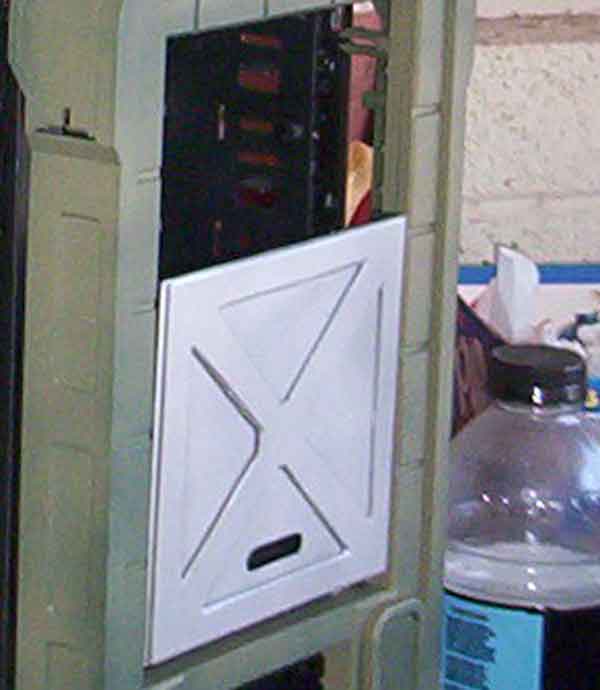
Some of the colors were also sprayed onto the piece to see how it looks. The piece will be painted later to match the whole case at a later time.
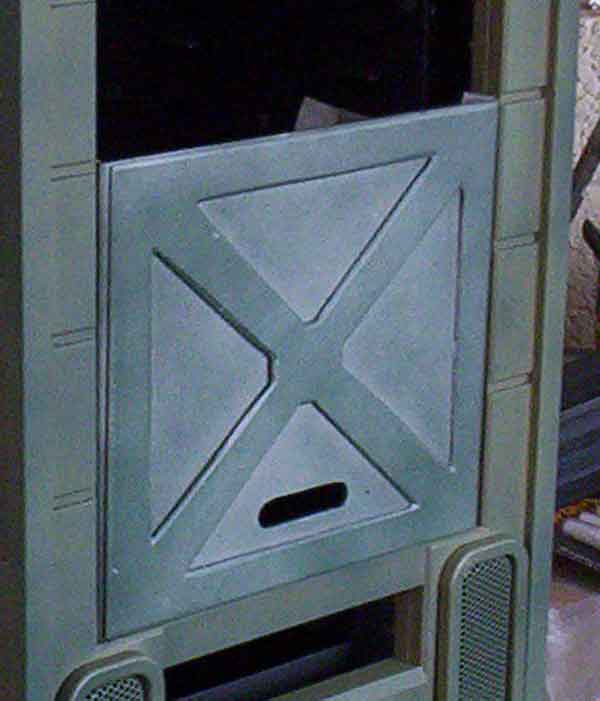
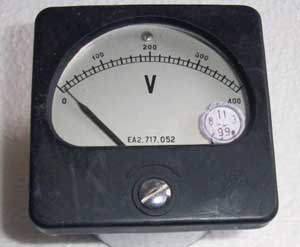
So lets take what I just did and apply that to the some analog dispays. With the limited time and space on the side panel were I wanted some “Radio Gauges” I decided that some fake,yet real looking gauges would have to do.
This is what I used to help me create them.
So I made a couple of square pieces laid out the design, drilled some holes, and cut them out.
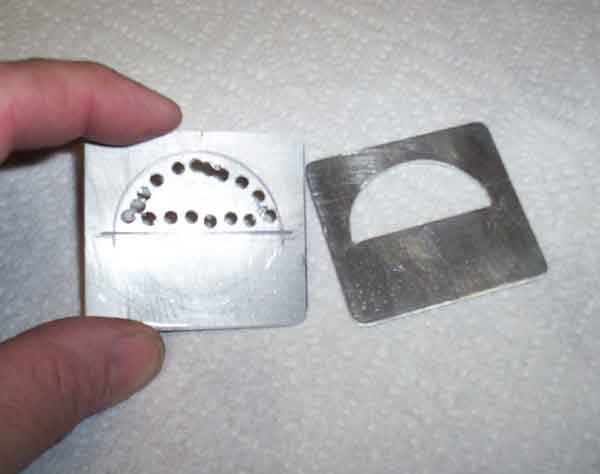
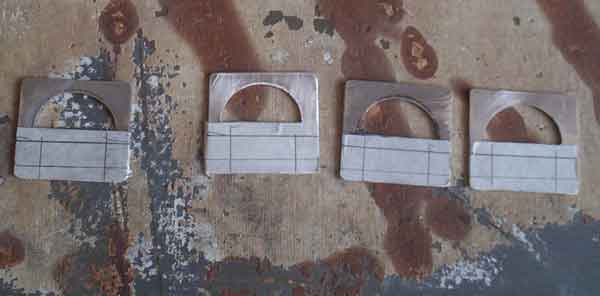
I clamped them down to drill the mounting holes…
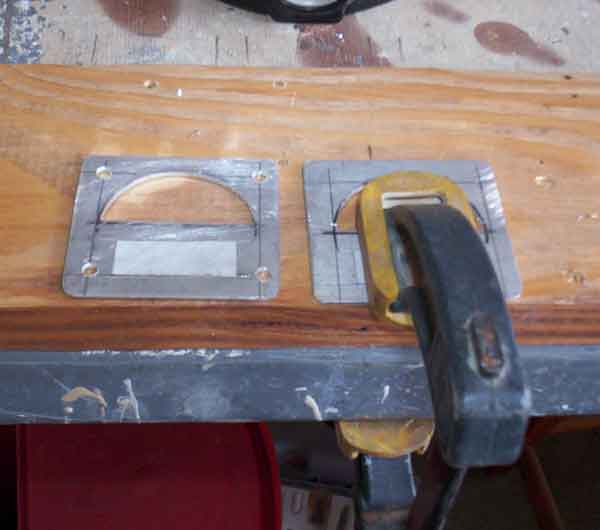
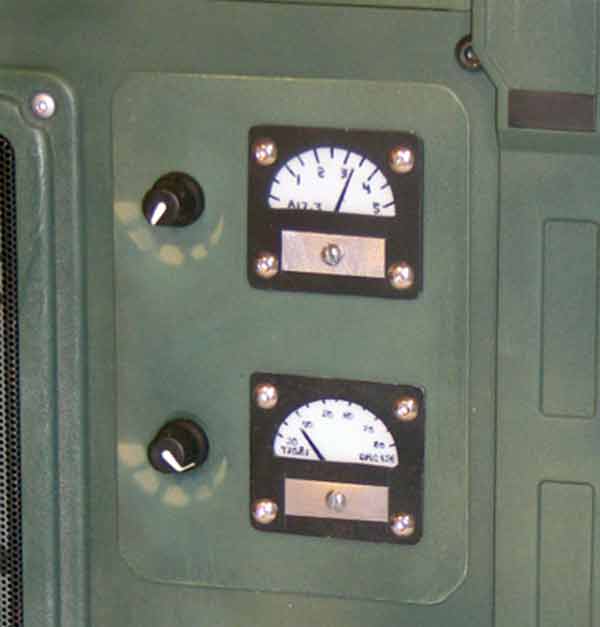
Sorry about this part as I seem to not be able to find ANY pics on how I make the dial part. But I can tell you what I did. I took some very thin clear plastic from a packaged piece of hardware I had. I cut it just a bit larger than the curved section of the pieces. I then made a template in photoshop to halp me draw the lines and numbers on the plastic, but I flip the images first before I printed them. That way the making would be on the back side of the “window” and I could Sharpie the lines, letters, and numbers onto the plastic and have them show the correct way. This allow allowed me to paint the back of “window” white which made the letters and stuff look like they were printed on the gauges…;-) BUT, before I painted the backs I added a small narrow piece of plastic that was black to be the needle on the analog gauge.
I was trying to figure out if I like the pop rivit look or the allen head bolt look. I went with the allen head. I also made another small plate for the gauges and two knobs to set on. I thought it would had some depth the side panel
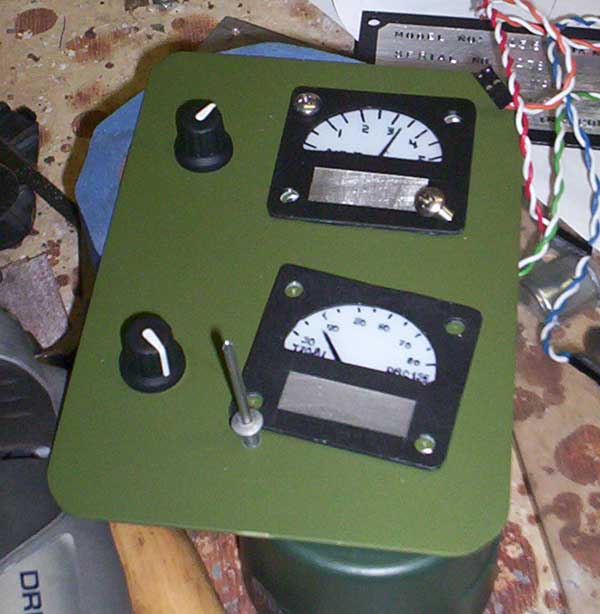
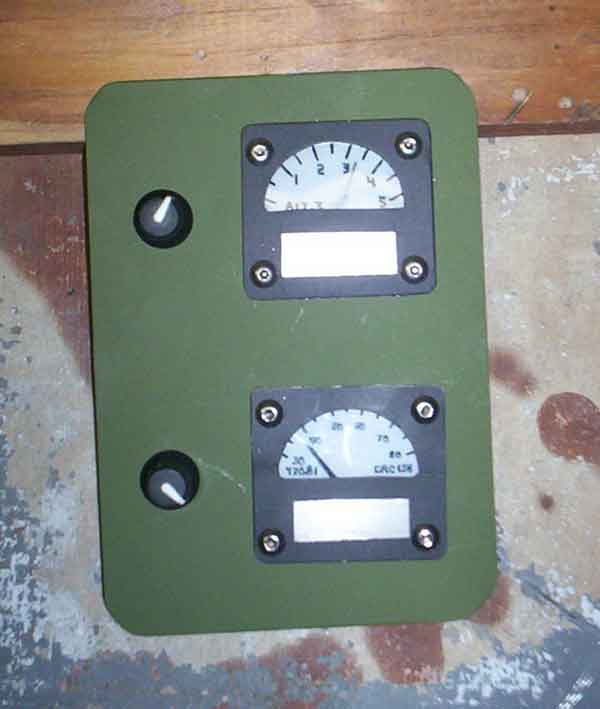
I think it turned out pretty darn good and looks MUCH better when painted to match the case and I painted some progression bars under the knobs to indicated which ways to turn them to increase what ever they do…lol
