EKWB EK-XLC Predator 240 All-In-One CPU Liquid Cooling Unit Review
Installation
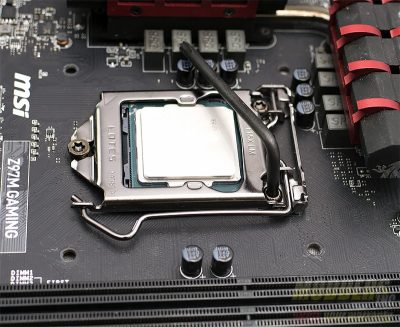
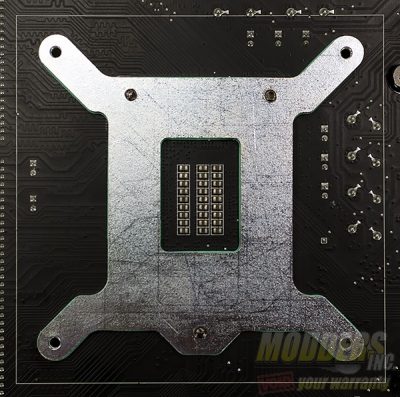
To get the water block mounted to the motherboard, you must remove the stock Intel backplate that is used to attach the CPU retention mechanism to the motherboard. EK has included a Torx T20 wrench. There are three screws total; two at the top and one at the bottom. I chose to do this with the CPU installed.
After the stock backplate has been removed, simply attach the backplate included with the kit and tighten down using the screws you removed previously. Don’t forget to put the paper gasket between the motherboard and the backplate.
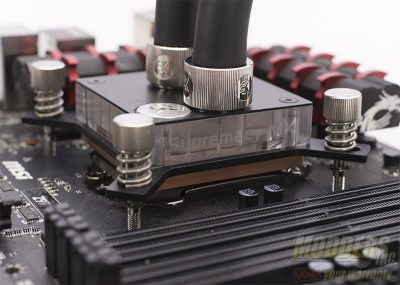
Once the above steps have been completed, you’re ready to install the waterblock. First, remove the protective backing on the waterblock. Next clean the top of the CPU with some rubbing alcohol or TIM cleaner and apply new thermal paste. Finally place the waterblock on the CPU and tighten the thumbscrews in each corner. Remember to use a criss-cross type pattern and do not use any tools. You should be able to tighten them down with just your fingers.
Finally, you’ll hook up power to a SATA connector and plug it into the PWM board on the radiator and plug the PWM header from the radiator into the motherboard header. Even though this is an AIO, I’d still recommend using a jumper on the power supply to power on just the pump. This allows you to check for leaks. There shouldn’t be any but, a little bit of prevention will save your precious components.
