ECS Z87H3-A2X Golden Motherboard Review
UEFI BIOS
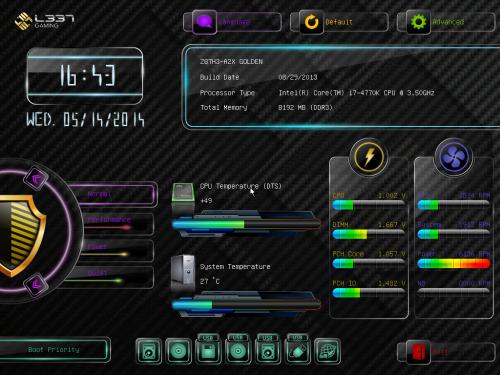
To enter the UEFI BIOS on the ECS Z87H3-A2X, press the DEL key just after the board POSTS. By default “EZ Mode” is the screen that is displayed. Not all adjustments are displayed in EZ Mode but some settings can be adjusted. To change the boot order for example, just click on the icon and drag it into the position. There are two options in EZ Mode for performance settings; Normal & Performance. To change modes, just click on the arrows either above and below the shield on the left side of the screen. With EZ Mode, ECS makes it very easy to see what the PC is doing in terms of temperatures, voltages, and fan speeds as they are the most prominent feature on the EZ Mode screen. To move onto to a more traditional UEFI BIOS, click the advanced button at the top right of the screen.
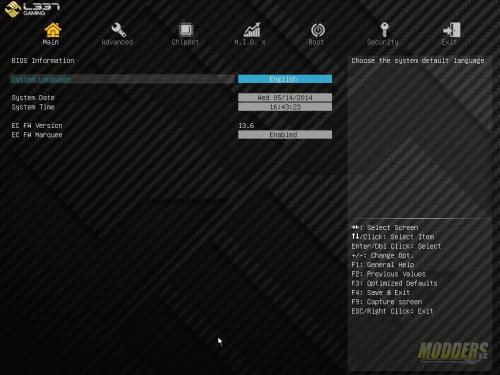
In advanced mode, every setting in the BIOS is available to the user. The BIOS is broken down into seven different areas with sub menus under each. The 1st area is “Main”. Main is where the time and date can be set as well as to display the firmware version upon bootup.
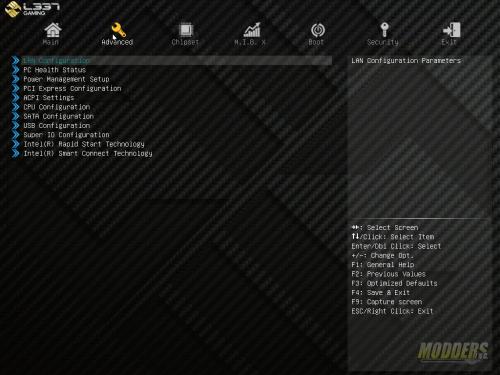
The advance tab is probably the most indepth tab in the BIOS. The advance tab controls all the on board peripherals on the ECS Z87H3-A2X. Items such as LAN configuration, power management, com and parallel ports are all configured in the advance tab.
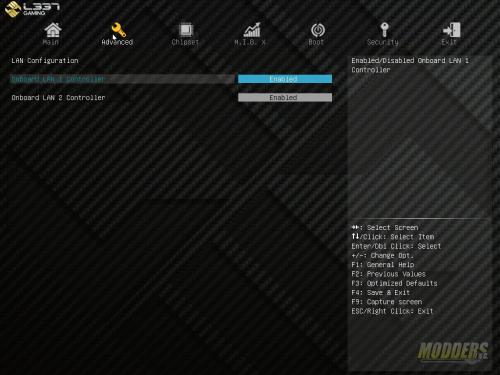
The 1st submenu in the advanced tab is the LAN configuration. Since the ECS Z87H3-A2X has two network interface controllers, each of the controllers are shown here. The only options are to either enable or disable the each one of the controllers. Press the ‘Esc’ key to head back to the advanced main page.
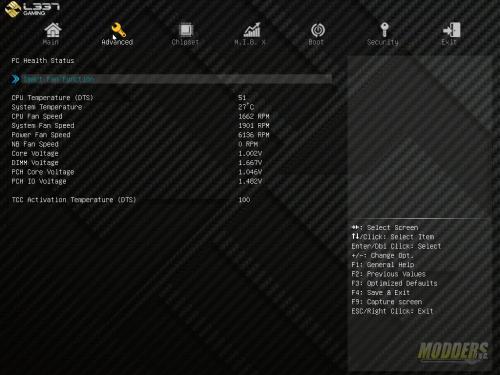
Next up is the PC Health Status. In this submenu the fan headers for the CPU fan, System Fan and Power Fan on the motherboard can be configured under the Smart Fan Function submenu. Each fan can be set in four different modes; Normal, Quiet, Silent, and Manual. With the setting at manual, a custom PWM slope can be configured. Going back to the previous page the health status is displayed. This page shows information on the current CPU temperature, system temperature, fan speeds, and voltages.
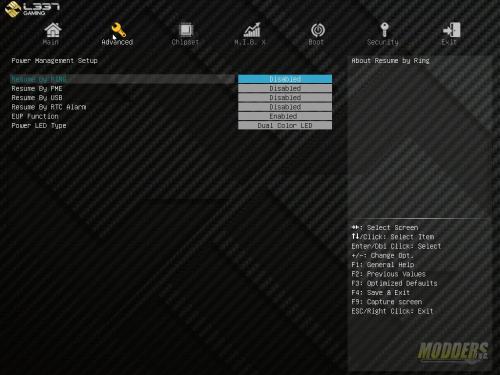
Power Management Setup is the next item. Resume by Ring, PME, USB and RTC alarm is supported. One thing to note is that in order to use Wake on LAN, EUP Function and PME must be enabled.
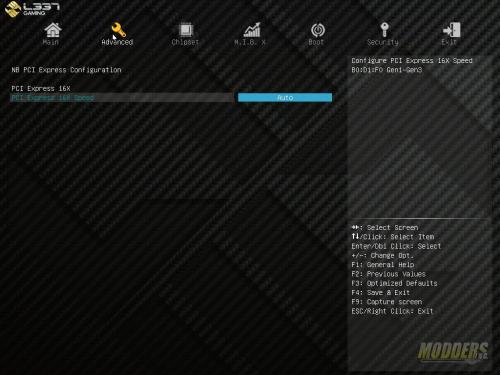
The PCI Express configuration is next. The options to configure the PCI Express 16X speed are Auto, Gen1, Gen2, and Gen3
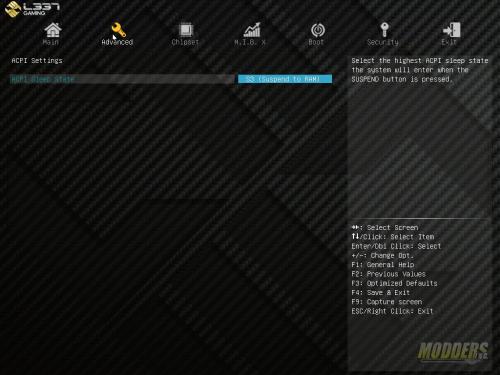
The ACPI Sleep state is the next time on the list. The options are Disable and S3 (suspend to RAM).
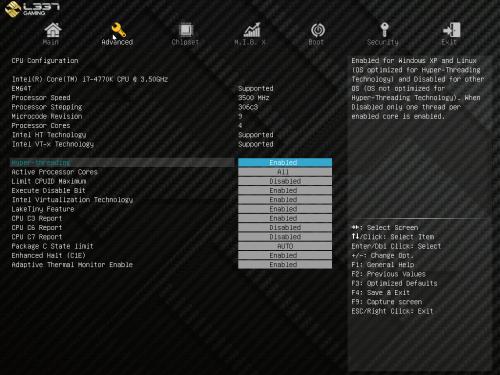
In the CPU Configuration submenu, the features of the processor are laid out. Items such as HyperThreading and Intel Virtualization technology can be enabled or disabled.
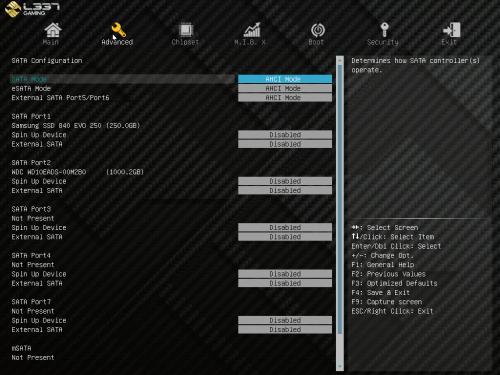
In the SATA configuration, all the options for the SATA devices are displayed. AHCI mode for each SATA device can be enabled here. Each SATA port on the ECS Z87H3-A2X Golden can be configured as an External SATA.
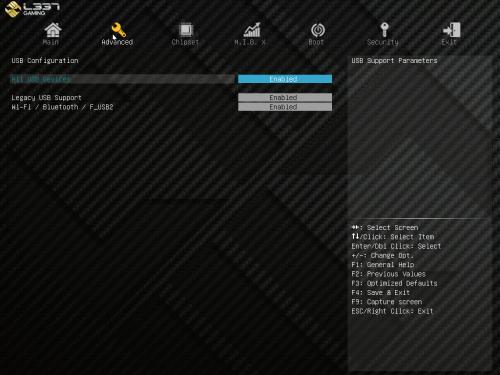
The USB configuration submenu is where the USB configuration options can be found. Legacy USB support as well as Wi-FI and bluetooth support can be enabled or disabled.
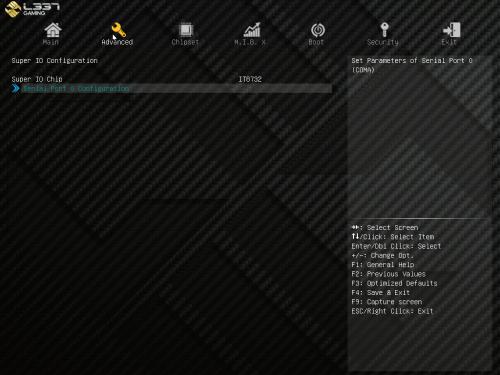
For you old schoolers that still use a COM port (like me) the COM port settings can be set in the Super I/O configuration. A separate COM port header is needed in order to use the COM Port on the motherboard.
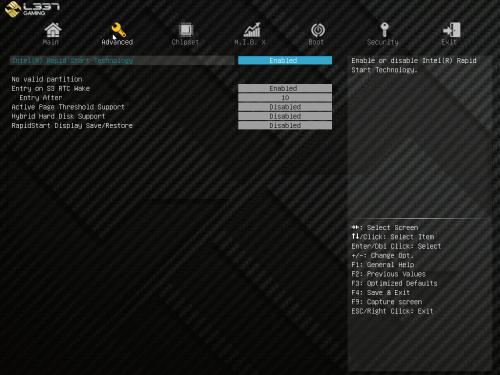
The Intel Rapid Start configuration page is next. Configuration options include enabling or disabling Hybrid Hard disk support, Active page threshold support and the Rapid start technology.
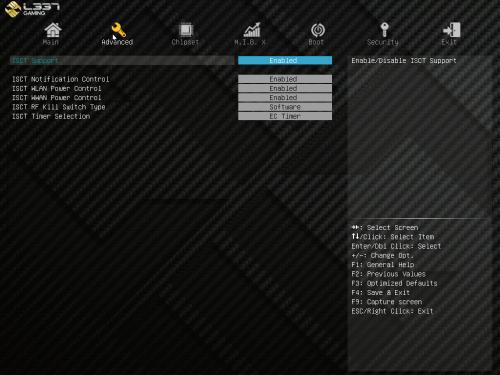
Intel’s smart connect technology configuration is the last page in the Advance tab. Smart connect technology acts similar to a smart phone or tablet and will wake the PC up periodically in order to perform updates on applications. Things such as weather widgets, email, RSS feeds can be added to the software within windows.
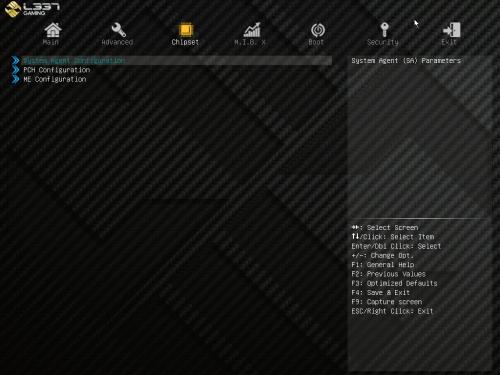
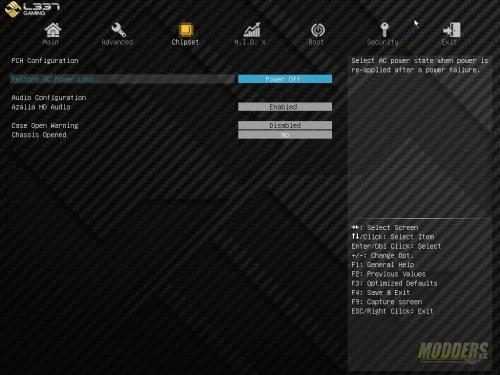
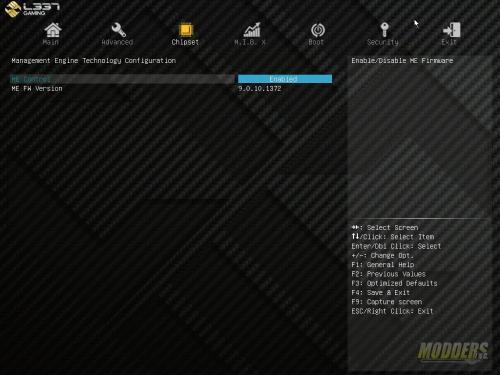
The chipset tab is next. There are three submenus under chipset; System Agent Configuration, PCH Configuration, and ME configuration.
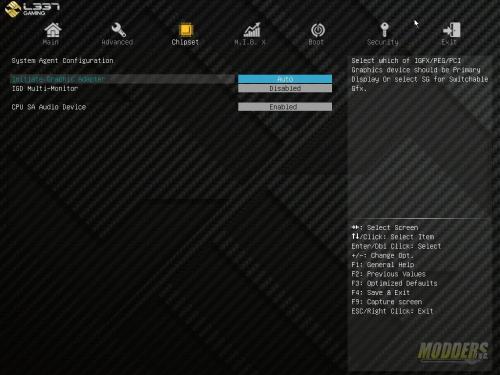
The System Agent Configuration submenu is the 1st option under the chipset tab. Here the primary graphic adapter can be set as well as the audio for the on CPU. Multi-monitor on the integrated adapter can be enabled here too.
Configuration options such as system state after power loss and on board audio can be configured in the PCH configuration submenu.
Intel’s Management engine is enabled or disabled in the ME Configuration sub menu.
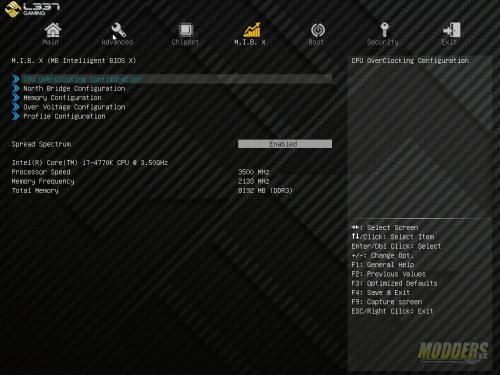
All of the overclocking options for the ECS Z87H3-A2X Golden are contained in the M.I.B. X tab submenus.
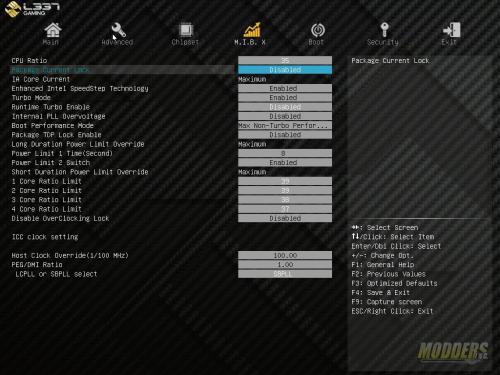
To start off the overclocking adventure the CPU Overclocking Configuration submenu is used. Here is where the CPU options are set. Options such as multiplier, if you have an unlocked CPU, SpeedStep, Turbo mode are all contained here. Individual core multipliers limits can be set in this sub menu as well.
The northbridge configuration was a complete blank.
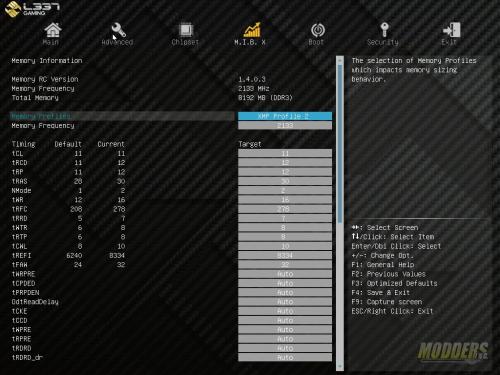
Memory overclocking is where timings and speeds are set. Supported XMP memory profiles are selected here as well.
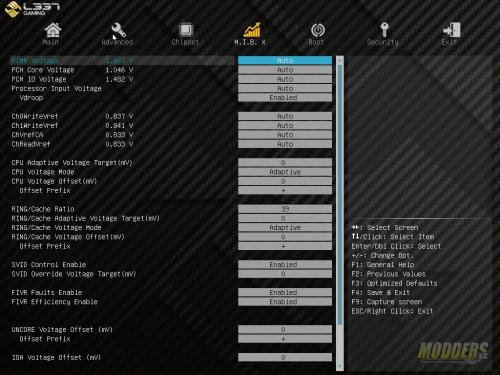
Voltage tweaks are up next in the Over voltage configuration submenu. CPU Vore and DIMM voltage can be manually entered here or set to auto. Voltage offsets and voltage targets can be specified in this submenu.
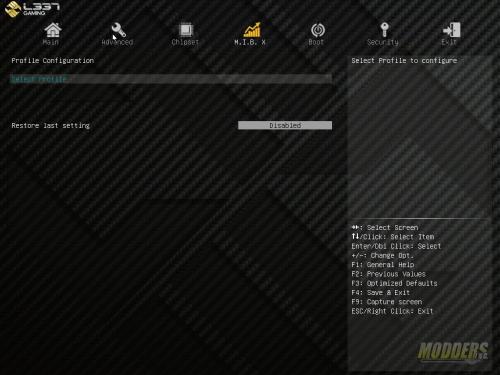
After all the tweaks have been made and the over clock is stable, it can be saved and recalled at a later time in the Profile configuration submenu.
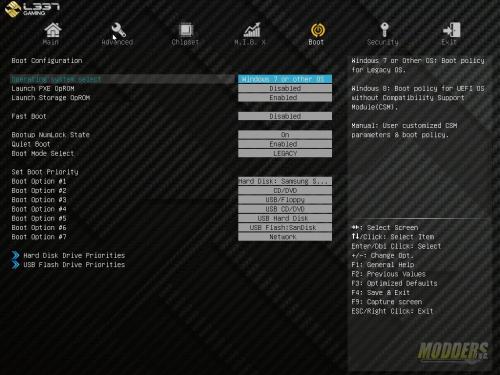
Depending on your system, you may have multiple boot devices, such as a SSD and a USB thumbdrive. Boot option priority as well as the PXE rom for the RAID controller are set in the boot menu. Just as a heads up, if you choose to enable fast boot, you will not have the opportunity to access the BIOS after the motherboard POSTs. You will need to use a piece of ECS software in Windows to access the BIOS on the next boot up.
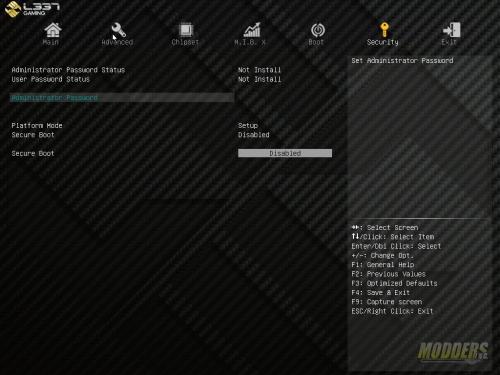
In the Security tab, the BIOS can be protected via a password, heck even the system as a whole can be protected and not boot until a password is specified.
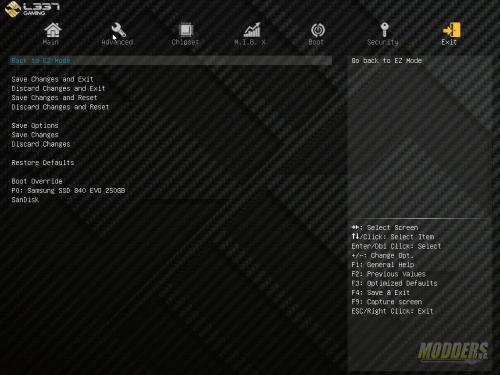
The exit tab is the end of the journey for the UEFI BIOS on the ECS Z87H3-A2X Golden. Here changes made can be saved or discarded. A boot override is available for those that choose not to set a permanent boot option.

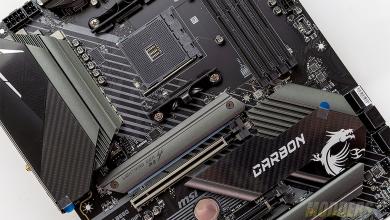

this board is funky. i like that it splays GANK proudly on the cover. so many connotation. then the heatsinks remind me of a waves and a waverunner. its like the motherboard a middle east dictator would use.
Thanks for the excellent review Tom. Those are my thoughts exactly Vajoiner. lol. GANK is an unfortunate name for a motherboard. There’s plenty of great ideas on this board but the price tag is certainly extremely high (although affordable to mid-east dictators. lol)