Doom 3 Case Mod Health Station Project
Health Station: Time to Charge Up
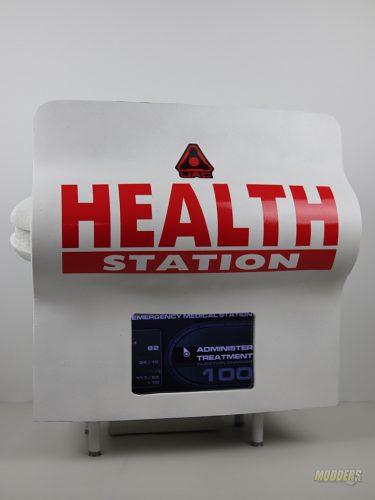
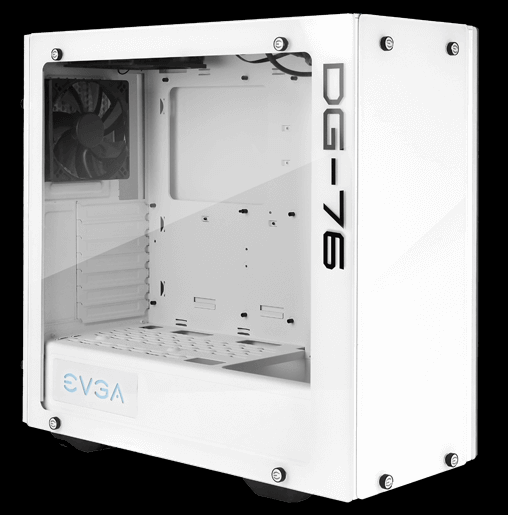
The case I got from EVGA was DG-76 Alpine White. Since my mod had to be white, it was perfect. The case has two tempered glass sides but that didn’t matter since I was going to completely gut the case anyway.
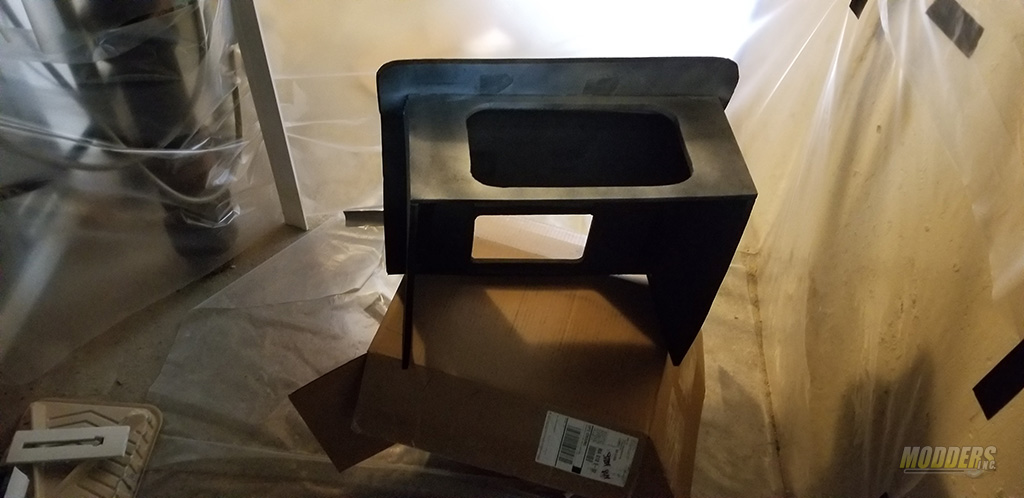
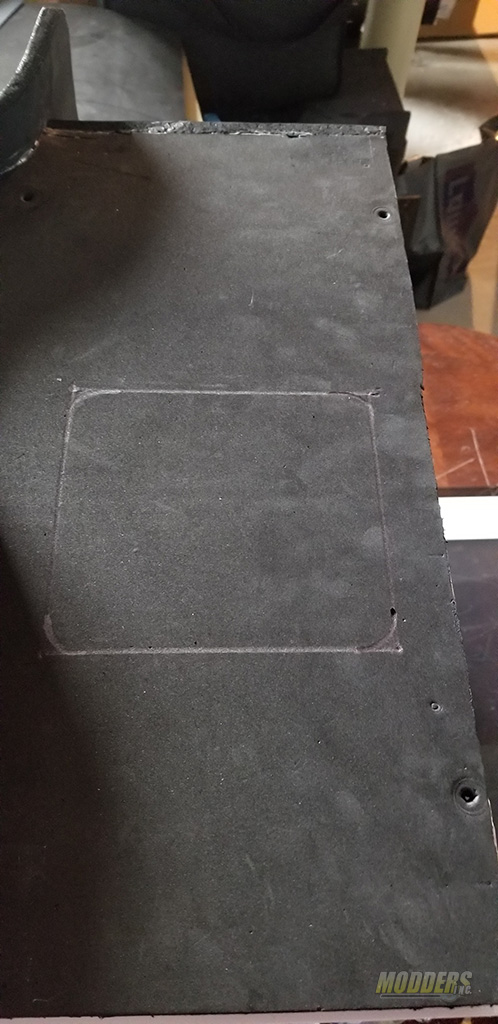
What was challenging was a choice of material to work with to achieve the desired look. I knew I had to outfit DG-76 with material that would be bend and form easily (because of the front bend). I looked at numerous forums and asked a million questions just to find out that the best material to use is using EVA Foam. Some other materials I considered were steel sheets, wood, abs plastic, carbon fiber, and fiberglass. I have seen Cosplayers use EVA Foam to cut and mold it into specific shapes, so I figured I could apply the same techniques in my build. The foam usually comes in black and has multiple densities depending on the need. The foam I picked was by “The Foamory”. These guys had exactly what I needed, a 10mm rolled EVA sheet. Their foam has a higher density of (@85 kg/m3) than most of the supplies on Amazon.
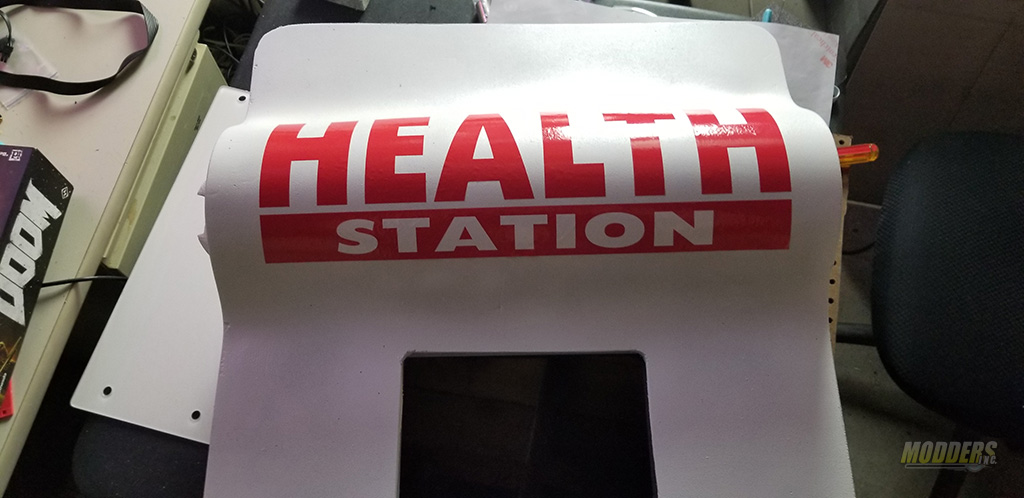
I also picked up a Matte White VViViD Vinyl Car Wrap roll in hopes that I could potentially use it to wrap my foam in it. Boy was I wrong. Once I had my foam completely formed I tried to use a car vinyl wrap on the foam itself. This ended up in a disaster! The wrap would stick to the foam but only barely. I tried using the heat gun on the foam and vinyl to try to keep it in place however I failed miserably with multiple attempts. Vinyl was tough to stretch over some of the bends and no matter what I did it wouldn’t stay in place. So, the lesson learned here not to use car wraps on textured surfaces.
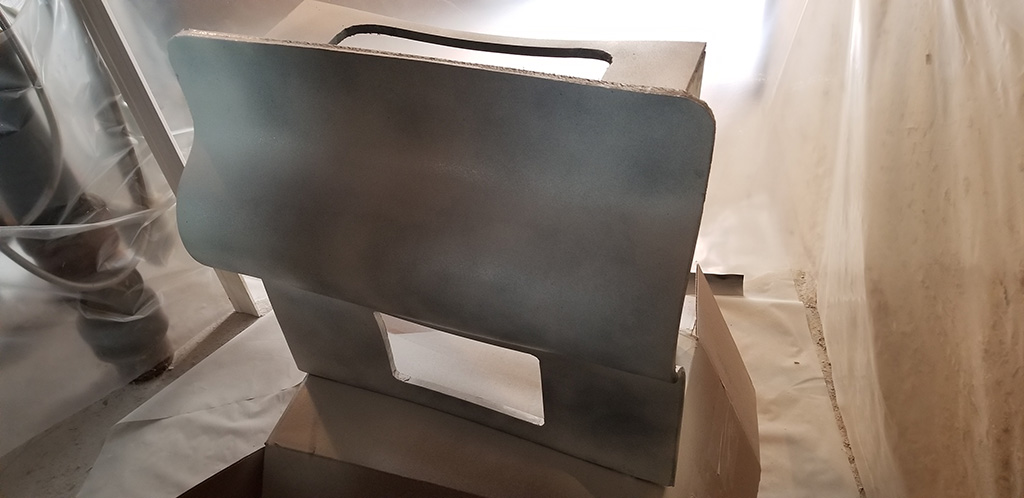
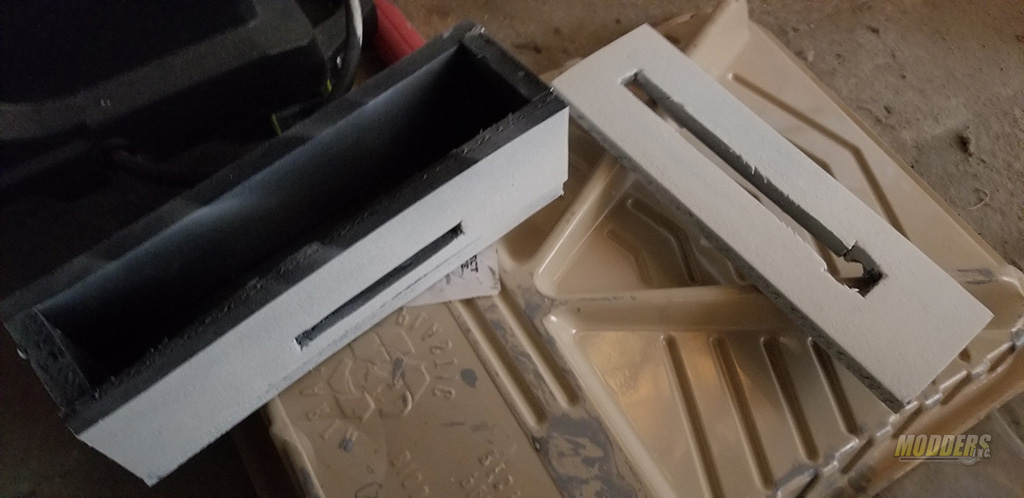
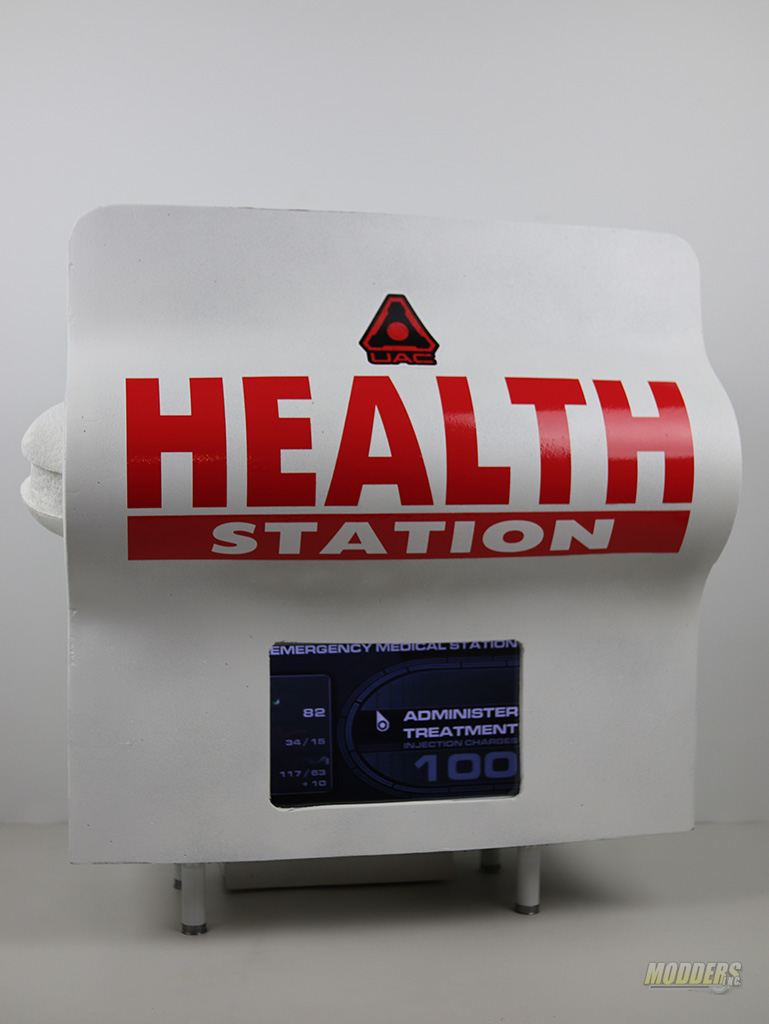
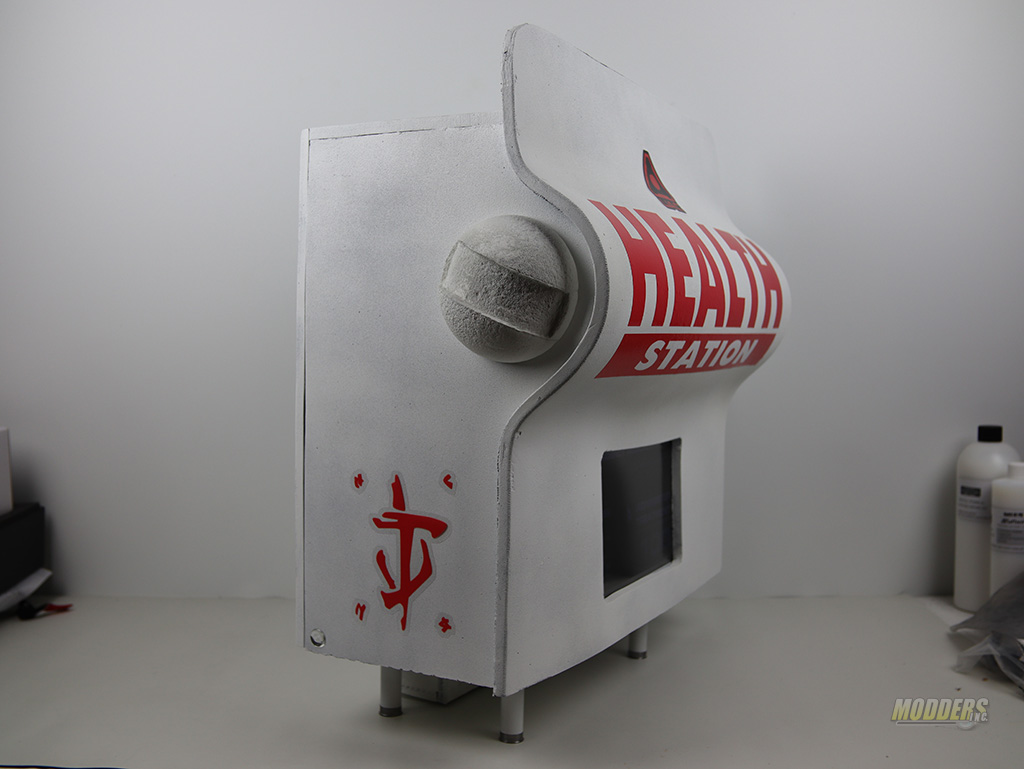
While researching paint I came across a matching spray paint color from one of the local hardware stores. What I ended up using is a good ‘ol trusted Rust-Oleum product, Satin White Paint and Primer. The spray goes on evenly and with multiple coats, I was able to achieve the desired look. What I did learn dealing with EVA Foam is that if you are going to paint it make sure you are ready for some color bleed. If I remember correctly I had to put 4 or 5 coats to completely cover my mod.
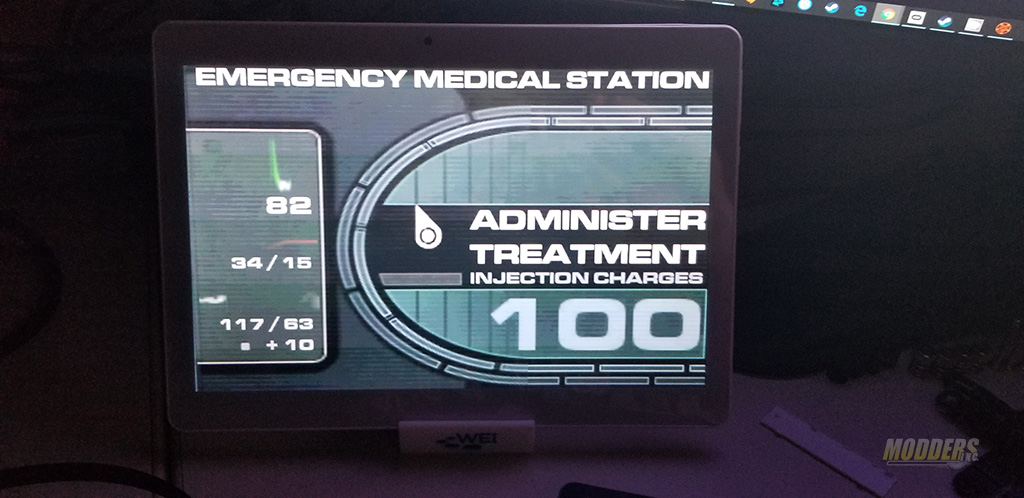
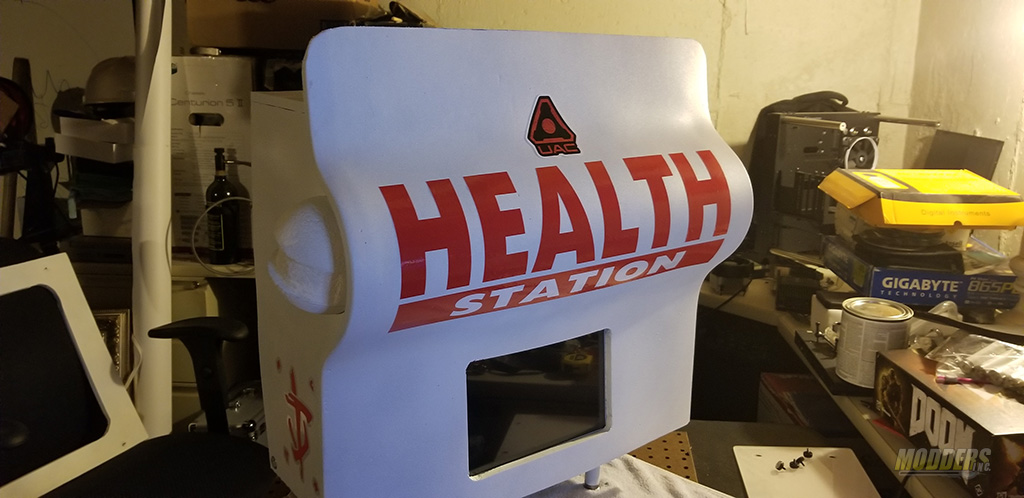
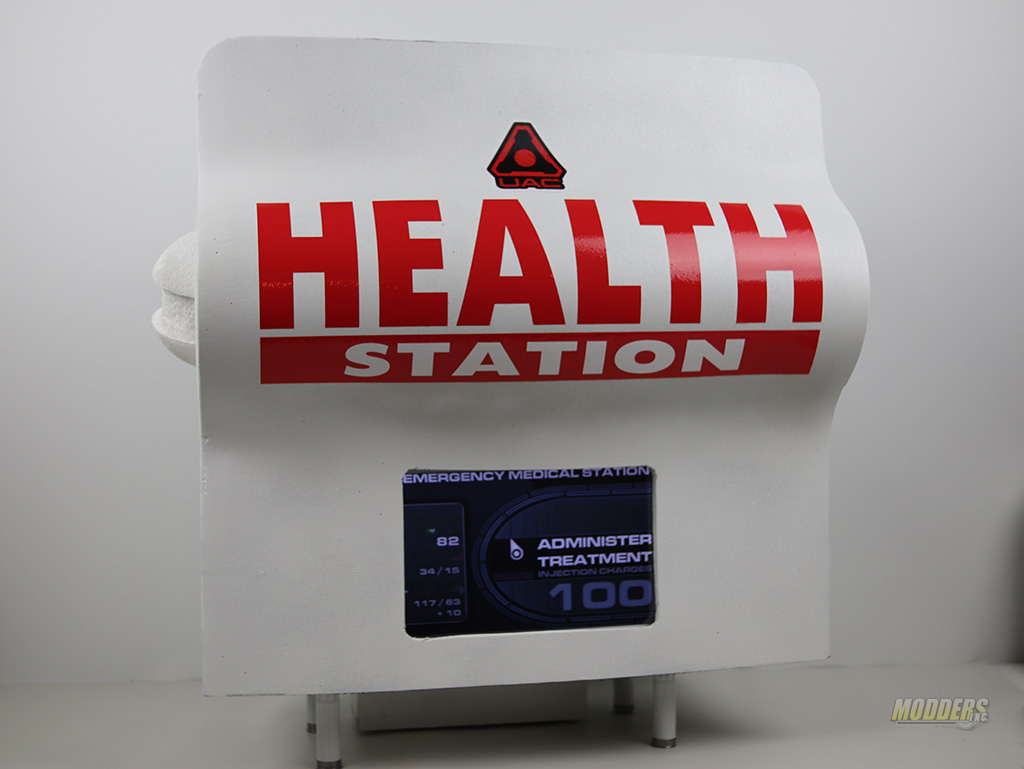
Creating the LCD effect in the front of the Health Station was a little bit challenging as well. If you refer to the original concept of the DOOM 3 Health Station, there is a 4:3 LCD in the front. Unfortunately, no one makes 4:3 in tablets so I had to improvise. I ended up picking up a 10 inch Android Tablet from Amazon to get as close to the design as possible. The tablet I picked out was by LNBEi (Amazon Link). This is an entry-level Android-based tablet that you can buy for your kids for under 100$. Nothing special was needed here after all it had to do is play the captured video from the game.
To capture the video from the game I had to run the game in a “windowed” mode and use an application called CamStudio to capture a section of the screen. CamStudio has been out for a very long time and has a long track providing users a free screen capture. Once I had my 2-minute video I used AVI Splitter to correctly cut the video to make a perfect loop.
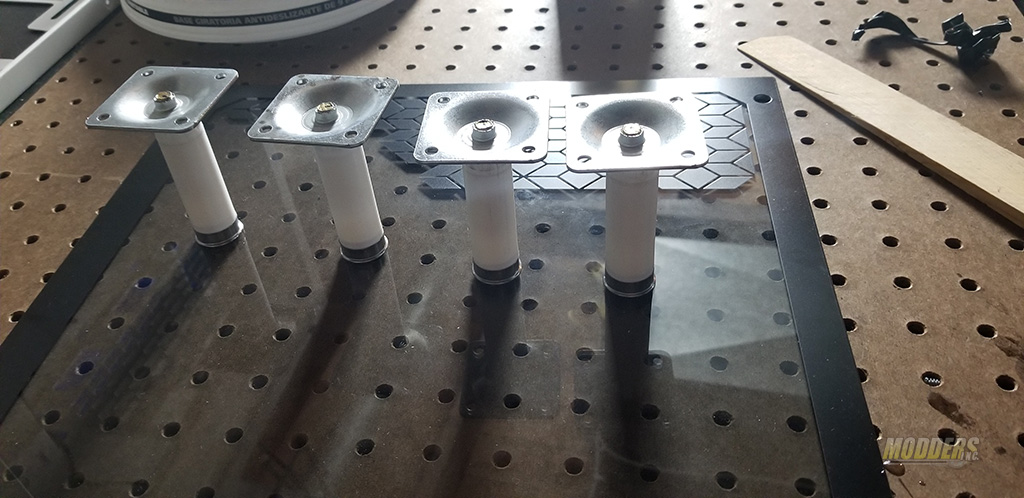
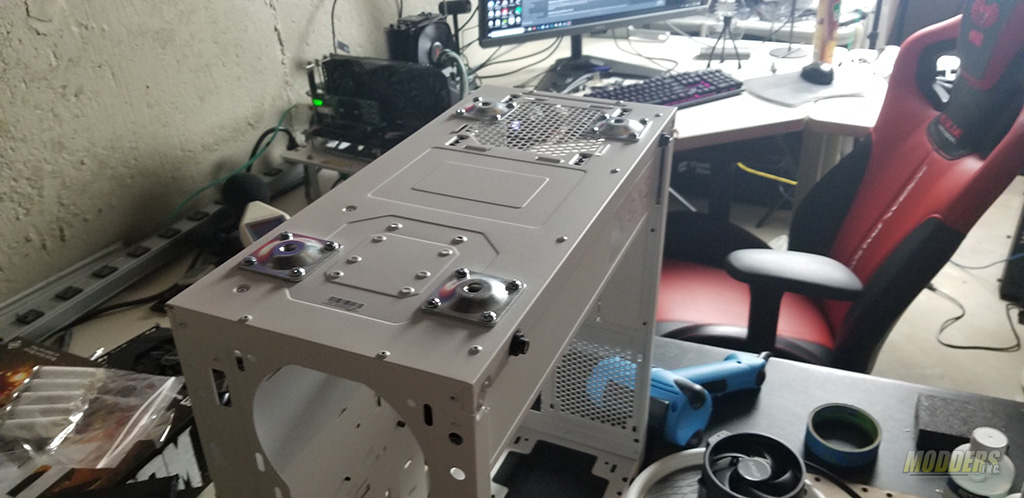
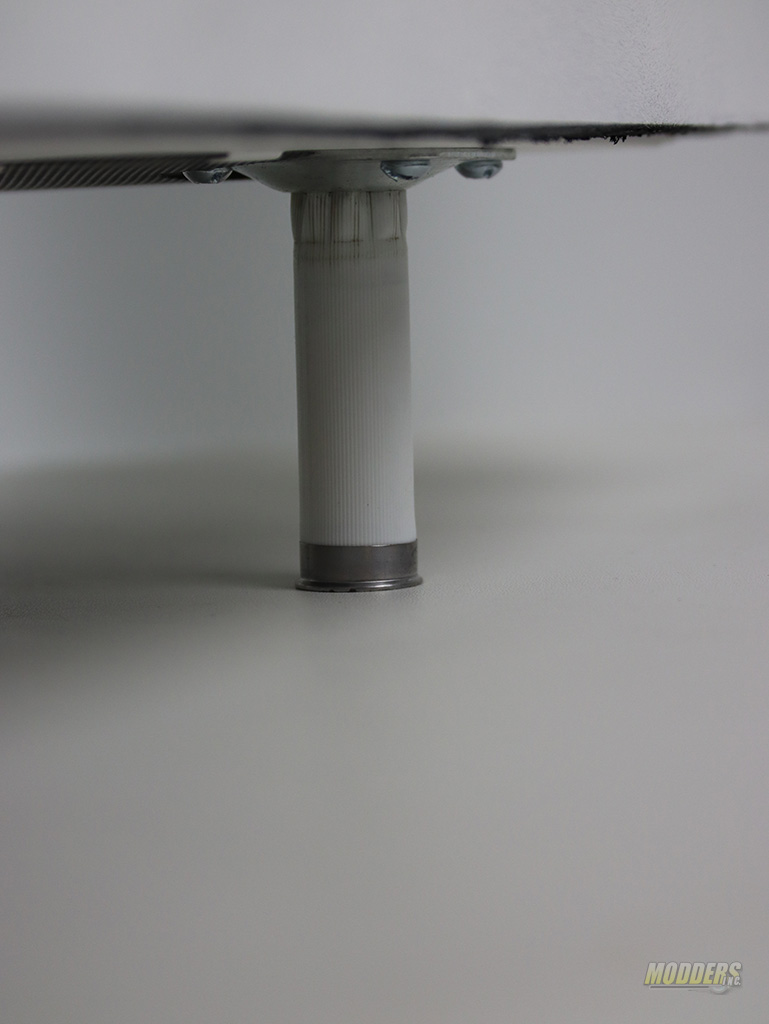
DG-76 is equipped with a short plastic/rubber feet that would look odd on this mod. I brainstormed a for a while until I came up with an idea to use empty shotgun shells to rest the case on. I have purchased a dozen of empty shotgun shells from Etsy seller “CraftSuppliesDepot”. Lawrance, who runs this shop had a great selection of what I needed. So, if you are looking for shells, check his store out you won’t be disappointed. The shells were cleaned, and I have filled them with a resin to make them as sturdy as possible with a metal post in the middle of them for support.
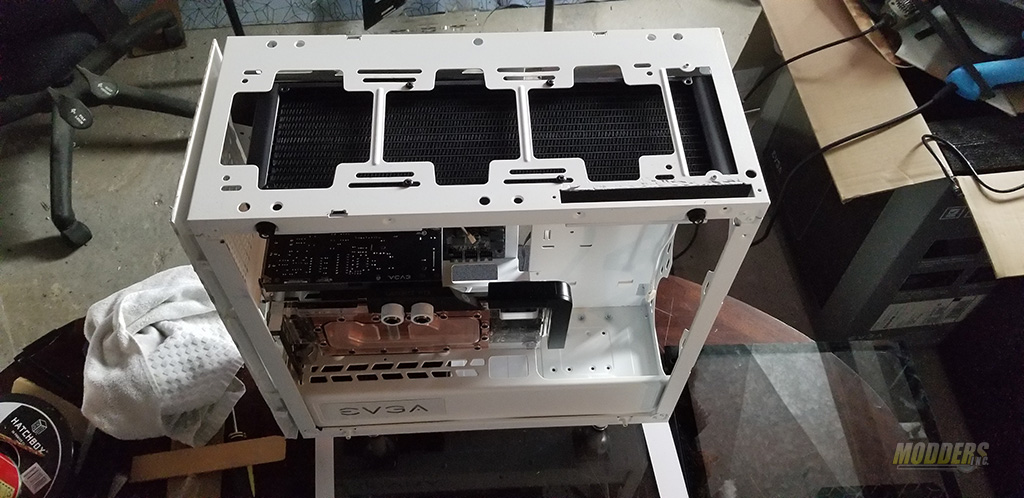
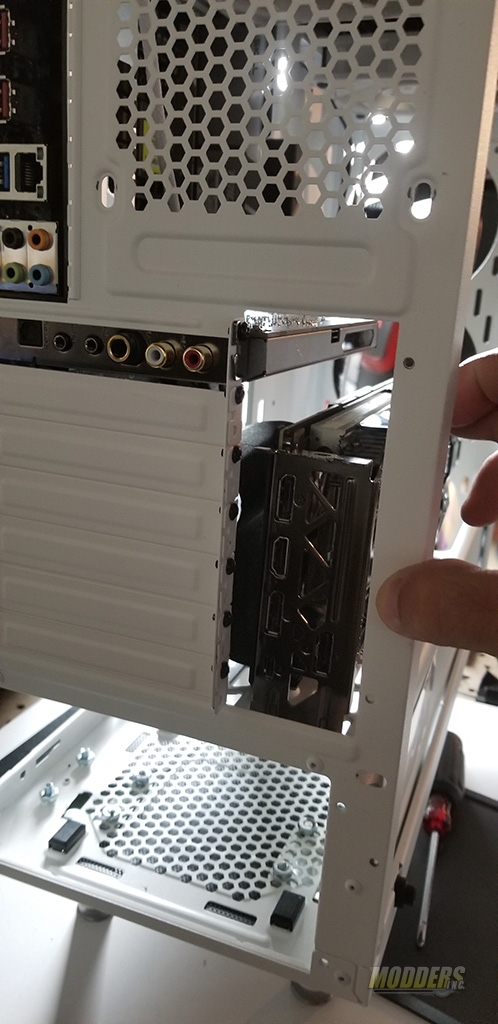
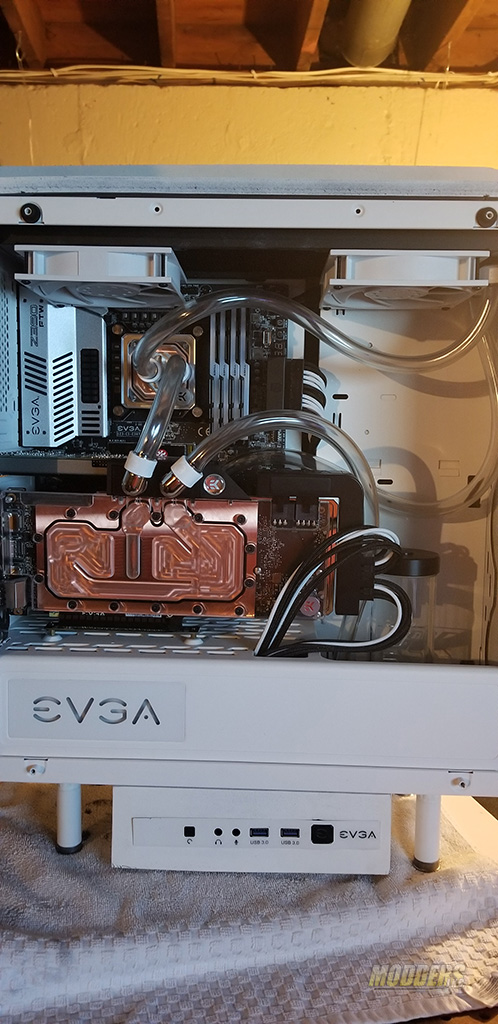
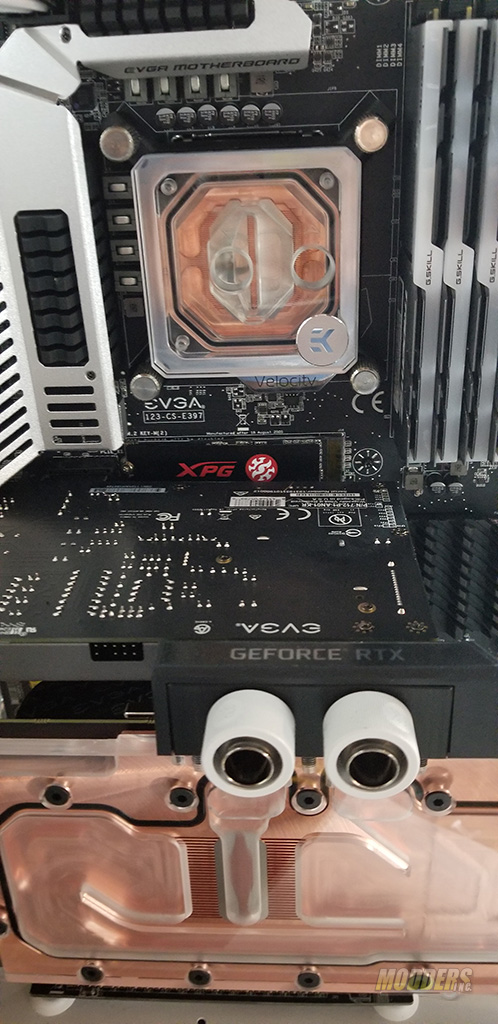
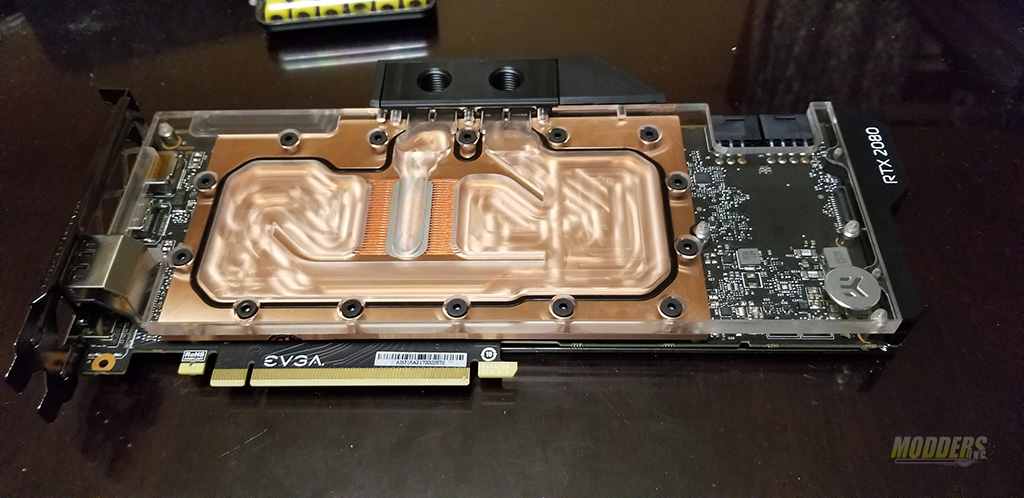
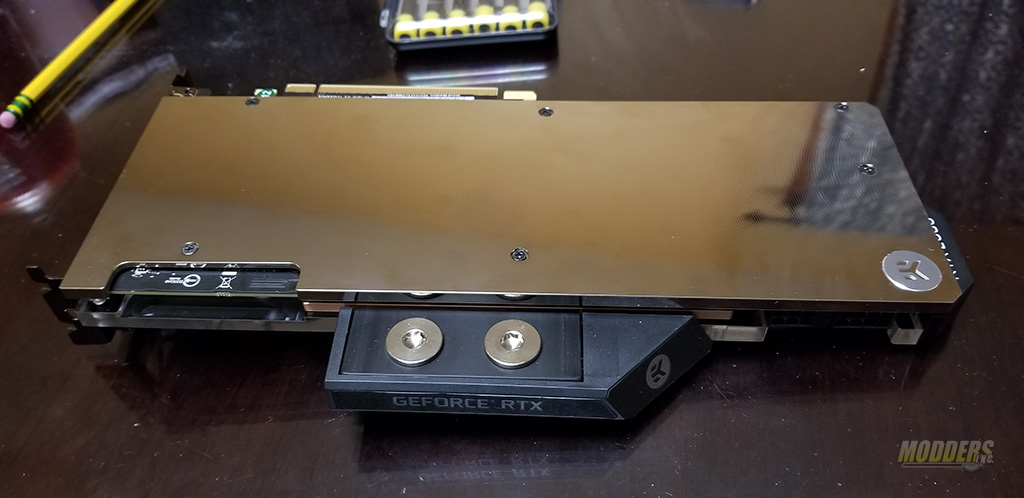
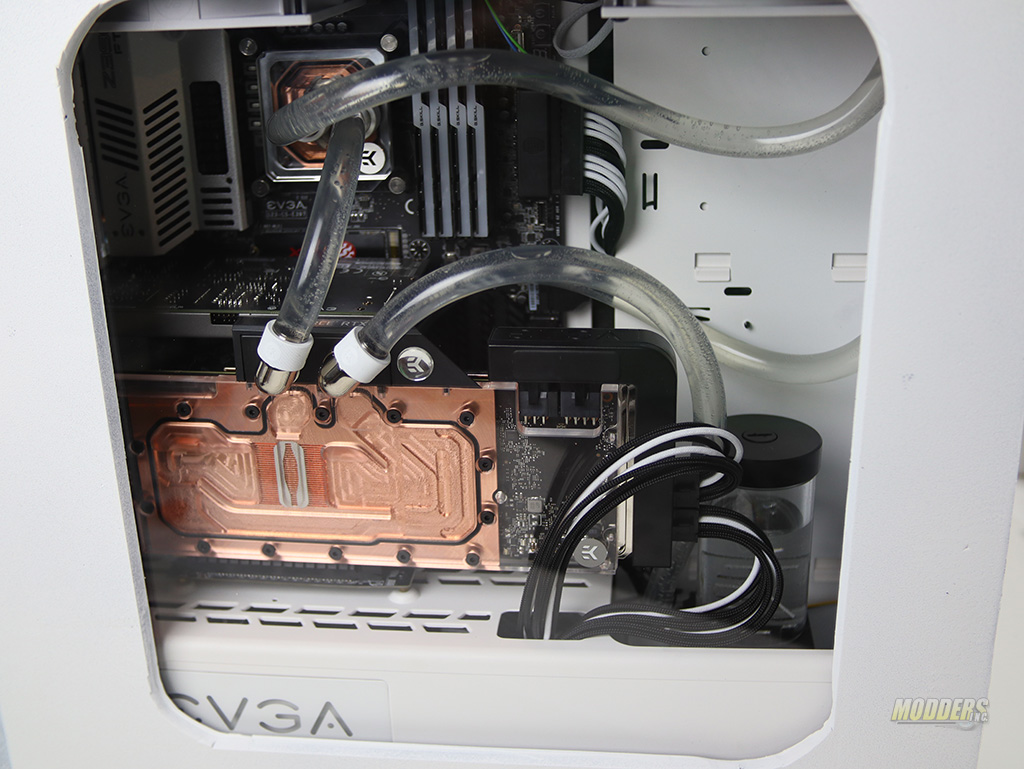
Internal components such as motherboard, GPU, Audio Card, and Power supply were provided by EVGA and cooling components like the radiator, CPU block, GPU block, Pump and tubing/fittings were provided by EKWB. A big thank you goes out to these guys for helping me out with this build. The components installation was easy-peasy. EKWB components fit like a glove. I did spend some time to get the tubing right. I wanted everything to look as perfect inside as it was outside.
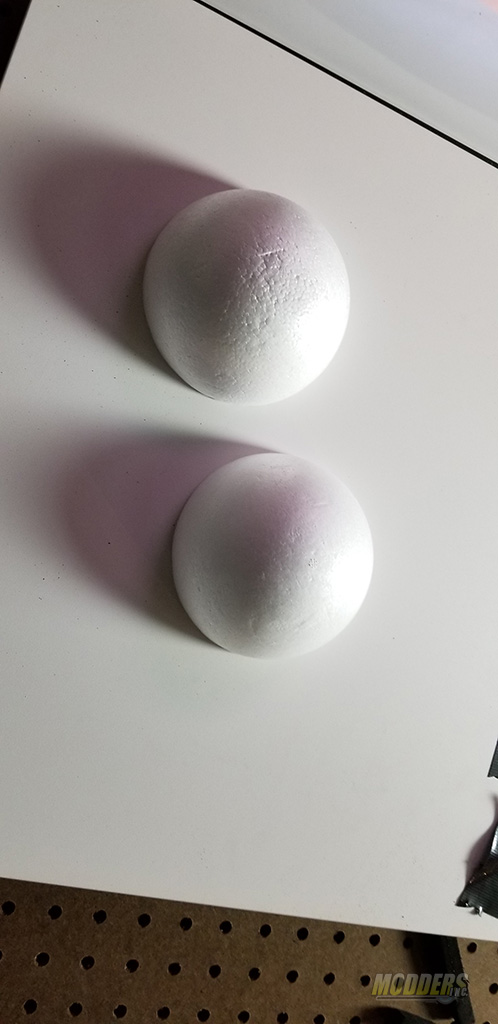
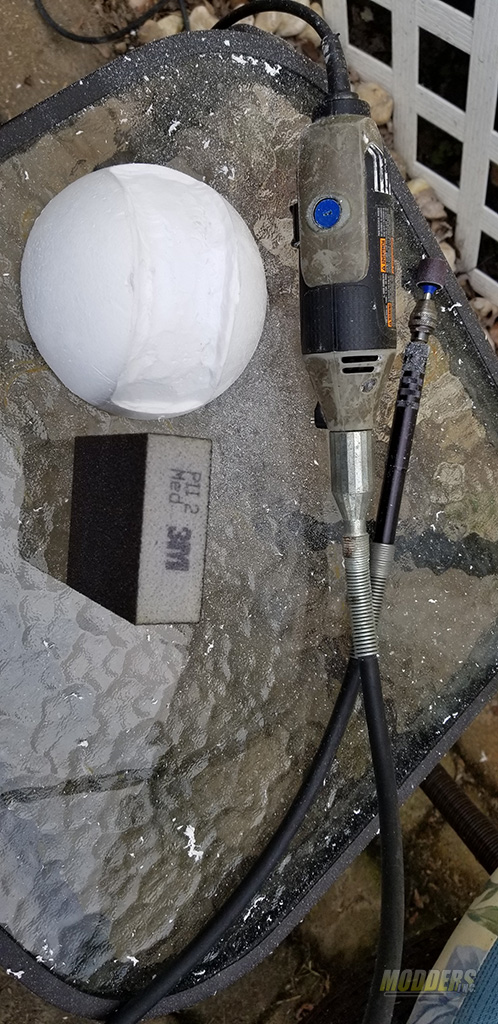
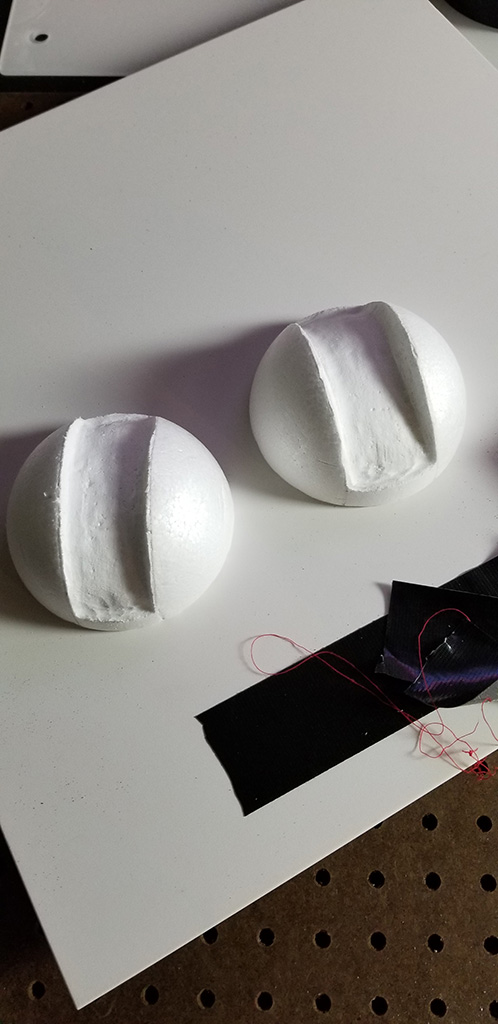
One of the challenging parts of this project was the front bend and the side fixtures. The bend took a while to perfect and so did the fixtures. What I ended up doing is going to a local craft store and picking up two half-sphere foam balls. The cut out in the middle was done by Dremel and as you can imagine that took a while to get right. Once I had the right shape, spray painting them was a breeze. Overall I am pleased with the outcome.
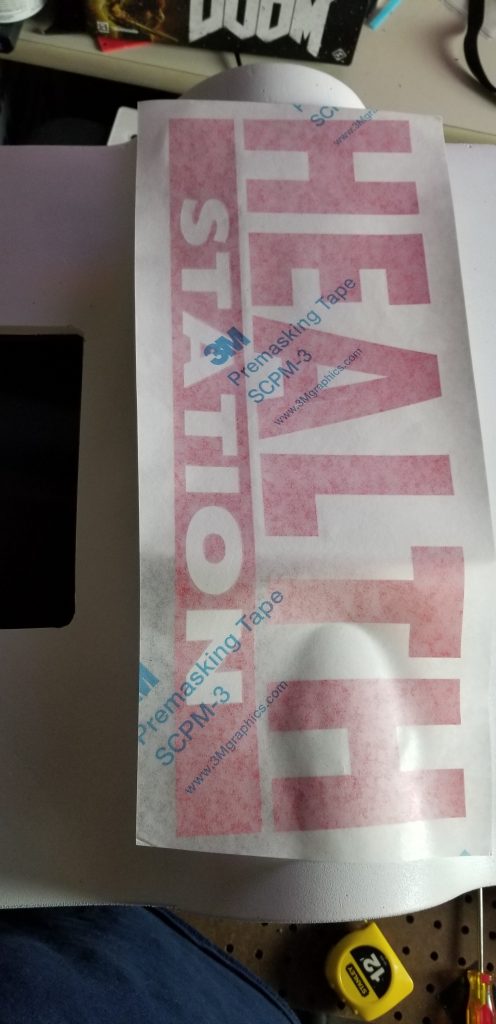
For the decals for the mod, I had to shop around to find exactly what I needed. Signs.com is a reasonably priced place to get a “Health Station” sign. With the help of their interactive create workspace, I created the decals with very little time.
After about 20 hours of research and 40 hours of work, my mod has finally was completed. What I learned from my mistakes is that there is more than one way to get something accomplished and “Measure twice, cut once”. Experimenting and understanding how different materials work with heat and paint was one of my most important lessons.
