DimasTech Mini V1 Test Bench Review: Purpose Driven
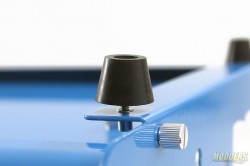
Since the DimasTech Mini v1.0 comes right out of the box upside down, it makes sense to start installing the feet first. All DimasTech test benches do not require tools to assemble and every screw can be hand-turned. Once assembled, flip over the test bench so the feet touches the table. These rubber feet elevate the DimasTech Mini v1.0 25mm off the surface.
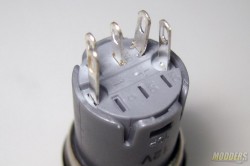
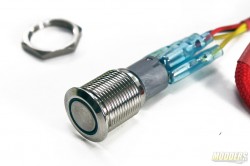
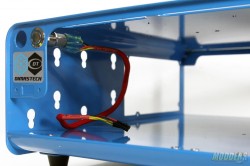
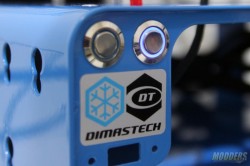
Before proceeding with installing other components, the front panel buttons should be assembled first. These push buttons offer switch as well as LED functionality with the bare pins exposed at the back and labeled. Thankfully, a sheet is included in the package that details which connection is for what function. The connector cable itself is braided available in red and black for easy identification and uses sleeved quick-disconnect terminals to plug-into the switch. The two yellow wires are for the switch hence their polarity does not matter but the red and black wires are for the LED with the red providing voltage and the black is the ground.
Remove the coupling nut from the switch before connecting the wires. Pushing the switch itself through the designated holes on the Mini v1.0 might take a bit more effort as the space is tight and requires users to push it at a straight angle so the threaded sides do not snag. Once pushed in, place the nut through the other side and twist until secure. Space is tight in this area so I would suggest removing the drive bays first.
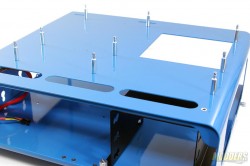
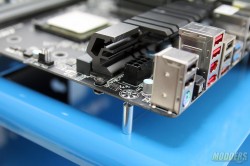
There are 10 standoffs provided in total but only nine is needed for standard ATX. These standoffs are the DimasTech EasyGo Fasteners which are “snap-in” type standoffs that do not use screws to hold the motherboard. These standoffs are 25mm long and snugly secures the motherboard into the Mini v1.0 that it will not fall out even when inverted. The downside is that removing the motherboard is not exactly a quick safe process but involves selectively pushing out each standoff so as not to strain the PCB.
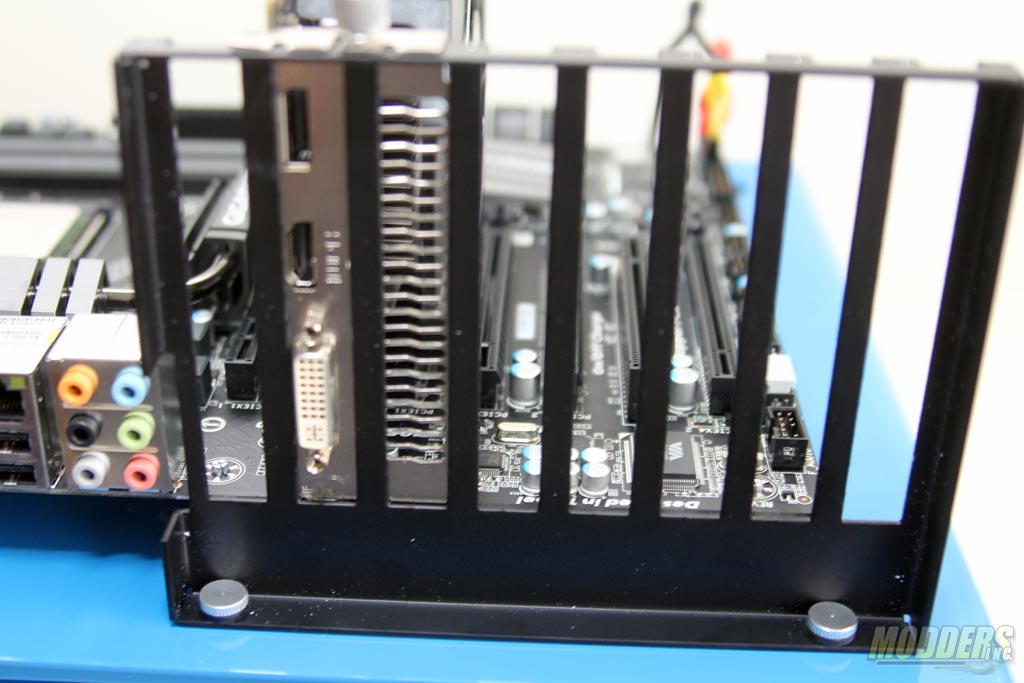
The expansion bracket installs into a slot type mounting so users can move it up or down depending on their motherboard to accommodate different configurations.
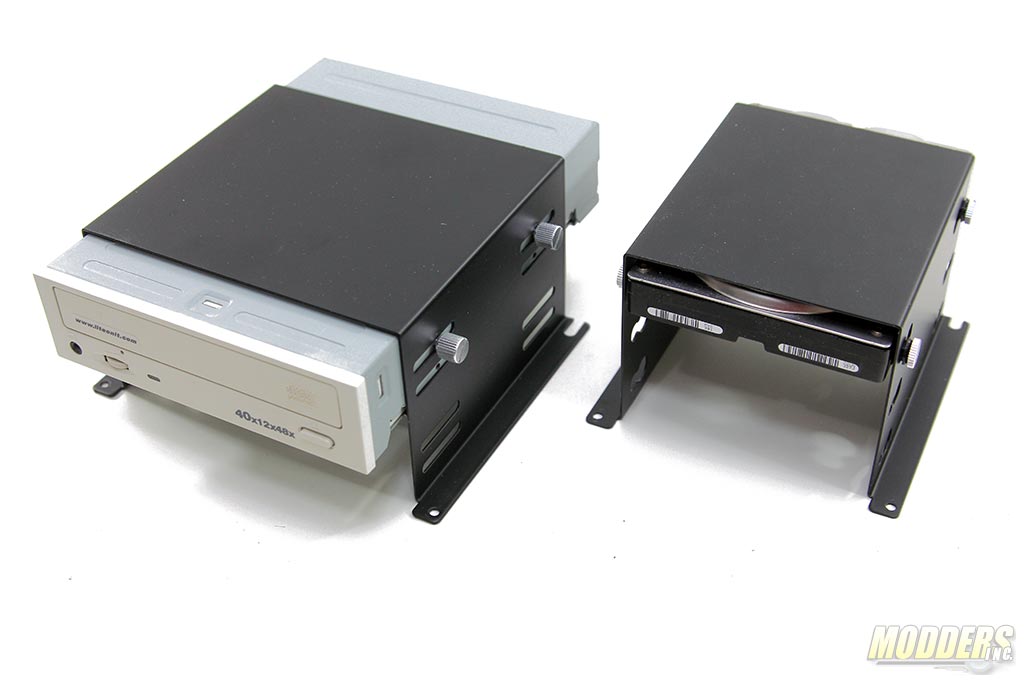
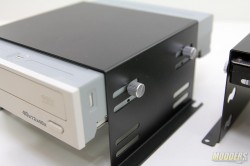
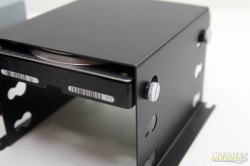
Installing optical drives is fairly straightforward with the use of thumbscrews. For hard drives, users have to slide the supporting rubber grommet first before securing the side with slimmer thumbscrews. Mounting an SSD/2.5-inch drive is possible with the use of an adapter (not included out of the box).
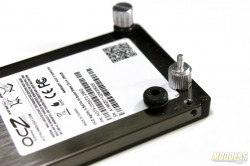
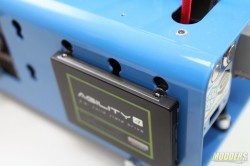
For the quick mounts on the side, users have to use the grooved rubber grommets with the tall thumbscrews. The flat screws are too wide for the quick mounting hole but the tall thumbscrews fit perfectly through. For convenience, it is easier to have the connector area pointing towards the front when the drive is mounted.
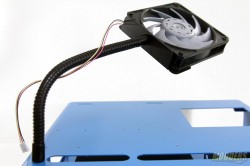
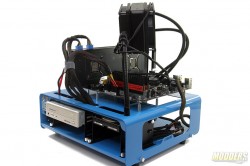
Lastly, the FlexFan accessory can be used for additional cooling or even as a support structure for mounting a 120mm radiator/fan such as this Cooler Master Seidon 120M CPU cooler.
