DimasTech Bench/Test Easy V3.0 Review
A Closer Look Continued
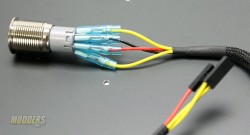
While we have it apart now is a good time to install the two power buttons. Each button are the and wiring them is done the same way. The only thing that is different from each of them is that one has black a sleeve and the other one has red. The two yellow wires are for the HD Led, switch is the blue ring and the front of the push button, while the red and black wires are connected to the power connections on the motherboard.
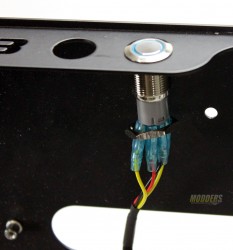
Two holes one the front of the test bench are were the two switches are to be installed. Feed the wires through the hole then feed the locking nut up the wires to the switch and thread on till it is tight. The second switch can be used as a reset switch or for another control button.
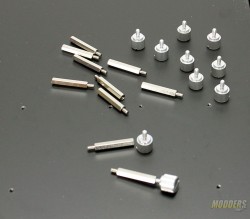
Next up is installing the motherboard stand-offs. We all pretty much know how to do this, but the Dimastech bench uses some extra long ones and instead of phillip head screws you are once again treated to the easy usage of thumb screws. Just like a regular case you have tapped holes that will allow you to install different sized motherboards. Dimastech says that they created the V3.0 table to support all motherboards on the market.
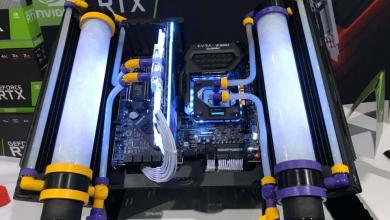
Well here we are about the halfway point. I will not be installing any water cooling for this review but to let you know that the Dimastech v3.0 is made to support radiators for water cooling up to Model 360 (120×3) or Model 280 (140×2) positioned on both sides.
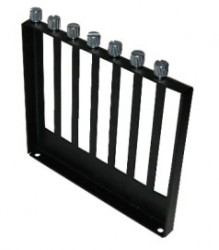
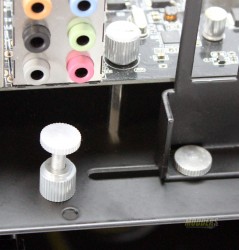
Now that we have the motherboard attached to the table we need to install the I/O support bracket. The bracket has a hole located at each corner of the bracket that goes towards the top of the table. Dimastech placed some slots on the table to allow the I/O bracket to adjust to different mothersboards. Just use two of the screws in the picture that have a special thumb nut and you are done and ready to start installing your other hardware.
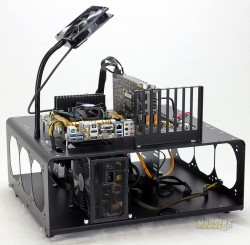
Done, well up to this point that is. If you want you can stop here and get your system up and running. But there is more to go as in the box you also get a stand/holder for positioning a spot cooling fan.
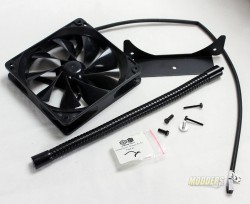
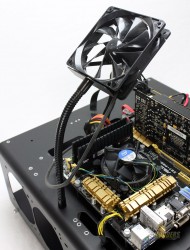
Included in the box is rigid but flexible arm that Dimastech calls the FlexFan. What you get is all the items shown above except for the fan. The FlexFan bracket that came with the Bench/Table v3.0 was for a 140mm fan. You can also buy additional FlexFan brackets for 92mm and 120mm fans.
With the FlexFan installed you can almost pin point where you want the fan to push air towards.
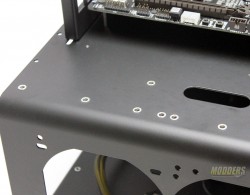
So lets say you want the fan at a different location than where I put it, no problem. The top of the test bench has a large assortment of self threaded insert installed, where are all the same thread size. This will allow you to move the fan anywhere you want it plus when you want to add more accessories from the long list of items to can purchase from Dimastech you will have places to attach them to.
The front side of the bench has a lot of open space that can be filled up with radiators and other special brackets and hardware caddies. You can surely say that there not a lack of air flow for this unit.
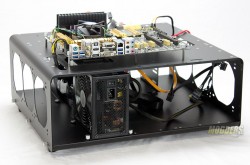
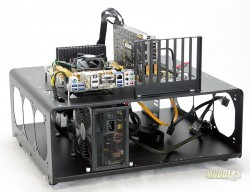
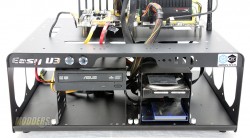
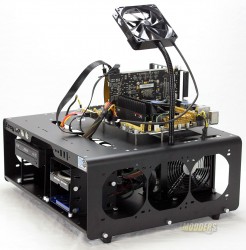
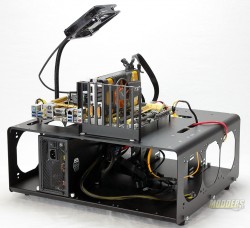
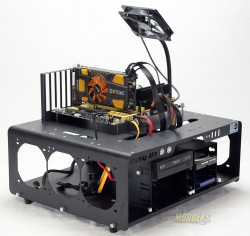
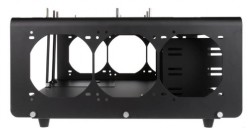
Below you can have a look at all the sides of the test bench.
