DimasTech Bench/Test Easy V3.0 Review
A Closer Look
During this review of the Dimastech Bench/Test Table V 3.O I will show you what comes with the version that we were provided with and how to put the unit together. Unlike the cases you are used to the Dimastech does require some assembly before you can use it.
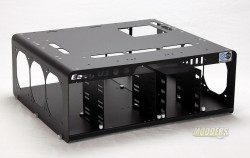
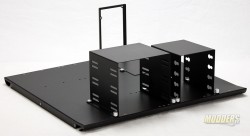
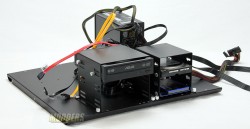
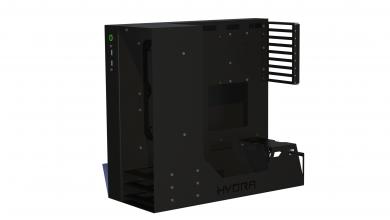
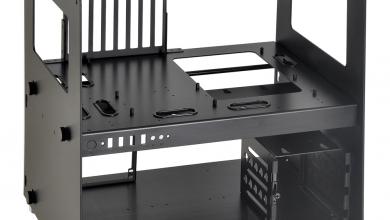
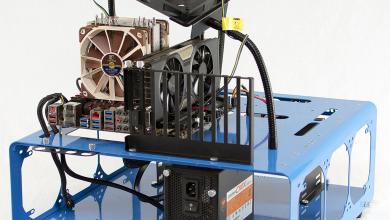
The Dimastech Easy 3.o bench comes out of the box mostly assembled as you see pictured. You do have to take it apart to put your hardware in, but Dimastech put a lot of thought into this part as they knew people would be swapping out hardware. The model we got comes with two drive caddies attached. One caddy is for your optical drives and the other one is for your storage devices. The hard drive caddy is ready to install any 3.5 drive you are wanting to use, but you will need a bracket to attach a SSD unless you just want to hang it off one side with two screws. If you know you are going to be using 2.5 drives then you might want to order the optional Dual SSD Adapter that fits into a 3.5 drive slot.
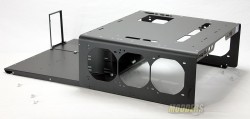
By removing three thumbs screws on each side of the table you can slide the lower section back to gain access to this area.
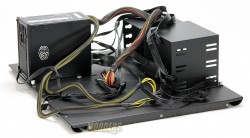
If you want to remove the top section completely you just lift up on the lower plate over a stop tab and if becomes free. Doing it like this give you total access to install the power supply and other items. Here we have a clear look at the drive caddies and in the back is the mounting bracket that the power supply attaches to.
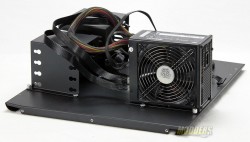
With a few screws the power supply is quickly mounted to the base of the V3.0 table.
As we can see the power supply is installed on its side so that it may get all the air that it needs since there is no hole cut out of the base plate of the Dimastech bench.
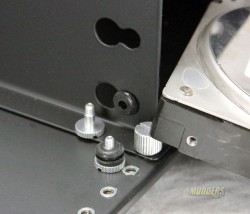
Installing drives in the table is rather easy. Thumb screws are used for just about everything and here for the 3.5 drives all you have to do is install some rubber isolation grommets into the holder, grab the correct screw, which is partially threaded, insert it into the grommet and tighten the screw.
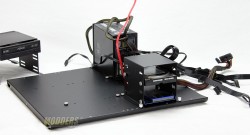
You will need to removed one of the two caddies so that you can install the thumb screws for the drives. The brackets are easy to removes as there are two thumbs screws at the front that you must removed, but at the rear of the caddies there are two notches that allow you slip the cage in and out.
Reinstall the two screws and you are back in action. What is nice about this is that even after you get the testing table all the way back together you can quickly remove the cages to change out drives.
