DeepCool GENOME II Case Review
Hardware installation and clearance issues
The specifications state the Genome II will take E-ATX all the way down to Mini-ITX and while that is true there is one board in particular that may give you some fits. This is by no means the fault of either manufacture but you should be aware. The other piece of advice I have for this case is to remove everything that you can before installation. I removed the watercooling system entirely as well as pulled the front panel and all the connections. This gave me plenty of room to work.
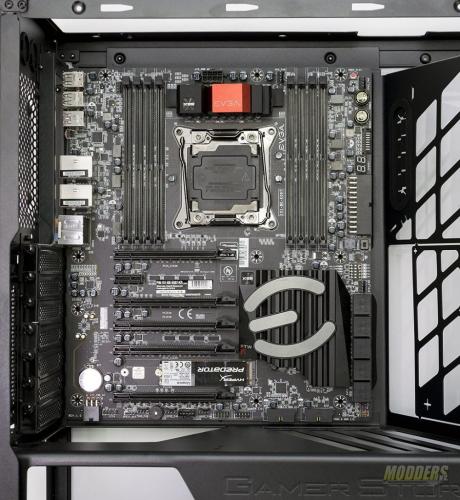
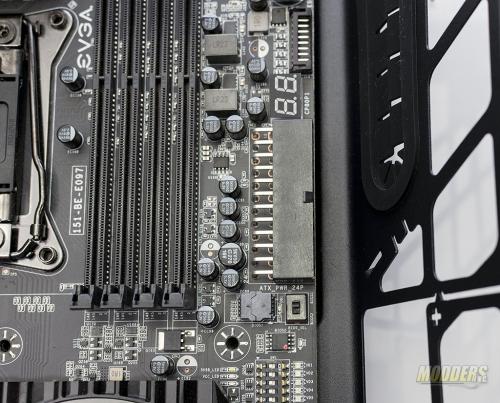
EVGA’s X99 Classified motherboard was one of the 1st boards that I grabbed to check fit and clearance. This motherboard is an E-ATX form factor board and is a little larger than a standard ATX motherboard. Since the EVGA has rotated some of the connectors on this motherboard, fitment may be an issue. First up, take a look at the 24-pin connector. With that angled panel in place, it presents a little bit of a problem as there is not enough room for the connector and wires between the motherboard connector and the panel. If there was an extra removable piece (or you could cut this portion out) the clearance issue would be solved.
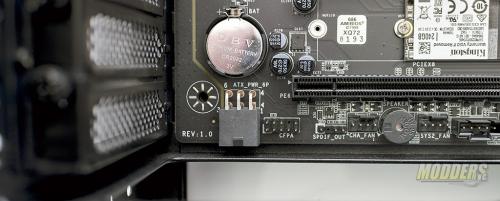
The next clearance issue I ran into was between the power supply shroud and the USB 2.0 headers and additional power connector.
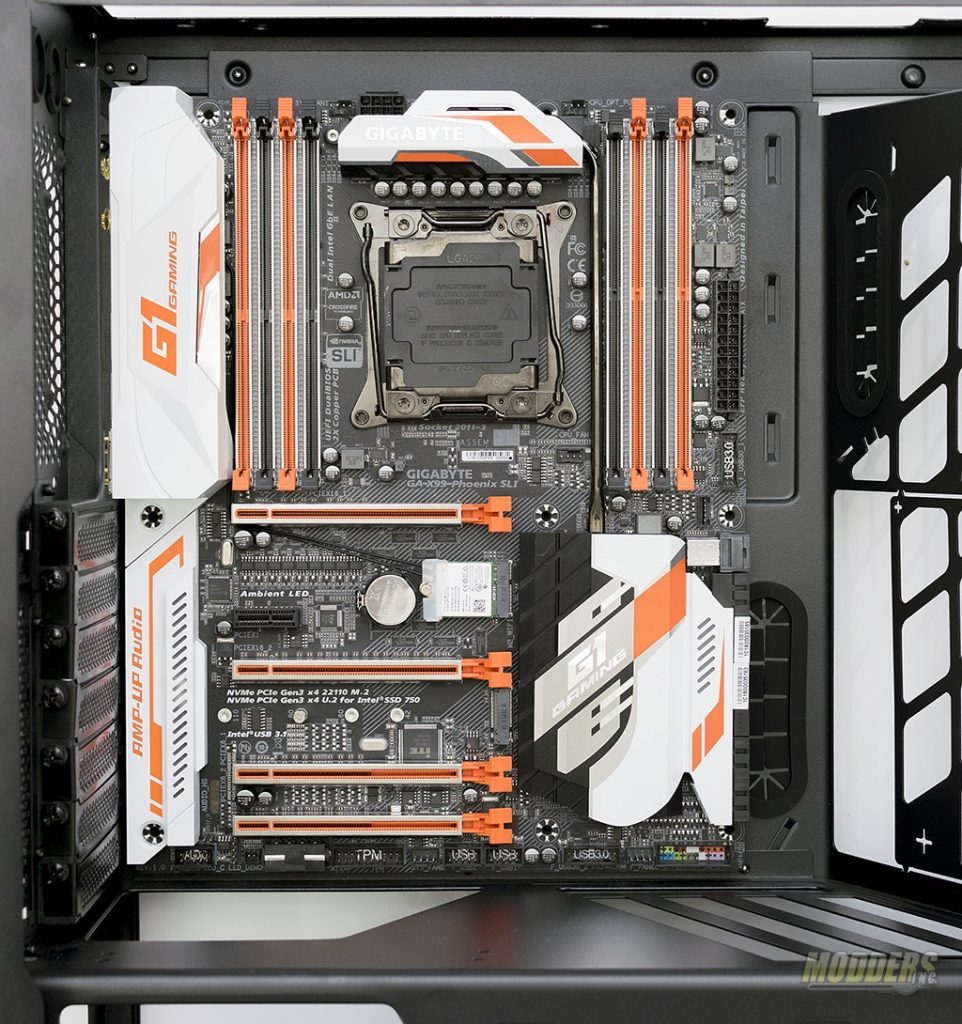
Using the X99 Phoenix from Gigabyte which is an ATX form factor motherboard, shows only one area where clearance would be an issue and that is the additional Molex power connector at the bottom edge of the board.
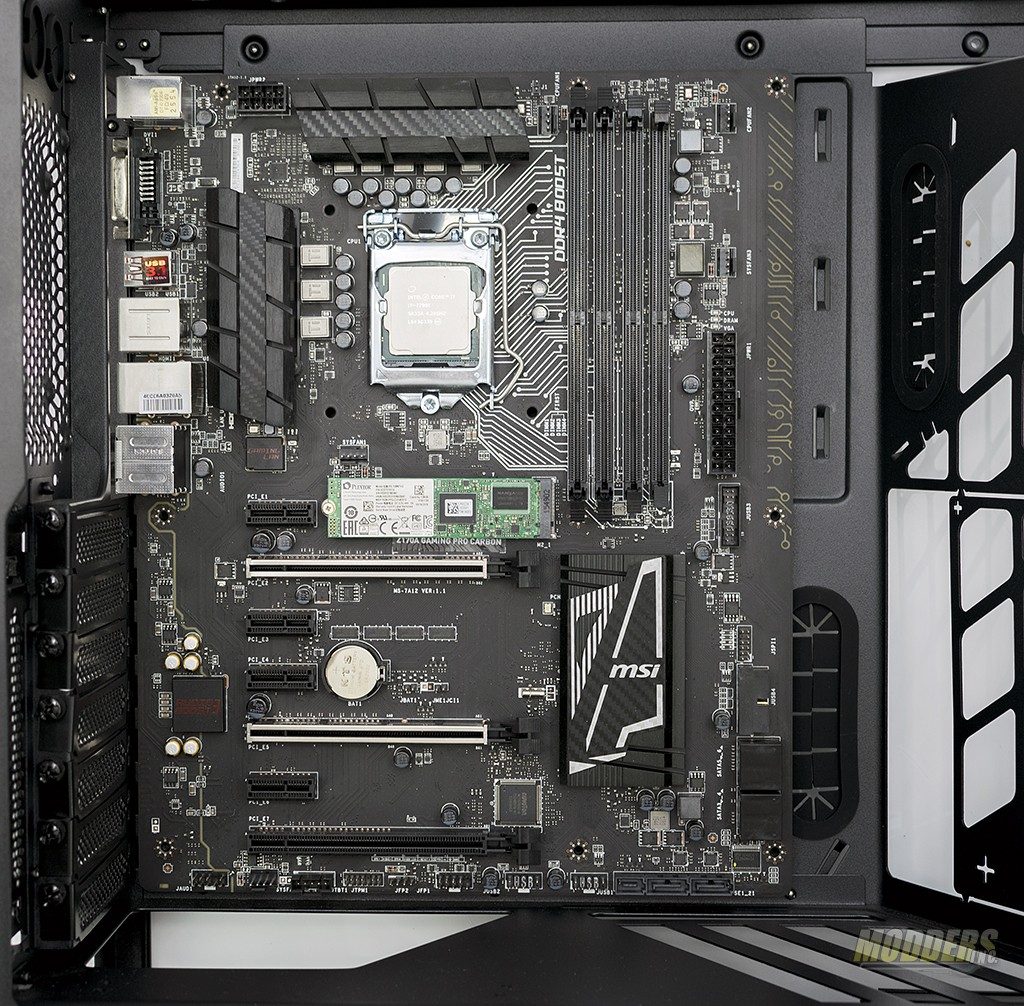
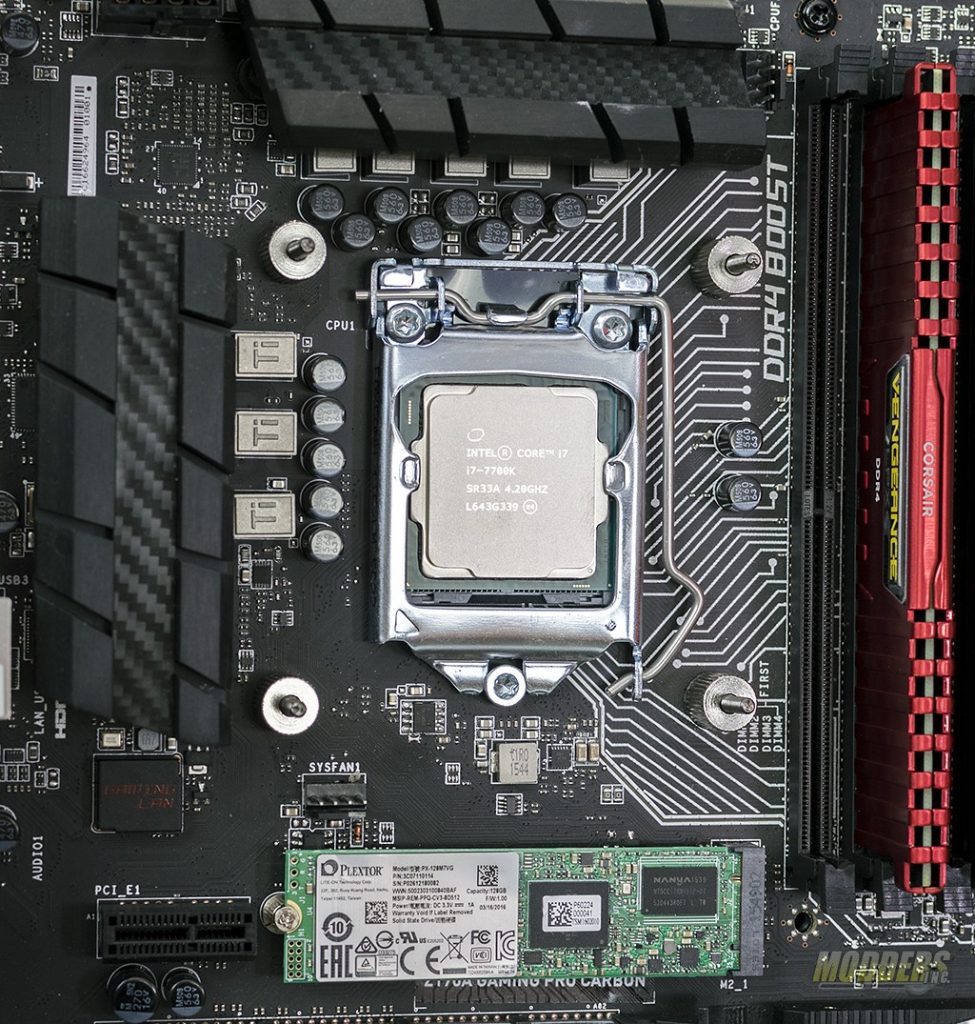
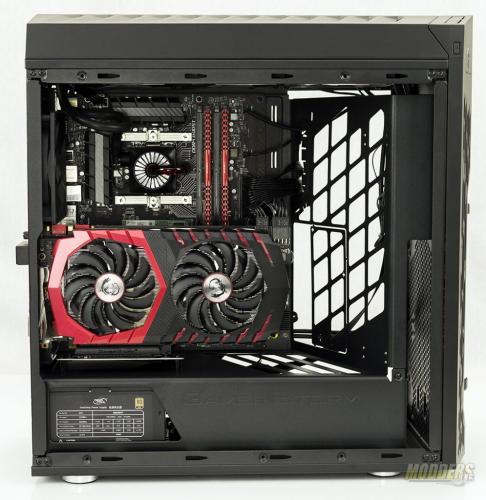
For this build, I chose to use our standard test bench which is an ATX motherboard with the LGA 115x socket. The MSI Z170A Carbon paired with an Intel Core i7 7700K was chosen for this build. I mounted the power supply at this time as well. The rubber feet helped align the power supply with the hole in the back of the case. The power supply was secured using the included thumb screws.
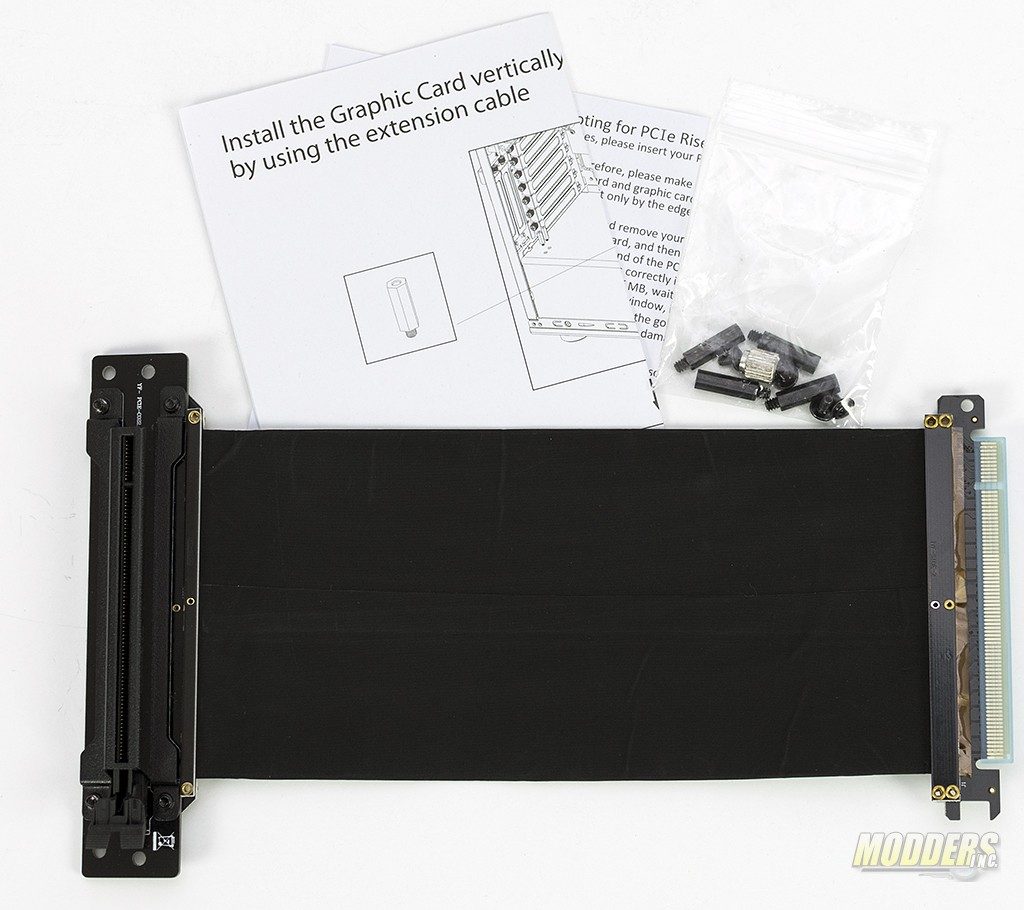
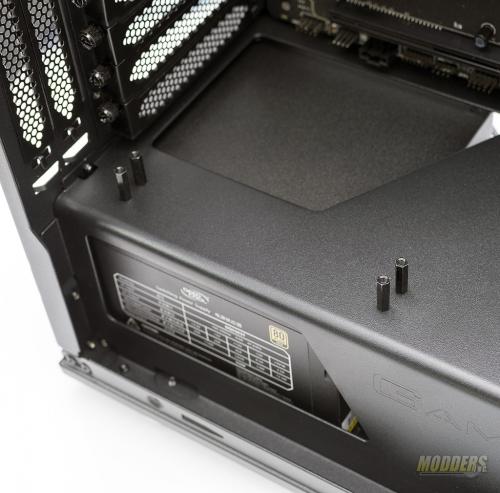
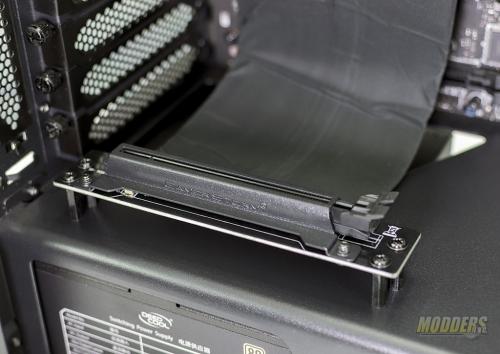
After the motherboard was secured, I moved on the to the GPU. The Genome II comes with a PCIe riser, stand-offs, and instructions that allow you to remotely mount your GPU. This mounting option orientates the GPU so the fans will face the window.
The first step in the process is to install the stand-offs on the power supply shroud. The kit comes with a small adapter that fits over the stand-offs and allows them to be tightened using a standard Phillips #2 screw driver. After the stand-offs are tightened, you’ll need to secure the PCIe slot with the four included screws. Once the slot has been secured, plug the other end of the PCIe cable into the first x16 slot on your motherboard.
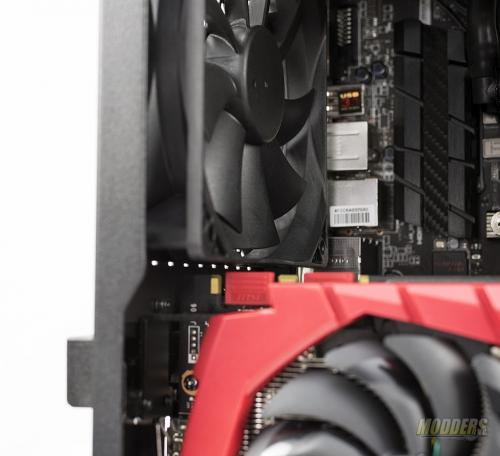
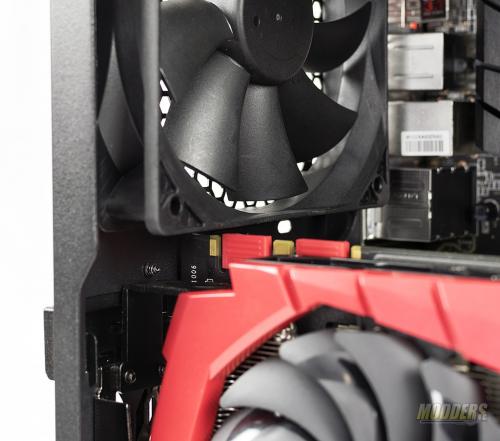
When I went to actually install the GPU, I ran into another clearance issue however, it was quickly resolved. The I/O bracket of the GPU hit the rear case fan. Remember earlier when I said my advice was to remove everything you could? I neglected to remove the fan. Remove the fan and install the GPU then re-install the fan; issue solved. Once installed the fan and the GPU do not touch but there is very little clearance between them. In this instance I chose to use the MSI GTX 1070 Gaming Z.
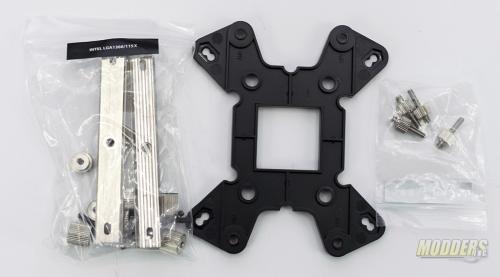
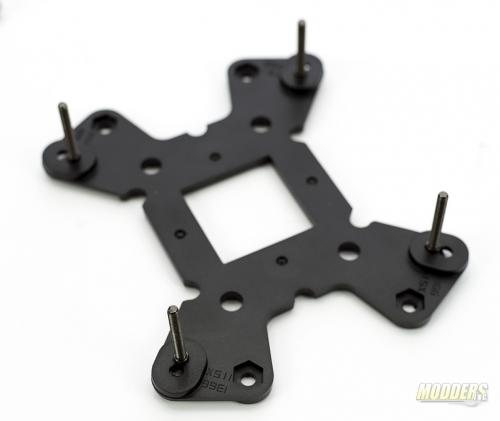
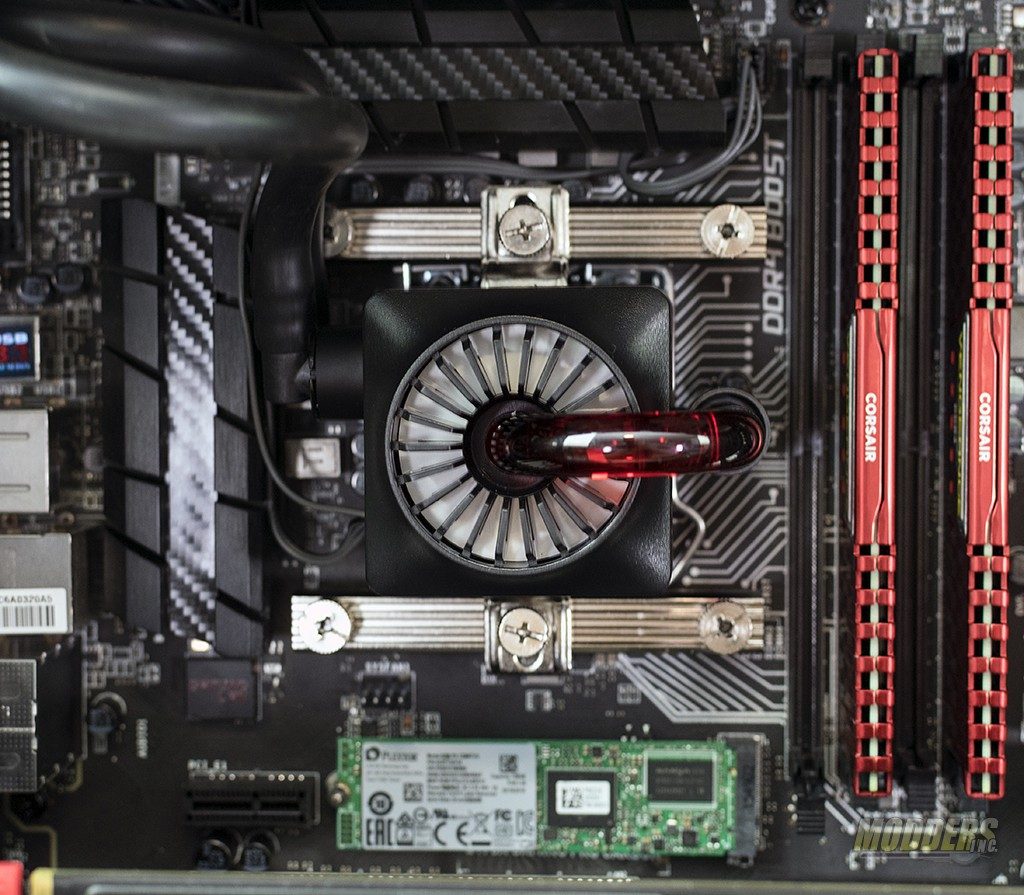
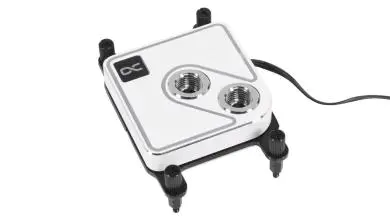
The last part of the installation was the Captain water cooler. I started off by re-installing the raised bracket and the water tube. The kit comes with everything you’ll need to install the water block on modern Intel and AMD motherboard except for AM4 however, AM4 brackets are available. To install the water block you’ll need to push the 4 screws through the CPU cooler mounting plate. The locations will depend on your motherboard and are marked on the plate.
Next you’ll secure the plate to the motherboard using a set of knurled nuts that will screw down and hole the back plate tight to the motherboard.
Finally, you’ll install two cross pieces and secure them with another set of knurled nuts. In the center section of the two cross pieces there is a small stud that is used to secure the water block. There is two connections to the water block, one for the CPU header on the motherboard, the other is the LED control and connects to the front panel cable. Included is a hub for the 3 fans on the radiator. .
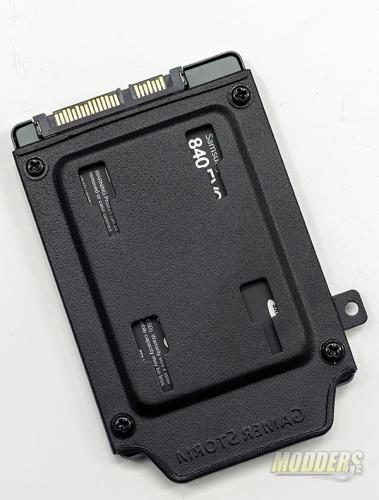
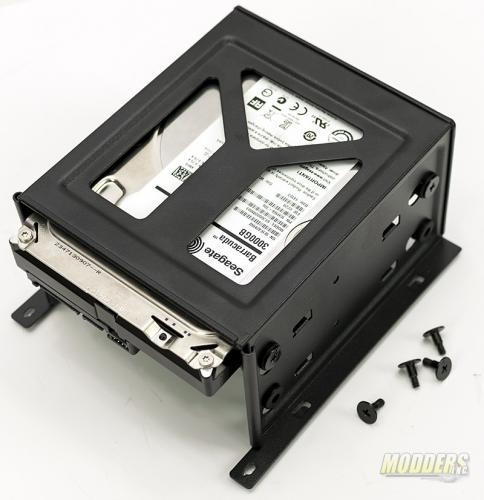
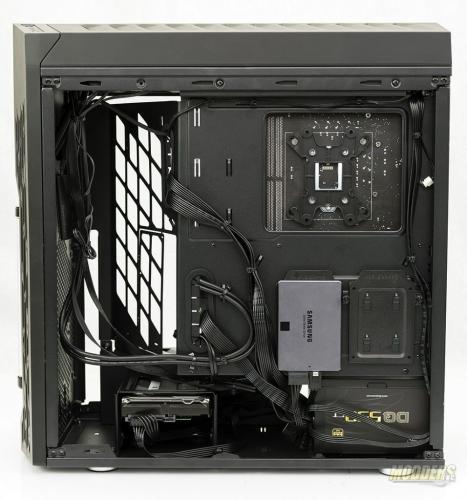
Lastly the hard drives were installed. A 2.5″ drive on one of the sleds that attach to the motherboard and a 3.5″ in the drive cage. DeepCool includes all the screws necessary to get your drives secured in their proper location.
I used a non-modular DeepCool power supply with this build. I feel that non-modular power supplies tend to show a case’s ability to hide or manage unused wires. Cable management in the Genome II was pretty easy in my opinion. There is a little extra depth in the Genome II. The back of the motherboard tray features plenty of areas to use Zip ties and/or velcro to tidy up the cables. Overall I felt cable management was easy and the end result turned out acceptable.
