DeepCool GENOME II Case Review
Interior of the Genome II
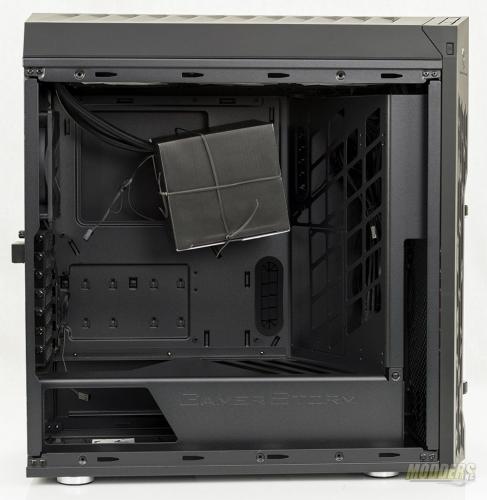
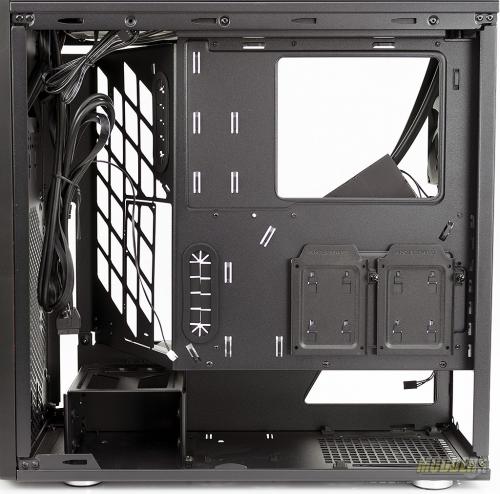
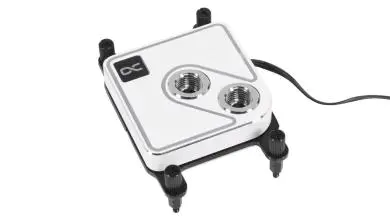
After stripping the Genome II down, we’re left with a basic case frame. The waterblock for the CPU cooler is prevented from flopping around as it is wired tied to the motherboard tray and damage is mitigated as it comes enclosed and surrounded by a foam protective layer. The back side of the case allows for two 2.5″ drives installed on the back of the motherboard tray and additional two 3.5″ drives up front.
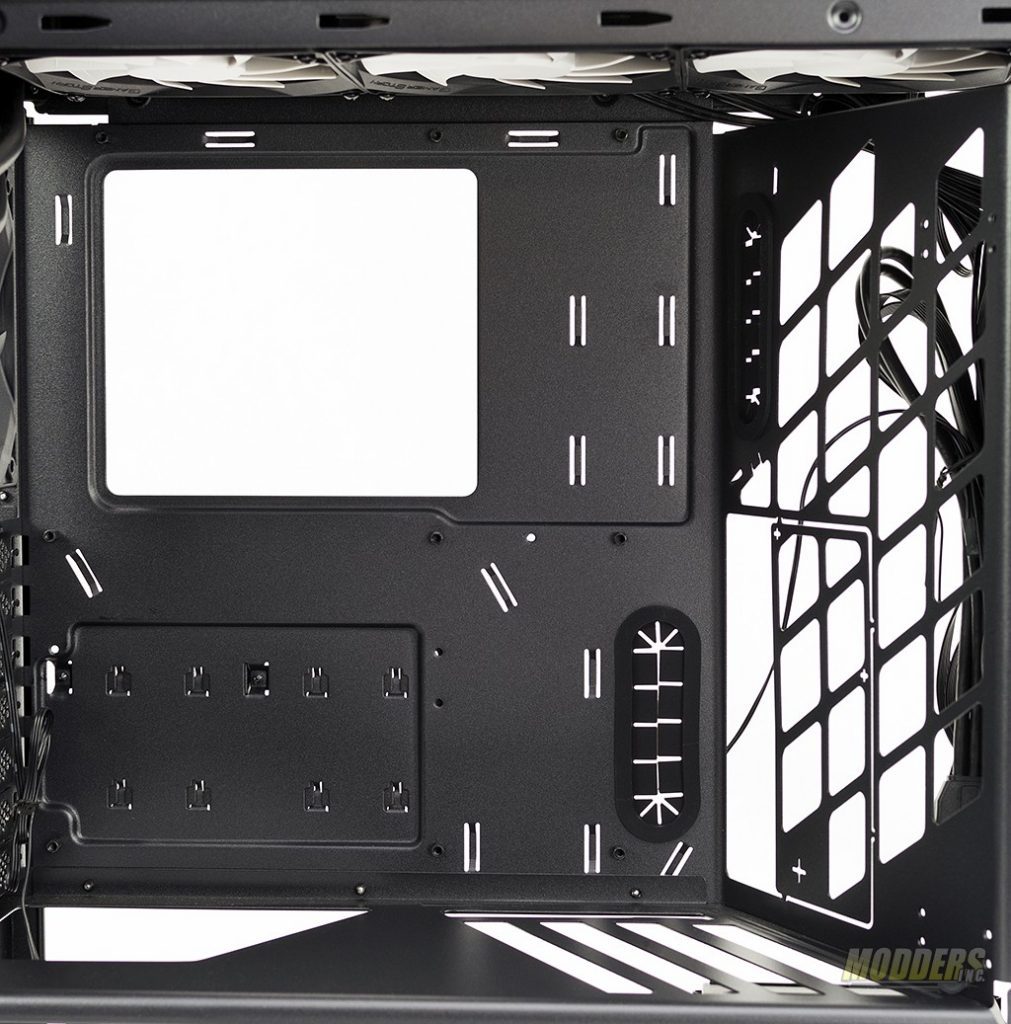
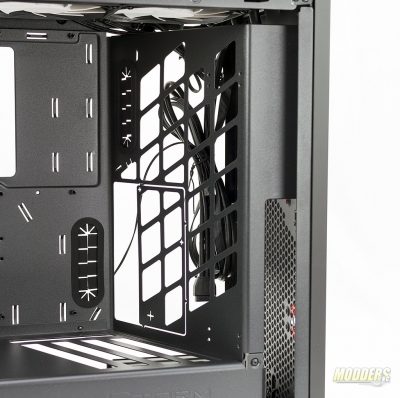
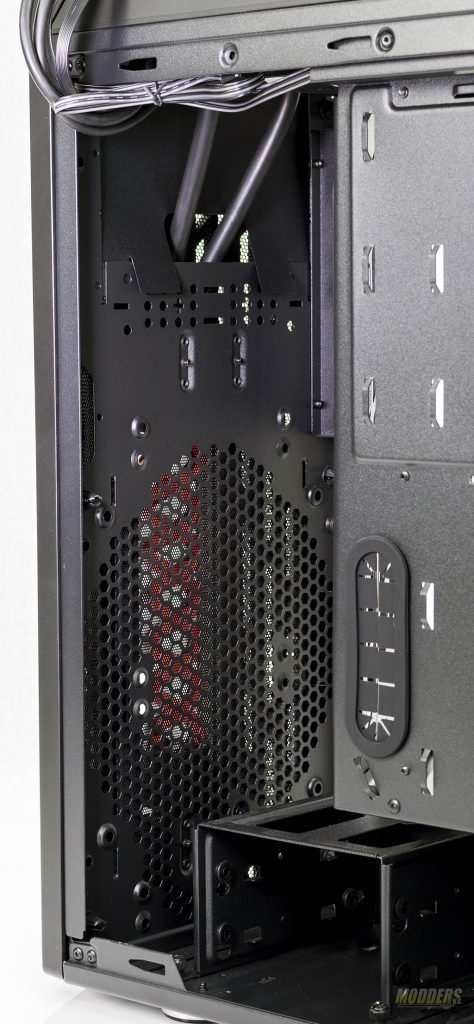
The area for the motherboard is open an unobstructed. Grommets cover the openings where most cables would be run thus reducing the chances of chaffed wires or a short. The CPU cooler cut out is large and granted easy access to the back of the motherboard for installation of the cooler.
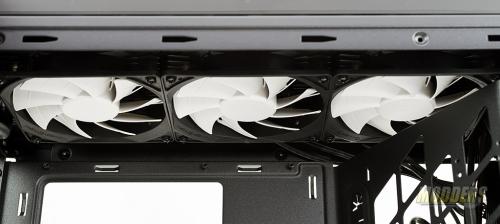
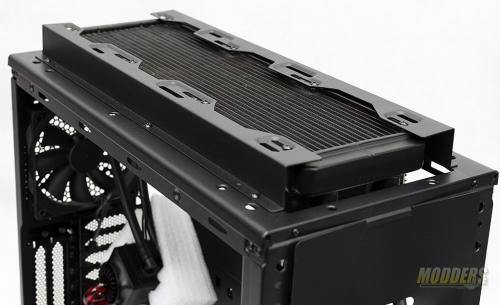
Installed at the top of the case is the radiator for the included Captain water cooler. The radiator and fans are actually held in place by a bracket that raises the unit just outside the case and provides a little more space to work. The bracket also facilitates easy removal of the unit from the Genome II.
The angled panel at the front has removable knock outs for increased clearance and motherboard compatibility. The other thing it can do is help hide and/or manage wires during wire management. One of the things I took note of at CES this year is the fact that Deep Cool continues to use this angled panel (or case frame entirely) for their new cases.
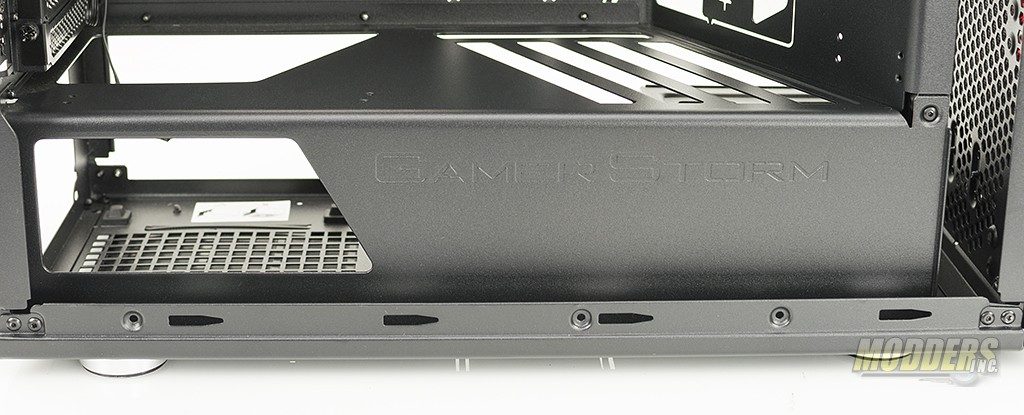
The case also includes a built-in power supply shroud with “Gamer Storm” embossed. The power supply mount includes rubber feet to help reduce noise and isolate vibrations from the power supply.
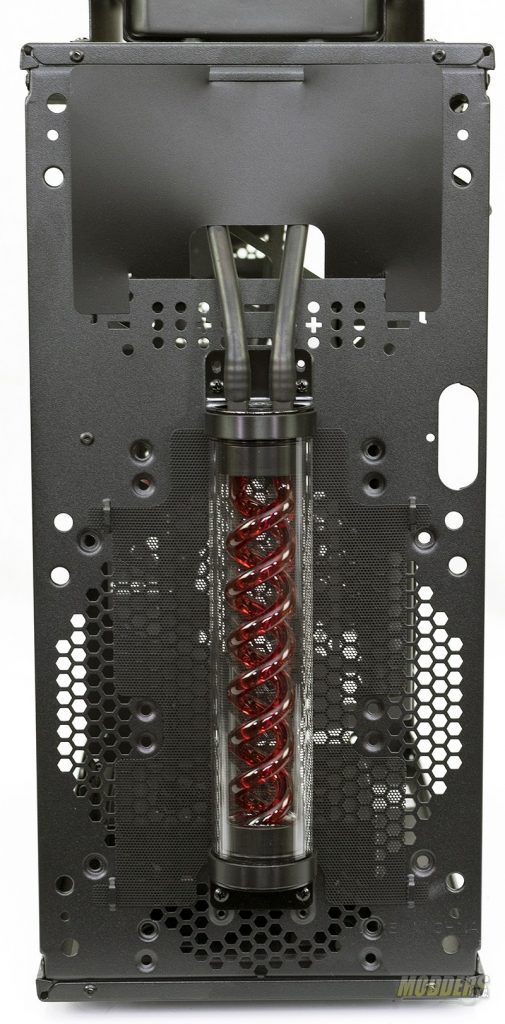
The water tube is held in place by a couple of brackets in the front and the tubing runs through what would normally be the 5 1/4″ bays to connect to the radiator at the top.
Just because the double helix water tube is mounted at the front of the case does not mean additional fans cannot be mounted. While the Genome II does not come with a front case fan, a couple of 140s or a single 200mm fan can be mounted. A dust filter is installed just behind the water tube in the front. At the front of the case is the 3.5″ hard drive cage. It is removed by removing the two thumb screws and sliding the cage out.
