DeepCool GamerStorm Captain 240 All-in-One Liquid CPU Cooler
Installation of the Deepcool GamerStorm Captain 240
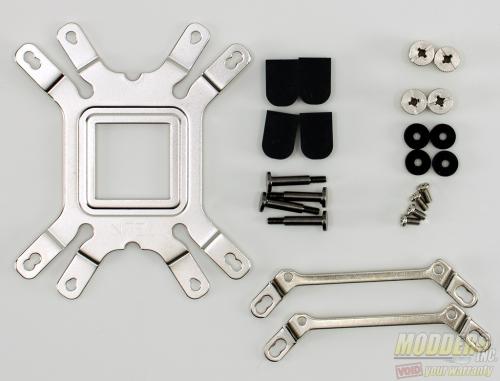 The installation parts that are to be used will depend on the CPU type. In our example, we will be using the Intel 1150 socket and the installation parts are shown above.
 |
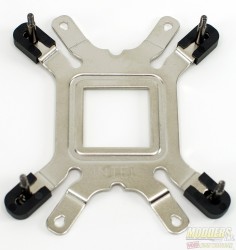 |
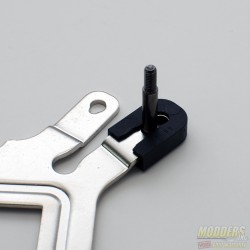
The first step in getting the Captain 240 installed is to assemble the universal backplate. Each hole in the back plate is labeled according to the socket type. Take the stud and insert it into the correct hole, then take the slotted rubber sleeve and slide it over the end. Do this for all four corners.
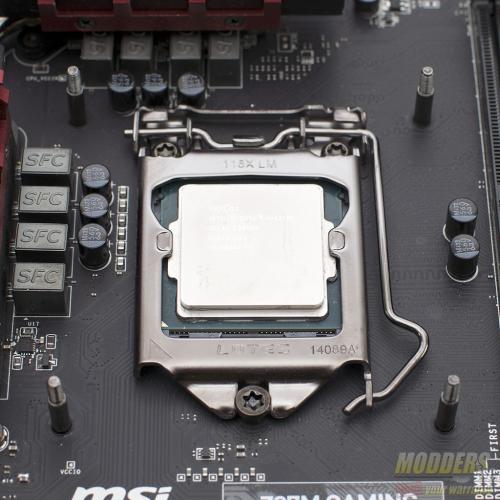 Next, insert the assembled backplate through the holes surrounding the CPU socket. Do not forget the rubber washers.
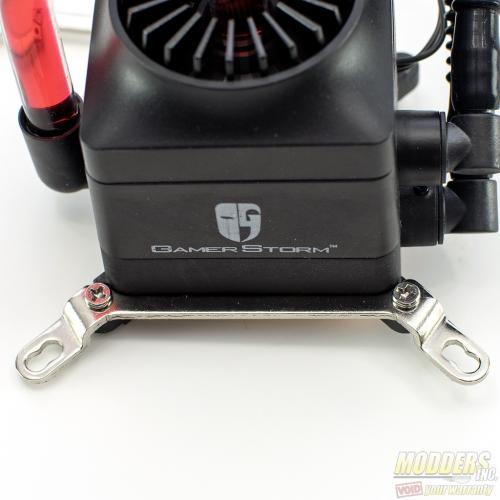 Before the CPU block/pump can be installed on the motherboard, it will need to be assembled. Find the correct mount for the socket type and attach as shown.
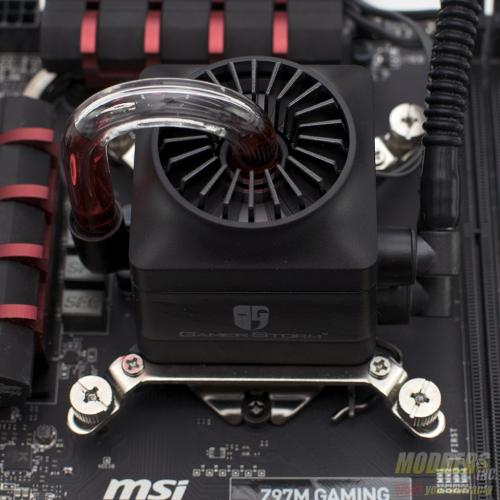 Then place the assembled CPU block/pump on top of the CPU. Just a bit ago, I mentioned not to forget the rubber washers. Now why would I go and do that? Well, for some reason or another I forgot to install them even though they were sitting on the table next to the motherboard. When securing the CPU cooler use a crisscross type of pattern to ensure even spread of the thermal paste.
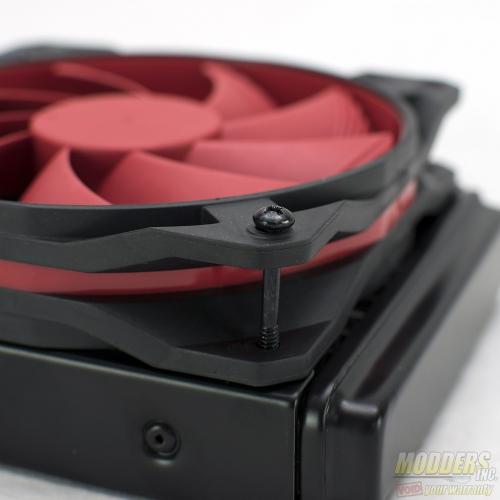 Pay special attention when mounting the fans to the radiator. There are specific screws for mounting the fans to the radiator and the radiator to the case. If too long of a screw is used, it could potentially punch a hole in the radiator and cause a leak.
Compatibility and Clearance Issues
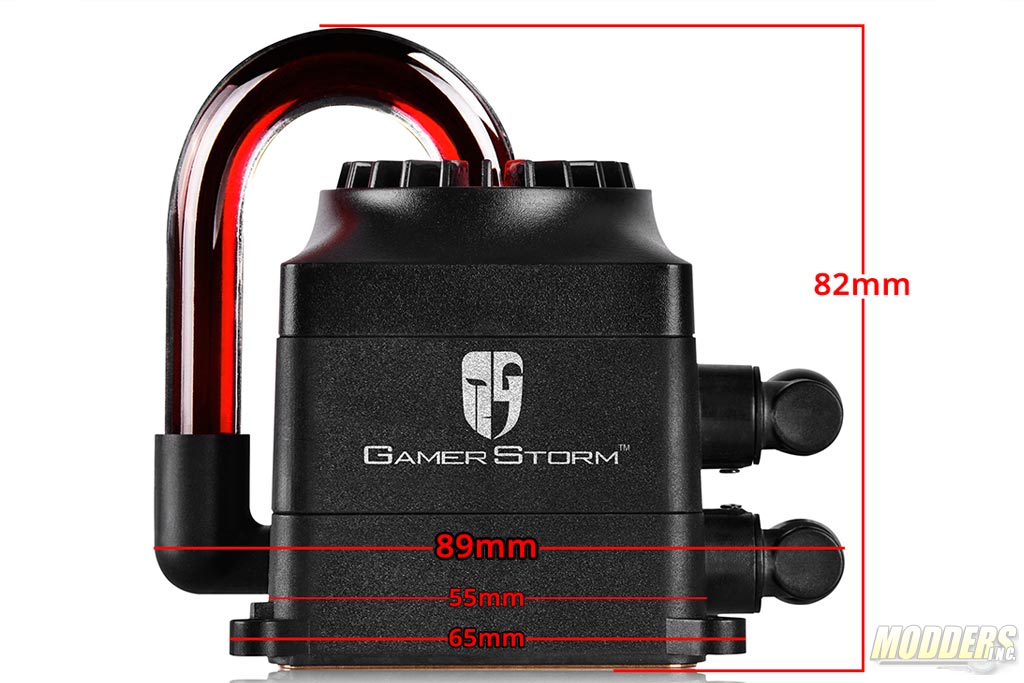
As with most self-contained liquid coolers, the Deepcool GamerStorm Captain 240 poses no direct clearance issue for RAM or PCI-E device installation and is well within the range of the keep-out zone outlined by Intel and AMD for their motherboards. Total pump unit height is 82mm which is shorter than most tower coolers and is under 2U rack unit height.
