darkFlash V22 White Mid Tower ATX Case Review
Building in the V22
To test the build experience of the V22 I used my standard ATX test bench, which consists of the following parts:
| Motherboard | MSI X370 Gaming M7 |
| Processor | AMD Ryzen 5 2600 |
| Cooler | Silverstone PF120 AIO |
| Graphics Card 1 | Nvidia GTX 1070 FE |
| Graphics Card 2 | EVGA GTX 980 K|NGP|N |
| Storage | 2x XPG SX950U |
| Power Supply | Corsair CX750M |
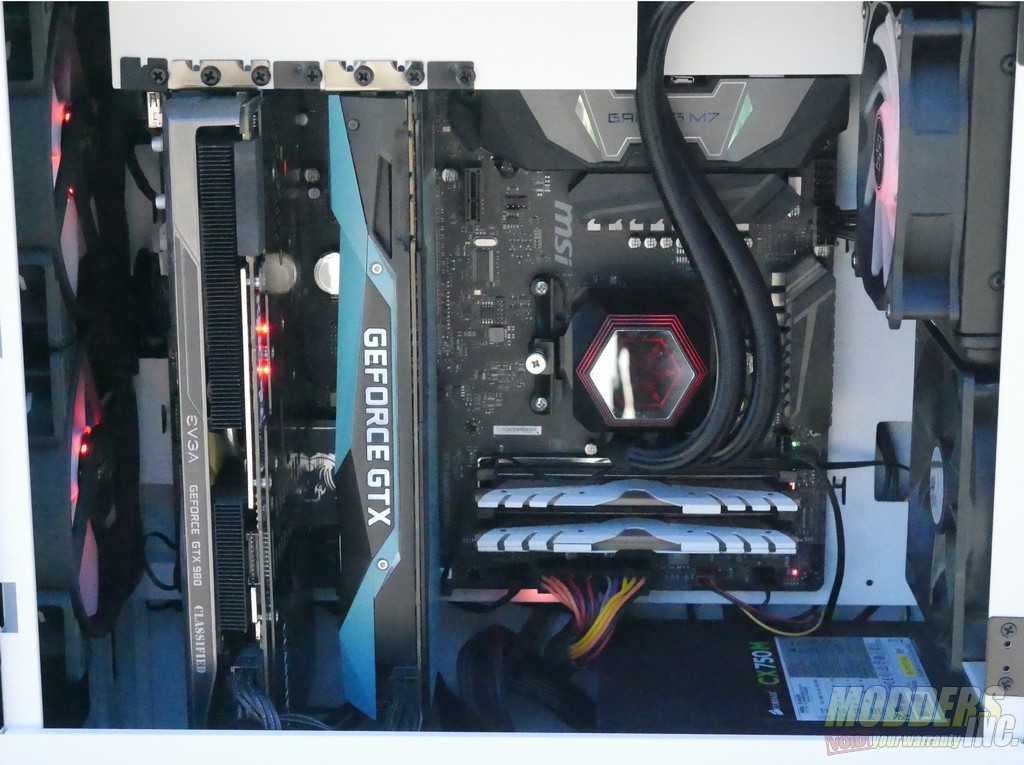
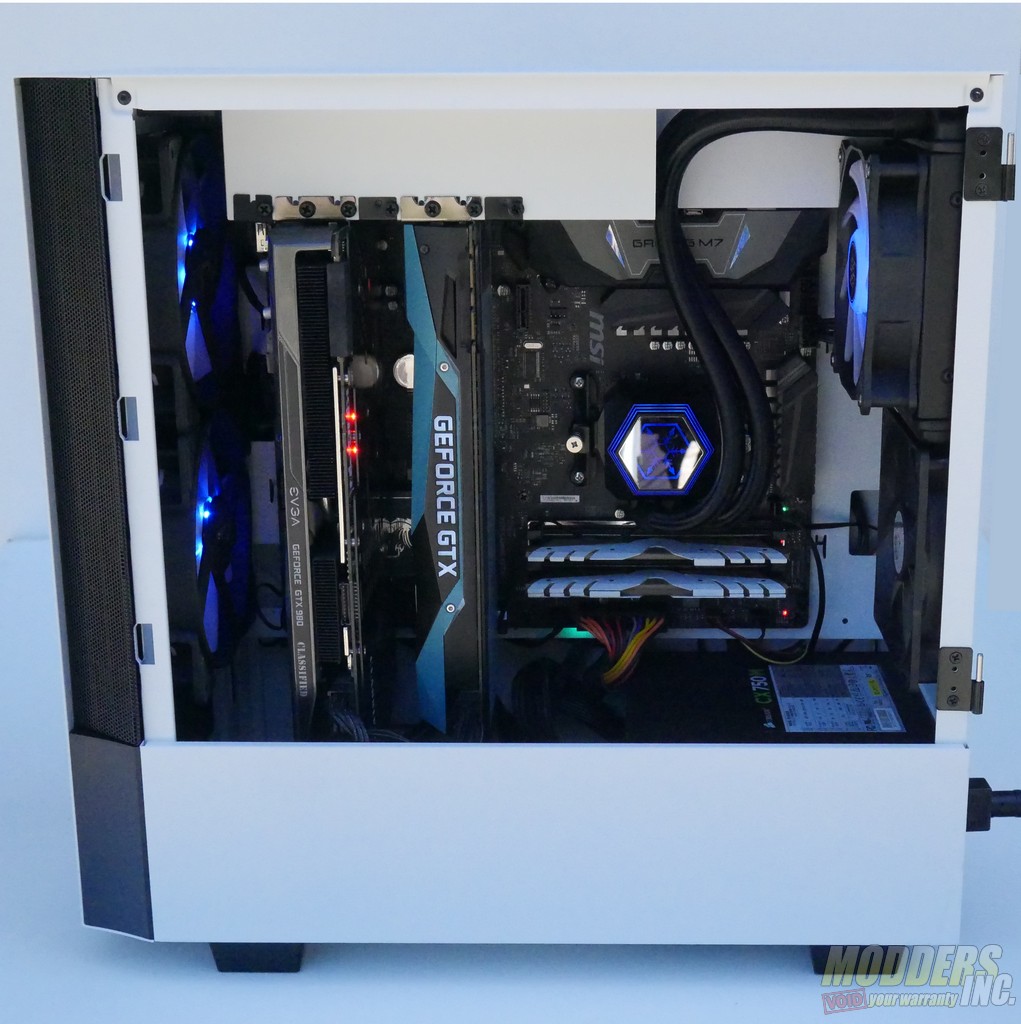
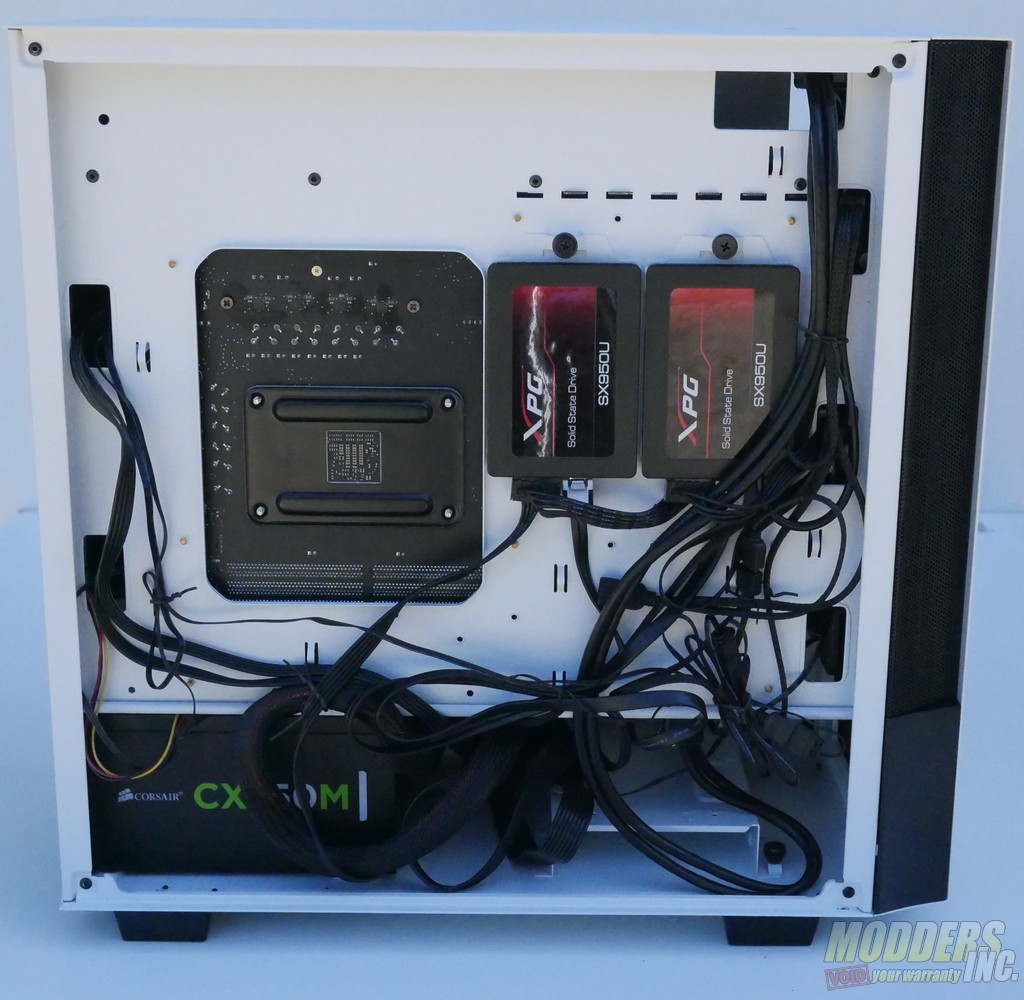
Building in the V22 is about as simple as it gets. The glass side panel comes off by simply lifting it off its hinges and the captured thumb screws on the other side panel reduce the number of loose screws you have to keep track of. The motherboard tray is incredibly spacious considering the size of the case, so mounting the board and plugging in the front I/O cables are very easy. The power supply can be mounted through either side of the case, thanks to the unusual skirt style shroud design. Many mid tower cases suffer from poor cable management around the top edge of the motherboard due to its close proximity to the top case fans. The V22’s rotated layout basically nullifies that problem. The large cutouts around the motherboard tray give ample room for power cables and accessory cables. The 24 pin power cable simply tucks away at the bottom of the case.
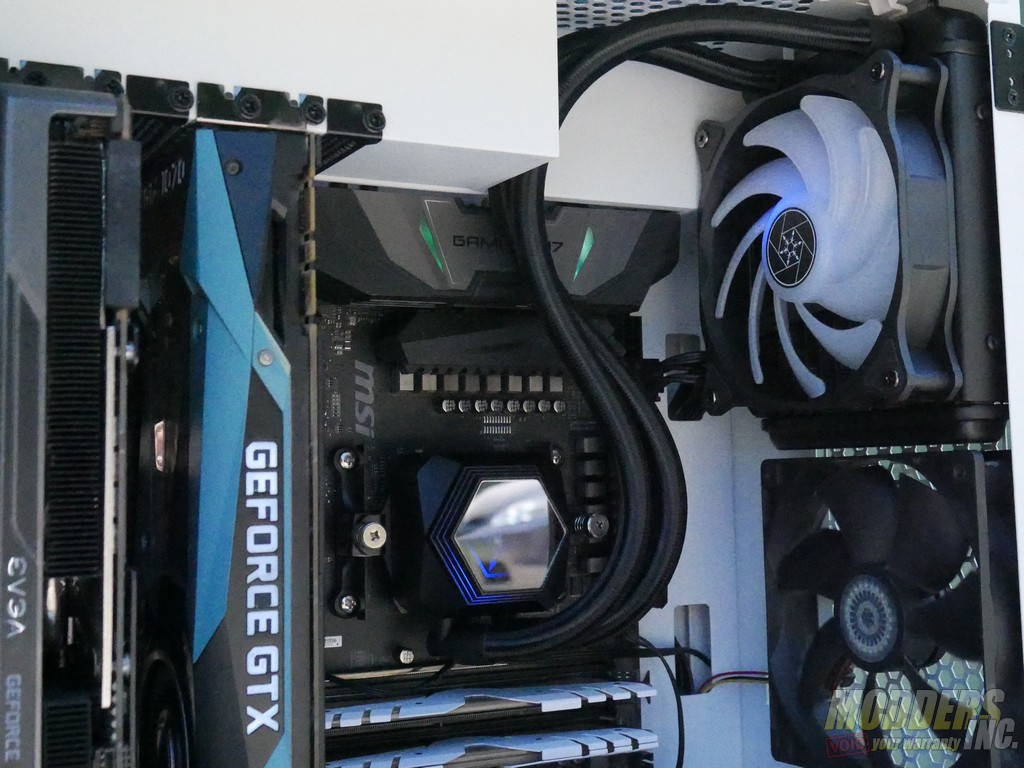
I did run into a minor issue when trying to mount my CPU cooler. I had initially planned to use a 480 mm AIO, but the front of the case only has space for fans, and not a full radiator. This is actually mentioned in the documentation for the case, so this issue was all on me. Sometimes you just have to read the manual. I decided to go with the PF120 120 mm AIO instead, which fit just fine in the back of the case. I installed two 140 mm fans in the front for the case’s intake and a 120 mm fan below the AIO as an exhaust.
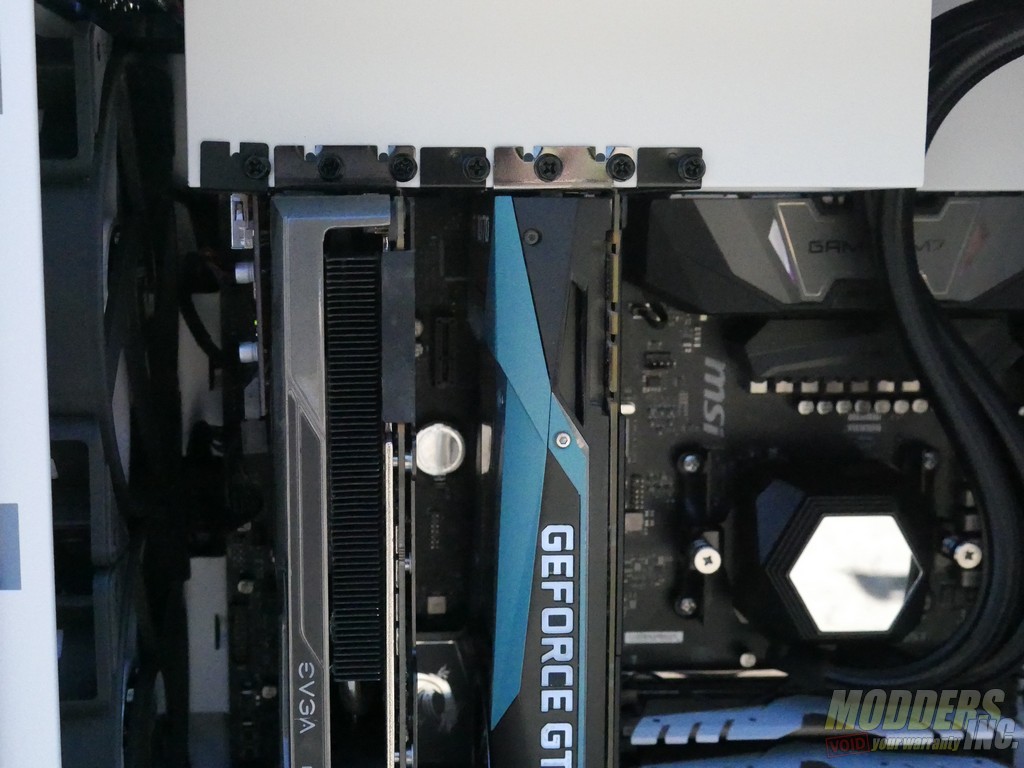
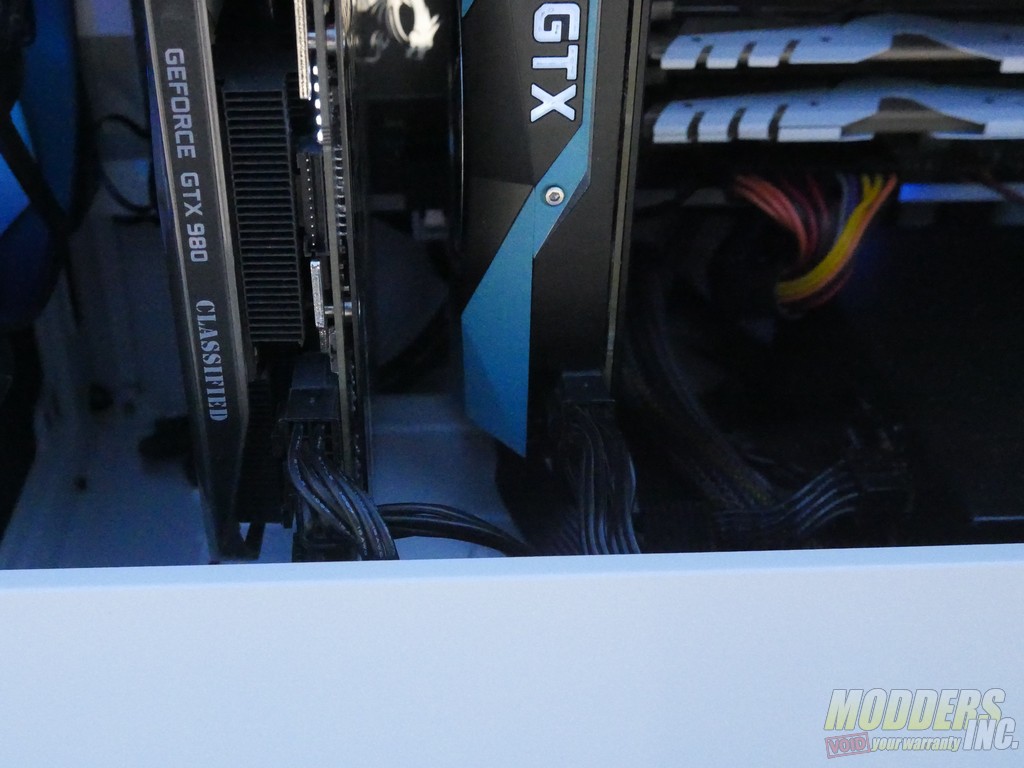
Mounting graphics cards in the V22 is about as simple as it gets. The rear I/O covers are far away from the edges of the case, which makes them very easy to remove. My two cards fit in the case easily despite their large size and their cables tucked away neatly at the bottom of the case.
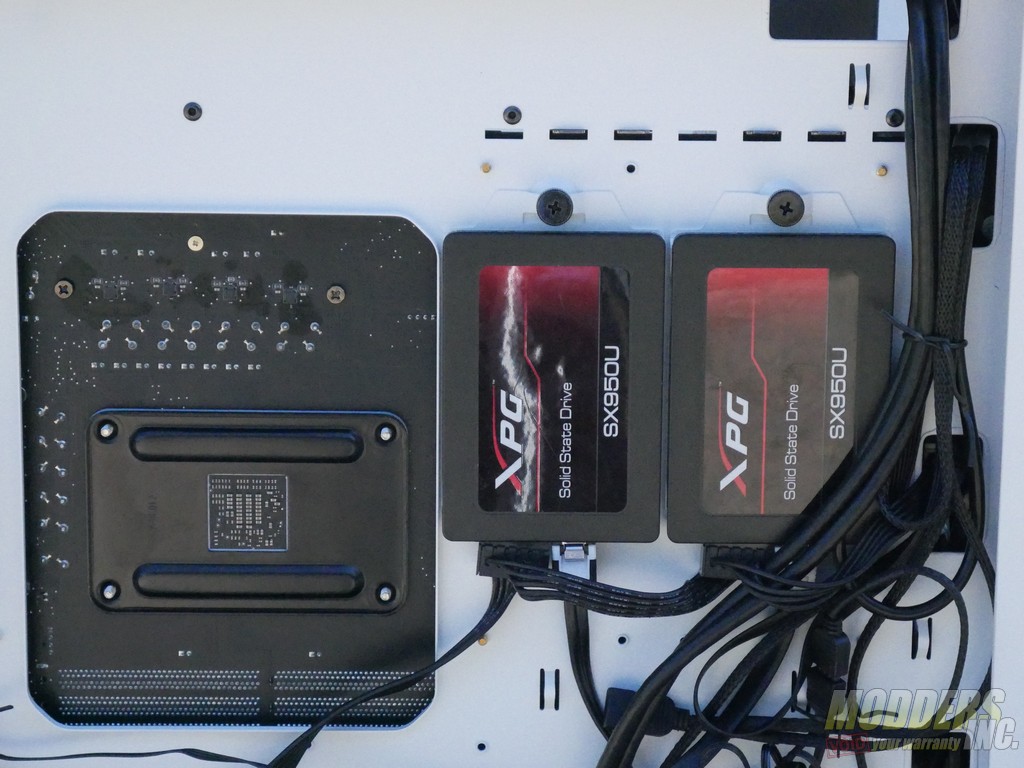
The raised drive sleds made mounting and plugging in the drives a breeze. Because I also use the test bench as a VR system when I am not reviewing cases, I also added a USB card in the bottom expansion slot of the motherboard. The routing holes around the motherboard are easily large enough to pass a SATA power cable through to power the card.
Tidying up cables in the V22 is surprisingly easy considering the lack of a fully enclosed power supply shroud. The skirt panel at the bottom of the case does a good job of hiding the power supply and cables without getting in the way while building. You can still see the cables if you look down into the case at an angle, but they don’t look particularly messy. On the back of the case, the cable management hard points offer plenty of places to tie off loose cables. I had no issues fitting the rear panel back on the case and securing it in place. At the top of the case, there’s plenty of room for routing cables, though you may have some issues routing out the back of the case if you’re using a huge number of cables. My full complement of VR headset and peripheral cables fit just fine, so for most people, this shouldn’t be an issue. Cables as large as DVI can pass through the rear cable grommet.
