darkFlash DLX21 Mesh Mid Tower Case Review
A Closer Look at the darkFlash DLX21
Building in the darkFlash DLX21 is quite easy overall. It isn’t quite as smooth an experience as building in the V22, but it is reasonably close. The motherboard tray has ample room for cable routing, all of the components have space to slide into place, and all of the major sections of the case are well spaced.
For my system build, I used the following components:
| Motherboard | MSI X370 Gaming M7 |
| Processor | AMD Ryzen 5 2600 |
| Cooler | Silverstone PF120 AIO |
| Graphics Card 1 | Nvidia GTX 1070 Founders Edition |
| Graphics Card 2 | EVGA GTX 980 K|NGP|N |
| Storage | 2x XPG SX950U 2.5″ SSD |
| Power Supply | Rosewill Tokamak 1500W |
I started off my build with the power supply. I decided to throw the worst possible scenario at the DLX21 since a competing case I reviewed had a number of serious issues with fitment and cable routing around the power supply and I wanted to make sure that the DLX21 does not suffer from the same problems. Fortunately, things went smoothly for the most part. The Rosewill Tokamak is a massive power supply, yet it fit inside the DLX21 with plenty of room to spare for extra cable length. There was plenty of clearance above and to the sides of the power supply as well, so getting into place was trivial. The only sour points were the routing holes for the various headers at the bottom of the motherboard. The routing holes were only cut into the top of the shroud and did not extend up onto the motherboard tray. This sandwiched all of the cables for the bottom of the motherboard between the shroud and the power supply. In the DLX21, the audio cable, USB 2.0 cable, and front panel leads could all fit through the gap just fine, but the larger USB 3.0 and 3.1 cables had plugs that were too thick to pass between the power supply and the shroud. Thankfully, the spacing in the DLX21 was wide enough for the actual wires of the two USB cables and there was enough depth to the power supply shroud that I was able to temporarily slide the power supply out of the way while I arranged the USB cables. I would definitely have preferred routing holes that extended up into the motherboard tray, but the final result was definitely passable.
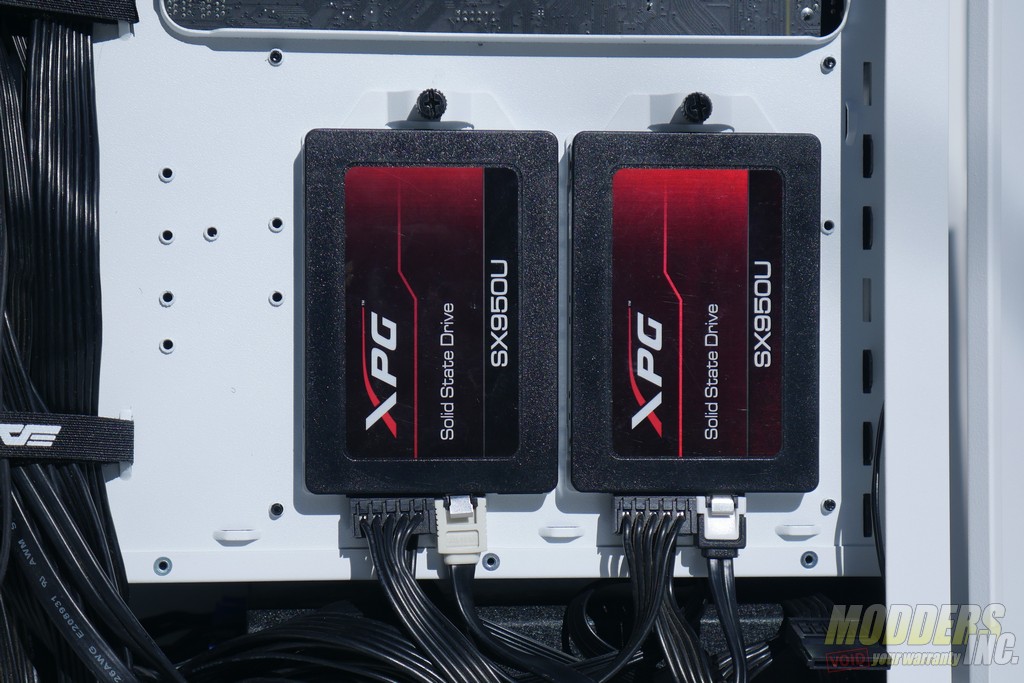
The vast majority of the build was very typical for an ATX mid tower. The center motherboard standoff was a specialized pin style that helped with aligning the motherboard, and the included standoff driver made installing the necessary standoffs a breeze. Installing the 120mm AIO on the back panel of the case was easy as well. I had plenty of room to move the radiator up and down to accommodate its tank and fittings. Installing the drives was relatively easy, though the SSD drive trays are flatter than the trays in the V22, so the clearance for the Tokamak’s daisy chained SATA power cables was not as good as I would have liked. The single hard drive tray expands to allow the installation of a hard drive without tools. I would have liked to see a second tray like that, but the drive mounts on the top of the drive cage used rubber grommets instead of a full tray. Overall, installing the drives was easy enough, but not quite as refined as it could have been.
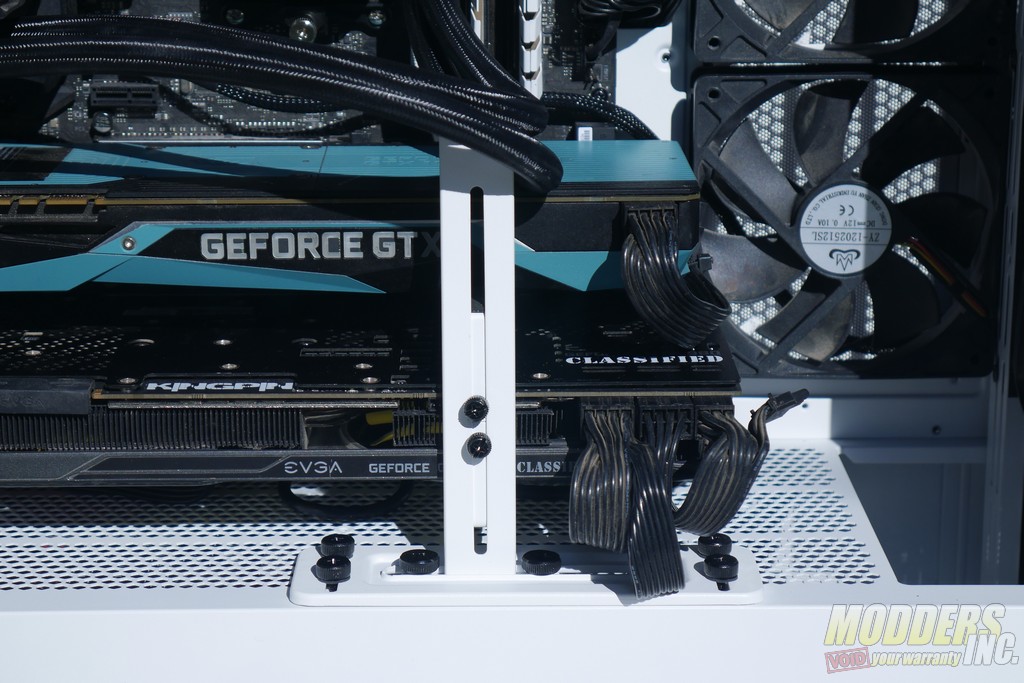
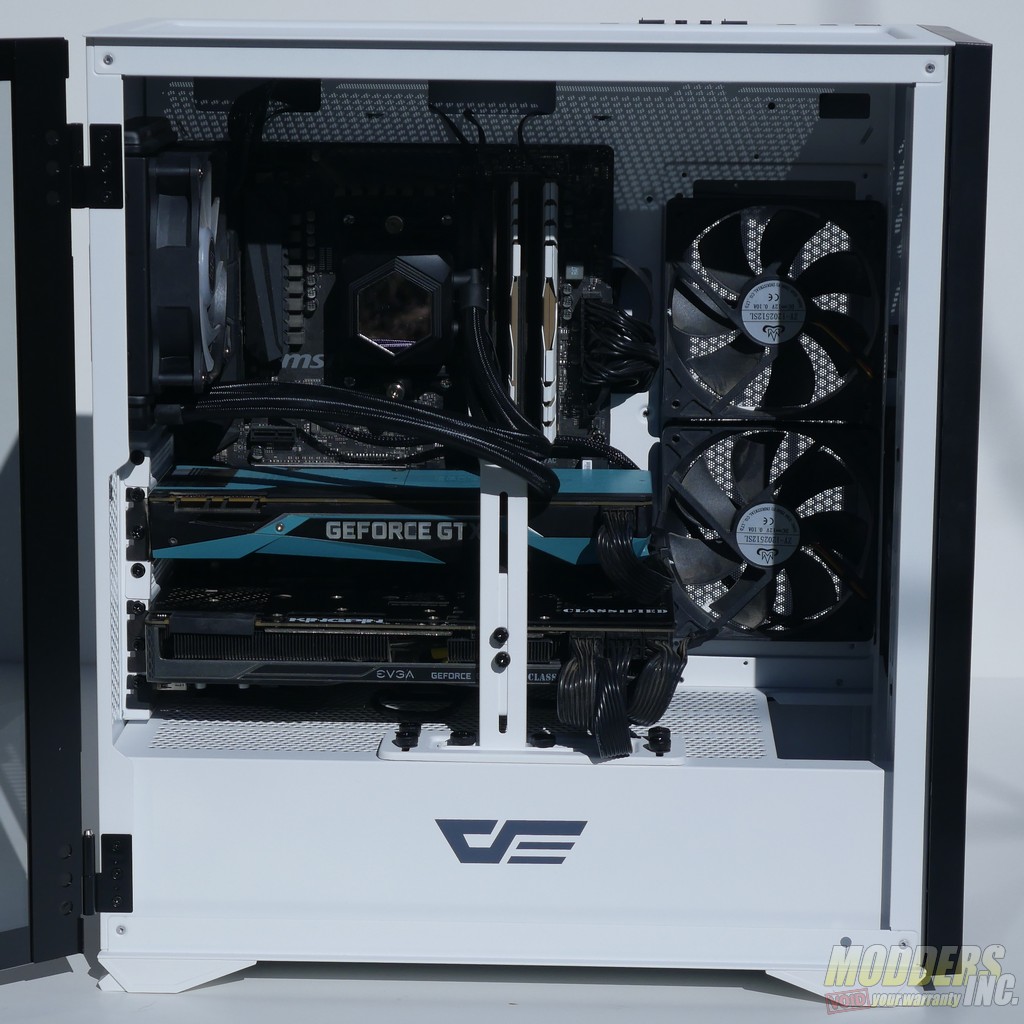
One part of the DLX21 that I was really looking forward to trying out was the anti-sag bracket for the graphics cards. Thankfully, it did not disappoint. The bracket was highly adjustable and came with two foam covered arms. Out of the box, the arms were configured to clamp a single card from the top and bottom, but as I was using two cards, I rearranged the arms to hold both cards. This worked quite well, and I had sufficient space to rearrange the arms without their mounting points conflicting.
To finish the hardware off, I added a pair of 120mm fans to the motherboard tray and a single 140mm fan to the front. Technically, the 120mm fans should not have been mounted to the motherboard tray without a radiator, since the mounting holes are not wide enough for standard fan screws. I did it anyway though, because I wanted to demonstrate the purpose of the space but didn’t have a spare 240mm radiator or AIO. I would definitely not recommend that the average buyer following my example in this particular instance. The front and top of the case are the best places to mount stand alone fans, while the motherboard tray is best reserved for radiators if you have them.
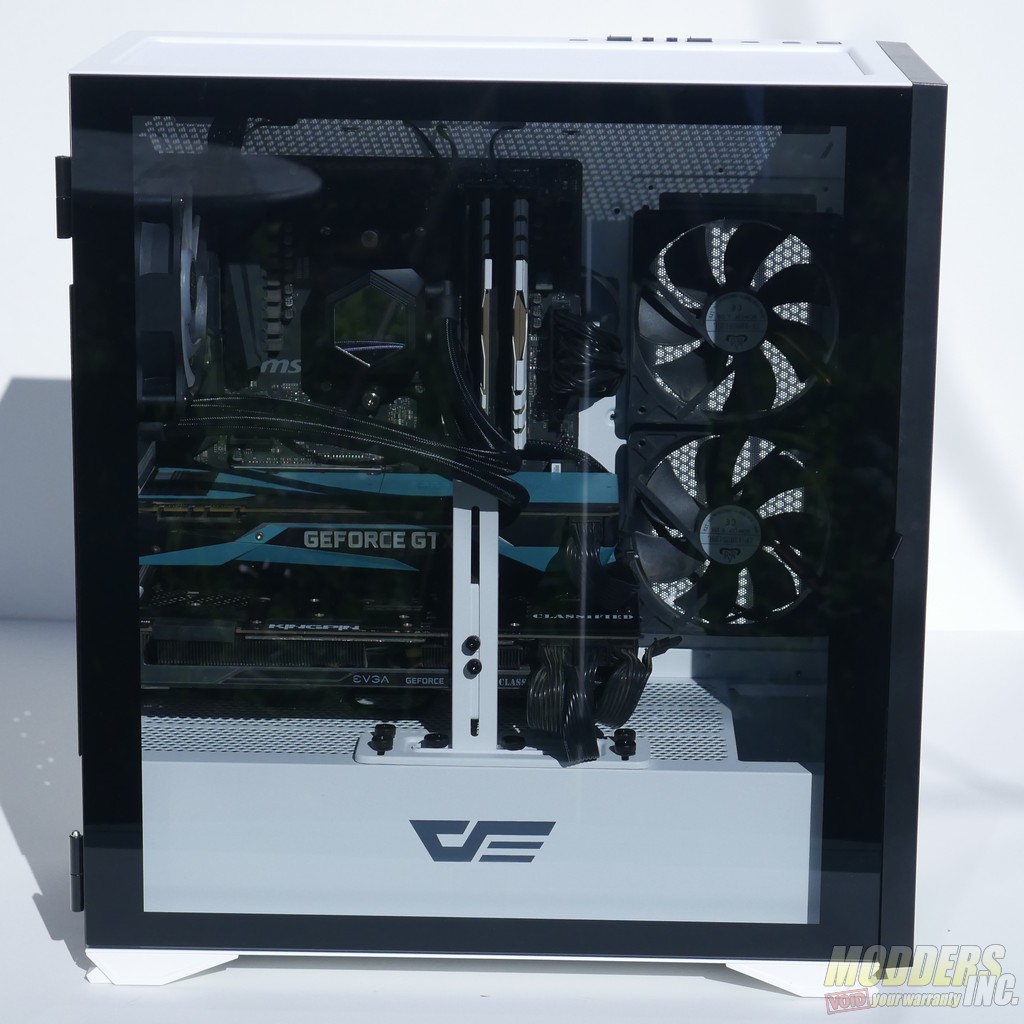
From the left side, the build ended up looking tidy and relatively well balanced, though the front did look a bit empty without any radiators to take up space.
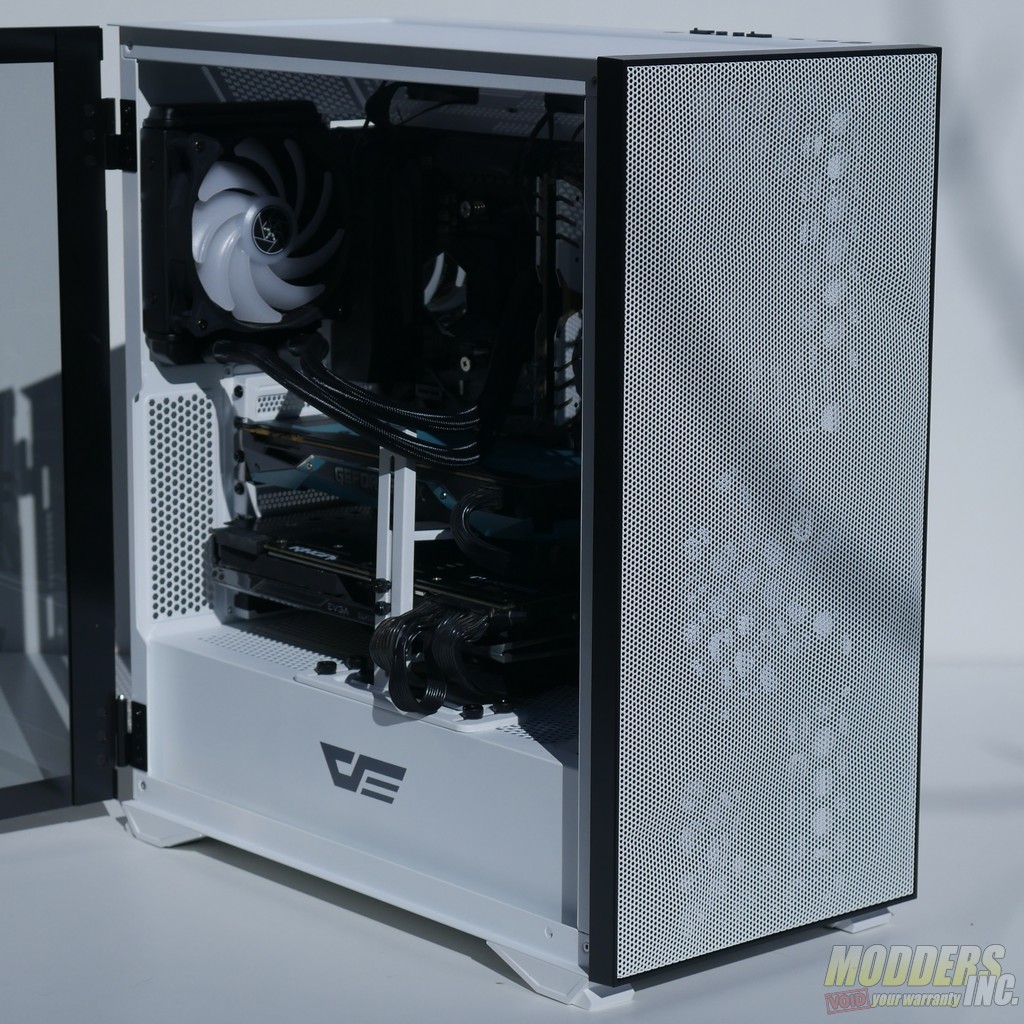
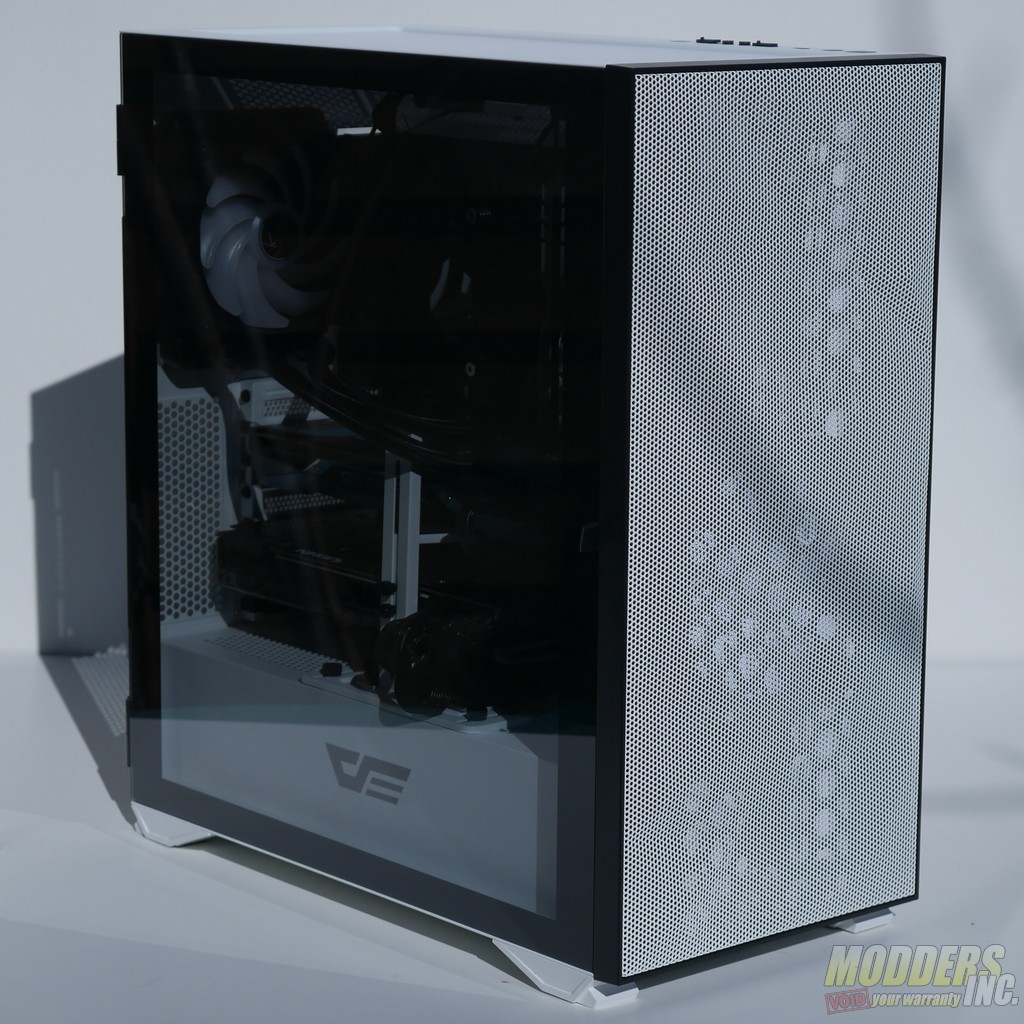
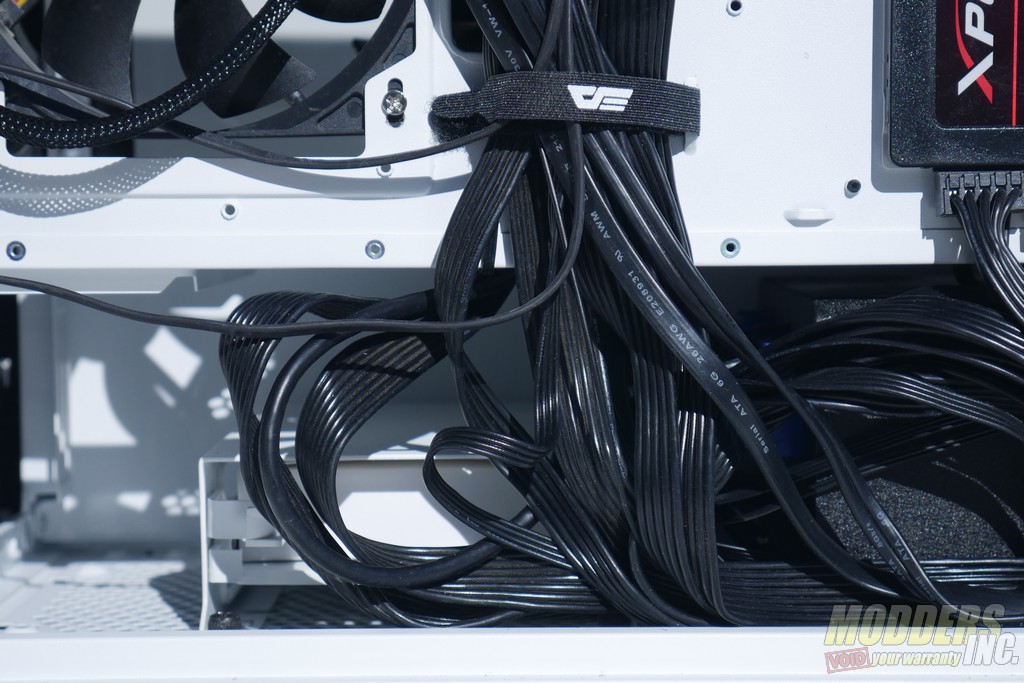
The right side of the build had me a bit nervous initially as I was tidying up cables. While there was plenty of space to plug cables in, tucking away cable slack was a bit more challenging. My main concern was with the magnets holding the right side panel in place. While they could hold the side panel closed with nothing in the case, cables can exert a fair amount of force. Initially, I did have trouble getting the side panel to stay closed. While the built in velcro cable ties helped keep most of the cables packed down and secure, I still had a little knot of cables at the bottom of the case that was pushing the side panel open. It took a bit of organizing to tuck it away enough to close the side panel, but once the cables were reasonably flat the magnets were able to hold the panel closed. I did not have to do any sort of extreme cable management or remove the drive cage to make more room for cable bulk. This was an improvement over a competing case that I reviewed which used a similar panel design, but a thumb screw or locking fastener for the rear side panel would still be a welcome addition. For comparison, the V22’s more traditional side panel was almost as easy to open and close, but was able to stay closed even with sub-optimal cable management.
