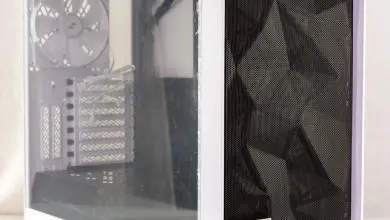
darkFlash DLX21 Mesh Mid Tower Case Review
An Inside Look of the darkFlash DLX21
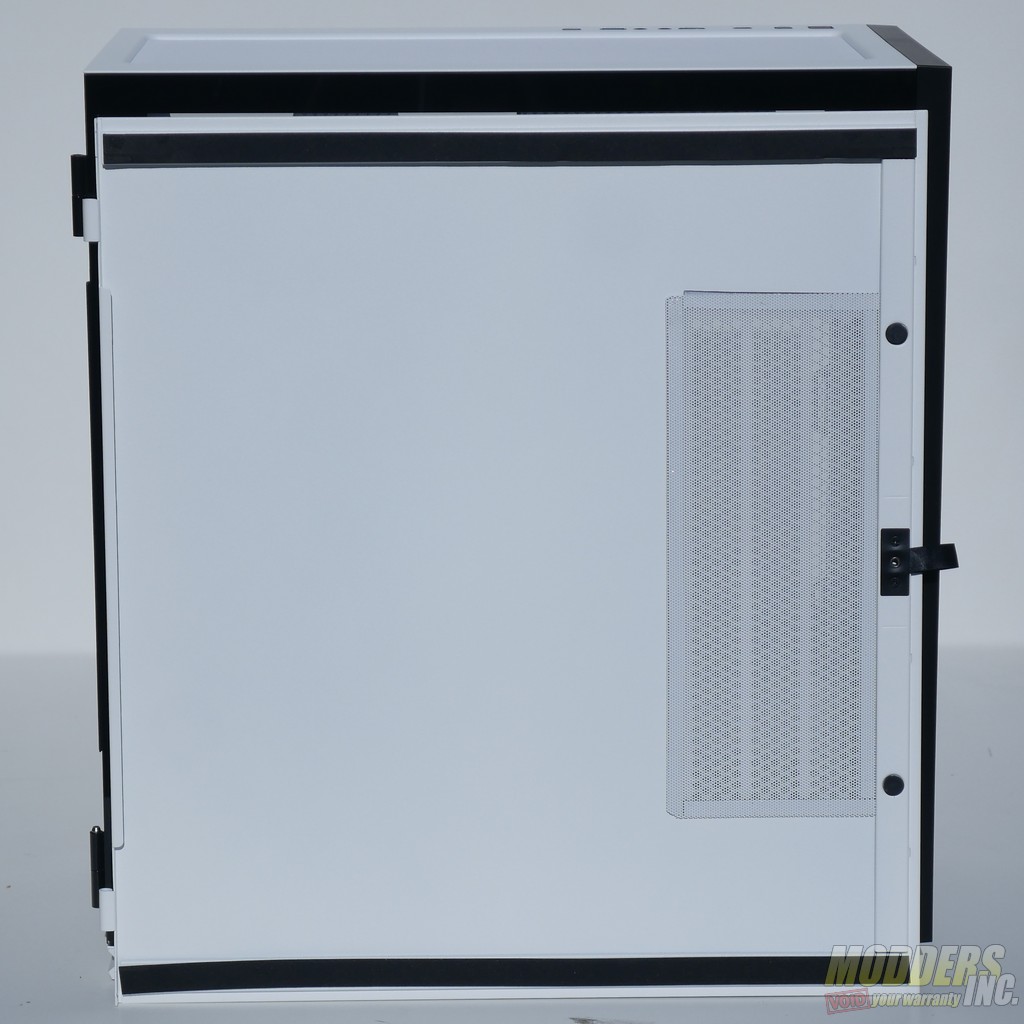
Removing the side panels of the darkFlash DLX21 Mesh immediately highlights the unique mounting system that darkFlash chose to use. The panels are both mounted on take apart hinges at the back of the case, and secured at the front with magnets. The left glass panel uses a large magnetic strip, while the right side panel uses a pair of smaller magnets covered with small rubber pads. The inside of the right side panel also has a pair of foam strips at its top and bottom edge to minimize the amount of vibration transferred to the side panel from fans and drives in the case. The foam and rubber pads were not quite aligned correctly in their designated locations on my sample, but this is a relatively minor issue. The right side panel also has a section of hexagonal mesh venting to feed fresh air to the inside of the case if there is a radiator installed on the motherboard tray. The venting is covered by a magnetic dust filter.
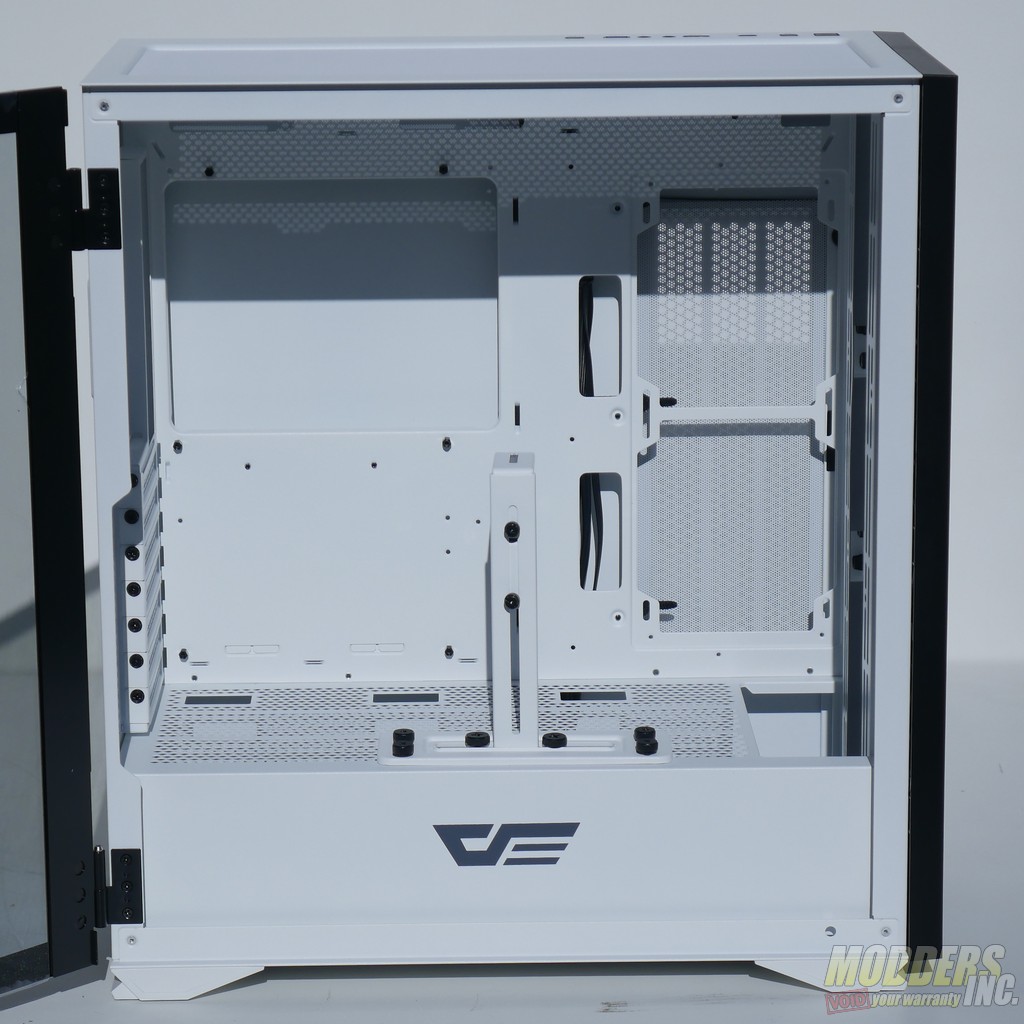
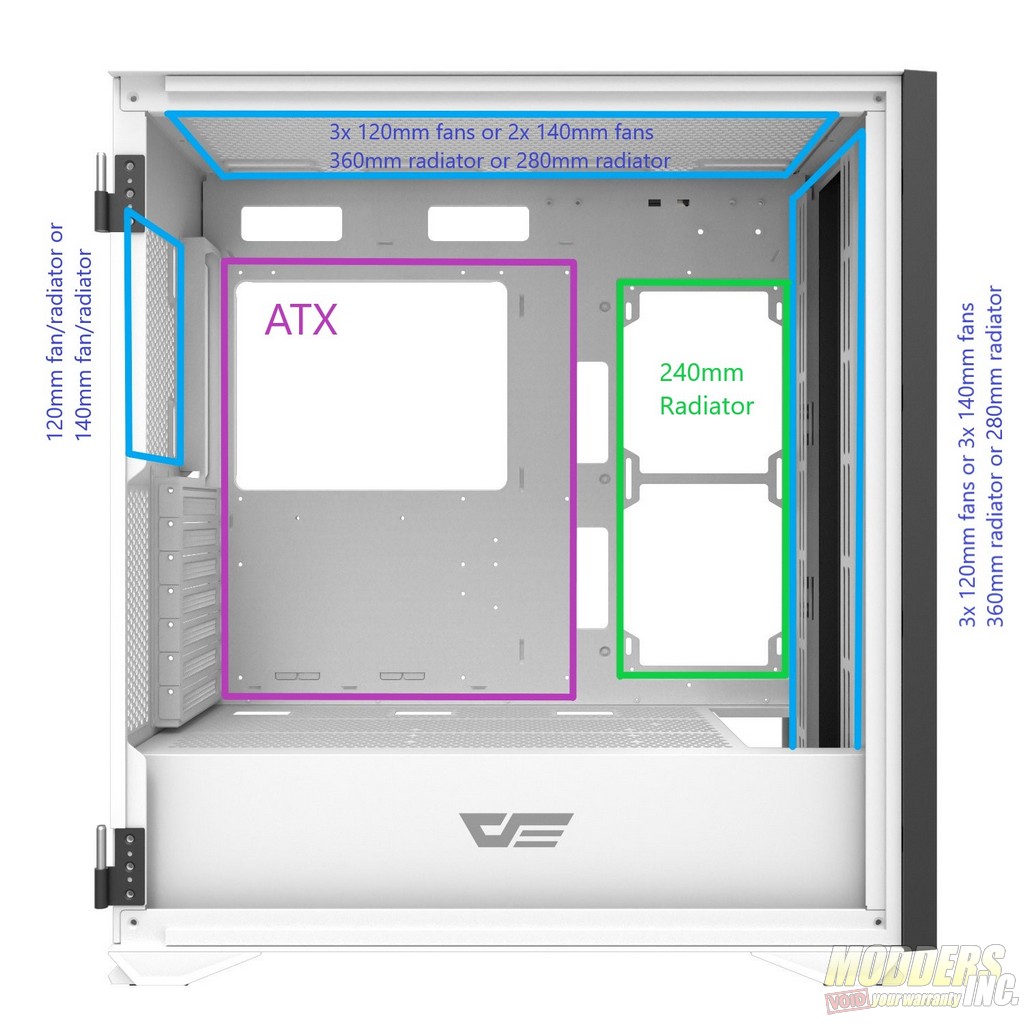
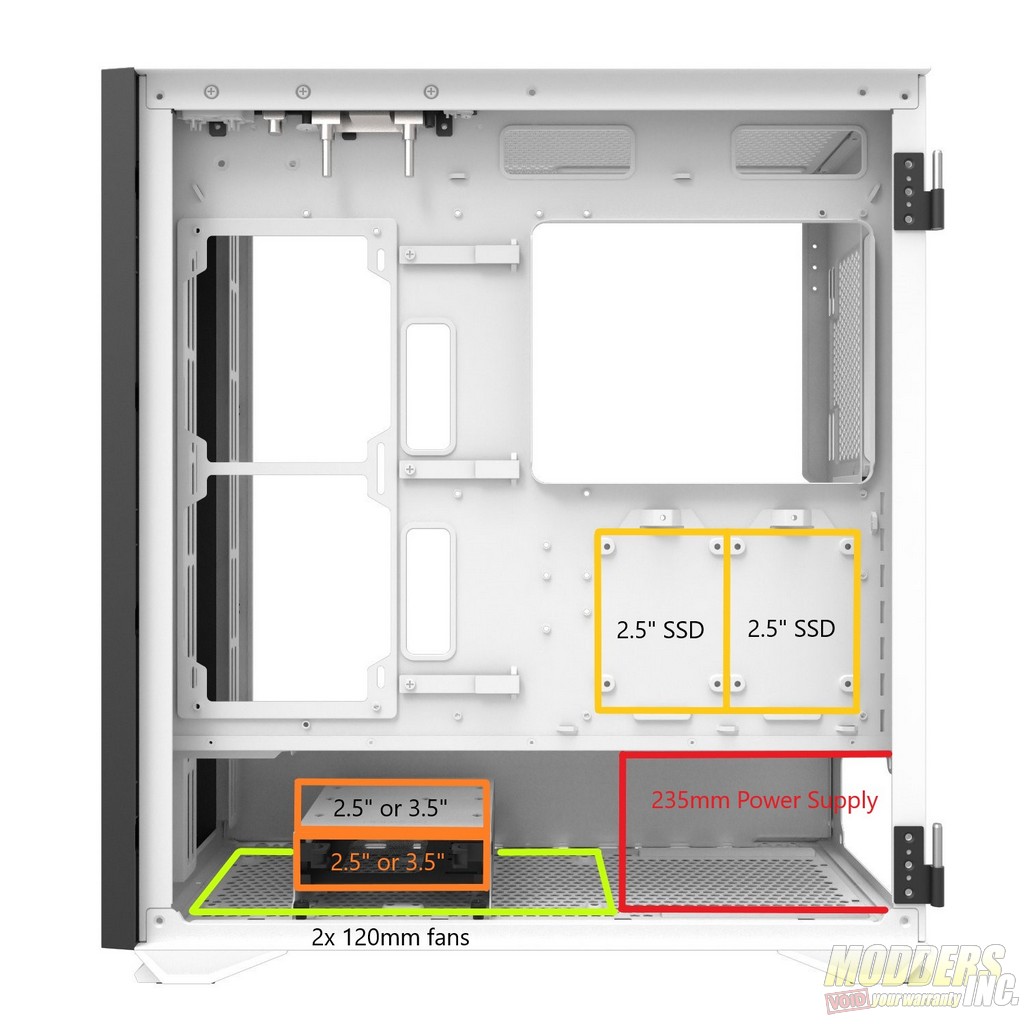
The inside of the DLX21 is fairly standard for a modern mid-tower case, with a power supply shroud and space at the front and top of the case dedicated to radiators. There are also mounting holes for a 120mm or 240mm radiator on the motherboard tray, which is a layout element that has gained a lot of popularity recently. The top of the power supply shroud features a hexagonal mesh pattern, some parts of which contain screw holes for mounting the graphics card anti-sag bracket or the optional vertical graphics card bracket. The shroud also features three pass-through holes for the cables that run to the bottom of the motherboard, and a cut out at the front of the case to allow the installation of a 280mm or 360mm radiator. The motherboard tray is fairly standard and sized well for ATX or smaller boards. It can technically support larger boards as well, but installing an oversized board will cover up the cable routing holes for the right side of the motherboard. There are also ample cutouts for cable routing at the top of the case.
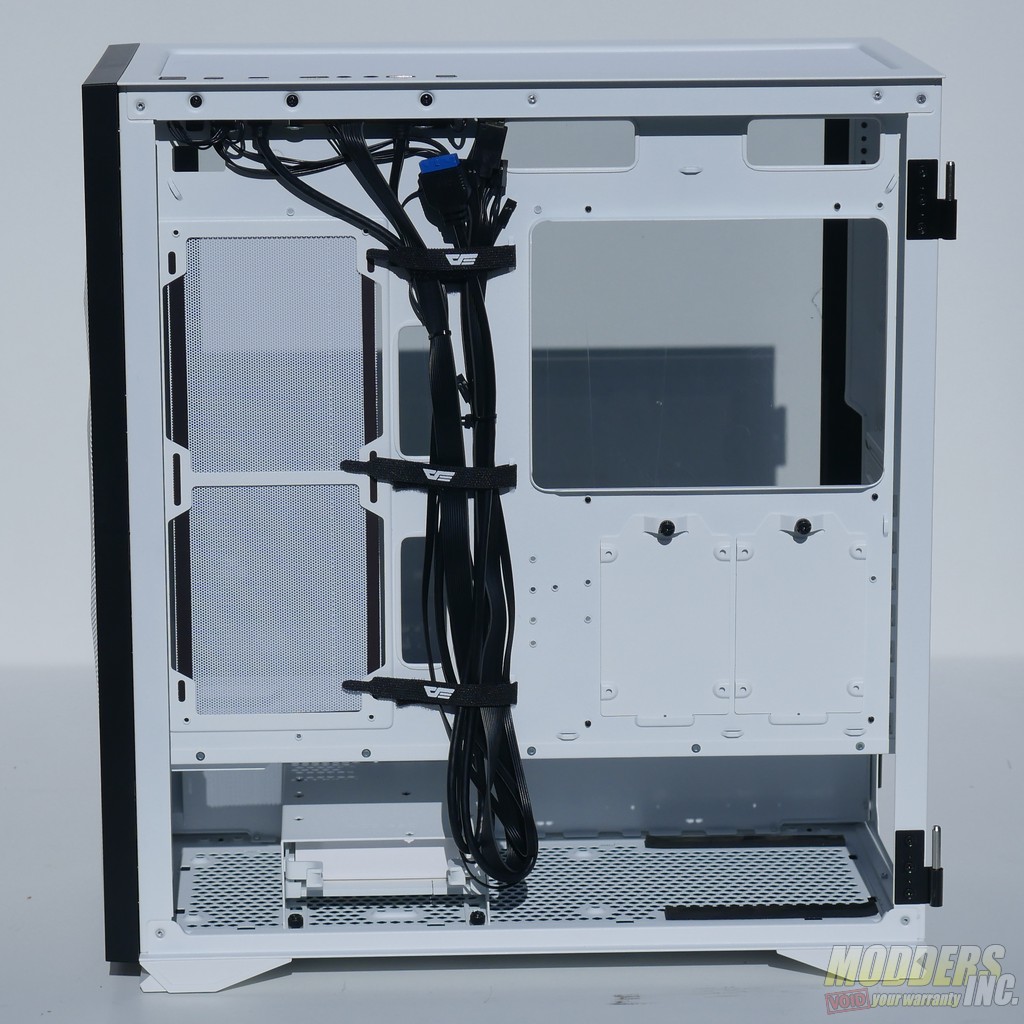
Behind the motherboard tray, the DLX21 has a good amount of room for cable management, and plenty of cable tie down points to make cable management simple and easy. Every major cable route has a set of tie down points, and the main cable route down the middle of the case features three velcro straps to make securing the cables easier. For drive mounting, the DLX21 features two 2.5″ SSD trays behind the motherboard and a removable drive cage under the power supply shroud that can fit either a 2.5″ or 3.5″ drive in the included tray and either a 2.5″ or 3.5″ drive on the top of the cage. The SSD trays are similar to the ones in the V22, but don’t offer the same clearance for daisy chained SATA cables. They are held in place by ordinary thumb screws that screw into standoffs on the motherboard tray. The tray in the drive cage features an innovative tool less design, with a set of four moveable pegs that fit into the screw holes in a standard 3.5″ hard drive, and a sliding section in the middle of the tray that allows the tray to expand. This design allows a drive to be mounted in the tray without the use of a screw driver or other tool. The tray also features holes for mounting a 2.5″ SSD if you don’t have a 3.5″ hard drive. The top of the drive cage has holes for mounting a 2.5″ or 3.5″ drive using the rubber anti-vibration grommets that come with the case. Our sample was missing one of the mounting holes for the top mounted 2.5″ drive for some reason, but the remaining three holes are sufficient to mount a drive securely. The box that contains the screws, zip ties, and accessories for the case is mounted in the tray inside the drive cage.
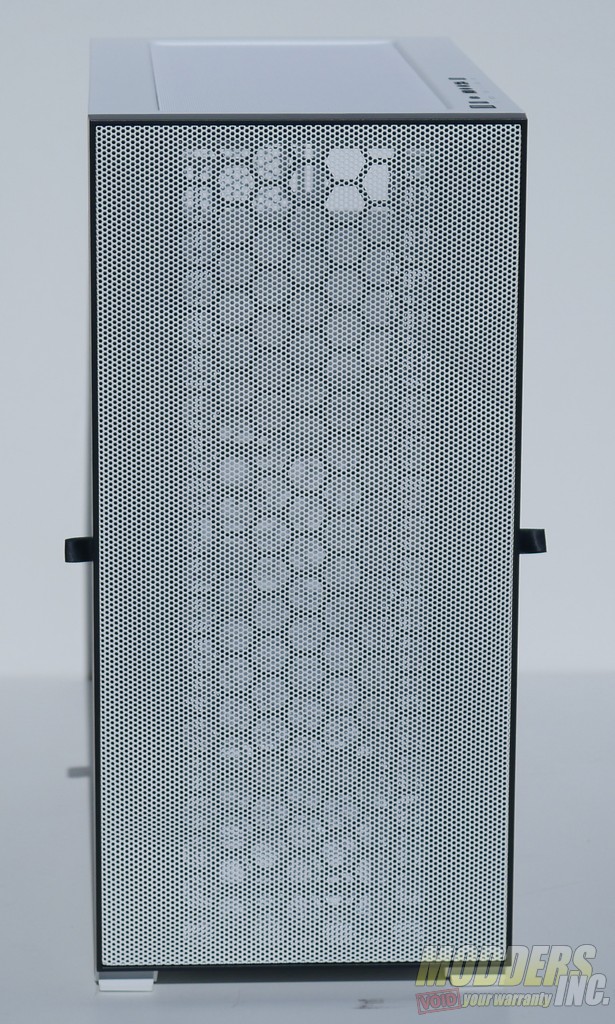
The front panel of the darkFlash DLX21 is held on with a fairly traditional plastic snap system but is unusual in that it lacks any sort of grip to make removing the panel easier. The best way to remove the front panel seems to be to open the side panels and pull from the edges of the front panel’s plastic frame. Behind the front panel are mounting rails for the front intake fans or radiator. There is no dust filter behind the front panel. While the front mesh of the case is reasonably fine, a finer dust filter would have been a nice addition to really ensure that a minimal amount of dust enters the case.
