Custom Computer Hardware Test Bench : by AmericanFreak
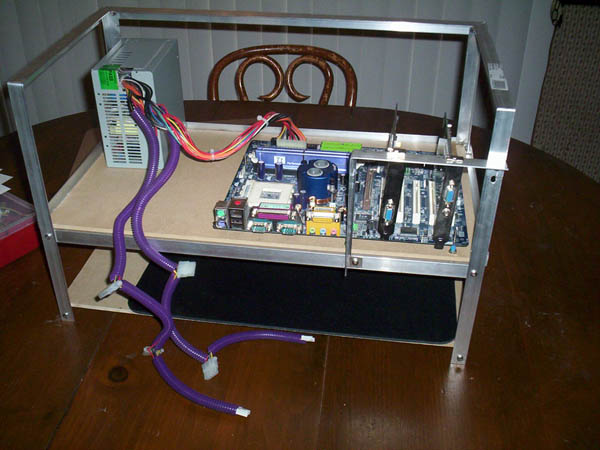
As you can see in the earlier pictures the mother board sits towards the outer edge. The was done so the card tabs could extend far enough down, it would stay within the “simulated case” idea and I could make a bracket to hold the cards in place.
I took a piece of the aluminium, cut most of one side it off and bent it to make the bracket.
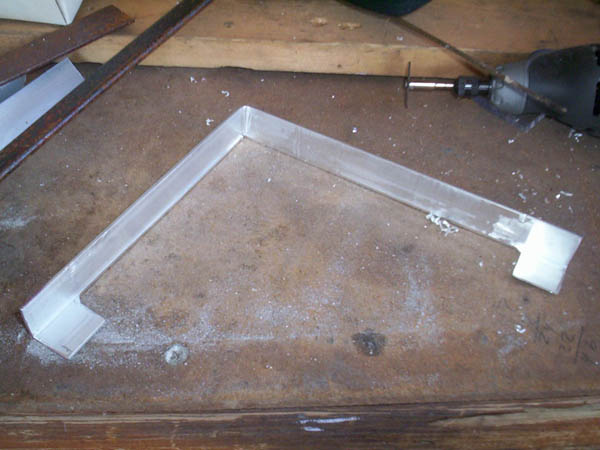
This is what it looked like when I installed it. I later found it looked good but not practical. I made it to fit this mother board and well… all mother boards are not the same…
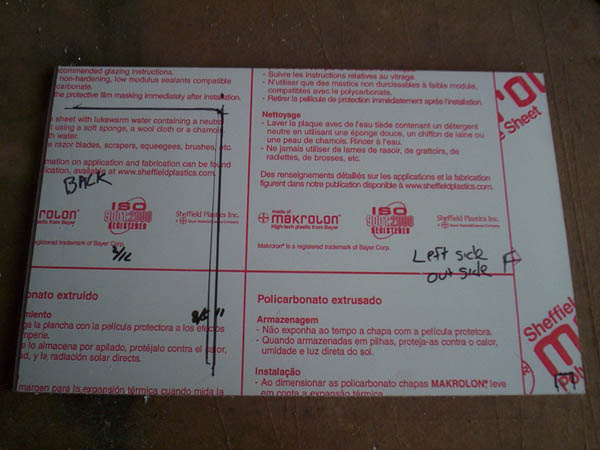
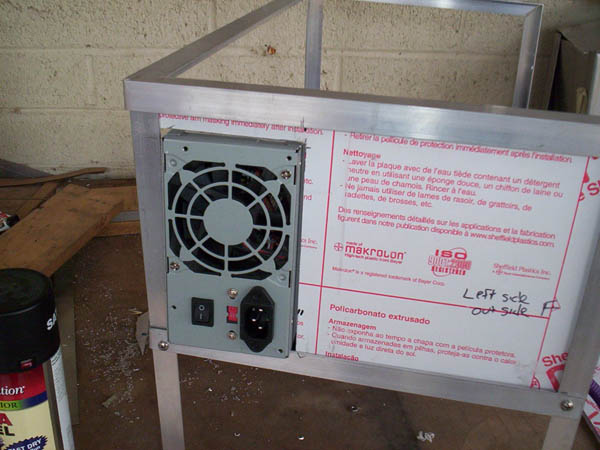
You can see that I have the mobo and power supply placed where I wanted them. The PSU needs to be able to slide in and out. It also needs to exhaust out like a real case. I cut a piece of Lexan to the size I need for the left hand side. I measured and marked out where I wanted the PSU to go.
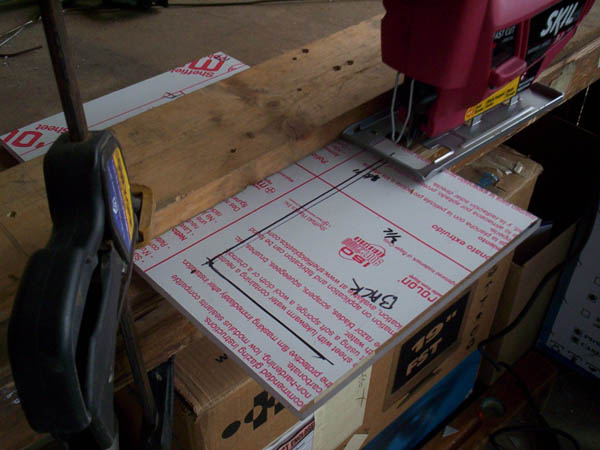
Using a jig saw I clamped the piece down. To get a nice straight line I set it up so that the wood that is holding down the Lexan to be my guide. All I would have to do it keep the saw against the wood and it would help me make a straight cut.
Here it is cut and set into place. I think this will work just fine.
With the basic layout of the test done I need to start working on how the items would attach and detach. I did not want to hard mount the hard drives and I did not want them to inside the “case area”. I decided I would make them slide in and out of place.
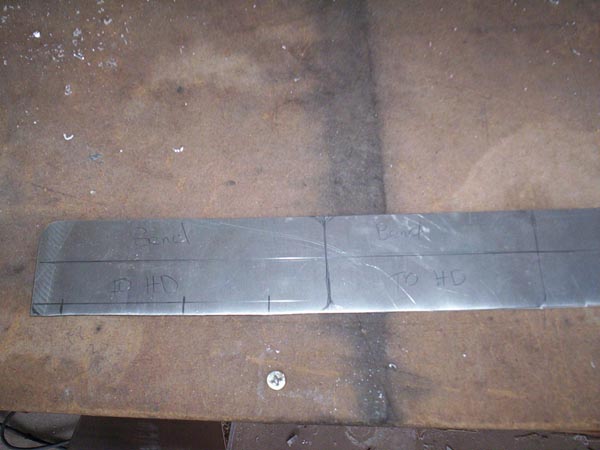
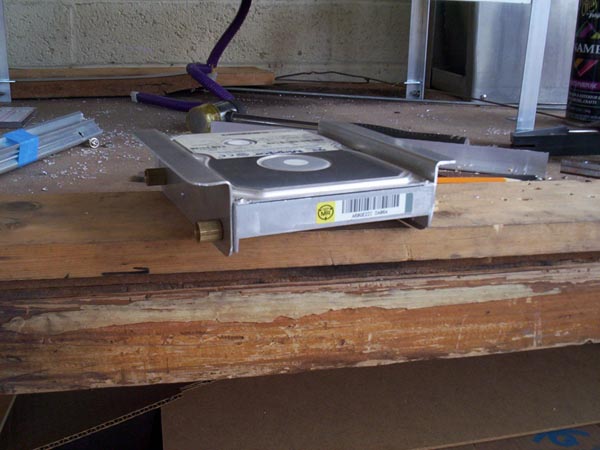
I took some scrap aluminum marked where the holes would be for mounting the drives and made a simple shape.
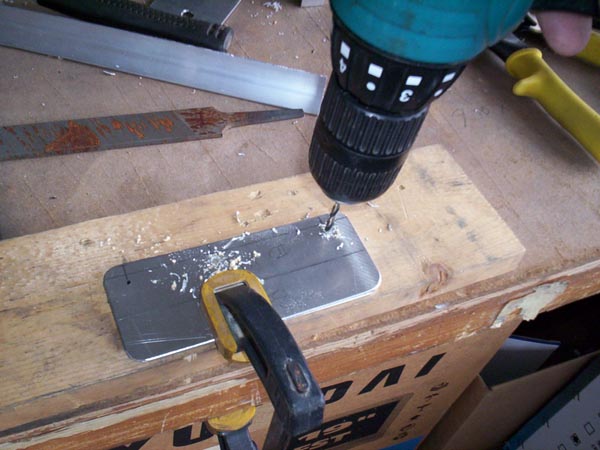
I cut out the pieces with tin snips, filed the edges and drill the holes.
I then took it to my sheet metal bending jig and bent them at a 90 degree angle.
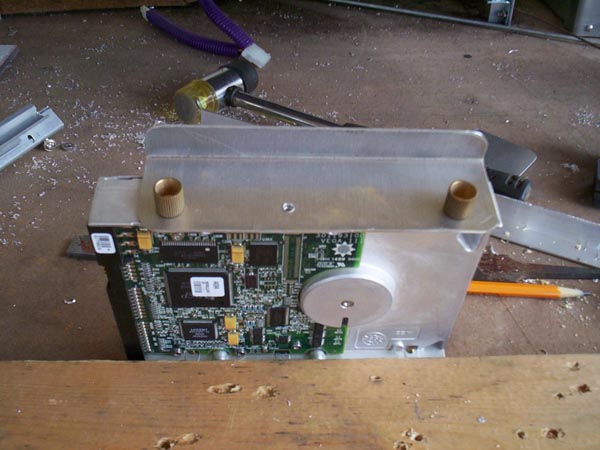
The large part would attach to the hard drives and the small part will go into the slide rail.
I will be using thumb screws to help hold the drives to the brackets. This makes it much easier to swap out stuff.
Now if I just had some where to put it.
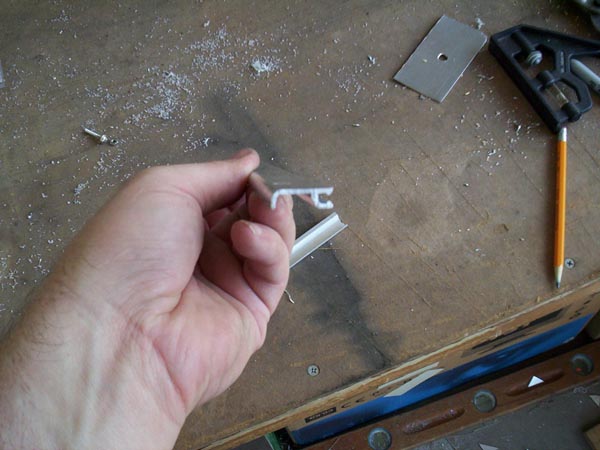
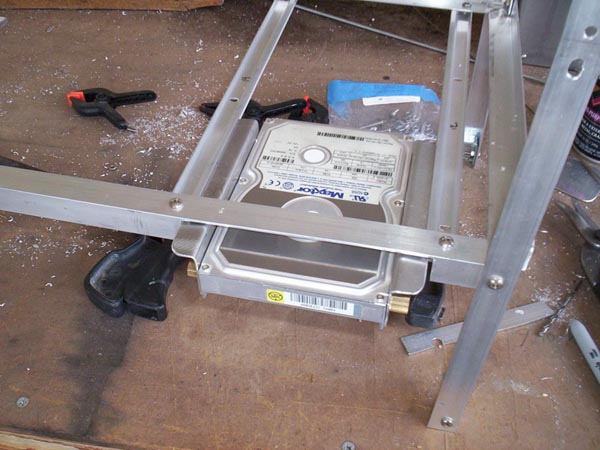
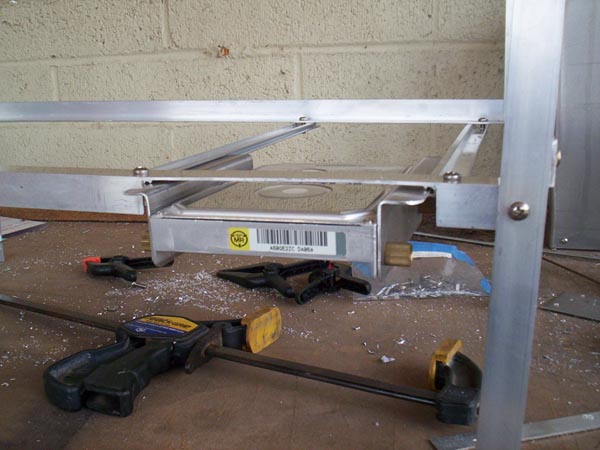
I found some doors seals that help keep drafts and bugs from coming around your doors. I removed the rubber and TA-DA I have my HD slide tracks.
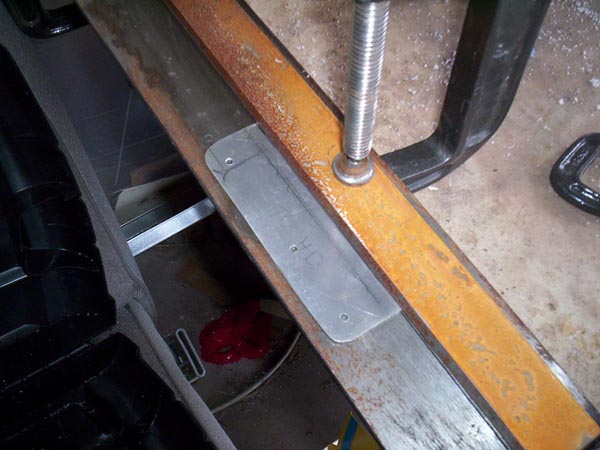
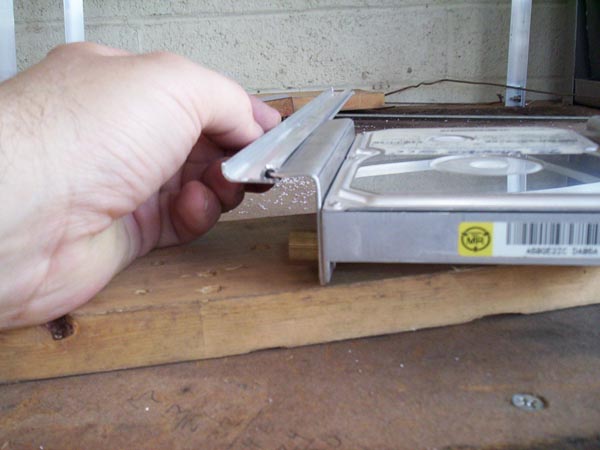
The brackets on the HD will just fit into the groove into the new slides for a nice tight fit.
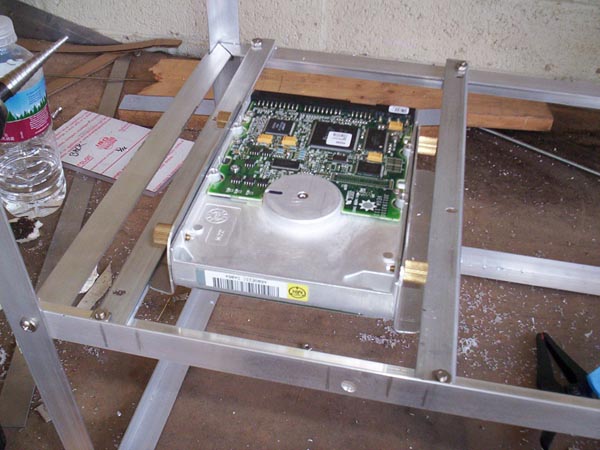
I flipped over the test bench, figured out where I wanted it mounted and I pushed the slides onto the brackets leaving just a bit of play so that they would slide easy. I then mounted them into place.
OK now I got someplace to put them, how do I get them in there? From the back, I don’t think so.
A notch was cut out of the front to allow me to add or remove them from there.
