Custom Computer Hardware Test Bench : by AmericanFreak
A second piece was made, but it was just two simple corners and it would be the base which the hardware would rest on. Sorry I must have lost the pics for this piece.
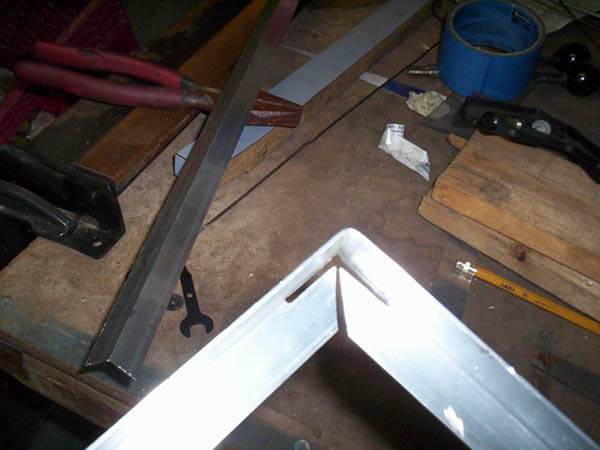
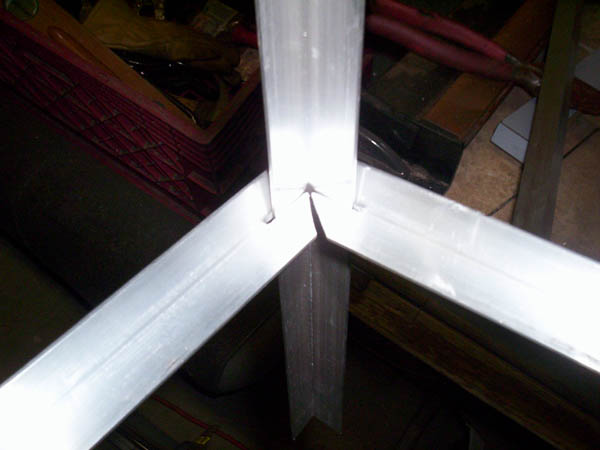
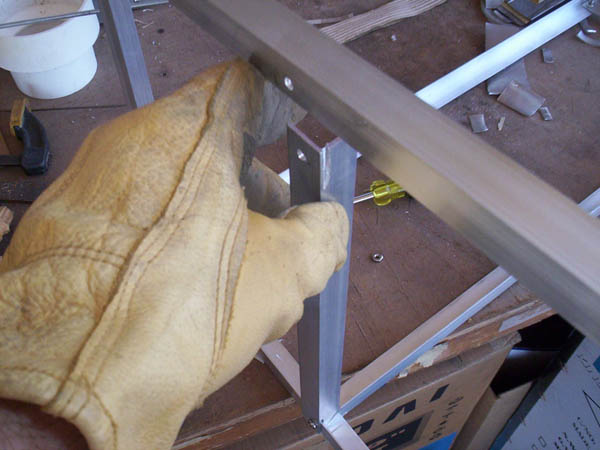
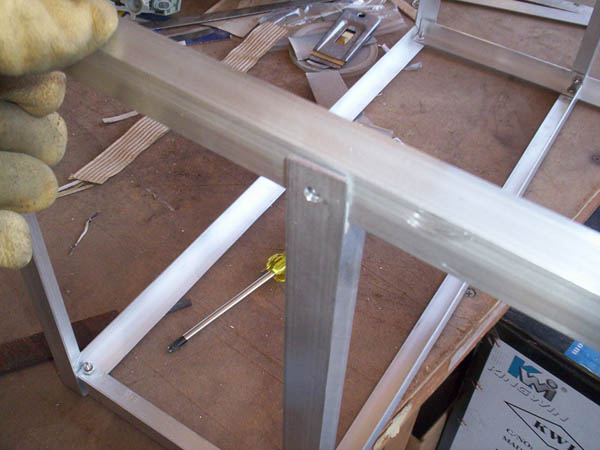
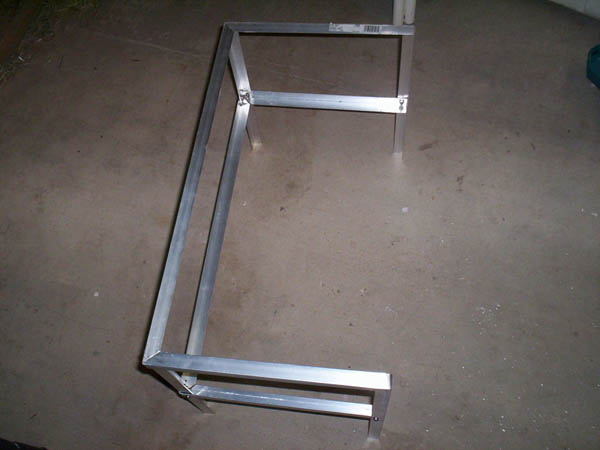
Not wanting to ruin the smooth corners buy sticking the uprights on the outside of the second frame piece. I decided to notch the inside of the frame and slide the legs through them. This would keep the look and help strengthen the frame. Using a dremel I was able to cut out the grooves to allow the struts to pass through.
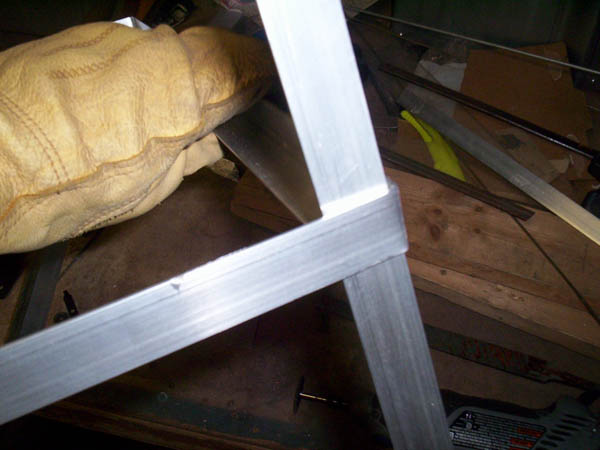
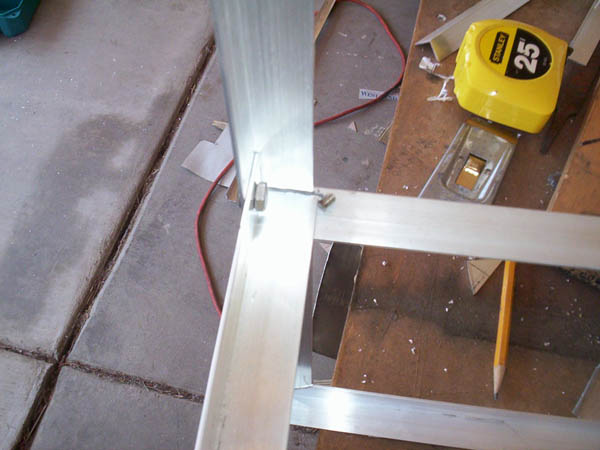
Its now time to start to assemble the frame. I liked the notch idea so much that I took the horizontal piece of the frame, notched and drilled holes for the Stainless Steel nuts and bolts.
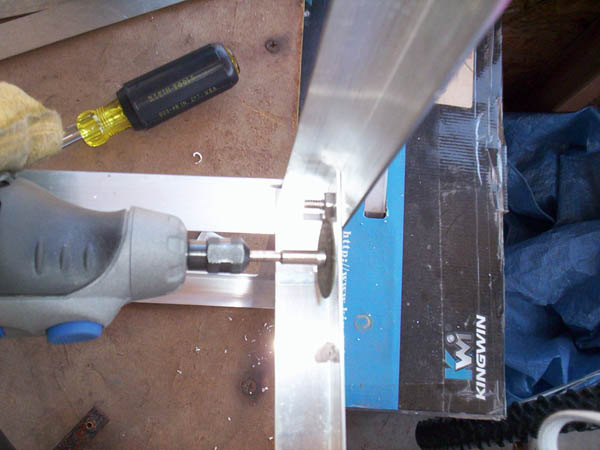
After installing all the nuts and bolts you could see that they were to long so out comes the Dremel to cut them to the correct size.
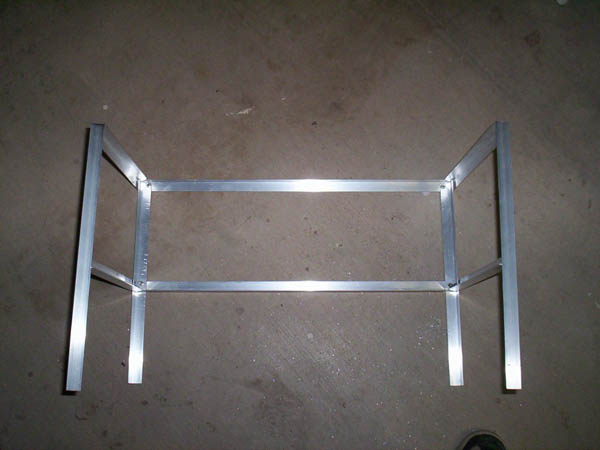
This is what it looks like up to this point in the build. The basic frame is done and is super lite.
You will see that during this build that some of my ideas changed. What sounded great at the time just did not seem to be right. I am not going to edit out the “mistakes” as this is a real build and it will help show the thought process, or the lack of.
