CRYORIG H7 CPU Cooler Review: Worry-free Compatibility
Installation of the CRYORIG H7
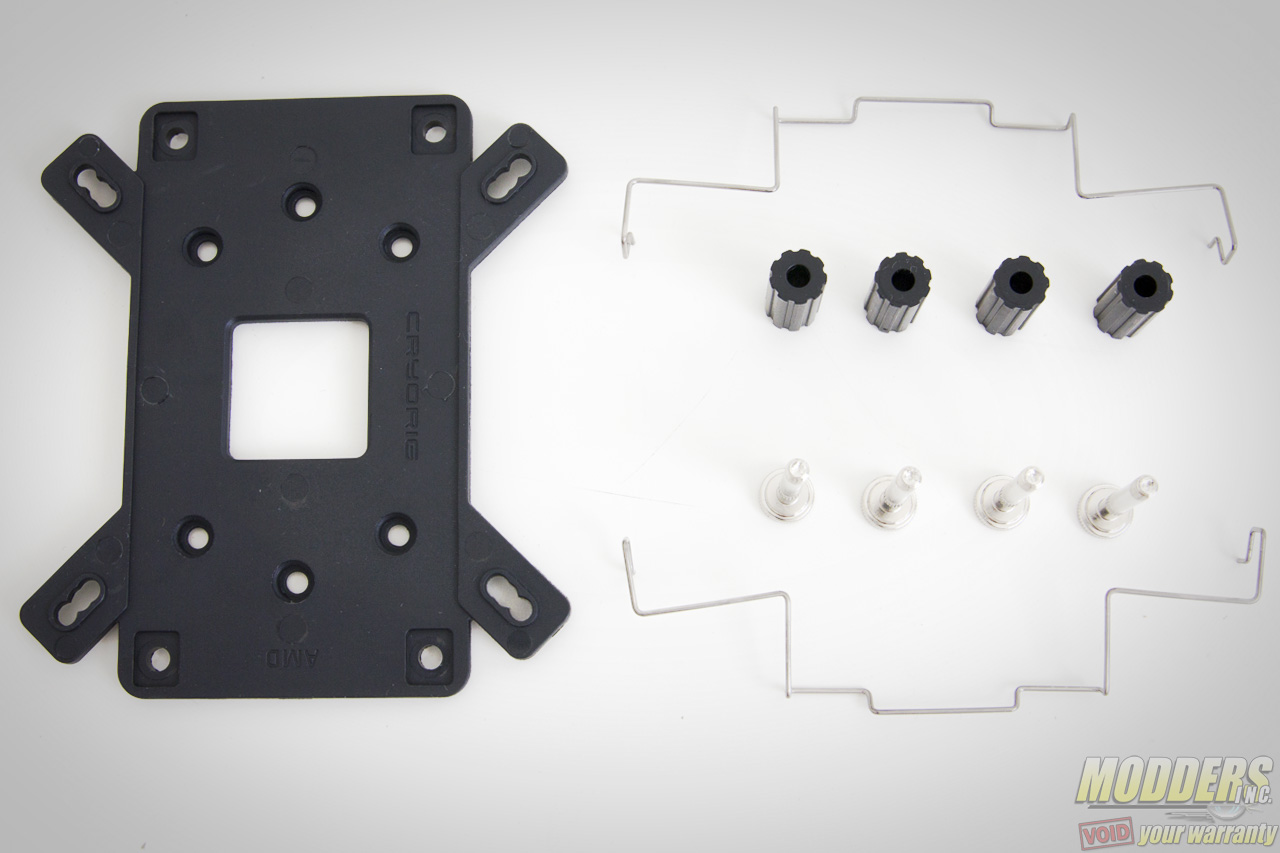
Both Intel and AMD users will use the provided CRYORIG backplate. As always before starting, make sure that all the parts listed in the user’s manual are included in the package and lay them all out for easier installation.
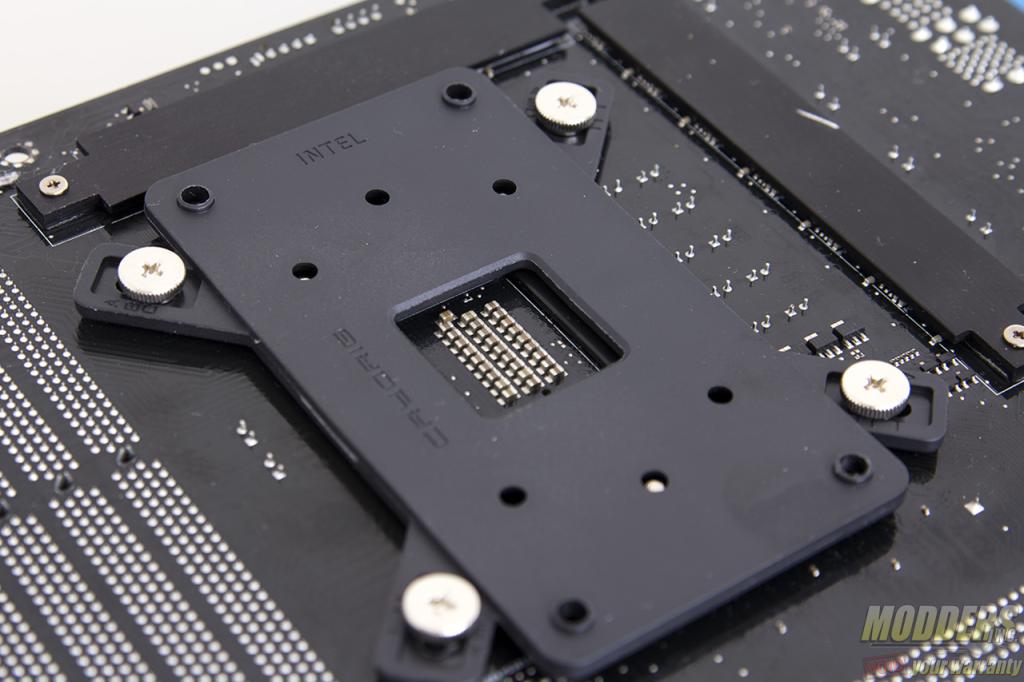
For Intel systems, the backplate has three different positioned holes to accommodate LGA775, LGA1366 and LGA115x sockets. Because people have been asking, yes LGA115x covers every single socket including LGA1151, LGA1150 and LGA1156 because the mounting hole distance is exactly the same for all of those models. Despite the universality of the backplate for other Intel boards, the H7 only supports LGA115x because of the X-bar mechanism. For AMD systems, the backplate is reversed and the holes on the corner of the rectangle are used.
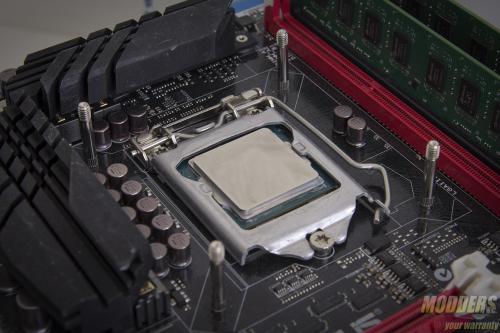
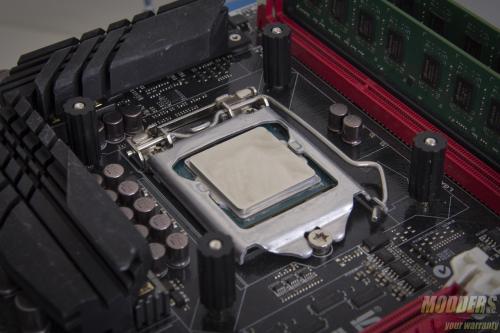
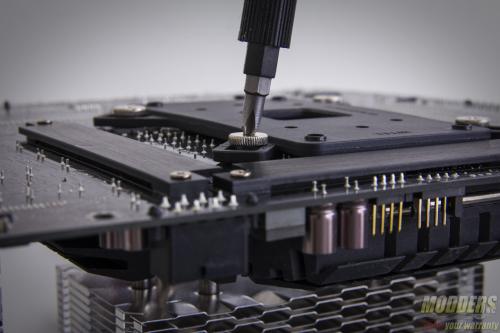
The first step is to pass through the position screw posts through the backplate. The position screws can only be passed through the backplate in one way because of the stop-gap holders on the edges. The spacers are next to be placed and these have to be pushed down instead of threading to hold the backplate assembly in place. The tips of the screw posts should be poking through with the threading exposed at the top.
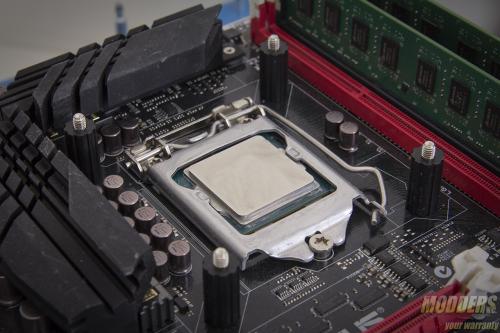
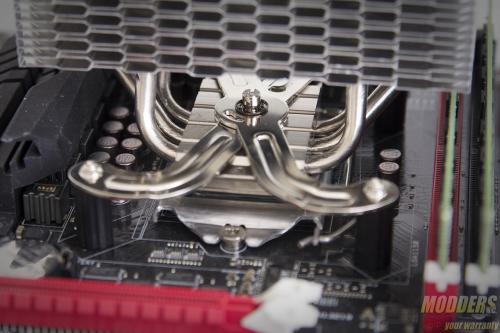
Apply thermal compound on the CPU socket and then place the H7 on top, with the integrated X-bar mechanism aligned to the screw post threads. The easiest way to do this is actually to flip the H7 cooler upside down and put the motherboard above it since the screw posts are secured from the rear. Securing these screw posts requires a Phillips head screw driver. Partially secure each corner in a criss-cross fashion for equal weight distribution until fully secure in place.
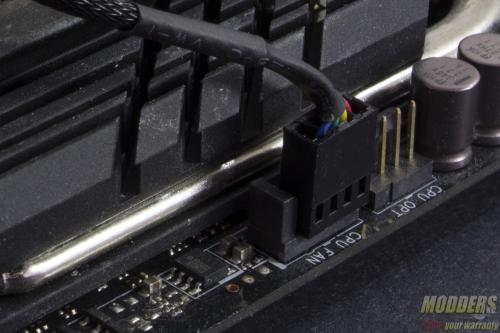
The fan can now be reattached if it was removed for some reason. It is just a matter of latching the wire to the grooves on the side. Unlike other heatsinks, the pre-installed fan does not need to be removed to secure the mounting mechanism as all security comes from the backplate. Final step is to attach the fan wire to a header or any power source.
Compatibility and Clearance Compatibility
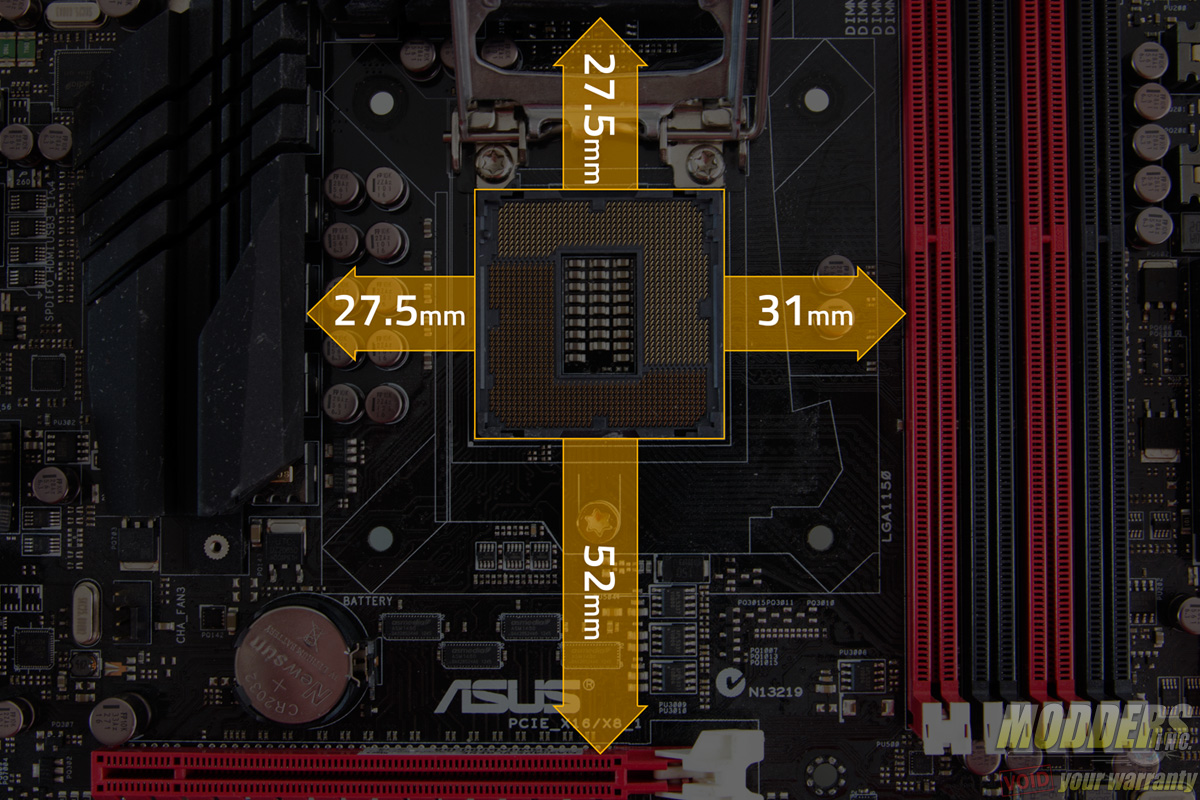
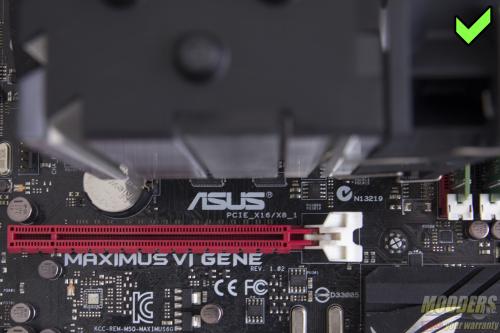
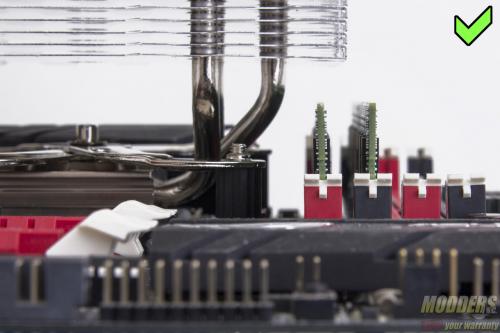
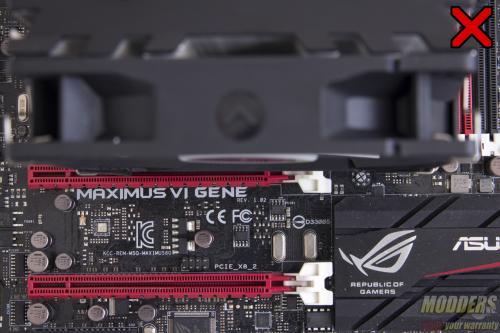
The test motherboard is an ASUS Maximus VI Gene micro-ATX motherboard and measuring from the edge of the socket (the gray plastic part), there is a 31mm gap between the CPU socket and the first DIMM slot as well as a 52mm clearance between the CPU socket and the topmost PCI-E x16 slot where the graphics card is installed:
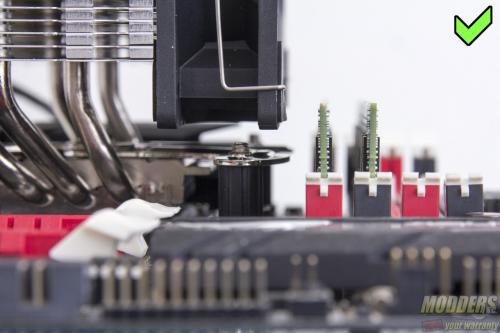
Installed in the default position with the intake beside the RAM slots shows zero problems with some room to spare for both PCI-E and RAM clearance.
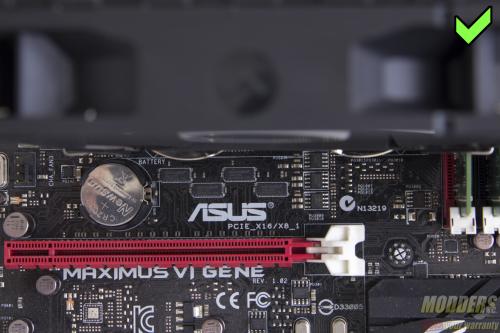
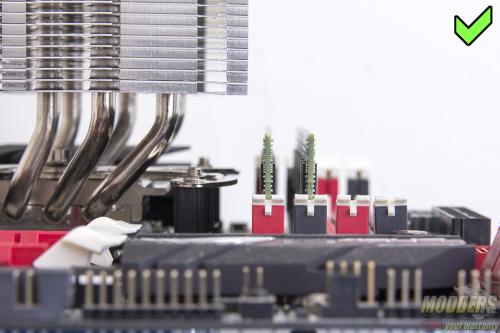
The same can be said for vertical position with the intake fan at the bottom. Although the first DIMM slot is obscured for RAM modules taller than 40mm. The fan might also have to be moved up a bit to provide more clearance as well.
If for some reason, you need to mount the CRYORIG H7 in the exact opposite of the recommended situations, the RAM clearance would still be present for even the first DIMM slot unless a fan is installed. When mounted vertically with the lean against the PCI-E slot however, it will get blocked.
