Cougar 600M Black Edition Gaming Mouse Review
Disassembly
Just like the external construction is important to the final presentation, here at Modders-Inc we feel the internal construction is just as important. Even though most users will never open their mice, keyboards or other components, we do like to see if the manufacture carried the quality throughout their product’s manufacturing and assembly process.
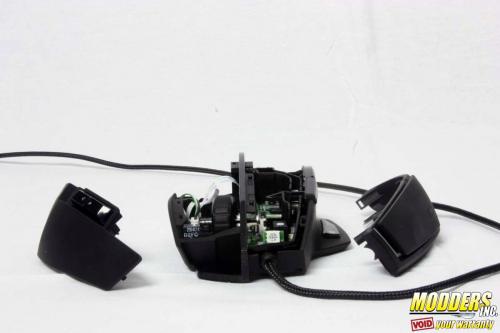
After the screws are removed from the bottom of the mouse, the right and left click panels are held in by clips and are easily removable by moving them forward and pulling up.
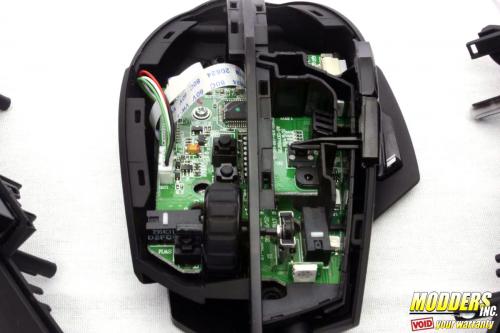
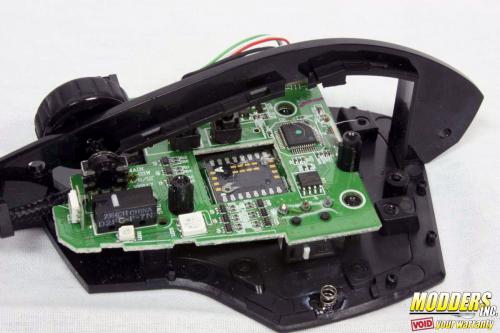
The right andleft click buttons can be seen to the right and left of the scroll wheel at the front of the PCB. To the right the forward/backward daughter board and bracket can be seen, removing two screws (one located in the very front of the bracket and the other on the daughter bracket) will allow you to pull up and separate the side panels from the chassis.
From here, lift up on the scroll wheel which sits on the scroll wheel button and is secured in place by the scroll wheel rotary switch located on the right. Carefully lift up and pull while holding the rotary switch, the wheel should separate easily allowing you to remove the switch board.
Cougar fastens the 600M with three screw on the bottom of the mouse and internally only uses four screws, the rest is held into place using a clip system, and during the disassembly I found the panels on the mouse came off relatively easy without any unnecessary force.
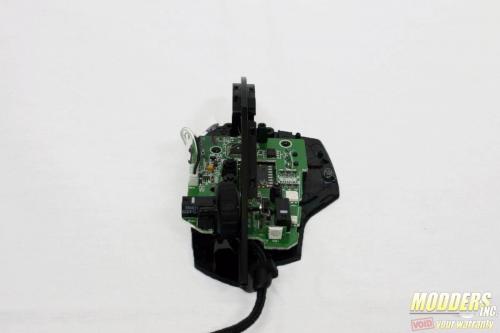
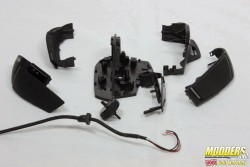
With the internals removed, here is the frame and inner bracket for the assembly, as mentioned the 600M is fastened mostly by clips which makes assembly rather easy, provided you are careful not to break the clips.
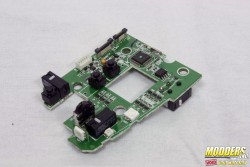
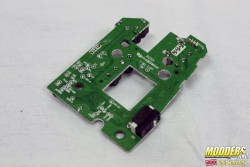
I was very relieved to find that the use of hot glue on the components was extremely minimal as I have found units that drown their components in hot glue, Cougar appears to only use it to keep small components secure. This attention to detail is carried over to the solder points on the PCB which are executed with precision that only heightens the quality of construction. At the very front of the mainboard you will find the scroll wheel assembly and the button that controls the ability to scroll wheel click. The main left and right button switches are verified to be authentic Omron.
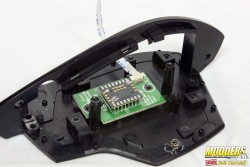
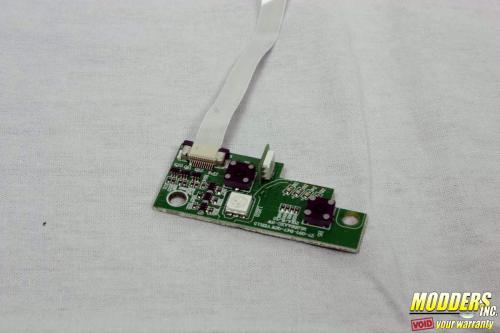
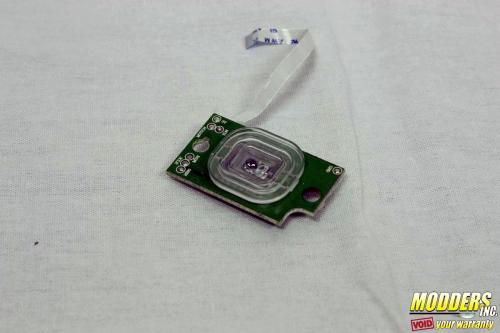
Here we have the forward and backward button PCB assembly, which connects to the main board via a flex cable and is soft mounted to the chassis via the enlarged mounting holes.
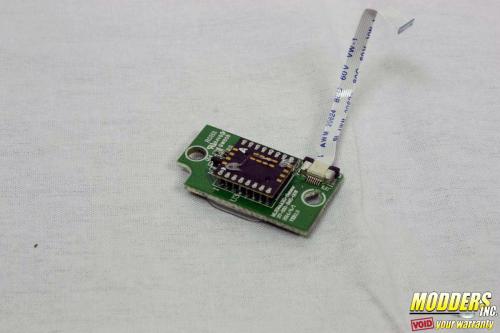
Last but not least the lens assembly. What is a marksman without their trusty scope, can also be applied to gaming mice. The 600m utilizes ADNS-9800.
Laser gaming sensor which is connected to the main board via a flex cable, just like the forward and backward buttons. On top of the sensor two hot glue points can be seen but these follow the application as mentioned before and our kept to a minimal amount. The sensor is mounted via fitted holes that can be found above and below the PCB and sits directly below the main board.

how much screws at bottom? I cant remove that
It would be nice to actually SHOW the screws and their locations before removing them. Otherwise, it’s useless.
4 screws at the bottom, accessible after removing the four little sliding pads at the corners. After that, it comes apart easily.