PC Cases / AccessoriesPC Hardware Reviews
Cosmos II Computer Case
« Page 3 | Page 5 »
A Closer Look Continued – The Rear of the Case |
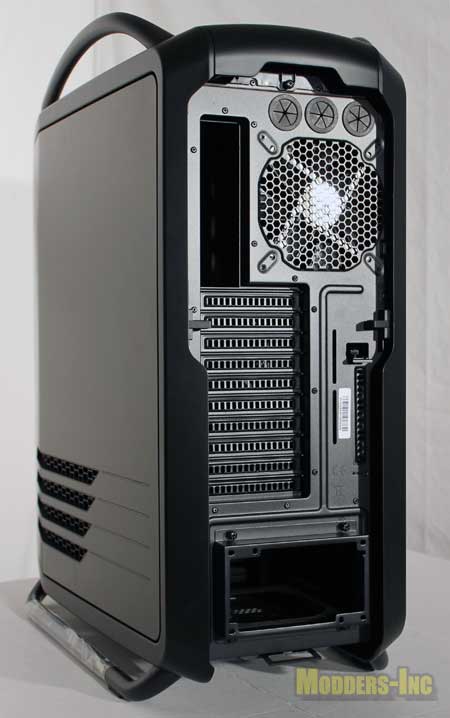
So here we are at the working side side of the case. Everything that you need to use has something to do with this section so the detail that Cooler Master put in here is was subtle yet stylish. They have you everything that you and without clutter it up. At the top you get three grommet-ed holes that can accept a 1/2″ water cooling hose with ease. If you done do water cooling then you can use them to pass cable, wires or whatever your heart desires.
And yes there are a S%$* load of I/O slots; there are ten in total which should be able to accommodate anything you can throw at it and more.
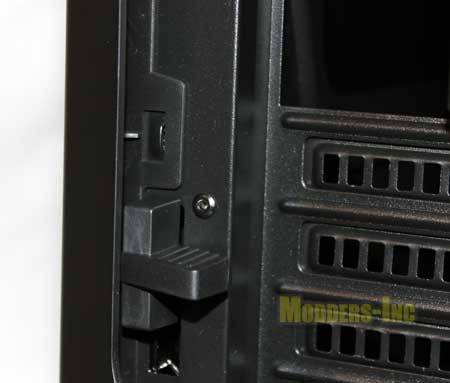 What we have is a close up look at the unlatching lever for the side panels. The levers are a good size and feel strong enough, even though they are made of plastic, to take years of usage. So with a simple and easy push down the side panel pop open. 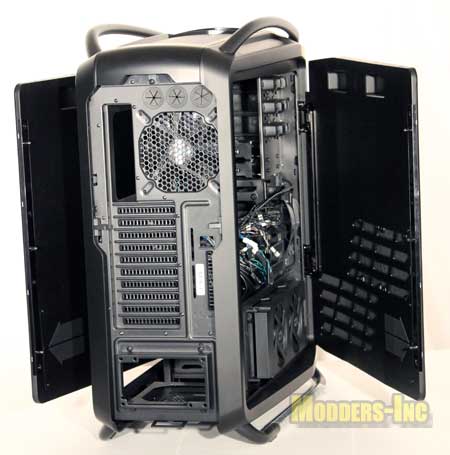
This angle give you a nice peak at the appearance of the case from the rear with the doors opened.
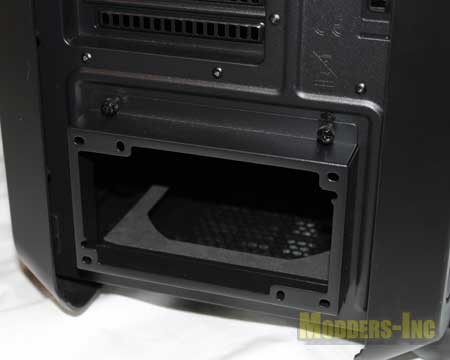
In case you have not already noticed but there is something sticking out where the power supply goes. What you see is a bracket the goes on the outside of the rear of the power supply and is attached with the normal screws for a PSU. The reason that the bracket exists is that you are suppose to install the power in through the rear of the case and this allows you to attach the PSU directly to the case. It does stick out, but it does not protrude past the extended side panel covers.
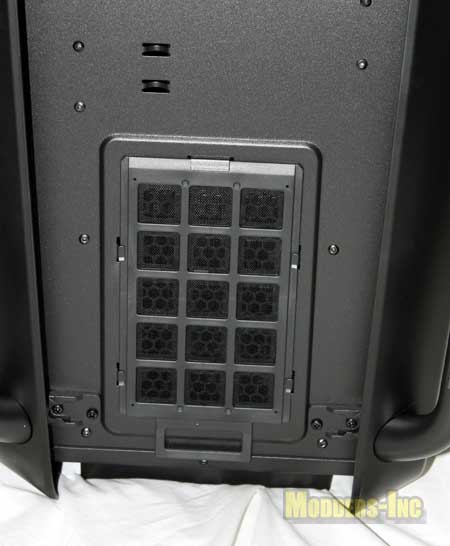 On the base of the case we see that a filter has been installed to make sure that the intake air to your power supply is kept clean. A small handle is on the rear of the filter ans is used to remove and reinstall the plastic filter into the proper place. |
