Corsair iCUE 465X RGB Mid-Tower Case Review.
System Installation and Clearance Issues
Before getting started with this section I want to clarify that not everyone will experience clearance issues. This is all hardware and system configuration dependent. Every case review, I install hardware that I would use in a build.
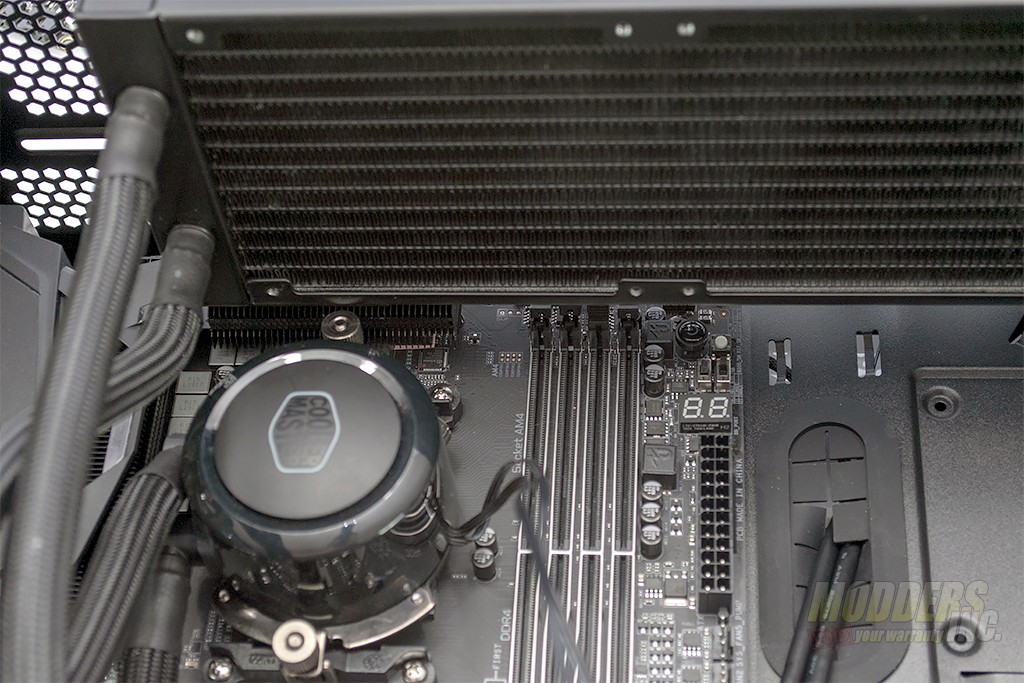
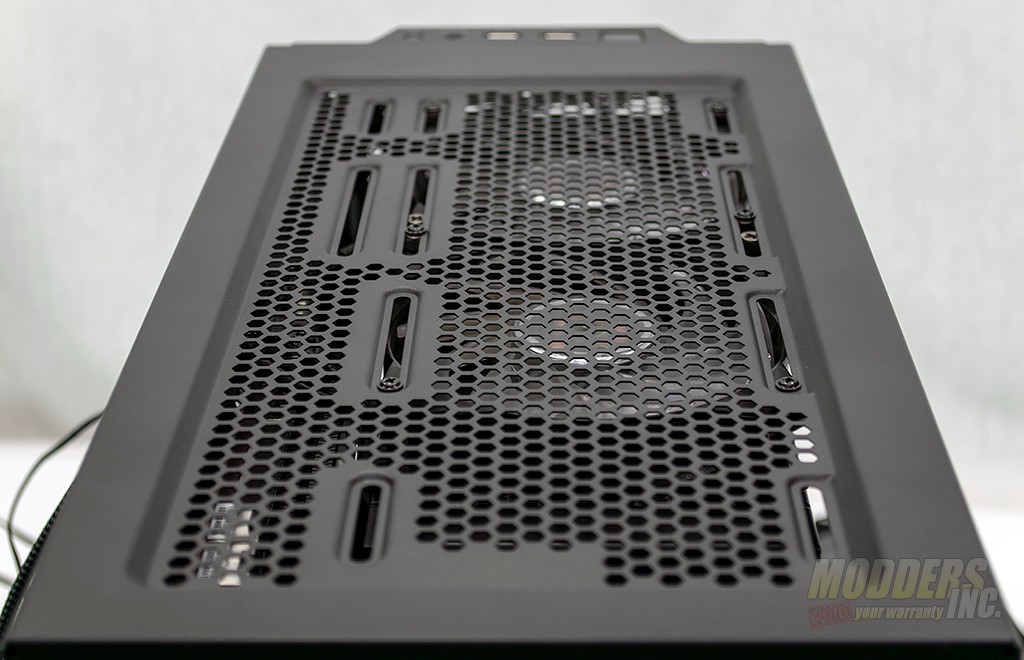
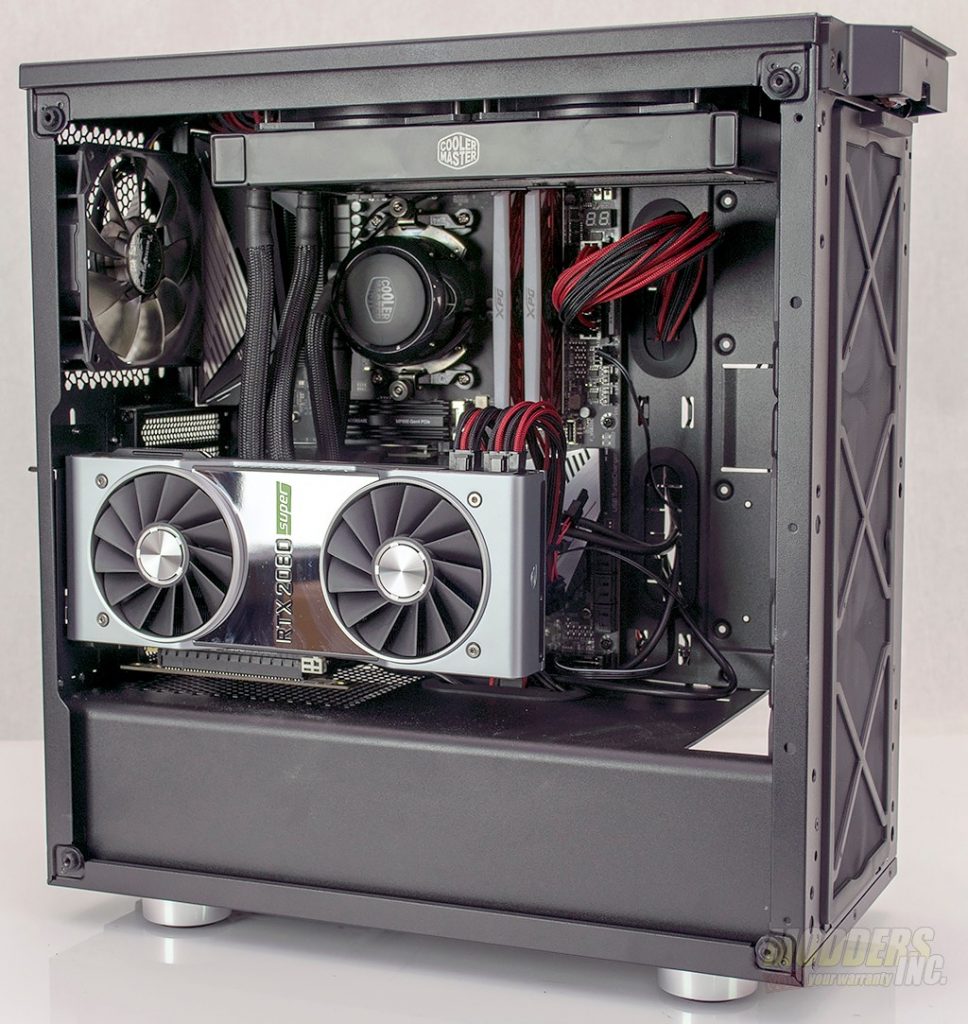
The motherboard that I chose to use was the Aorus X570 Master with an AMD Ryzen 7 3700X and I used ADATA’s XPG Spectrix D41 memory. The GPU I used is the Nvidia RTX 2080 Super reference model and the power supply used is the EVGA 750 G+ with EVGAs Red and Black sleeved cables. As far as a cooler, I tried a few different AIOs in the top. The 360mm AIOs would not it at the top and the models that I have wouldn’t reach the CPU if I mounted it in the front of the case. Ultimately I went with the Cooler Master MasterLiquid ML240R RGB AIO.
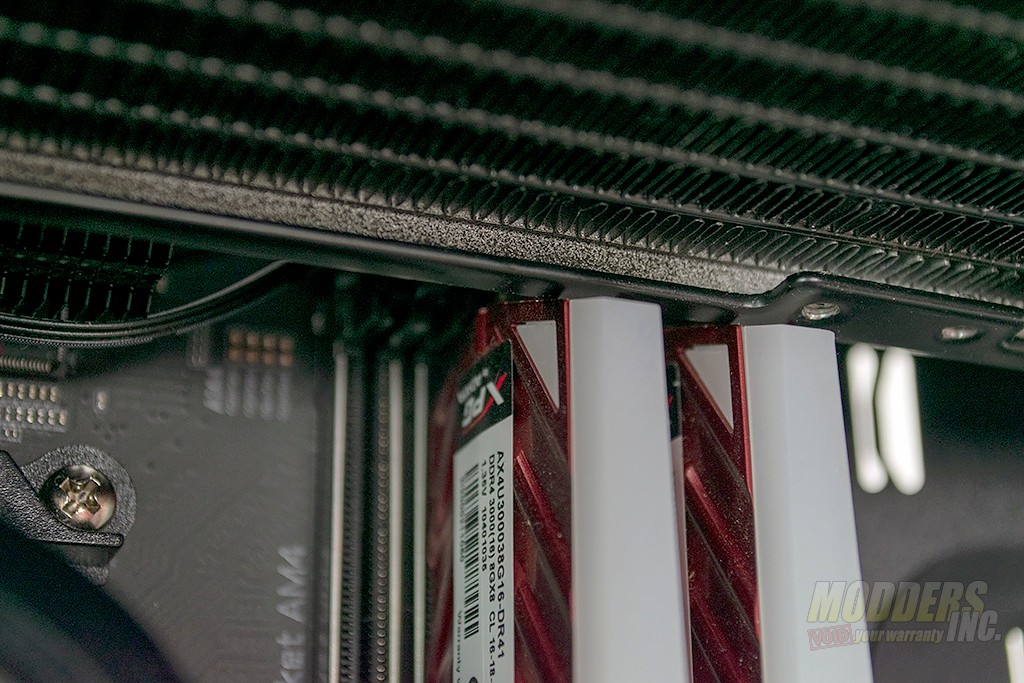
The first issue I ran into with my chosen components was the clearance of the CPU cooler and the memory slots. The CPU cooler when mounted did block access to the top locks for the memory slots. This makes installing or removing the memory modules while installed impossible. I had to remove the radiator from the case to install the memory modules.
After the memory modules were installed, I re-installed the radiator. The fit is very tight and the memory modules do touch the radiator although just barely. There is no interference here and I was able to get the radiator mounted without issue.
With the front fans installed, there are a few mounting options available. In this case, I chose to push the AIO as far forward as I possibly could.
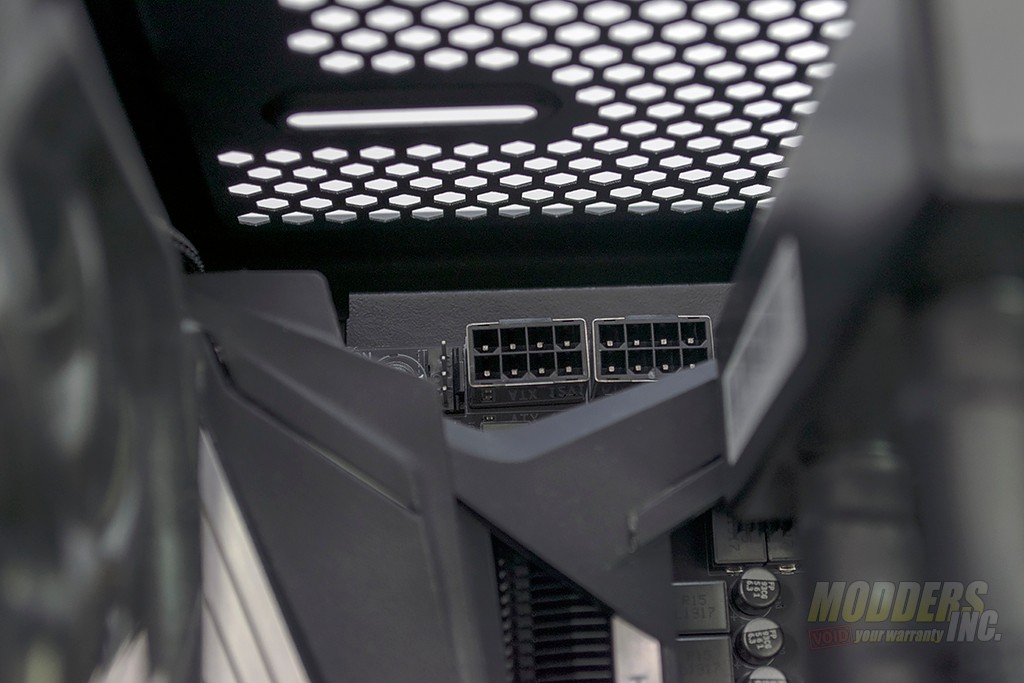
The CPU power connectors are extremely tight to install with the radiator mounted. I was able to get the cables plugged in without removing the radiator although I’m sure there were some choice words thrown in a time or two.
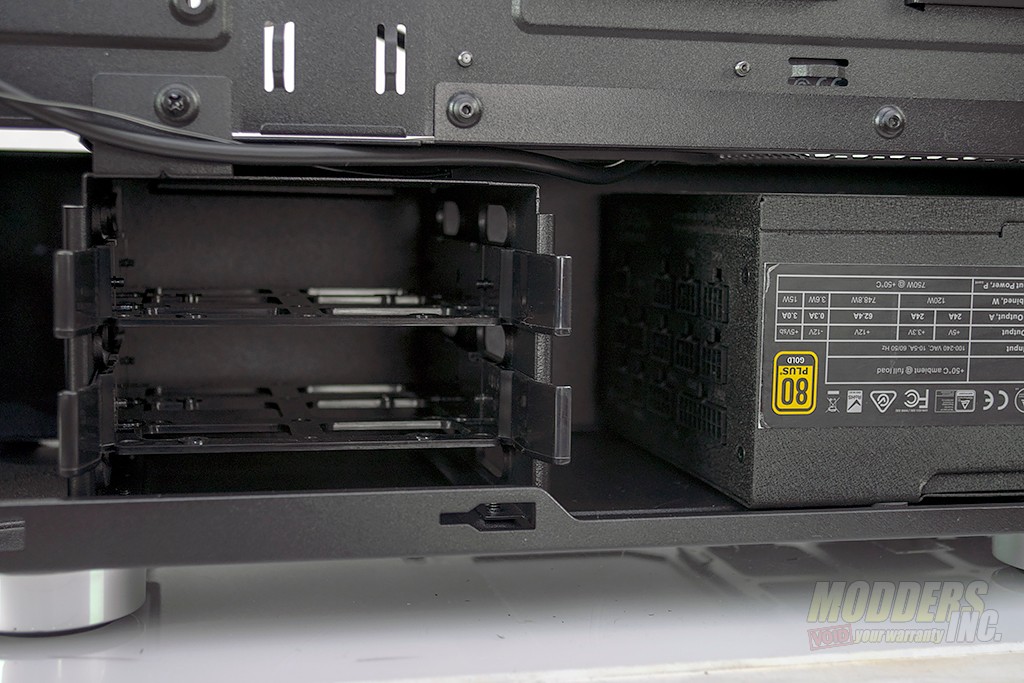
After test fitting the power supply, I decided to remove the 3.5″ drive bays. There are four screws on the bottom of the case and one on the drive bay that needs to be removed to get the drive bay out. Removing the drive bay gave me a ton more room for cable management.
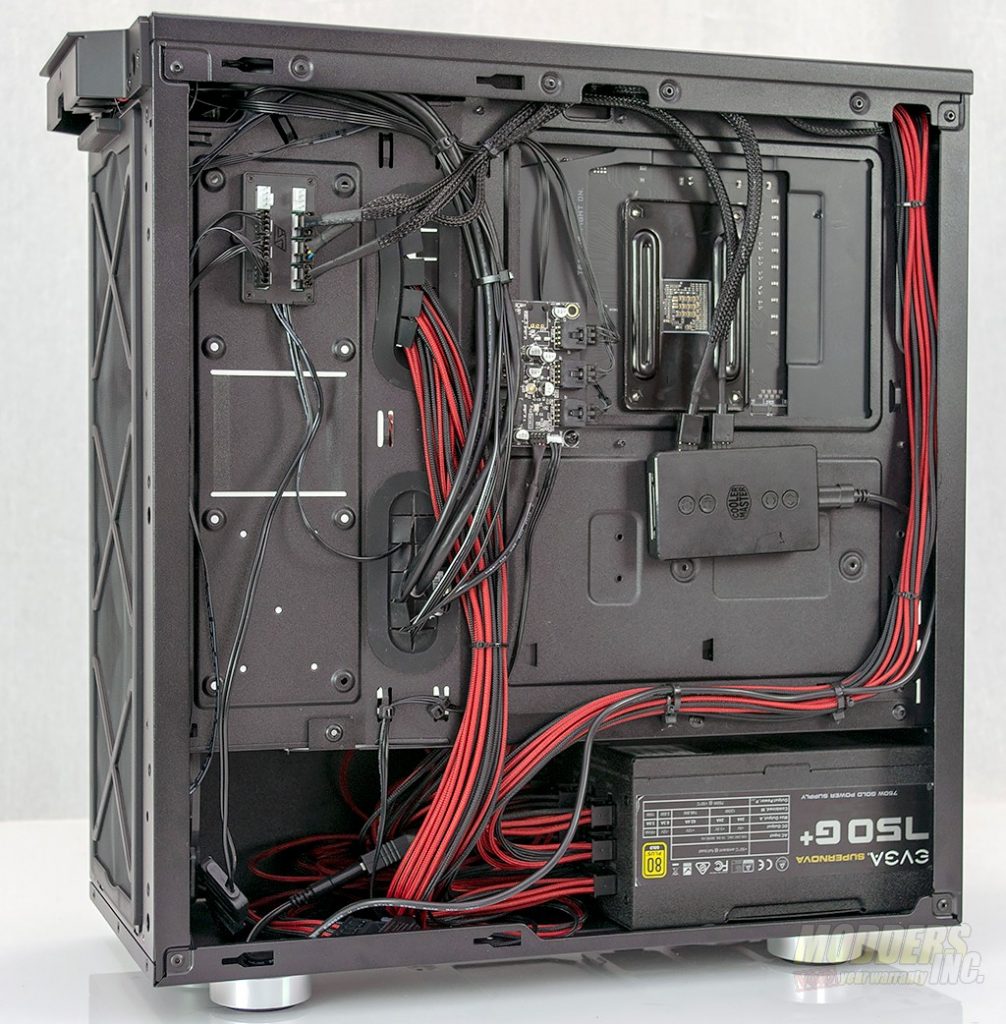
After it was all said and done, I’m pretty happy with the way the backside of the case turned out. There’s enough space in the basement to wrap up cables if they were too long. There are quite a few zip tie locations to secure and route your cables. Since I chose to use a Cooler Master AIO, I also installed the RGB controller that went with it as well as a Swiftech PWM fan hub.
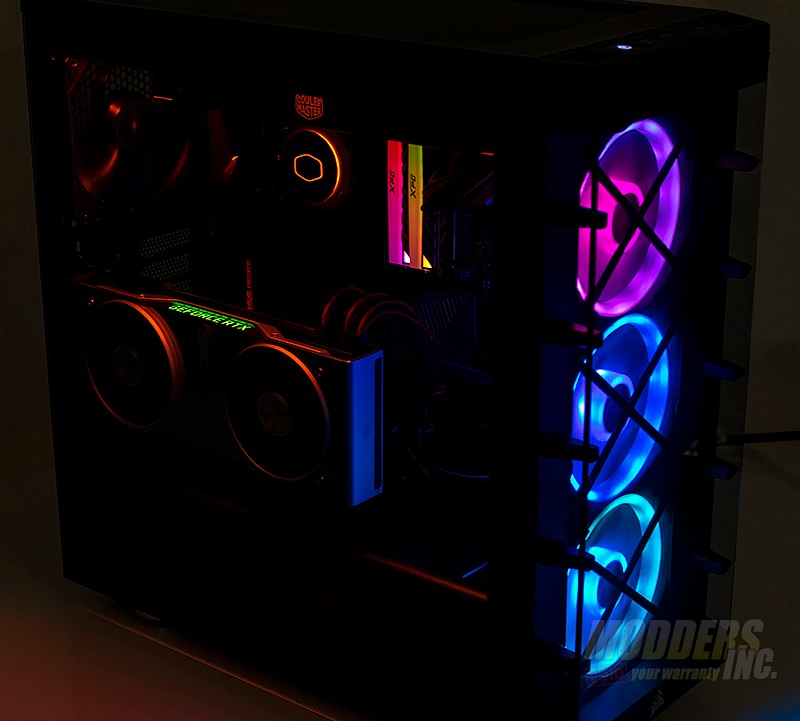
While the back is closed off from the world and covered by a steel panel, the internals of the build are available for all to see thanks to the large tempered glass window. The one thing that I would have done a little differently after looking at it would be to use cable combs on the power supply cables running to the GPU and the motherboard 24-pin connector. But overall, I’m still satisfied with the way it turned out.
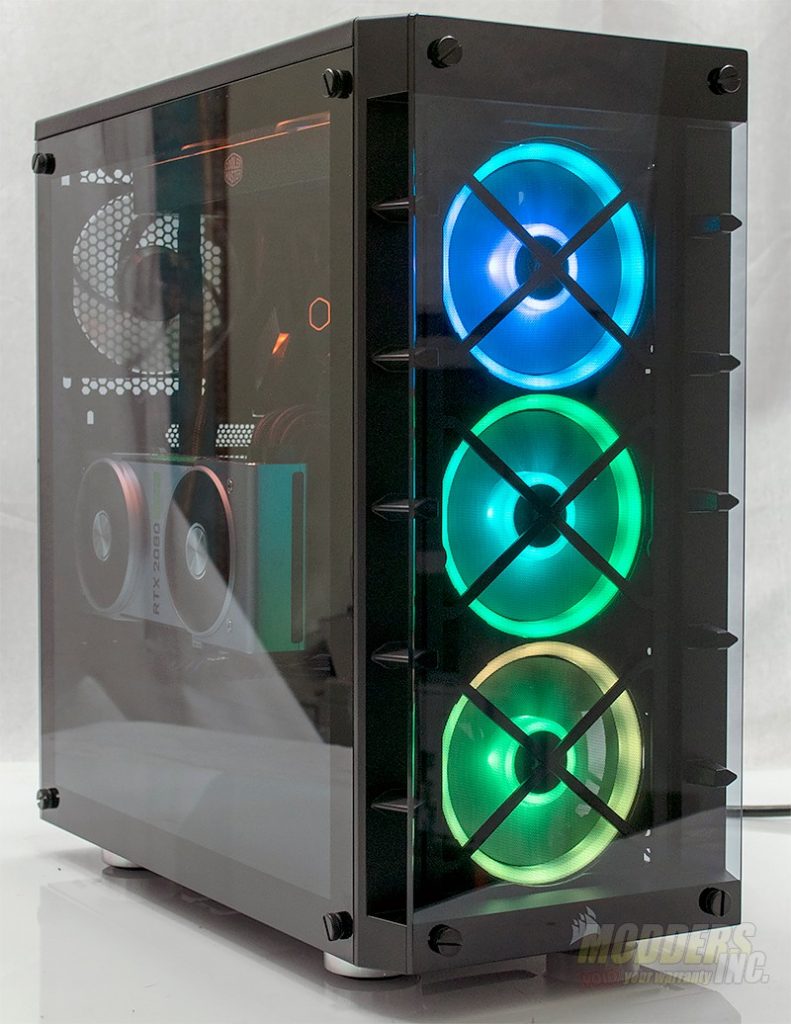
As far as lighting, the Corsair LL120s are bright and evenly lit. While the pictures do show a few hot spots here and there, visually they are not noticeable.
I did wind up adding an extra LED strip on the top of the case shining down. I used a magnetic 4-pin RGB strip which I controlled via the Aorus RGB fusion software.
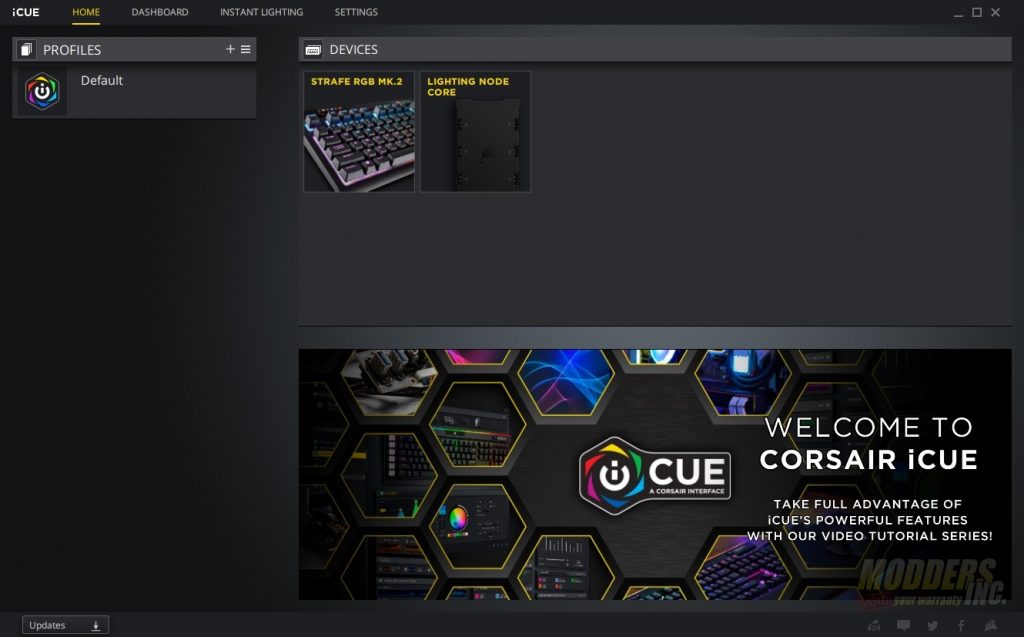
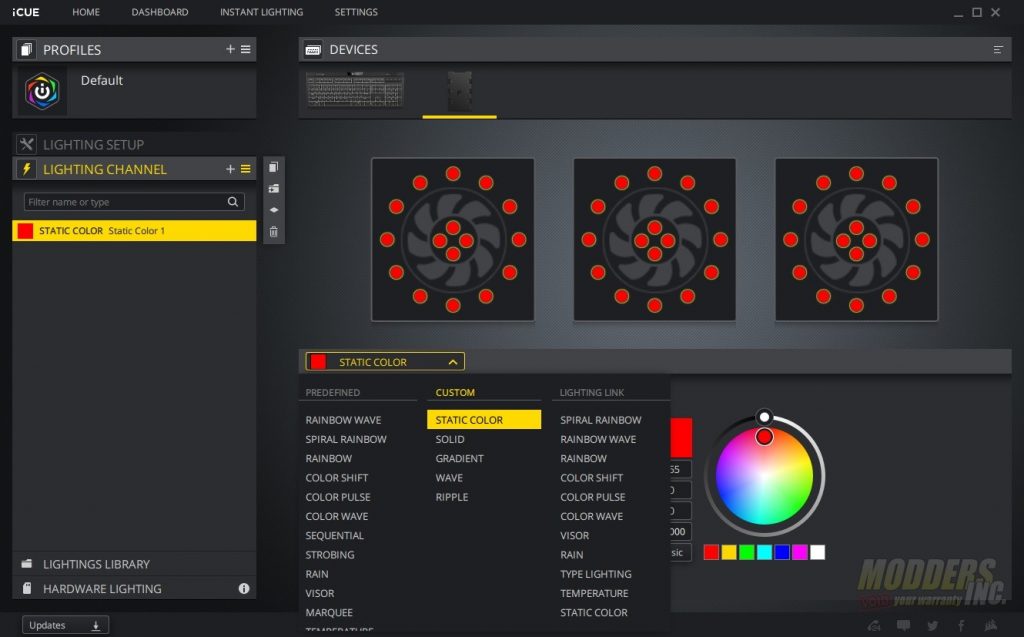
When you first launch the iCUE software with the Node Core plugged in, the software will check for a firmware update. In my case, there was one available and it only took a few minutes for the update to take place. After the update, I was able to go in and set up the Node Core.
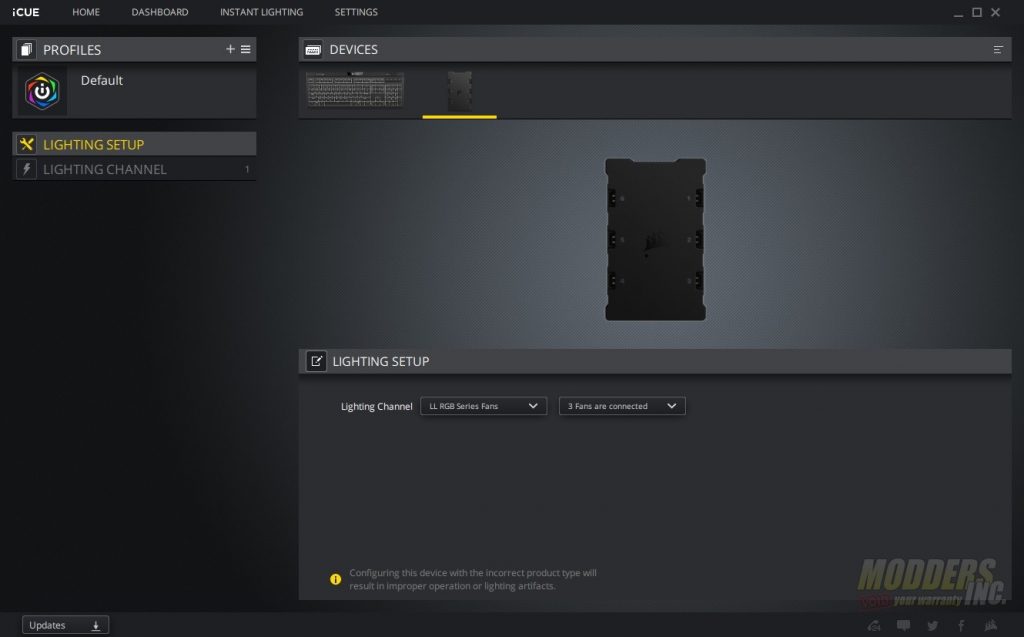
In the device set up page, you’ll need to set the type and amount of fans you have plugged in from the dropdown boxes. In this case, the iCUE 465X uses the LL RGB series fans and I’ve only connected 3 of them. They are physically connected to ports 1, 2, and 3. Now that the Node Core is set, we can jump into setting up the lighting per fan.
Each fan has a total of 16 RGB LEDs that can be individually configured. You simply click on one of the LEDs on the fans and select your option. There are quite a few predefined options to choose from. You can set custom colors/patterns too. Finally, with Lighting Link you can have the lighting act the same across all your Corsair accessories.
