CoolIT Systems Domino Liquid CPU Cooler
Installation |
The installation of the Domino A.L.C. does require some tools (a Philips head screwdriver and a small flat head screwdriver) and 30 minutes to just over an hour to install depending on your skill level. The retaining hardware for the heat block is totally interchangeable to fit your setup. We will get into to that in just a second as I want to touch base on the thermal paste that comes already applied to the base of the block.
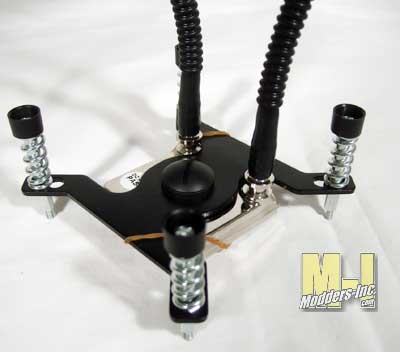
Normally the first thing I do is remove any of the stock paste that comes applied to any cooler. It’s not that the paste may not be good, it’s just that I have always had good success with the Arctic Silver line of paste. I was kind of curious though as to why they had it pre-applied. You see the paste is CoolITs own Pro ATC Thermal Material and this formula has been improved over the last one and they found that a they got a 0.04 C/W improvement; which translate to 8c at a 200w load. Not only does it help transfer the heat it is warranted against pump out and dry out for over five years! So this time the stock paste stays on.
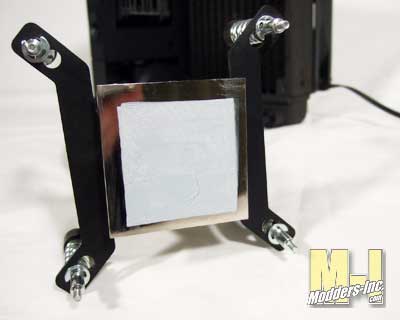
On to the retainer…the one that came pre-installed on the unit I received was set up for the Intel 1366. This same retainer can be used for the 775 socket and it only takes a few minutes to convert it.
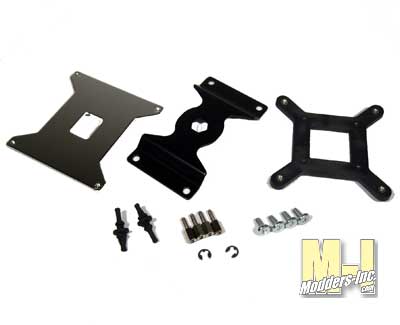
“But I have an AMD2 setup what do I do” you may ask simple you use the other retainer that was so kindly included in the box. In the image below you would use the center piece as the retainer and reuse the pin/spring setup from the Intel retainer. AM2 users do not have to remove the motherboard out of the case as you can reuse the current backing plate. All yo have to do is remove the stock cooler and cooler mounting bracket. Us Intel people are not so lucky as we do have to remove the motherboard out of the case to install the the new mounting back plate. Just look at it like this, it time to do a some spring cleaning anyways right. While I have your attention on the image let me point out what the other stuff is. The first piece on the left is the backplate for the 1336 install and the one to the far right is used for the backplate for the 775 socket install. Starting on the left side of the next row we see two extra rubber fan mounts, four motherboard stand offs, four 10-24 screws, and two extra E-clips.
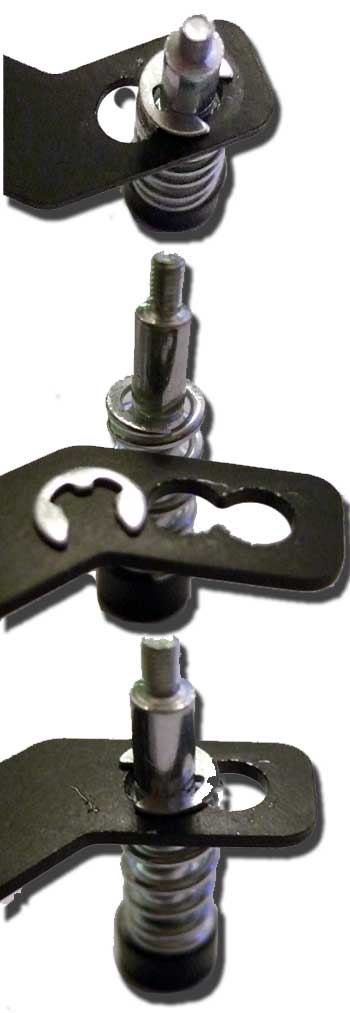
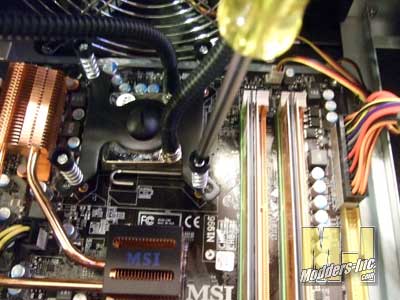
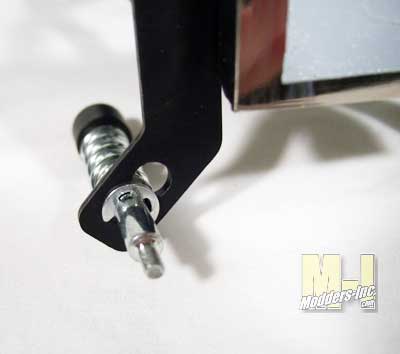
Once the backing plate is secured to the mother by using the double sided tape that comes on the plate we can reinstall the main board and continue with the Domino ALC cooler installation. Here is wher you will the Philips head screw driver. As you can see the top of the mounting screw has small black cap around it. What this does it to help keep the drive on the head of the screw so that it wont accidentally come off and damage any item on the motherboard. The proper way to tighten any thing that has four screws is to first make sure that they are all started then pick one as your stating point. Give it a few turns the go to the one across from it and do the same. Next jump to one of the other screw and give it a few turns and then go directly across form it and screw it a few time. You will continue to do this procedure until the all the screws have been tightened. What this does is it make sure that all retainer and heat block is secure and has even contact with the CPU.
Nice touch with the caps
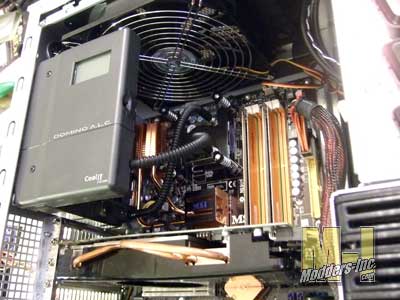
With rear fan removed it is time to install the rest of the unit. I chose to use the rubber mounting hardware that was already attached. I then plugged in the three pin power wire to an available fan out on the motherboard. 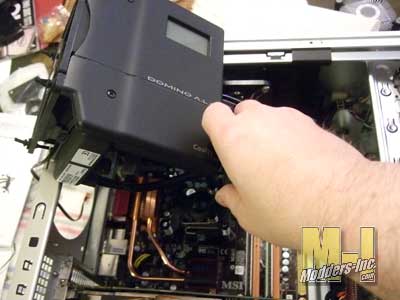 With the install complete we can see that it does looks rather clean and stylish with plenty of room. Like I said the install takes about an hour (for Intel users) and much less for those that are running an AMD2 setup. There is no software to install so all we have to do it press the start up button and see how it cools the CPU. Just to let you know that during boots up you will get some beeps, this happens until the unit detects that the pump and fan is running and that all is well. So don’t be frightened when this occurs.
 |
