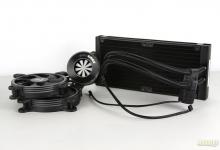
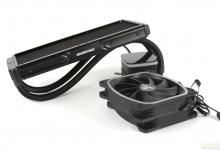
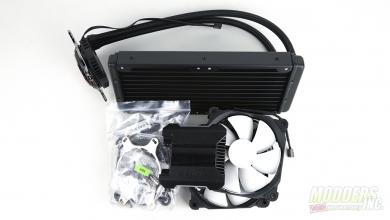
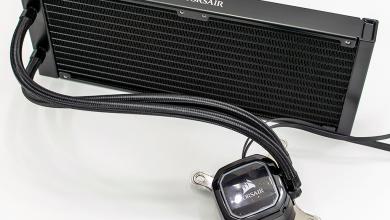
CoolIt ECO A.L.C. Liquid CPU Cooler
Installation |
Even though it may look like the installation of the CoolIT ECO could be over whelming; it is far from the truth. The install is just as easy as installing any aftermarket CPU cooler. We are going to be installing it onto my Intel i5 test bench which is a 1156 socket motherboard. Like any cooler installation, you need to make sure that the CPU is clean and I mean super clean.
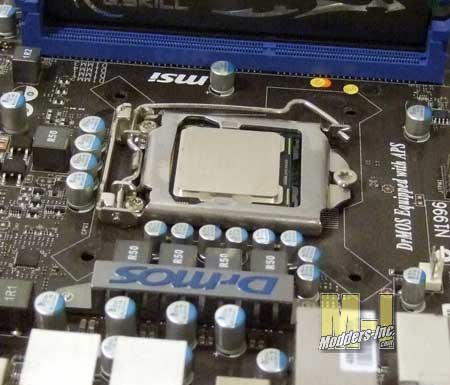
OK so you do not have a 1156 socket motherboard, but you do have an Intel chip. Well you are in luck as the block/pump assembly has the ability to quickly change over to a different socket.
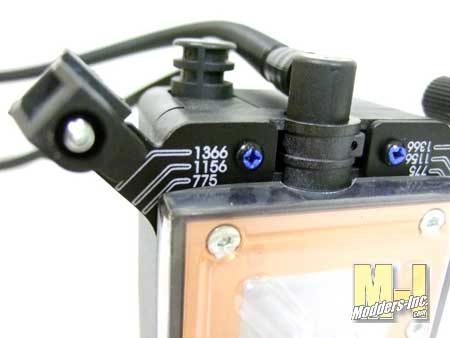
All you have to do is pull on the screw tab, which happens to be spring loaded, and slide it over the correct marking on the bottom of the block. If you happen to have an AMD CPU then you will need to use the included adapters that attach to the permanent Intel brackets.
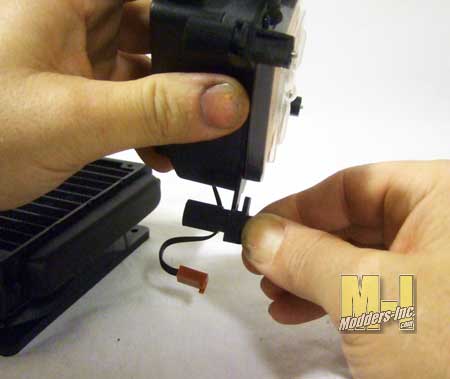
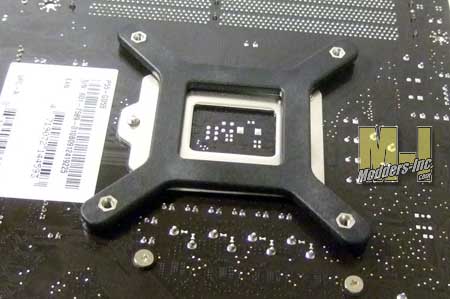
Like with most aftermarket coolers you need to install a back plate bracket. This brackets is to strengthen the PCB and to give the cooling block a place to attach too. The CoolIT ECO block/pump assembly is not very heavy and is lighter than most king size heatpipe cooler.
The ECO A.L.C. comes with CoolIT’s own thermal paste already applied to the cooling block. At this point double check that the top of the CPU is clean and begin the install
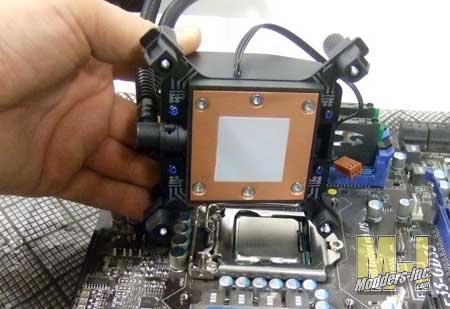 The most important part of the install is to make sure that the cooling block is securely attached and is making full contact to the CPU. CoolIT has given you two ways for you to make sure that it is done properly. The first one is that the plastic knurled thumb knobs is used to turn the screw into the back plate bracket that we installed earlier. If that does not fit your needs and you want to make extra sure that it is nice and tight you can use a Phillips screwdriver. When you do this the plastic knurled thumb knobs act as a holder for the screwdriver, to keep it from slipping out and damaging your hardware. 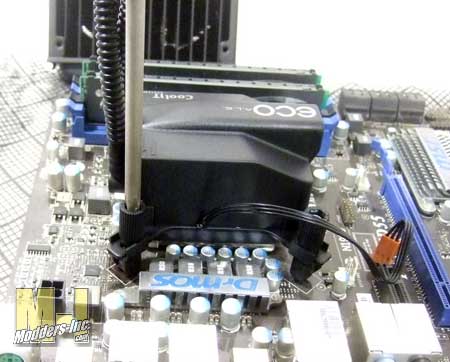 Make sure the pump wires go to a non regulated (speed controlled) fan pin-out on your motherboard as the pump must stay at a constant rate to insure optimal performance and not to case and over heating issue. You should also look at turning off thermal fan regulation to the fan pin-out used for the pump power in case the one you want to use is regulated.
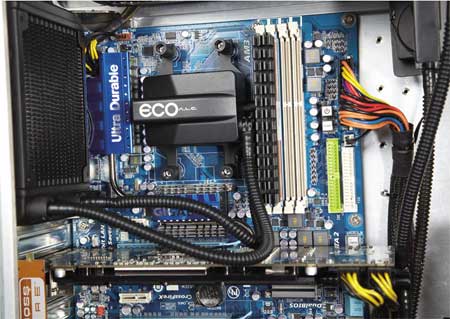
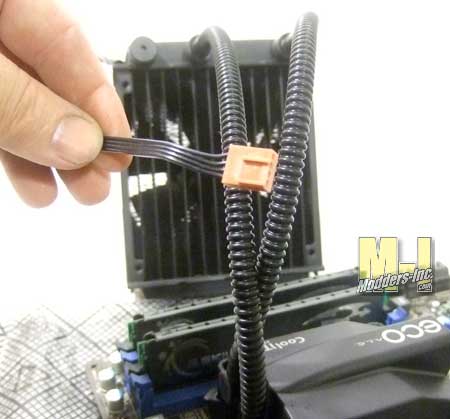 Now with the fan on the radiator you should connect it to the CPU fan output from you motherboard. This will adjust the speed of the fan to help keep the CPU fairly leveled cooled at different loads being put on the CPU. This also will keep the noise level down when you are not pushing your CPU to the max.Looks pretty nice, don’t you think?
 |
