Cooler Master MasterCase Pro 3 Review
Hardware Installation
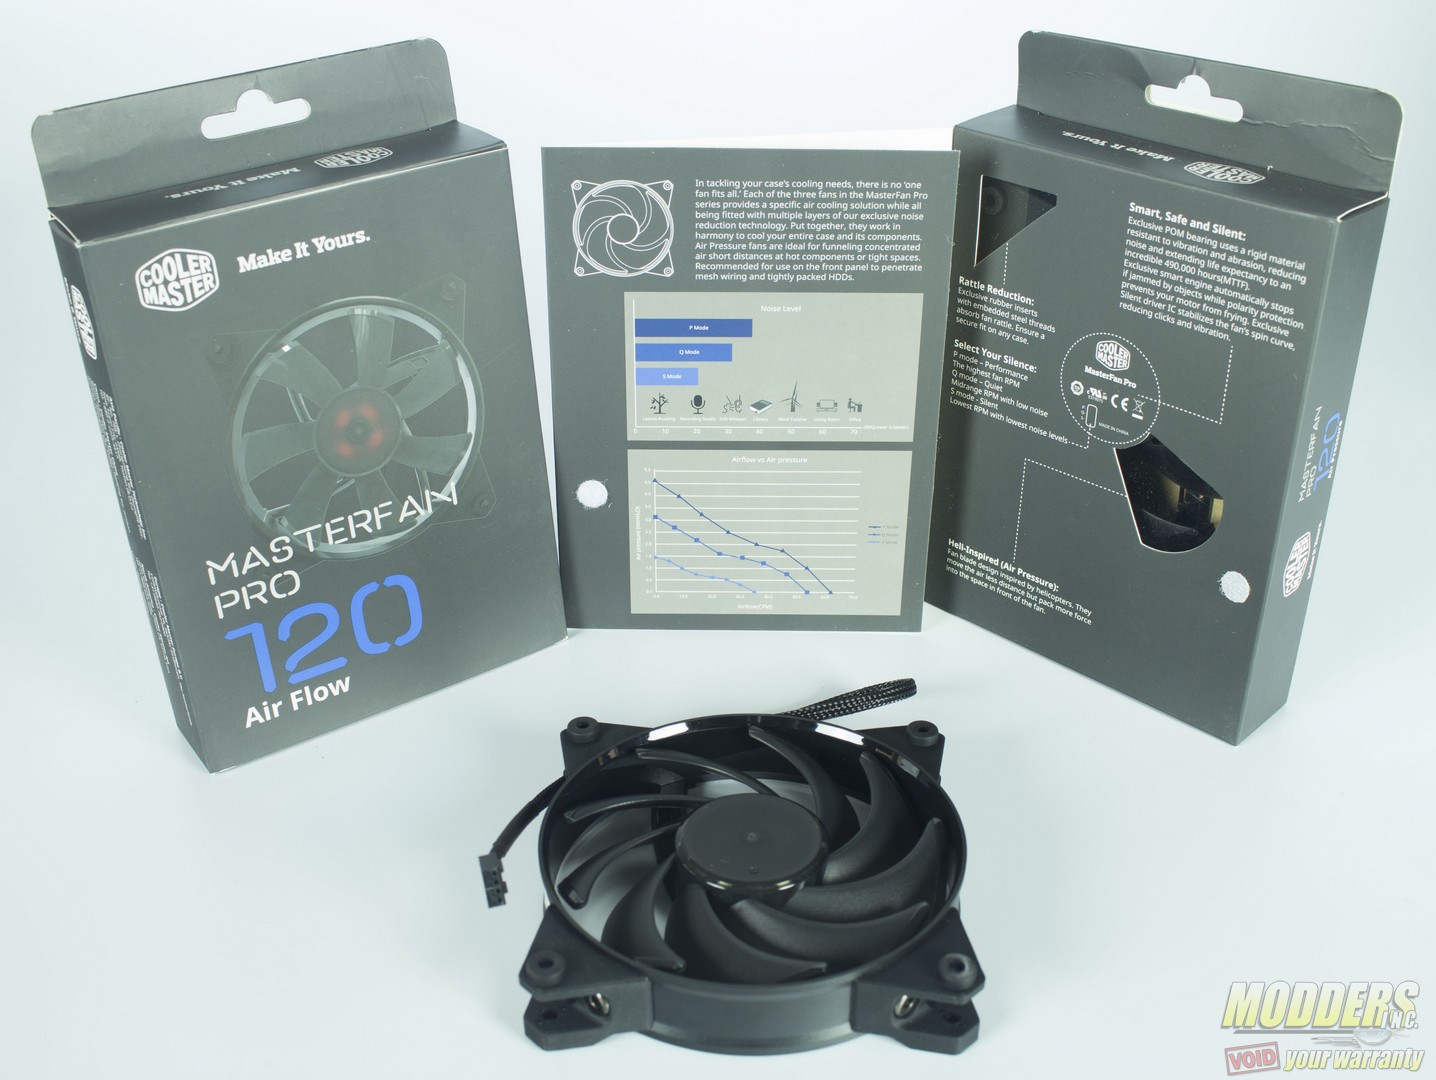
By preference when installing hardware into a case, I choose to take off all the panels from the chassis to help prevent the risk of scratches or scuffs to the outer panels. Although the MasterCase Pro 3 comes pre-installed with two 140mm fans, CoolerMaster sent us one of each of their new MasterFan, air flow, air pressure and air balance, which will be used during the system installation.
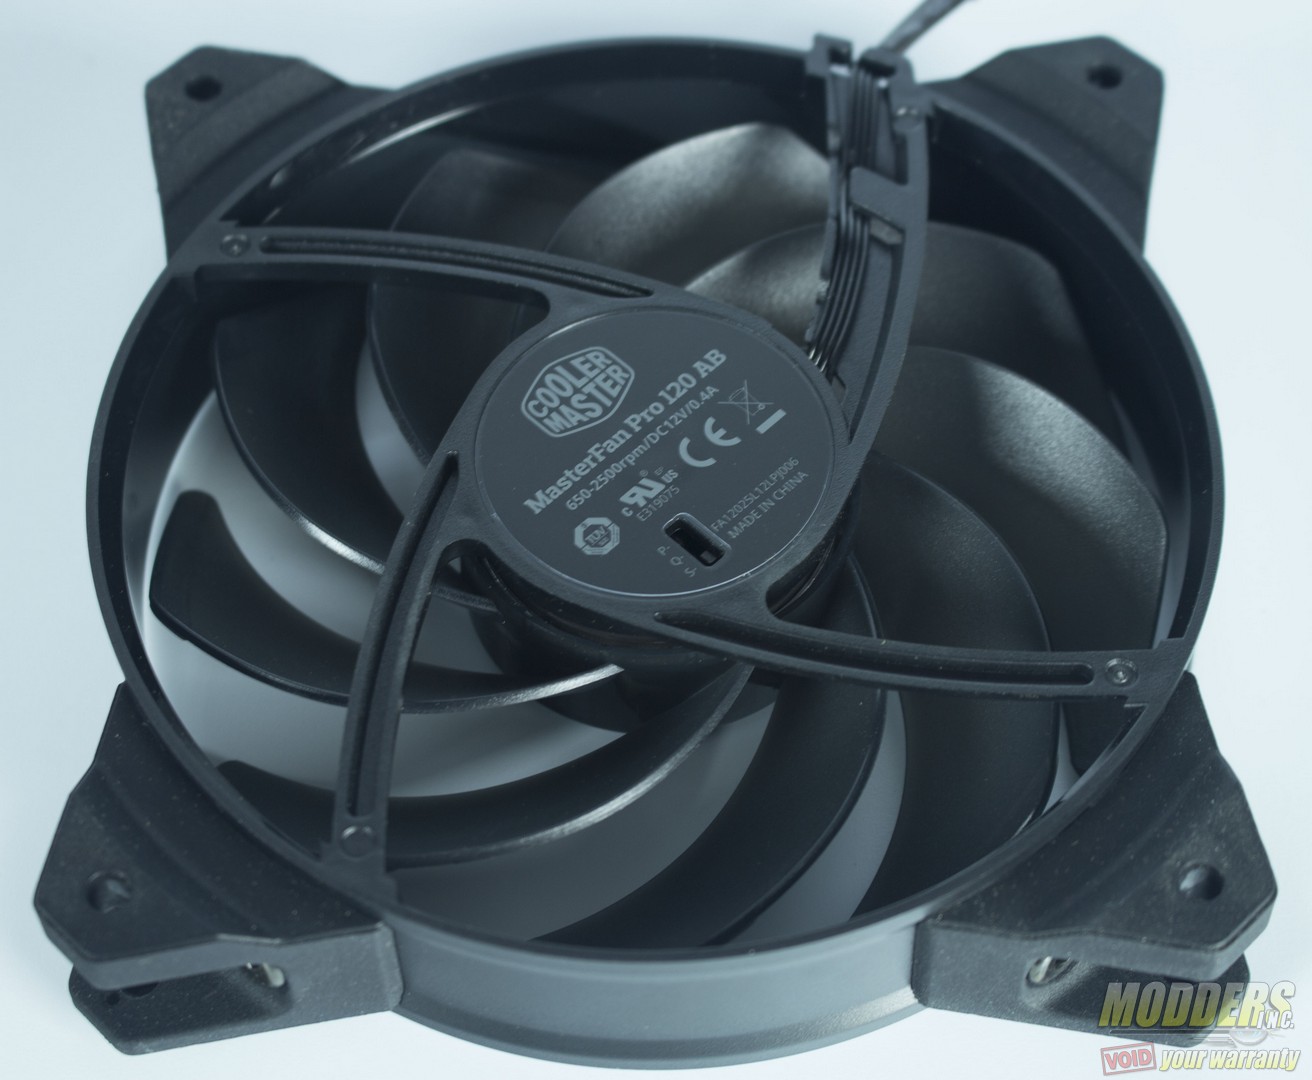
On the back of each fan is a small switch located directly on the hub of the fan and controls the speed/noise level of the fan. To help further keep the noise level down, the fans use rubber mounts that are bolted to the frame of the fan.
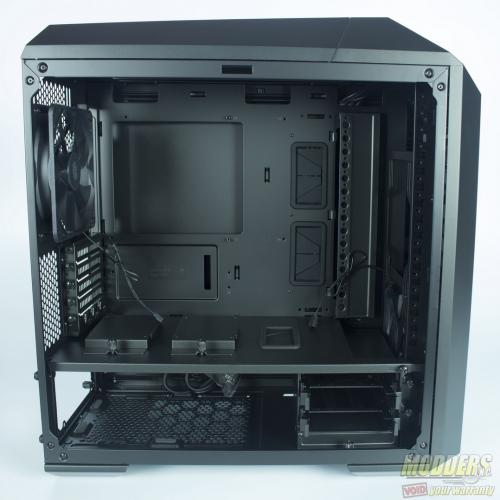
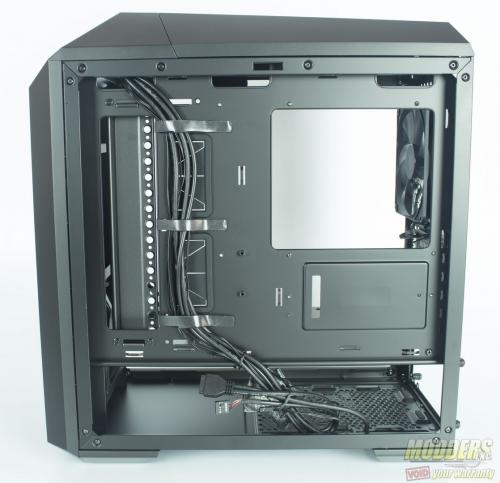
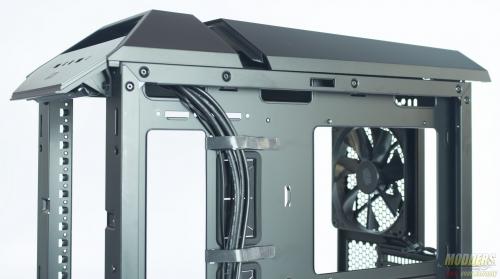
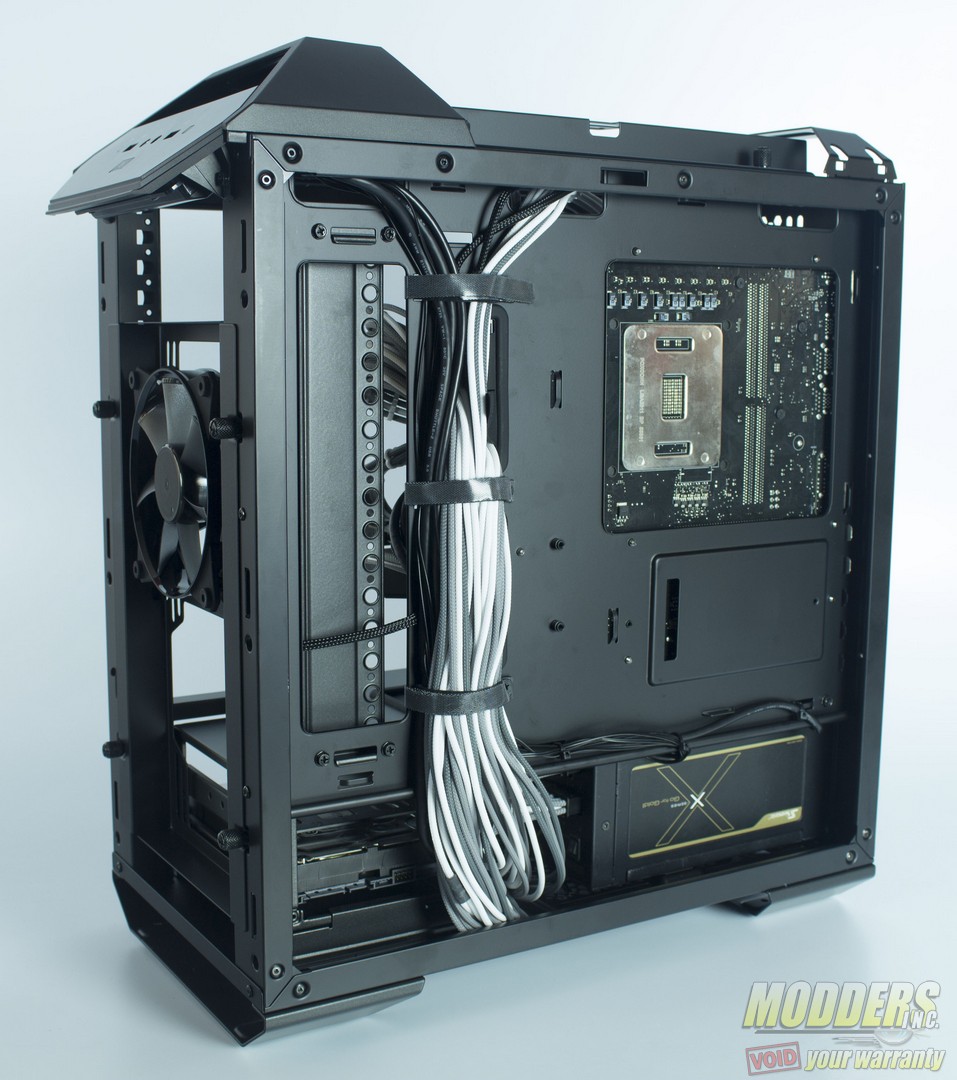
The MasterCase Pro 3 features a flat black interior constructed from steel. Cooler Master is utilizing a cable management system that has been seen on other chassis, but use higher quality Velcro straps as compared to others. Cable management for the case is well thought out and the case sports a 3/4″ behind the motherboard tray, with plenty of cable tie downs. For case grommets, CoolerMaster uses a rectangular black grommets that actually have a nice soft black color to them and I found easier to work with compared to the standard oval grommet that tend to resist cables and pop out of place.
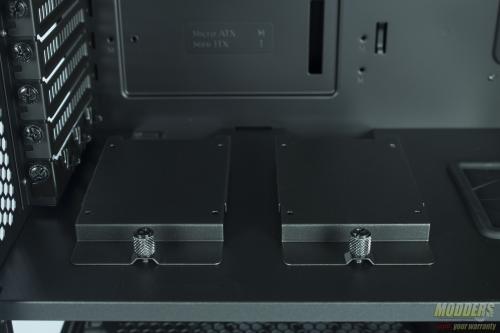
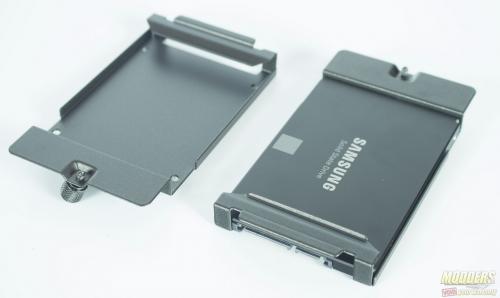
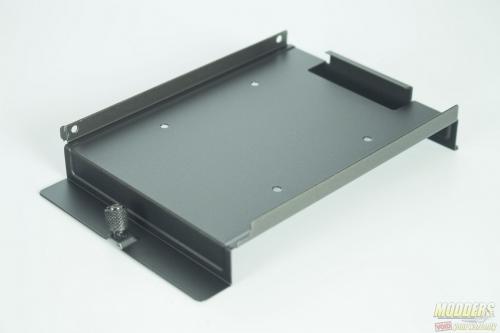
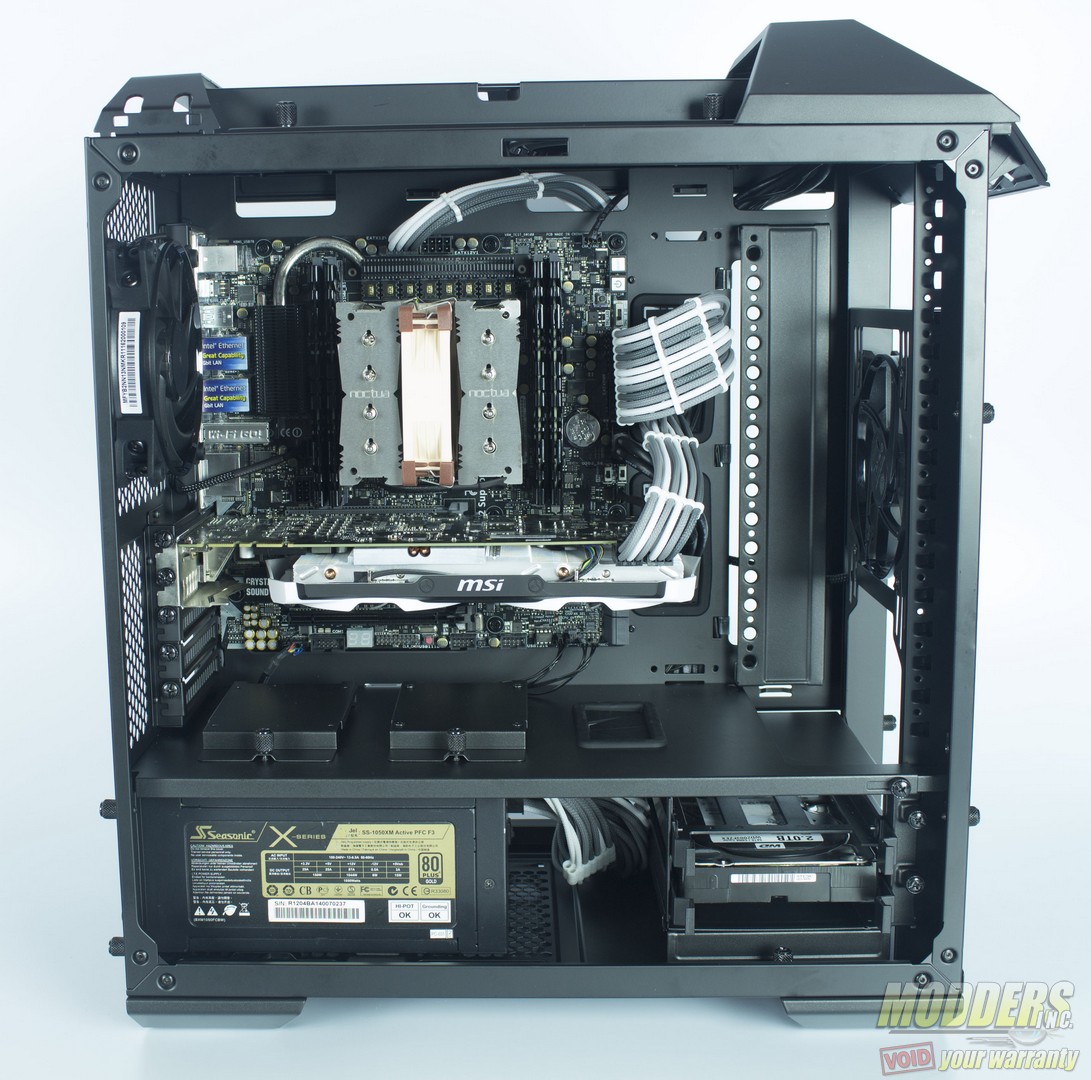
The MasterCase Pro 3 comes with two 2.5″ drive sleds that fasten to the mid panel, or a single sled can be relocated behind the motherboard tray. Drives can be mounted to the sleds either above or below the platform, but for the sake of aesthetics, I mounted them below.
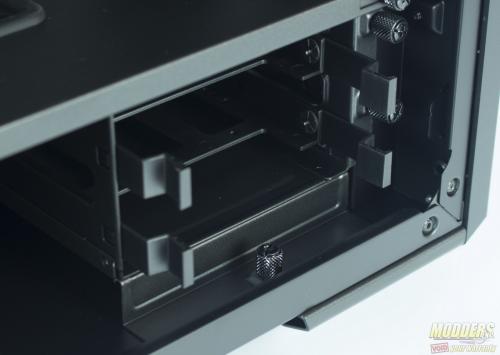
By default the 3.5″ drive assembly is located at the front of the chassis, in the lower chamber. For users that wish to use an AIO or radiator at the front of the chassis the hard drive assembly will have to be removed. As an added bonus, CoolerMaster offers additional HDD cages that can be purchased from their site, for users that wish to use the case as a server setup. For users not interested in using additional cages or any of the modular functions, the included mounting bracket can be removed from the chassis.
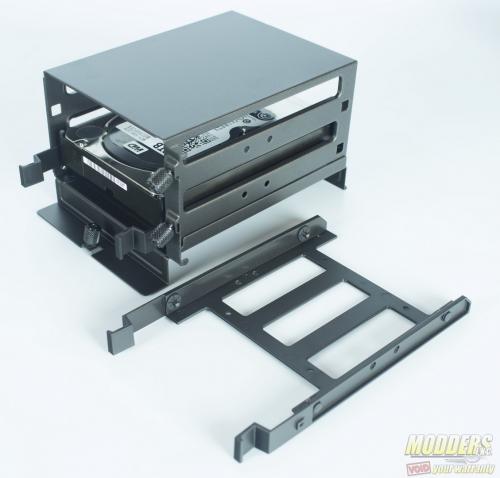
The drive bay consist of three pieces, the base which mounts to the floor of the chassis, the hard drive cage, and then the sleds. Each sled will accommodate either a 2.5″ or 3.5″ drive, but when using a 2.5″ drive, mounting screws will be required.
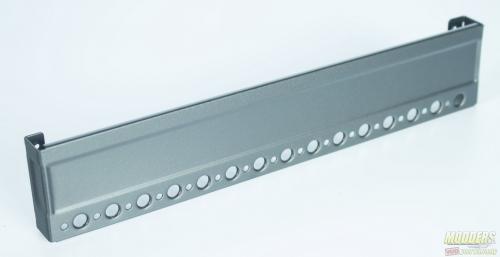
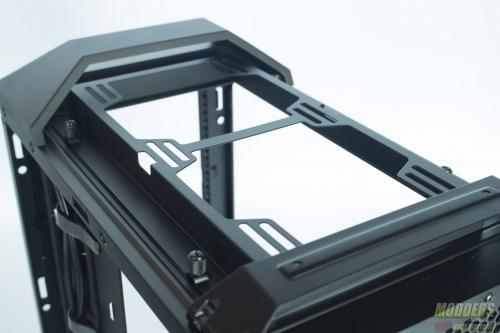
In order to access the fans located beneath the top panel shroud, simply slide the top panel back at the seam. Keep in mind never to try and pick up the case from the top panel as it is held in place with magnets. An identical bracket can be found underneath the shroud which accepts 120/140 fans and have notches in the center of the bracket that aids with cable management.
Due to the MasterCase Pro 3’s open upper chamber design, installation was very straight forward and cable management was a breeze. I recommend routing the cables from the I/O panel first and securing them to the cable tie down mounts present throughout the back panel. Cable routing locations are plentiful, but I was able to route the all cables for the install just using the location near the Velcro straps. Keep in mind though that the case is using a 3/4″ gap behind the motherboard tray rather than the 1″+ gap present on larger models so it can be a tight fit. During my install, I originally had the PCIe cables coming through the floor, but due to heavy GPU sag, I moved the cable to the same location as the 24 pin which helped significantly to offset the GPU sag. For cooling, I placed the air flow fan at the front panel as intake, air pressure fan at the top panel location serving as intake and air balance fan mounted at the rear panel which functions as exhaust.
