CoolerMaster MasterBox Lite 5 Review: Modder’s Delight
A Closer Look at the MasterBox 5 Lite
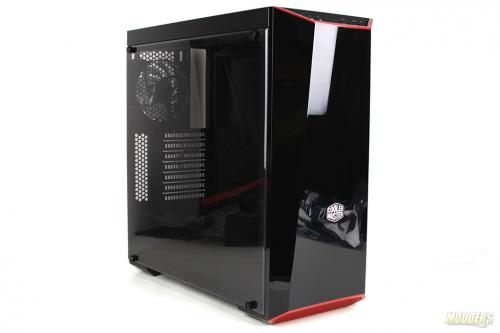
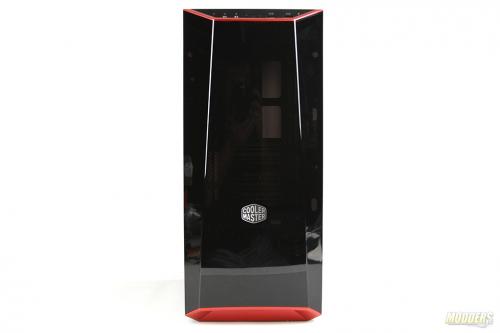
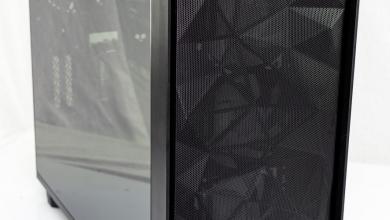
The MasterBox Lite 5 is a perfect mix between ABS plastic and steel. The frame, right and top of the case is completely made of steel. The left and front bezel is made from the plastic.
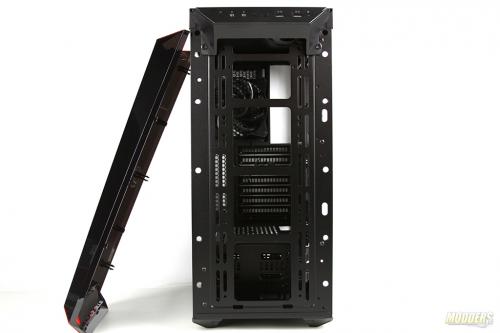
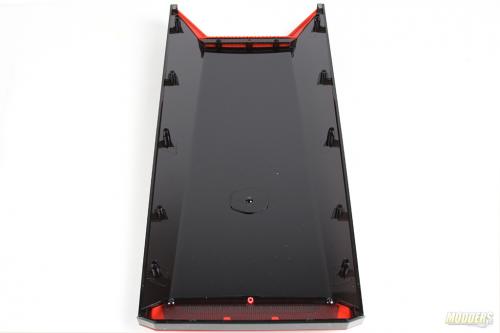
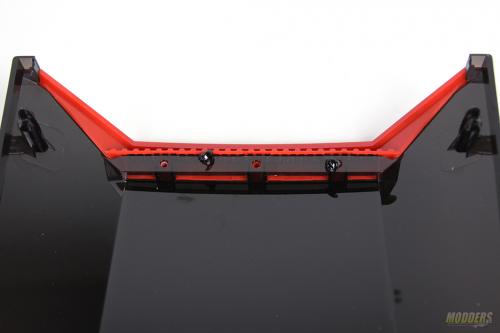
As you can see from the pictures above the front bezel comes with top and bottom red colored inserts which are also made from ABS plastic. These inserts are replaceable with the bundled white or black version in the accessory kit.
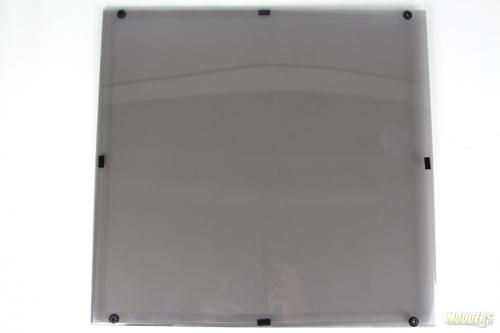
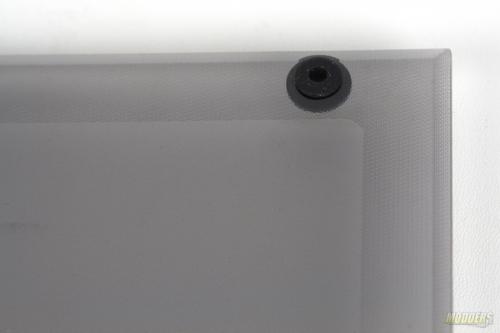
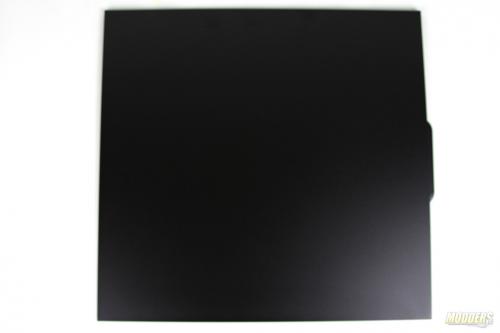
Size panel is tinted (smoke) and provides visibility to the inside of the case. The entire window is mounted by four screws which screw into the frame of the case since it is an edge-to-edge window panel. The right side panel on the other hand is steel painted black and secured by rear mounting screws.
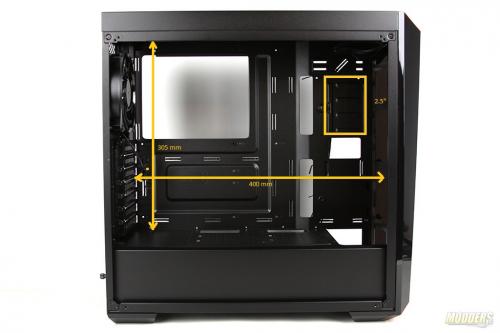
The MasterBox Lite 5 measures 468.8 x 200 x 454.5mm. The internal motherboard space is about 305mm wide which is able to host ATX, Micro-ATX and Mini-ITX motherboards.
You should have no issues of mounting full size video cards in this case as well since the distance from PCI slots rear to the front of the case is roughly 400mm.
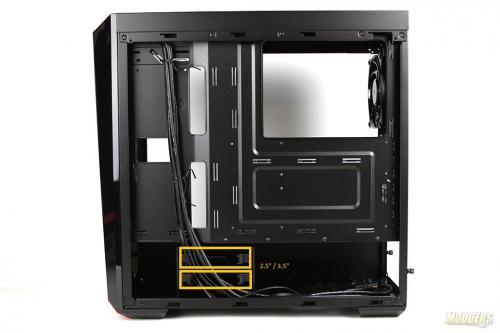
Hard drive mounting in this case could be done in two places, in the front of the case and near the power supply. It is possible to mount two solid state drives inside of the case, however, the MasterBox Lite 5 comes only with one mounting hardware for an internal SSD (additional accessories can be purchased).
The two-bay cage in the power supply compartment can host two additional 2.5″ SSDs or 3.5″ HDDs via sleds.
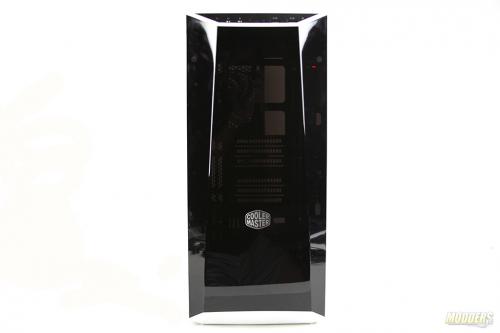
There is a Cooler Master logo on the front of the Dark Mirror panel. This panel is very stylish and reflective, but when an LED fan is installed in the intake, it creates a nice see-through effect. The downside with having a reflective surface however is that maintaining it smudge-free could be a challenge.
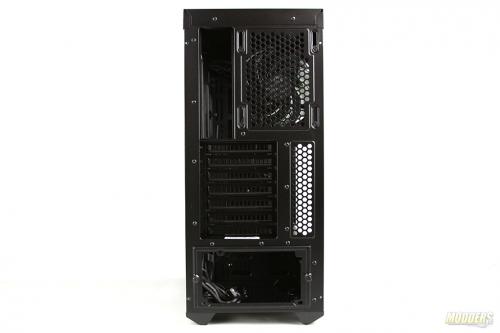
The rear of the case offers up to seven PCI expansion slot access with one 120mm fan pre-installed for the rear exhaust.
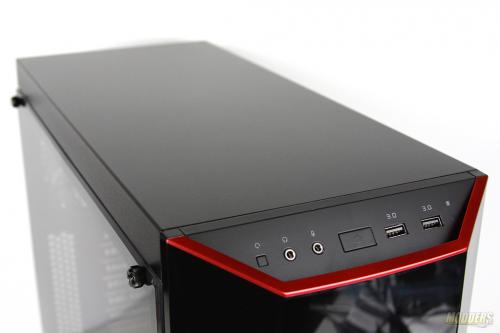
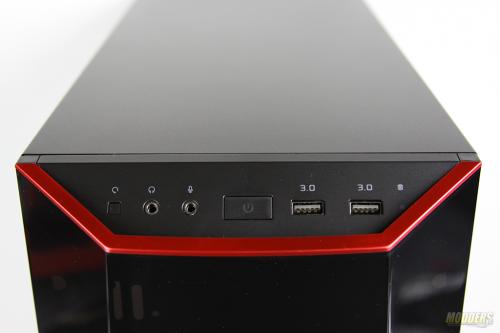
The front IO panel has reset and power buttons, a headphone as well as a microphone jack, a pair of USB 3.0 ports and a HDD activity light.
The front bezel can be easily removed to access the front of the case. If you are looking to mount fans in the front of the case then you are able to install up to 3x 120mm or up to 2x 140mm fan. If there is a need for a radiator in your build then your choices are 240mm or 280mm or 360mm radiator (limited) up to 50mm thickness without fans.
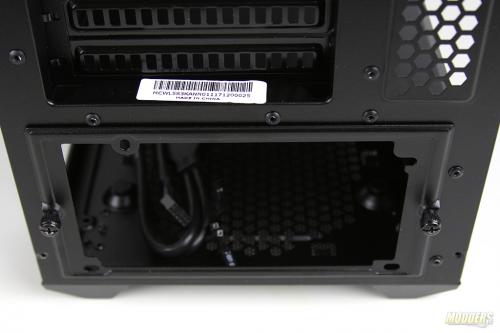
The power supply installs at the bottom of the case. The maximum length of the power supply is rated for 180 mm.
Installation is fairly simple. First you need to mount the power-supply bracket on to the power-supply, then slide it in to the case and secure it with mounting screws.
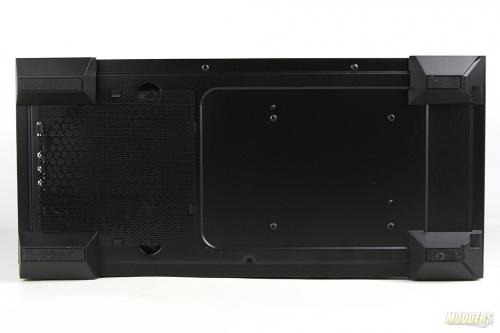
To minimize the vibration in the case, MasterBox Lite 5 has four rubber/supporting mounts on the bottom of the PSU tray.
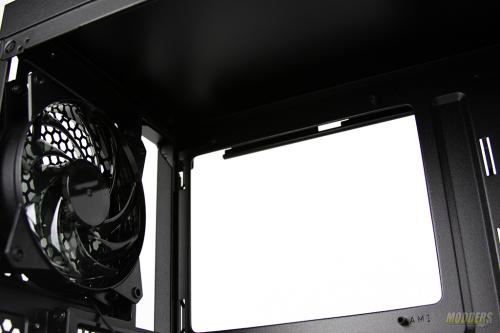
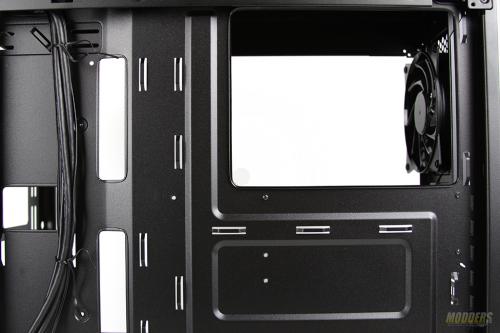
The top of the case has no mounting for fans or radiator so it is impossible to utilize that space. The motherboard tray is non removable, however the window size is very generous to accommodate any CPU installation. Cable management is done in the back of the case. There are no velcro or fasteners, however CoolerMaster does include a small bag of zip-ties for convenience.
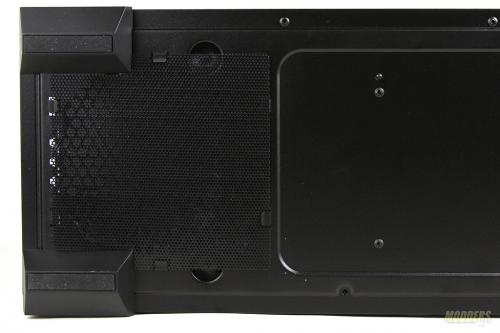
The ventilation of power supply is done through the bottom of the case. To protect internal components from dust, The MasterBox Lite 5 has a small mesh right under the PSU vent.
The MasterBox Lite 5 is supported by four plastic legs. Each leg has a thin rubber strip to keep entire case as stable on the flat surface.
Installing a different type of color insert for the front cover is pretty easy. You would need to remove the front bezel and unscrew the top and bottom portions of the inserts. Then replace the inserts of your desired color and screw them back in. You can pick from three different color of inserts: red, white or black. Cooler Master also provides the schematics for this insert so users can 3D-print their own version if they prefer a different color or design.
