Cooler Master CM Storm Sentinel Advance II High Performance Gaming Mouse
A Closer Look
 |
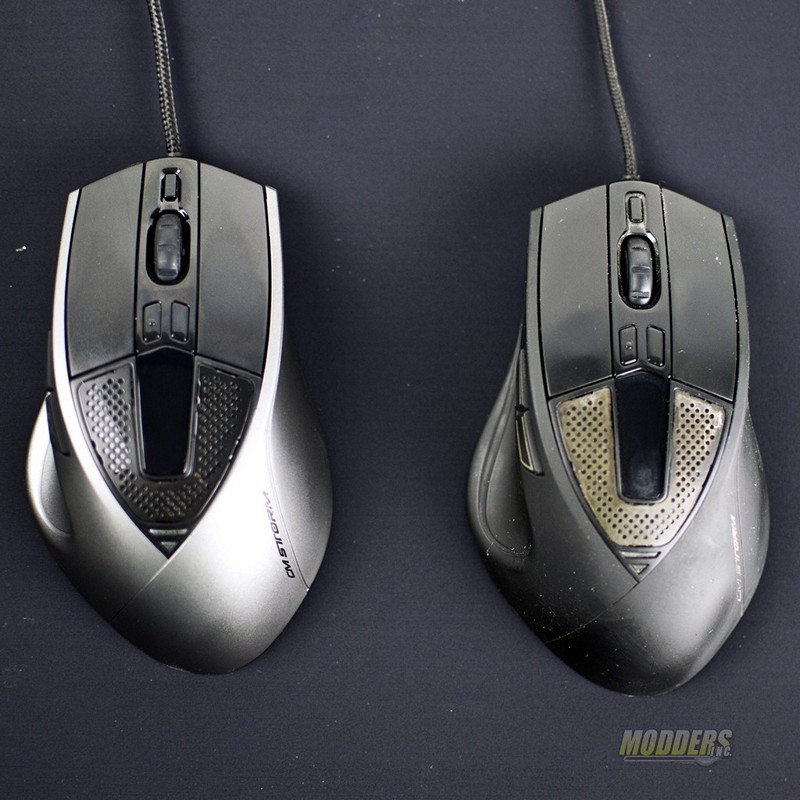 |
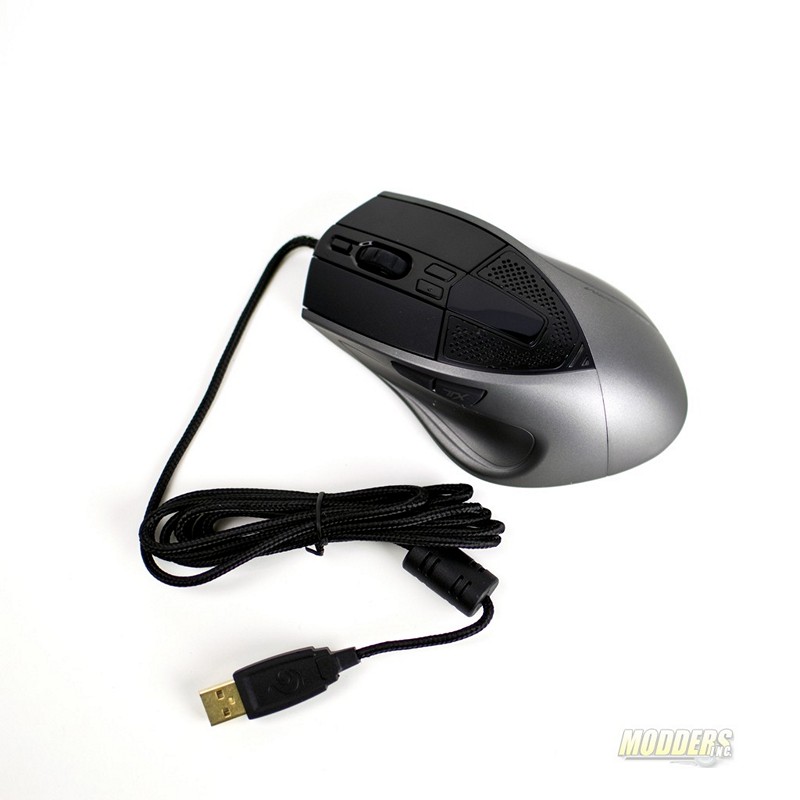
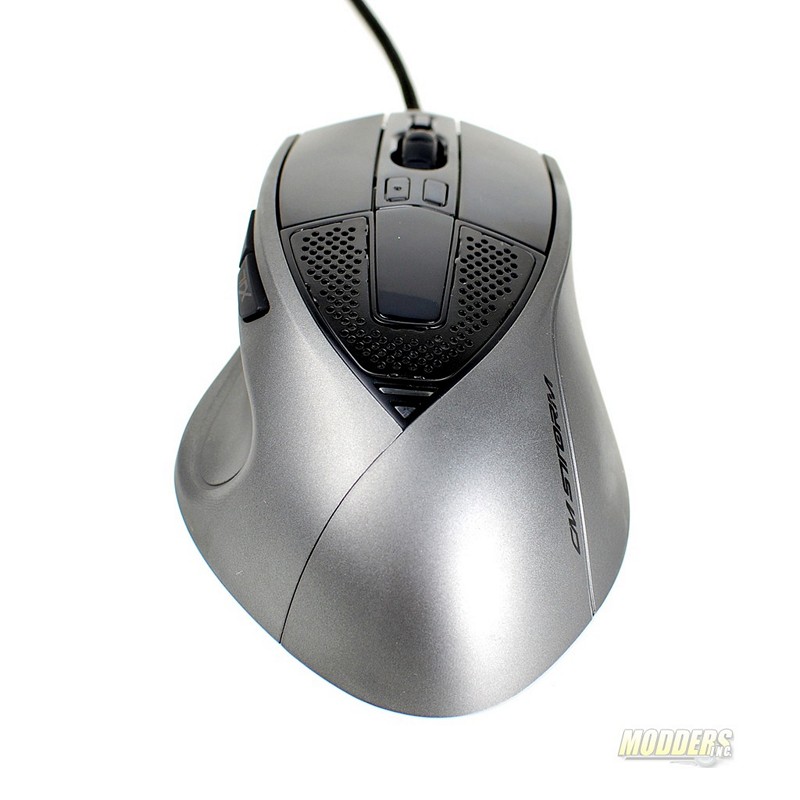
The Sentinel Advance II, as I said before is an evolution of the Sentinel Advance that was released in 2009. The shape and feel of the mouse body remains the same, as is the weight of the mouse. A few differences are present however. The main mouse buttons are a little stiffer but this could very well be because I have been using the Sentinel Advance on a daily basis. The mouse buttons are quieter as well. The scroll wheel has an affirmative and reassuring click when scrolled back and forth. The main difference between the two generations of mice is the sensor.
 |
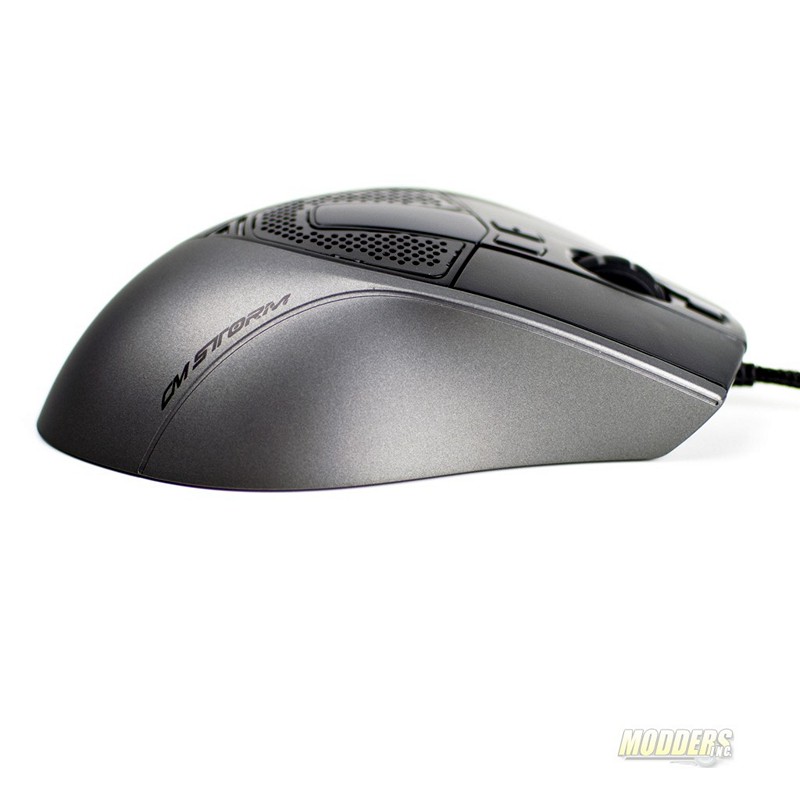 |
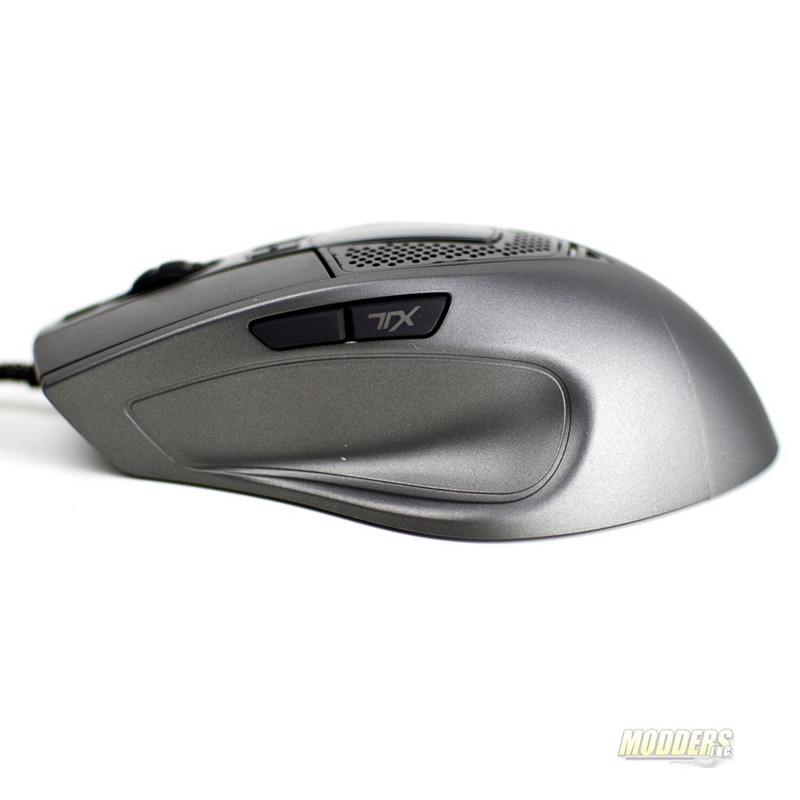
The curvature of the Sentinel Advance II is comfortable to me. My hand fits the mouse very well. I think that one of the most comforting features of the mouse is the thumb rest on the left side of the mouse. When using the mouse I tend to get lazy and put most of the weight of my hand on the back of the mouse and the curve of the mouse has a natural feel to it. During long gaming sessions I didn’t experience any fatigue or soreness while using the Sentinel Advance II.
 |
 |
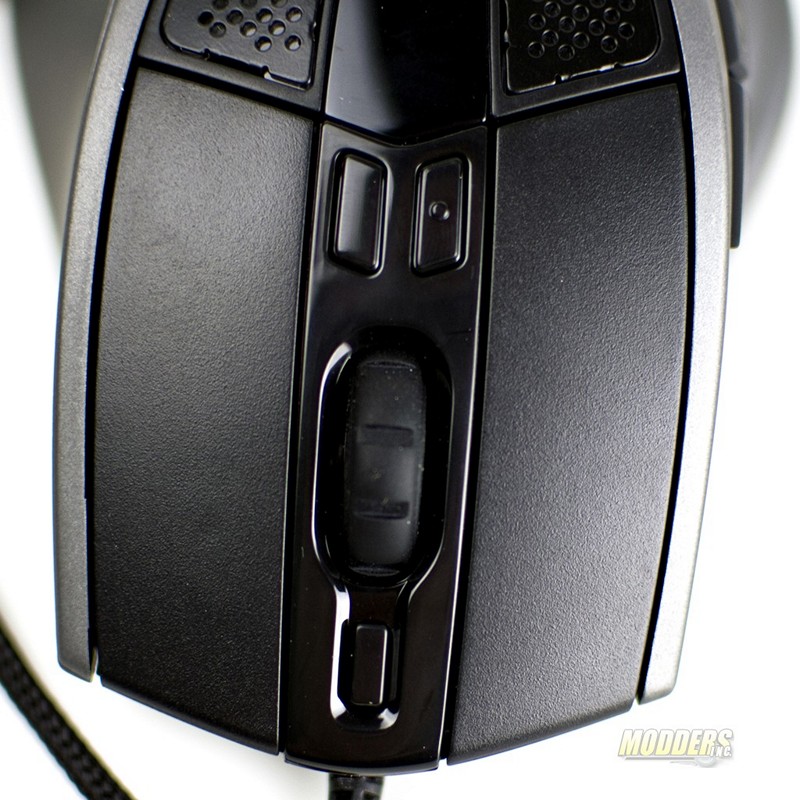
The front of the mouse has five buttons and the scroll wheel. The front most button on the mouse controls the profile setting. Profiles are configured and saved in the software, which we will get to a little later. Right behind the scroll wheel there are two additional buttons. These control the “on the fly” DPI adjustments. The button with the dimple increases the DPI while the other button reduces DPI. The DPI numbers are shown in the OLED screen behind the buttons on the body of the mouse. Individual X/Y axis DPI settings are also possible as well as adjusting the DPI in 100 increments. To adjust individual X/Y increments press either one of the top buttons until it the LED flashes yellow then press one of the side buttons. The front most side button controls the Y axis and the back button controls the X axis. Scroll the scroll wheel in either direction to increase or decrease the DPI setting for the selected axis then press one of the top buttons again to stop the adjustments. To adjust the Sentinel advance by 100 DPI increments on both the X and Y axis press and hold one of the top buttons until the yellow LED flashes then scroll the wheel to change the setting. Press one of the top buttons once again to stop the adjustment mode.
 |
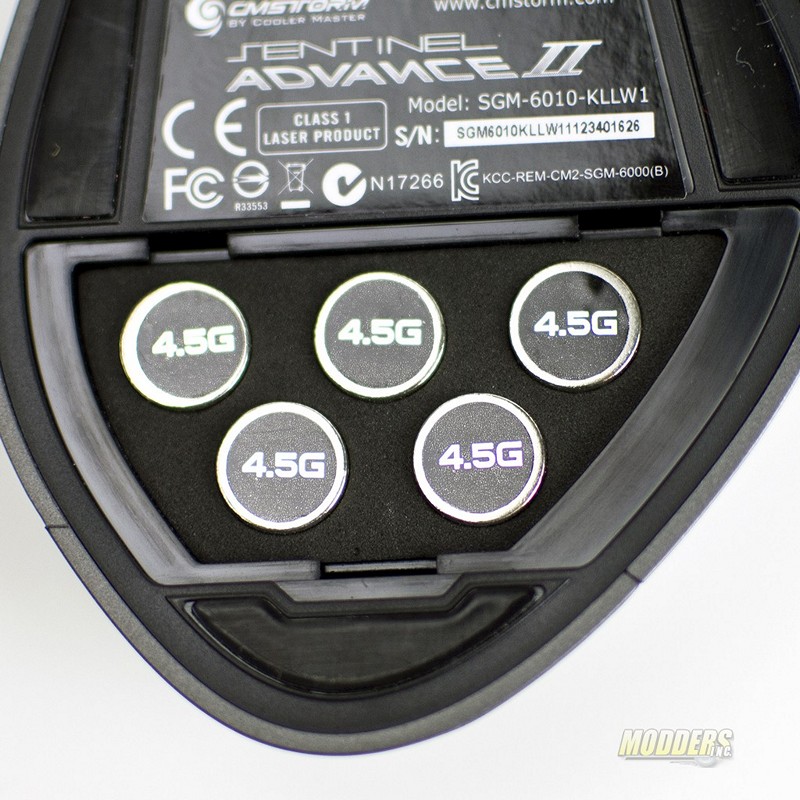 |
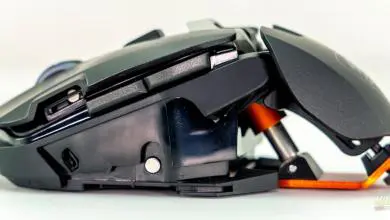
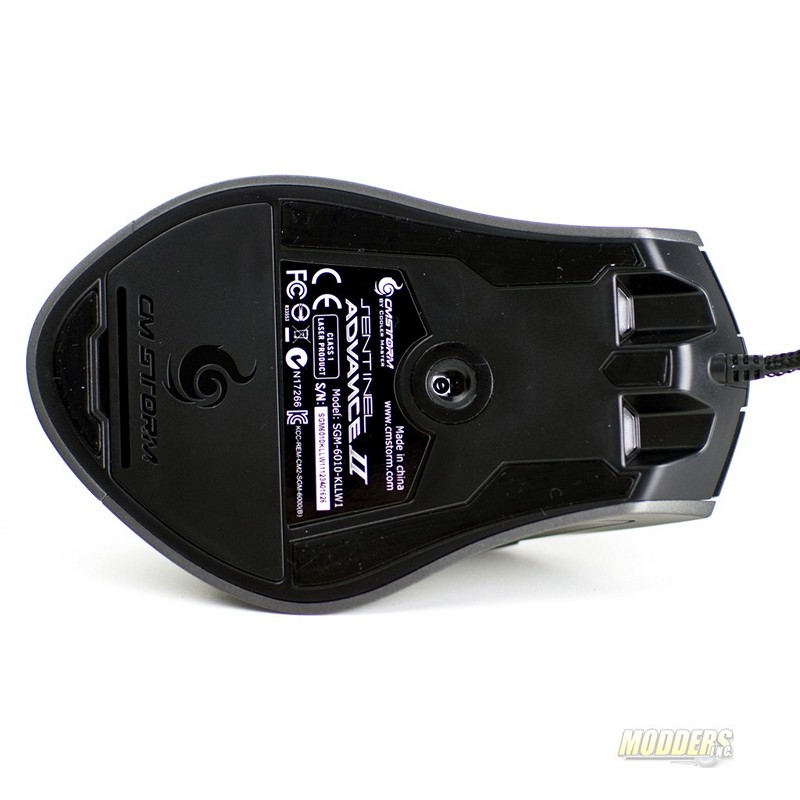
The bottom of the mouse features the Avago ADNS-9800 Laser Sensor with up to 8200 DPI resolution. This means for every inch you move the mouse on your mouse pad, the cursor on the screen moves 8200 pixels. During gaming for me on my 24” monitor at 1920×1080, 8200 DPI was useless. I fraction of a movement and I was all over the place. In Counter-Strike:GO a comfortable DPI for me was about 1400 DPI. This allowed me to make quick movements but not so much that a small flinch sent the crosshairs off the target. Teflon feet are used on the Sentinel Advance and Cooler Master included an extra set in the box in case you wear them out. The mouse also has a compartment for weight management. For me the mouse feels just about right with all the weights installed. They can be removed by opening the access door on the bottom of the mouse and popping the weights out.
 |
 |
 |
 |
 |
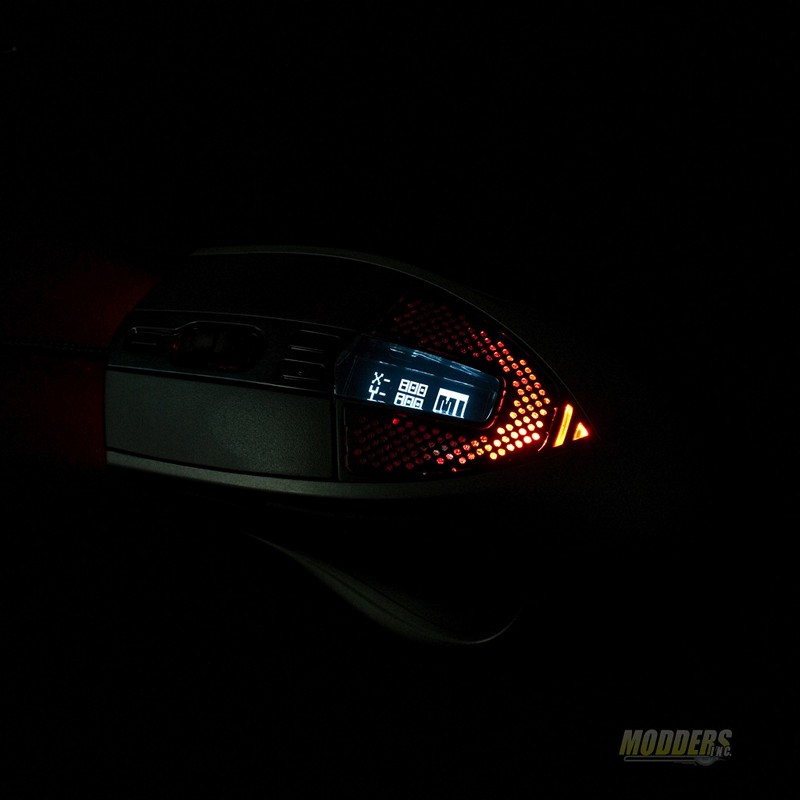 |
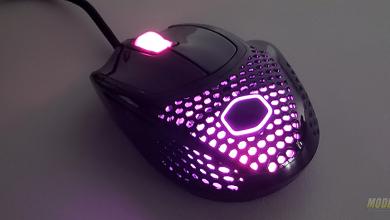
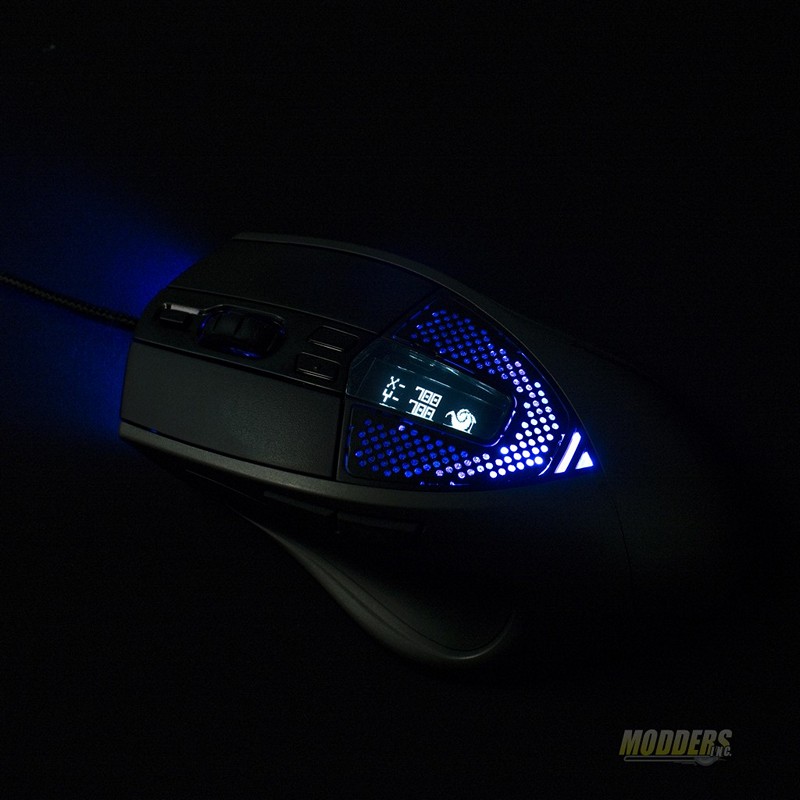
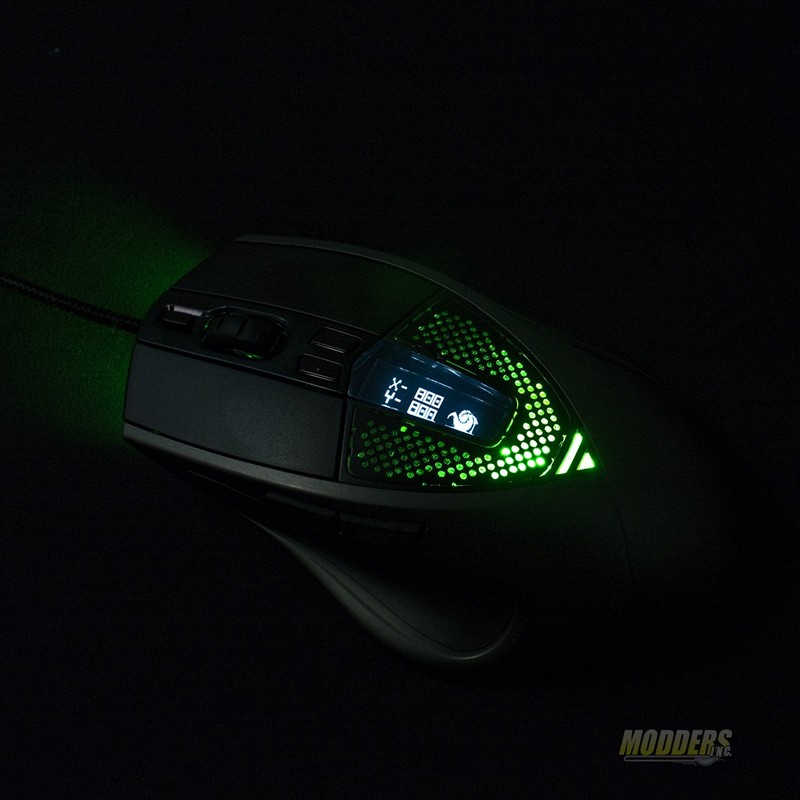
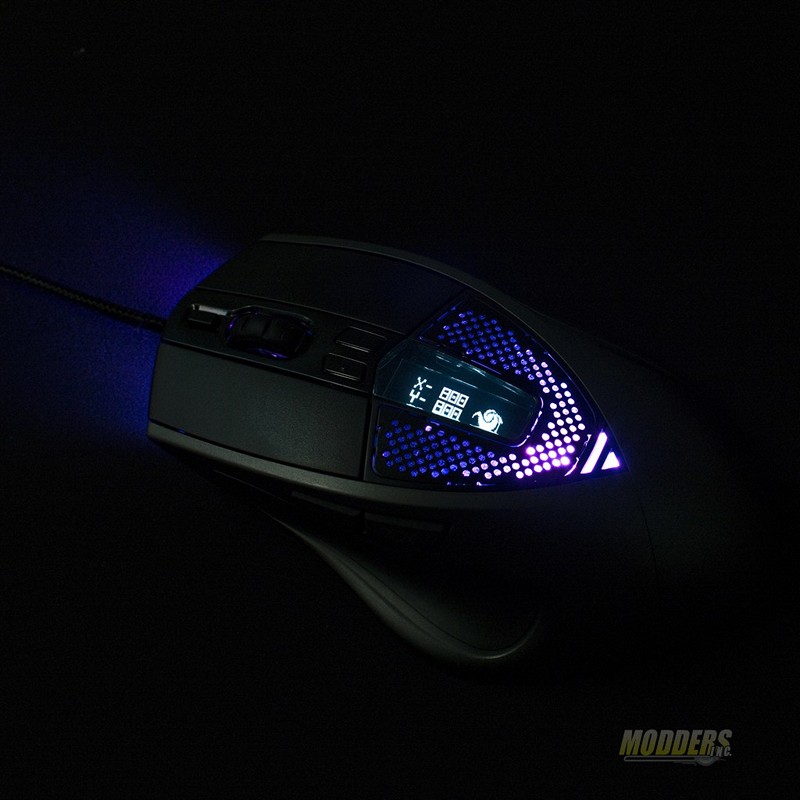
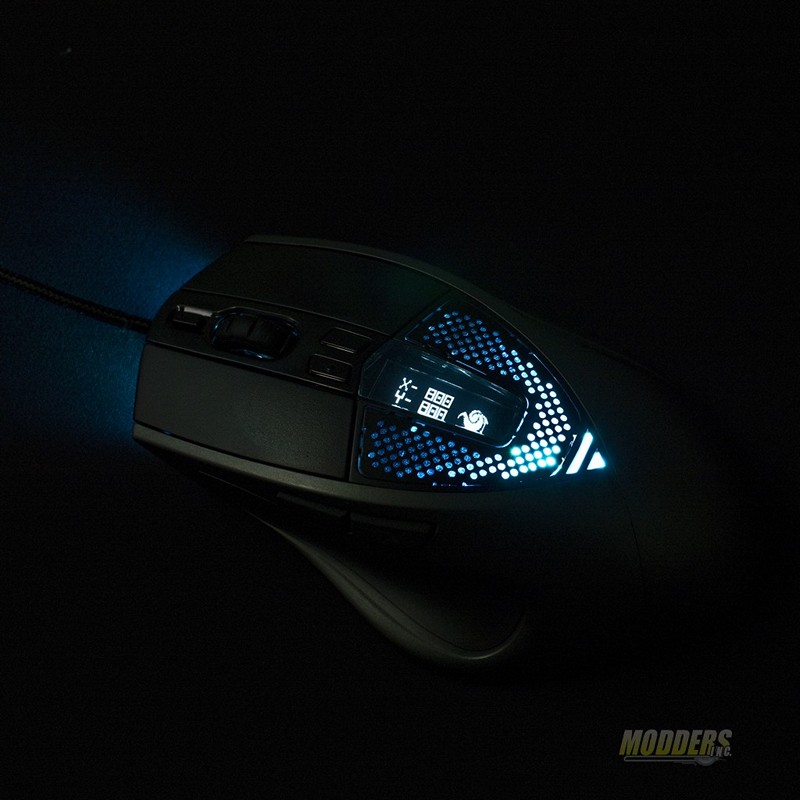
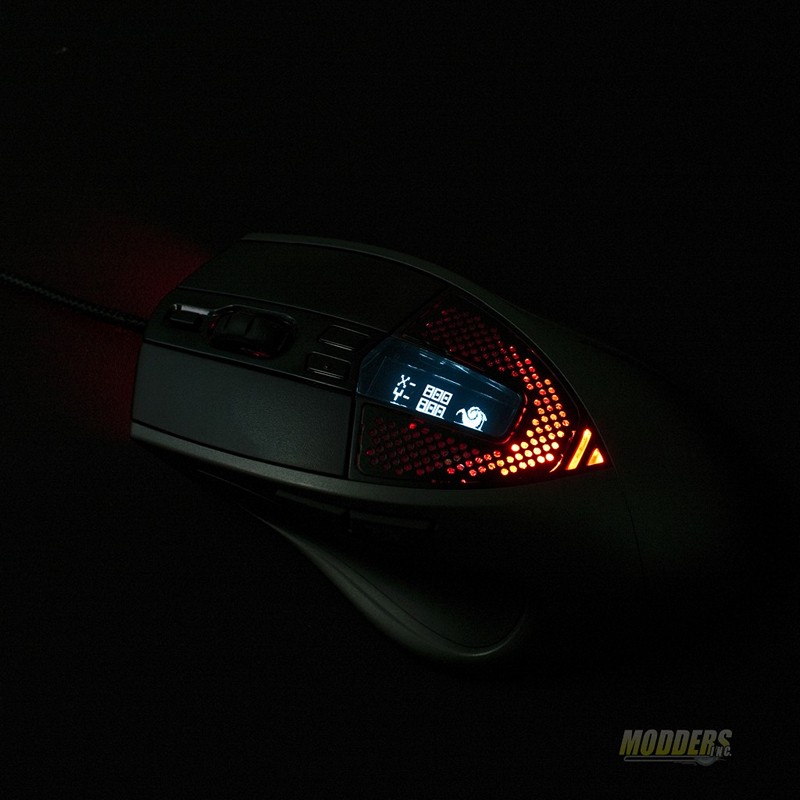
Each press of the profile button on the front of the mouse changes the color of the LED lighting. These color/profile combinations can be changed in the software settings. Typically each profile color determines DPI, polling rate, acceleration, etc. In the bottom right picture I put the MI logo on the OLED screen. This can be done in the software as well. There are limitations to the type and size of image. The requirements are the image has to be 32x32px and black and white. The image colors will be reversed from what you see on the monitor to what is displayed on the OLED screen of the mouse.
