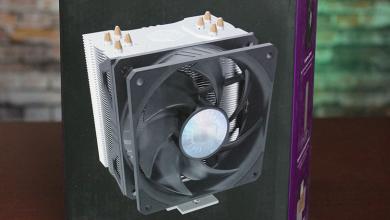
CPU Cooler
Cooler Master V8 CPU Cooler
« Page 2 | Page 4 »
Installation |
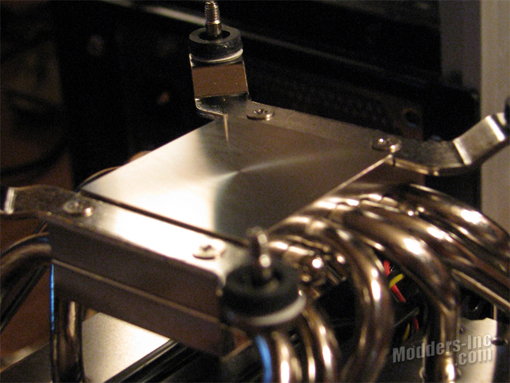 The specs and CM’s site state “Mirror-finished base makes for 100% contact with the processor”. Although the surface does appear to be flat, it is definitely not a mirror finish as we can see in the above photo. We can also see that I have the retention brackets installed on the base of the V8, along with the small rubber washers.
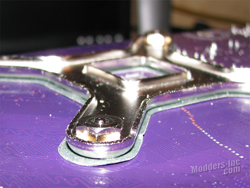 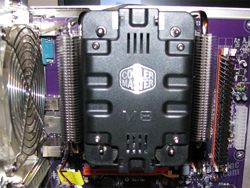 To mount the V8, I simply placed it on its top, and then prepped the mobo/CPU for installation (applied thermal compound). I then line up my mounting holes and place the backing plate over the studs. The Cooler Master V8 comes with a small socket to allow you to tighten the four backing plate nuts. With the raised edges of the backing plate, you might find it a little tough to keep the nut engaged in the socket once you get it close to being tight. They need to either reduce the thickness of the lip on the backing plate, or make the nuts slightly thicker.
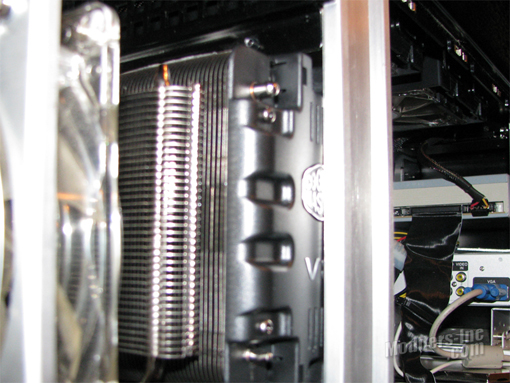 Next up, I go to slide the TJ10’s mobo tray back into the case and hit a snag. The V8 just barely clears, but the small Cooler Master logo on the cover doesn’t. I simply had to flex the case support bar a little to get the assembly to slide by it.
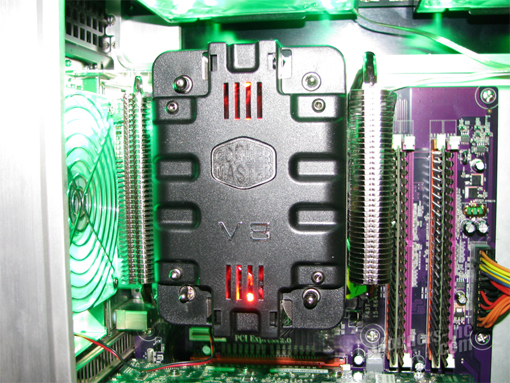 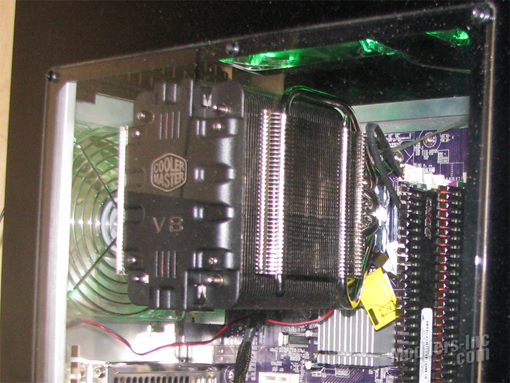 Now remember that the Cooler Master V8 is 161.5mm tall and could pose a problem for some cases. You will want to make sure that your case can handle a cooler this tall. I was actually going to review this in a Cooler Master Cosmos-S case until I realized that it wouldn’t fit without having to remove the cases side 200 mm fan.
|

