Cooler Master V10 Hybrid T.E.C. CPU Cooler
Installation |
 Now we move on to the most challenging part of the review. Installing the Cooler Master V10 behemoth. First we must take a moment to read the instructions (always important). We want to make sure we install this cooler properly so it doesn’t give us any unexpected problems. Before I forget, the V10 weighs in at 1200g which is considerably more than a stock Intel cooler. You will want to make sure and keep an eye on this so you don’t potentially damage your motherboard down the road.
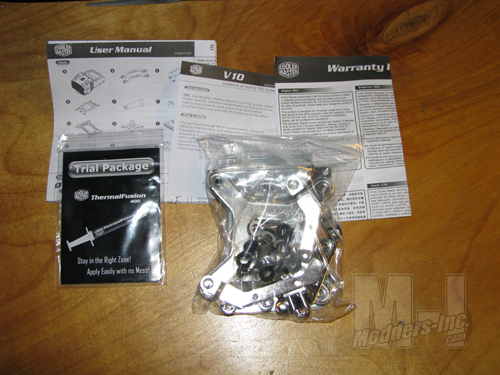
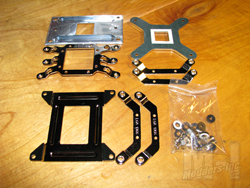 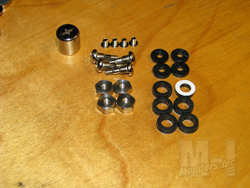 I start off by laying out all of the mounting accessories so that I can sort out the ones I am going to be needing. Depending on your chassis and motherboard configuration, you should only need a Phillips screwdriver for the installation. On the left we have the backing plates, brackets, and the bag of screws, washers, and nuts. I will be installing the Cooler Master V10 on a Intel Core i7 920 processor, so we will be using the backing plate and brackets in the lower section of the first image. In the bag of goodies we find four shoulder screws, four nuts, four small screws, four plastic washers, four rubber washers, and one socket (used to tighten the nuts).
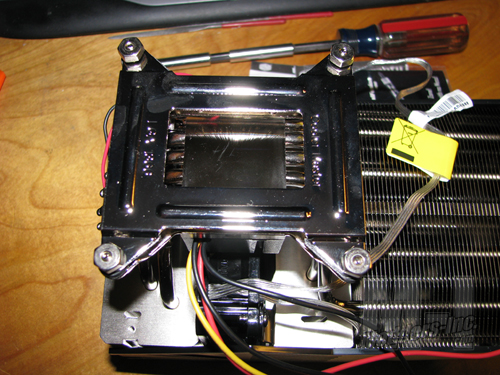 Before mounting the cooler I wanted to ensure everything went together so I mounted the two brackets and then slid the backing plate on. With a cooler this size, it does help to check everything installs correctly before actually mounting them. As we can see in the above image, everything seems to work flawlessly.
 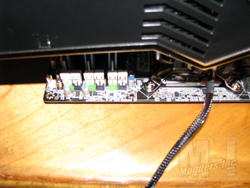 One of my first concerns with the Cooler Master V10’s size was if any of the mounting screws for the motherboard would be restricted. With most large air coolers today, you will more than likely have to remove the motherboard for installation unless your motherboard tray has a cut out to allow access to the rear of the CPU area on the board.
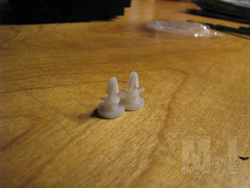
Well when I opened the accessories bag I found the two small clips (first image) which told me clearance on two of the screws was going to be an issue. After test fitting the V10 to my EVGA X58 board I see that it was going to be two of the top three screws, which is a major issue in my book. This cooler weighs 1200g which is easily double that of a stock Intel cooler. Having that much weight hanging on the motherboard is an issue in itself when the motherboard is securely mounted. Not installing two of the three screws at the top of the motherboard will put even more strain on the remaining screws holding the board in place. Maybe, if these plastic studs where threaded and replaced the stock standoffs, I might be able to let it slide, but thats still a big MAYBE. 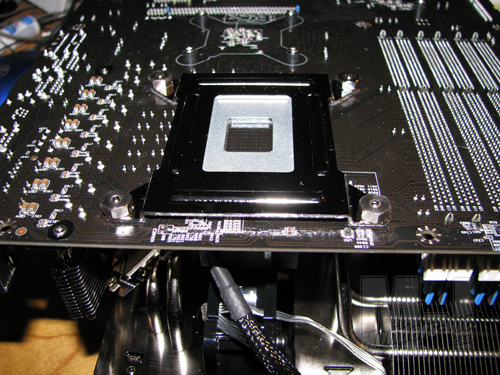 Non the less we are moving forward. The easiest way to install such a large cooler, is to flip the cooler on its top and install the motherboard over it. Simply apply your thermal compound to the CPU and gently lay the board on the cooler making sure that your four mounting screws all line up with the mounting screw holes on the motherboard. Once its sitting there, use one hand to support the motherboard, and the other hand to place the backing plate on and snugly tighten the four nuts. You can then secure it with a screwdriver and the provided socket.
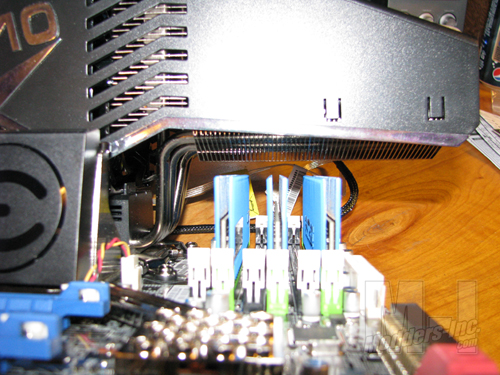 One of the other common concerns with the Cooler Master V10 is the memory height. As you can see in the above image, I have just enough room between the Patriot Viper modules and the V10 to slide them in. If you need to remove the modules after the motherboard is installed, it could be a major challenge depending on the chassis you’re using.
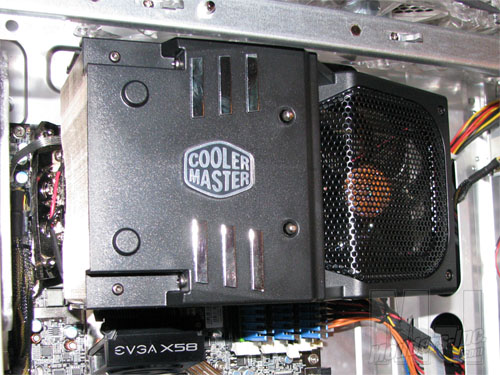
To make things even more challenging on my installation. I am using a Cooler Master Cosmos-S chassis for testing. The upper brace that holds the side panel on falls right on the edge of the V10 cooler once the motherboard is installed. I was lucky enough to have a nice long skinny Phillips screwdriver that allowed me to snake the two upper screws in place. It was not a quick and easy process by no means, but it is definitely worth the effort when compared to not having two of the three screws installed.
The plastic studs that are provided simply have a flat bottom, so in a horizontally mounted configuration, they would hold the weight of the cooler and motherboard. But in a vertically mounted configuration, they are not really doing anything unless you push inwards on the board. As I previously stated, had these been threaded so that you could screw them in place of the two standard standoffs, it would be a different story. There also was no mention of these in the instruction booklet that came with the cooler. Justs take your time and see if you can figure out a way to install the screws just to be safe. One could even use a small ratchet and socket providing you have enough room to slip your hand above the cooler. For the easiest installation, one needs a chassis that is equipped with an access hole behind the CPU area on the motherboard tray. There are only a few chassis available that have this option, but it is becoming more popular as time goes on. This would allow you to install the cooler without the motherboard having to be removed. If you have a Dremel (or other small rotary tool) handy, it doesn’t take much time to make an access hole if your chassis does not have one. Just make sure you measure twice and cut once. |
