Cooler Master Nepton 140XL Cooler Review
Installation of the Cooler Master Nepton 140XL
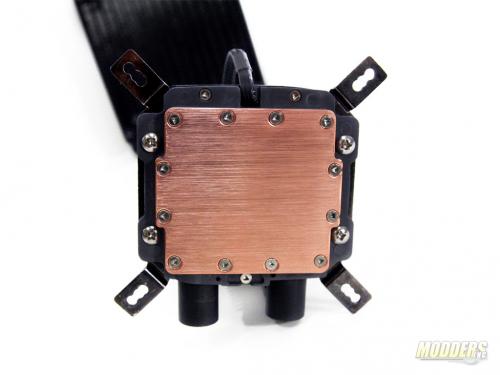
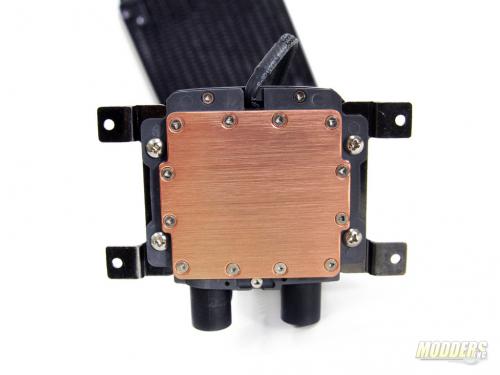 For AMD Installation, first select the smaller two mounting bars and screw them into the pump unit, sliding the metal bars in the space between the top pump cover and the plastic mounting area directly above the cold plate. Use the light colored small screws and secure with a Phillips head screwdriver.
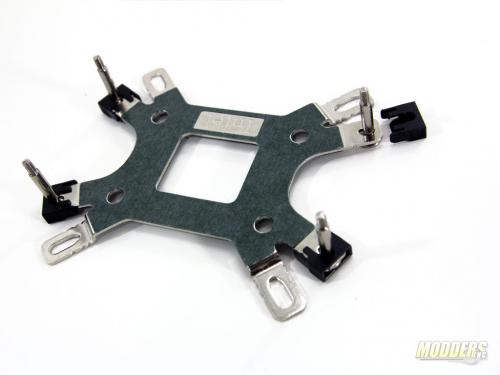
Next, take the universal back plate and secure push the four metal posts through the corresponding AMD mounting holes. The side with the insulation and where the posts poked through should say “Intel” on it since the “AMD” label will be the visible side once mounted. The metal posts have a convenient notch in the neck where the flat head and the posts meet which helps hold it in place and prevents it from rotating before securing the plastic tips.
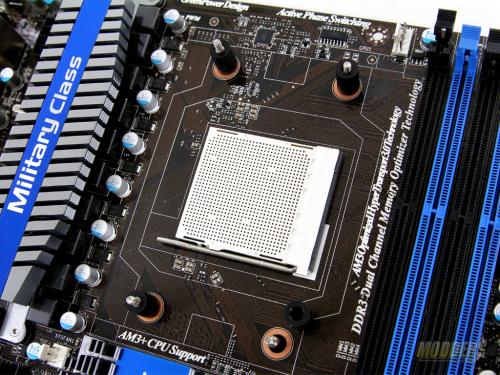
Remove the AMD motherboard’s integrated mounting system first then replace it with the Cooler Master backplate/post assembly from the previous steps. Then place the black round plastic spacers and apply thermal compound on the CPU before placing the pump block unit.
For Intel 775/1155/1366 installation, the process is similar except you have to mount the larger mounting bars on the pump block unit which supports all three different Intel post spaces. On the back plate, the sliding plastic lock that secures the metal posts in place has three grooves for the three different spacing types. Socket 775 mainboards have the smallest space between them so the metal mounting posts have to be secured closest to the center and users have to push the plastic lock through two other latches before resting to the inner-most area. Sockets 1155, 1156, and 1150 use the middle latch but if it feels too tight when mounted on the motherboard, leave one corner at the LGA 1366 position and tighten once the metal posts are through the motherboard mounting holes.
Note that due to the large back plate, there will be some clearance issues on some mainboards with surface components mounted close to the CPU at the back such as in mini-ITX motherboards.
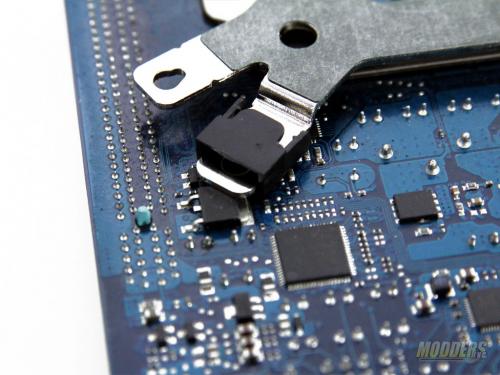
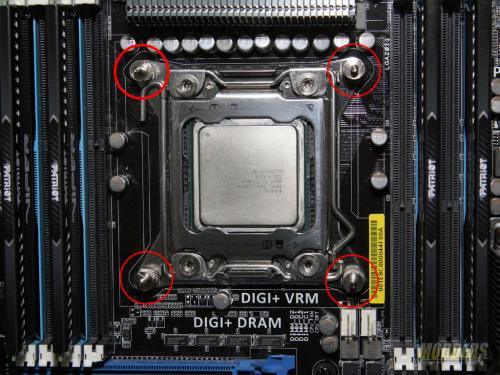
Lastly on Intel LGA2011 mainboards, users will use the same mounting bar since LGA2011 posts have the exact same distance as Intel LGA1366 motherboards except there is no need for a back plate since it uses an integrated locking mechanism (ILM). Note that the CM Nepton 140XL only supports square-ILM LGA2011 mainboard mounting and not the rectangular LGA2011 ILMs found on Xeon motherboards. The square ILM LGA2011 mounts for the Nepton 140XL are simply screwed in place by hand and requires no plastic spacers to be used unlike with AMD and Intel 775/115x/1366 mainboards.
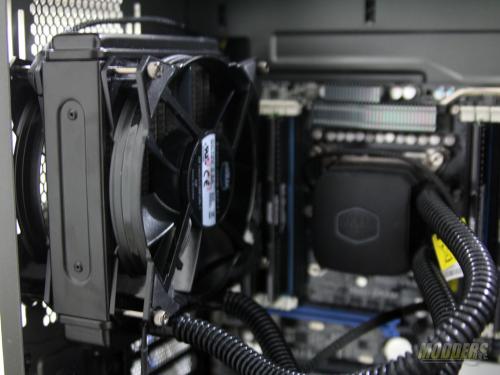
As with all radiators, it is recommended to install with fresh air blowing through the radiator so even if you mount it at the rear of the case, it is ideal if the fans are mounted as intake instead of pushing warm ambient case air through the Nepton 140XL radiator. If your case has top ventilation, this should not be an issue but if you have a case that has zero top ventilation then you can mount the fans through the radiator as exhaust although you will not get optimal cooling. Cooler Master provides eight screws to mount both fans and radiator to a case but if you just have space for only one fan, you can mount the radiator directly to the case using the small dark screws or if you have a case with a thicker panel, you can use the four longer radiator mounting screws provided on one side.
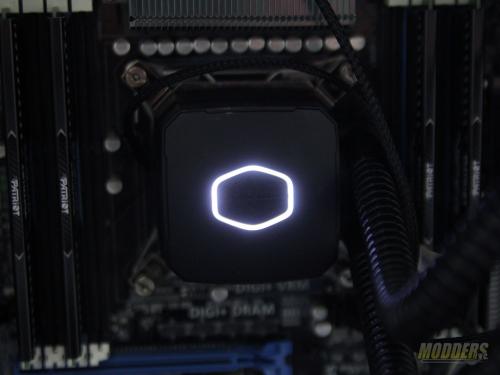
After the radiator is mounted, apply thermal compound on top of the CPU depending on your preference and factoring in CPU integrated heat sink size then secure the pump block on top of it with the provided thumb screws. Securing these thumb screws a few rotations at a time in a criss-cross fashion is recommended for applying equal pressure and optimal even distribution of the thermal compound on the surface area. These thumb screws can be secured further with a flat-head screw driver if needed.
The final step is plugging in the fans as well as the pump block unit into your motherboard. A Y-splitter cable is provided for the pair of fans but it is recommended that the pump operate at full voltage for optimal cooling so do not forget to change the fan control settings on your motherboard BIOS/UEFI if you choose to use the on board headers.

I really like your blog, the way you have described about Liquid cooling is very unique and informative.I bookmark your blog because I found very good information on your blog, Thanks for sharing more information
Thanks for the comment. :)