Cooler Master MasterLiquid Pro 240 Review: A Gestalt Approach to Cooling
Installation of the MasterLiquid Pro 240
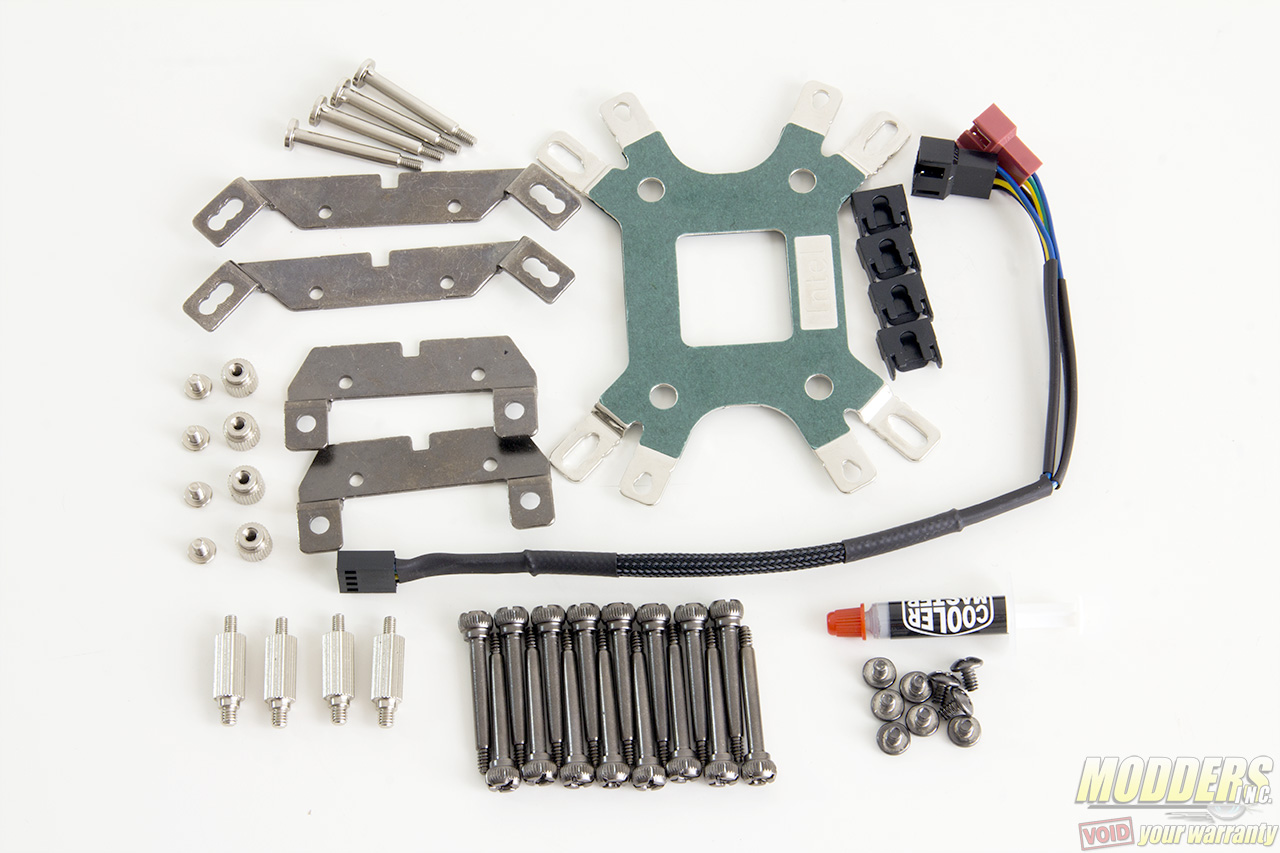
Before proceeding with installation, lay out all accessories and cross reference the package content with the illustrated user’s guide.
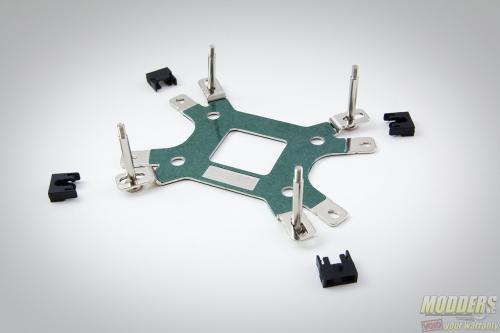
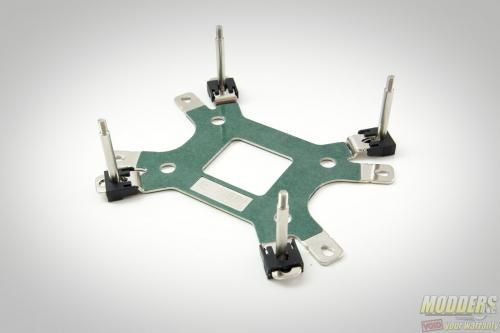
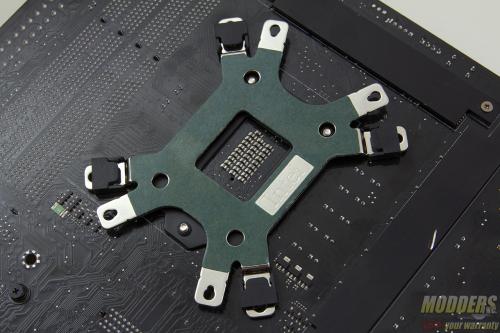
With the exception of Intel LGA2011 mounting, both AMD and Intel installation requires the use of the universal backplate provided. One side is for AMD and one side is for Intel and it is marked accordingly. The mounting posts must be assembled first at the tip of the corresponding mounting hole and it is made up of the metal post and the plastic lock that holds it in place. If you find that the mounting post is not fitting correctly through the motherboard mounting hole, make sure that the post and the plastic lock is secured completely with no gaps on the edge.
Unlike in the previous generation Cooler Master Nepton series, the assembled backplate with posts are no longer secured further with metal standoffs. There are less steps to mounting the pump block but users will require their other hand to hold the backplate assembly in place if installing inside a case. In that situation, it is preferable to install the radiator first.
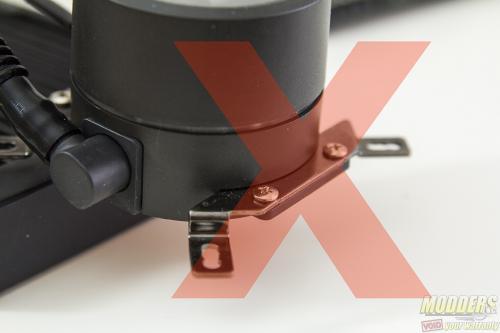
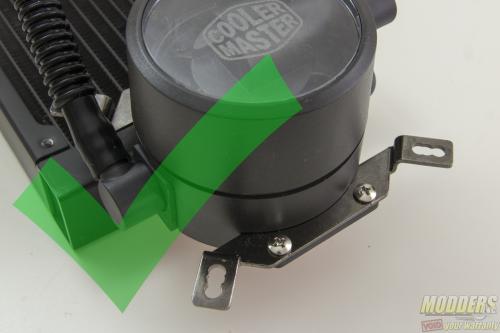
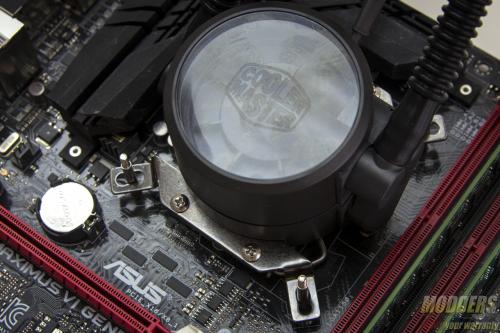
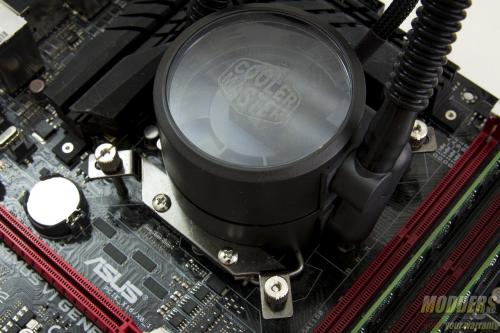
Depending on whether installing on an Intel or AMD motherboard, the mounting bracket must be affixed first on the pump-block unit. The pair of mounting bracket for Intel can be differentiated from the AMD because of the variable tri-position option. A screw driver is required to install it in place. Make sure to mount the bracket with mounting hole tips stepping upwards instead of downward. See the images below for comparison.
Once the brackets are secured, apply some thermal compound on the CPU surface and makes sure to remove the plastic covering on the Cooler Master MasterLiquid Pro 240’s copper contacts first before securing it on top of it. Secure the thumbscrews into the backplate posts in incremental criss-cross fashion so as to have even pressure distribution.
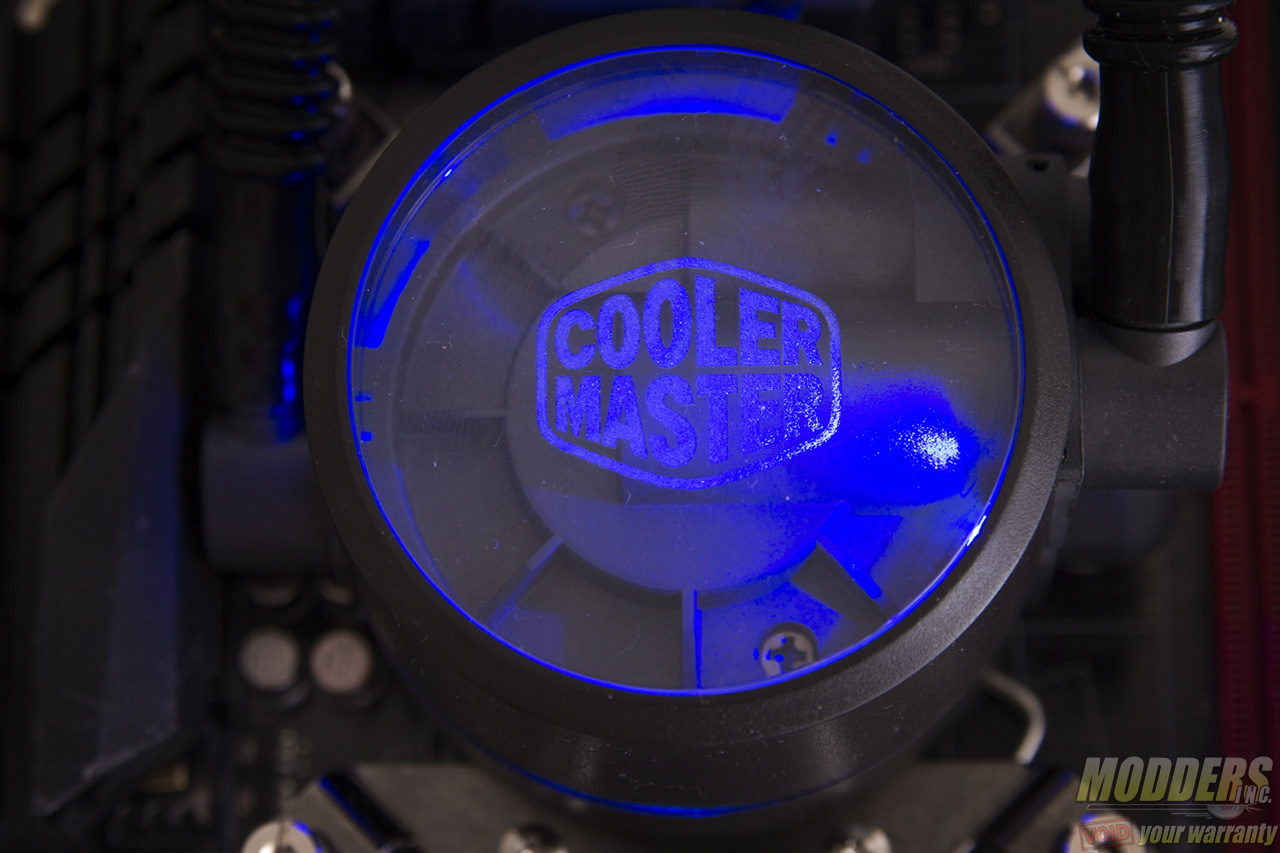
Plug in the pump connector to any available motherboard header. If working properly, it should light up a blue LED when the system is powered on. For optimal performance, make sure to disable any fan speed control on the fan header so that the pump is fed a constant 12V power.
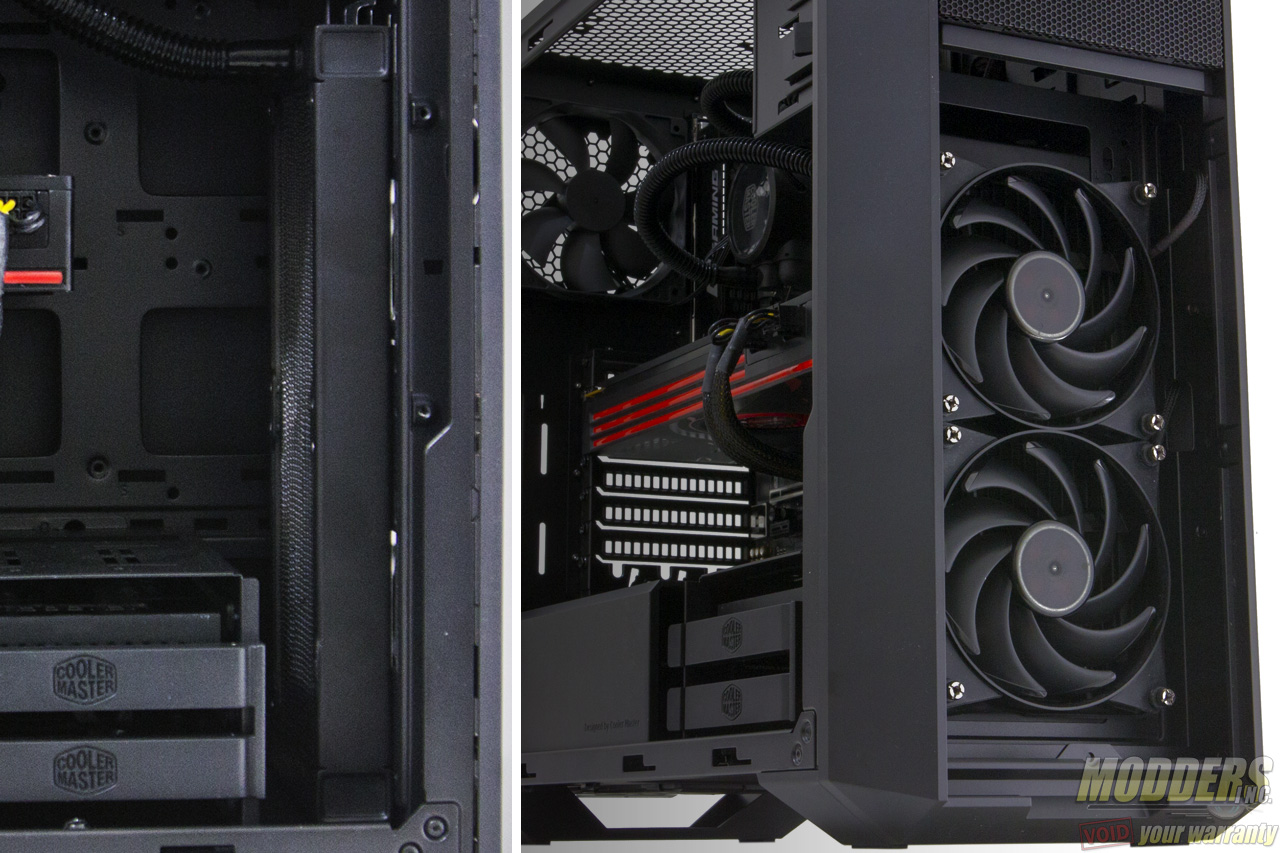
The radiator mounting is dependent on the case but it is fairly self-explanatory. The gasket goes in between the fans and the radiator for further sound absorption and these are secured with convenient radiator screws. The radiator can be mounted directly on a case as well using the shorter screws which require a screw driver to install. One example of radiator mounting can be seen below on a Cooler Master MasterBox 5 case with the MasterLiquid Pro 240 mounted in front. Cool air is taken from the intake so the fan is positioned with the radiator on the other side of the case mounting. Users can also install the fans as an exhaust but using cooler air is more optimal for performance rather than passing warm ambient case air through the radiator.
Of course, do not forget to plug in the fans once installed.
Clearance Compatibility
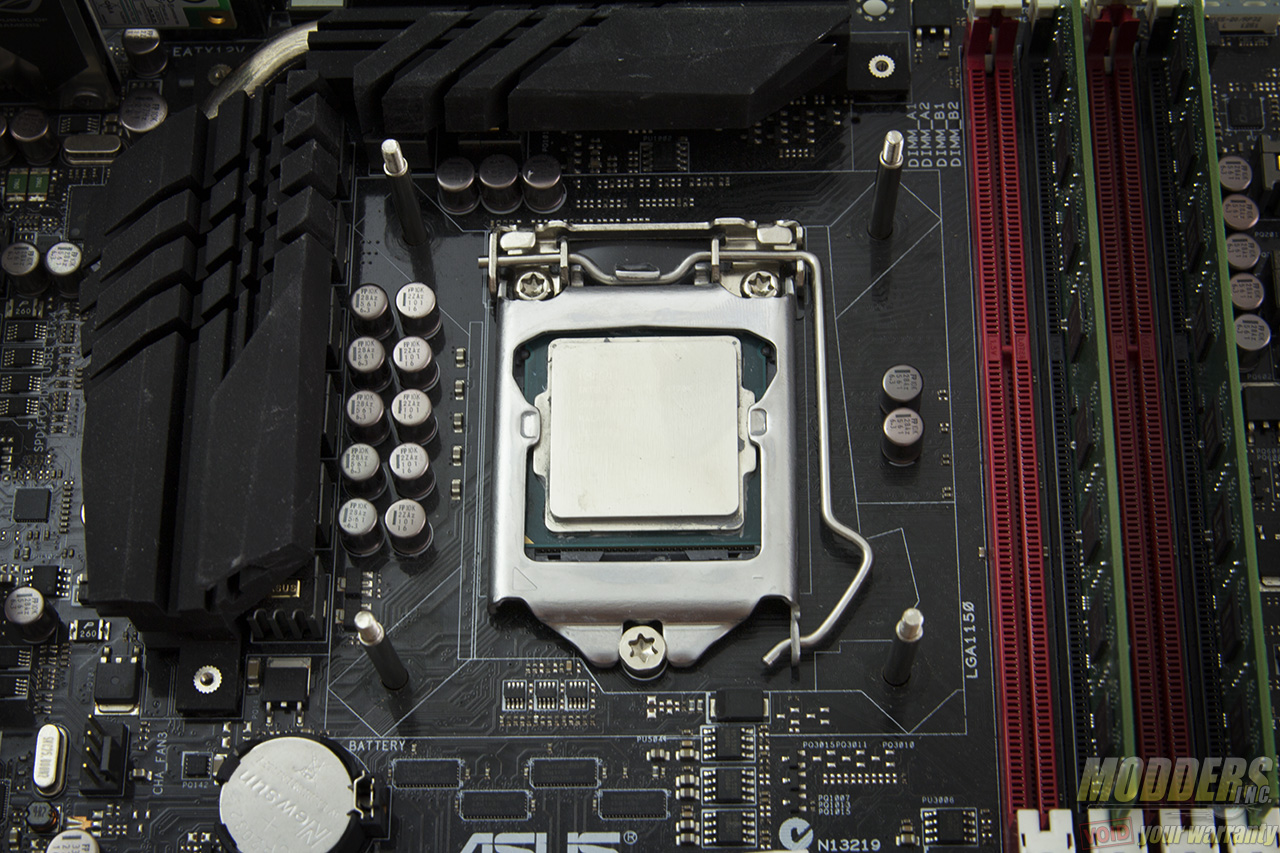
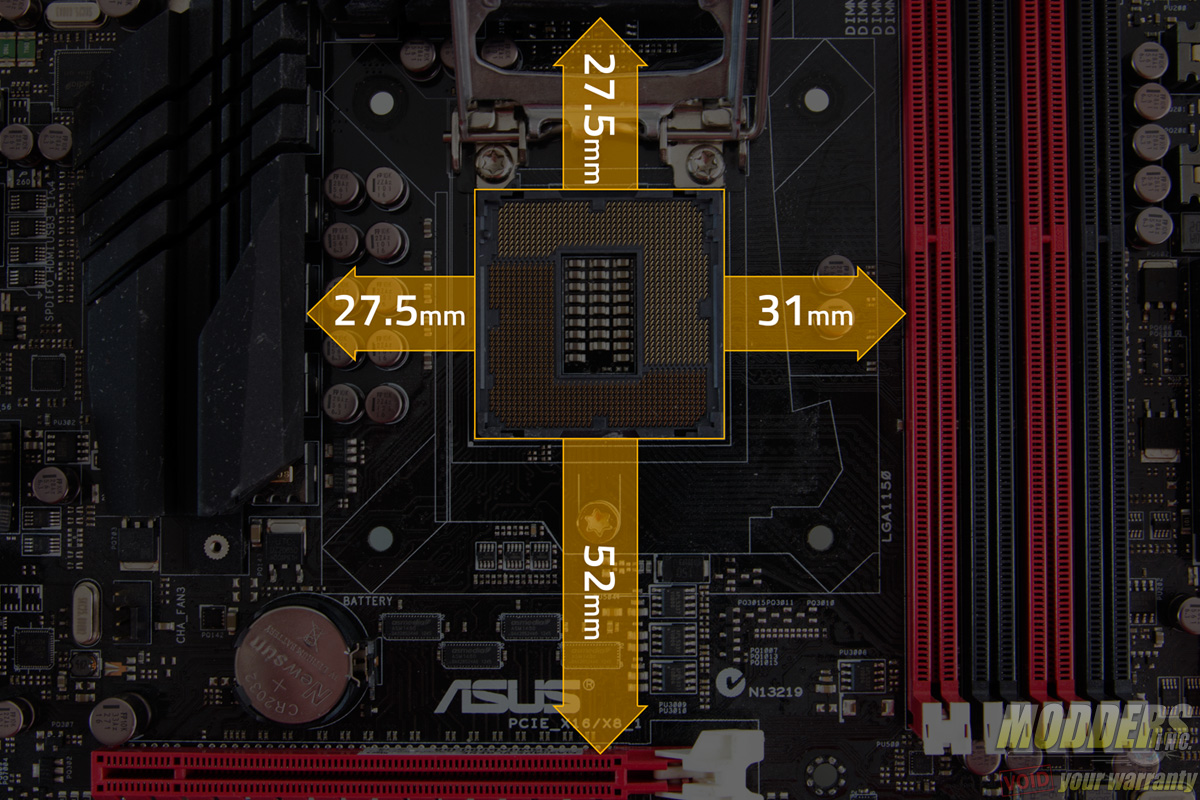
The test motherboard is an ASUS Maximus VI Gene micro-ATX motherboard and measuring from the edge of the socket (the gray plastic part), there is a 31mm gap between the CPU socket and the first DIMM slot as well as a 52mm clearance between the CPU socket and the topmost PCI-E x16 slot where the graphics card is installed:
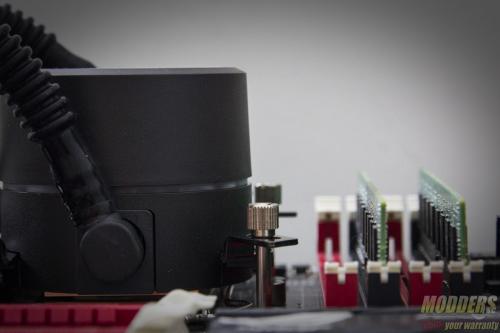
There were no clearance issues observed as the pump block unit falls well within the Intel keep out zone. The elevated copper contact also alleviates any possible issue or conflict with larger capacitors surrounding the CPU socket.
