Cooler Master MasterLiquid ML240R RGB AIO CPU Cooler
Installation of an AIO is supposed to be very similar to an air cooler. Typically, it is pretty much plug and play. With the MasterLiquid ML240L getting the cooler installed was pretty simple and no more complicated than installing other AIOs. The difference came when it was time to install the lighting and the ARGB controller. There’s a little more wiring to do, but nothing really complicated. Cooler Master made it pretty simple.
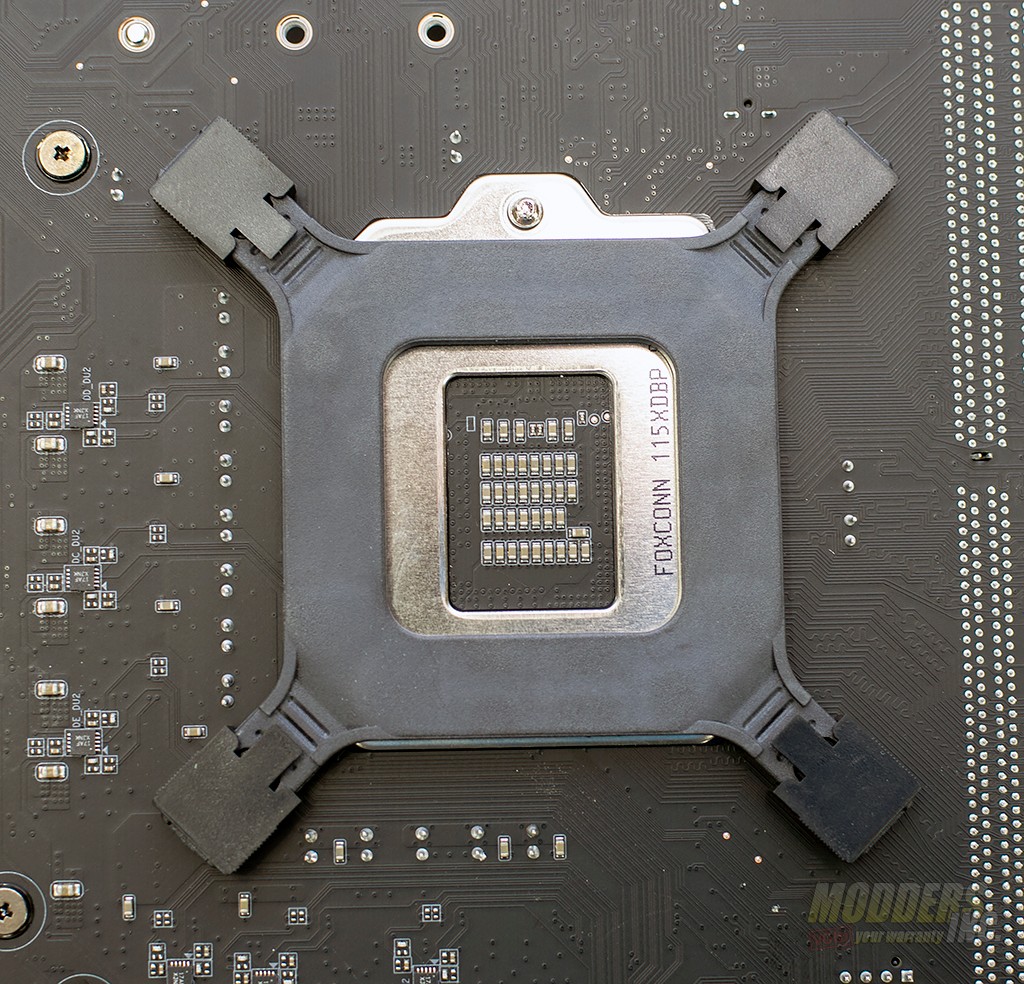
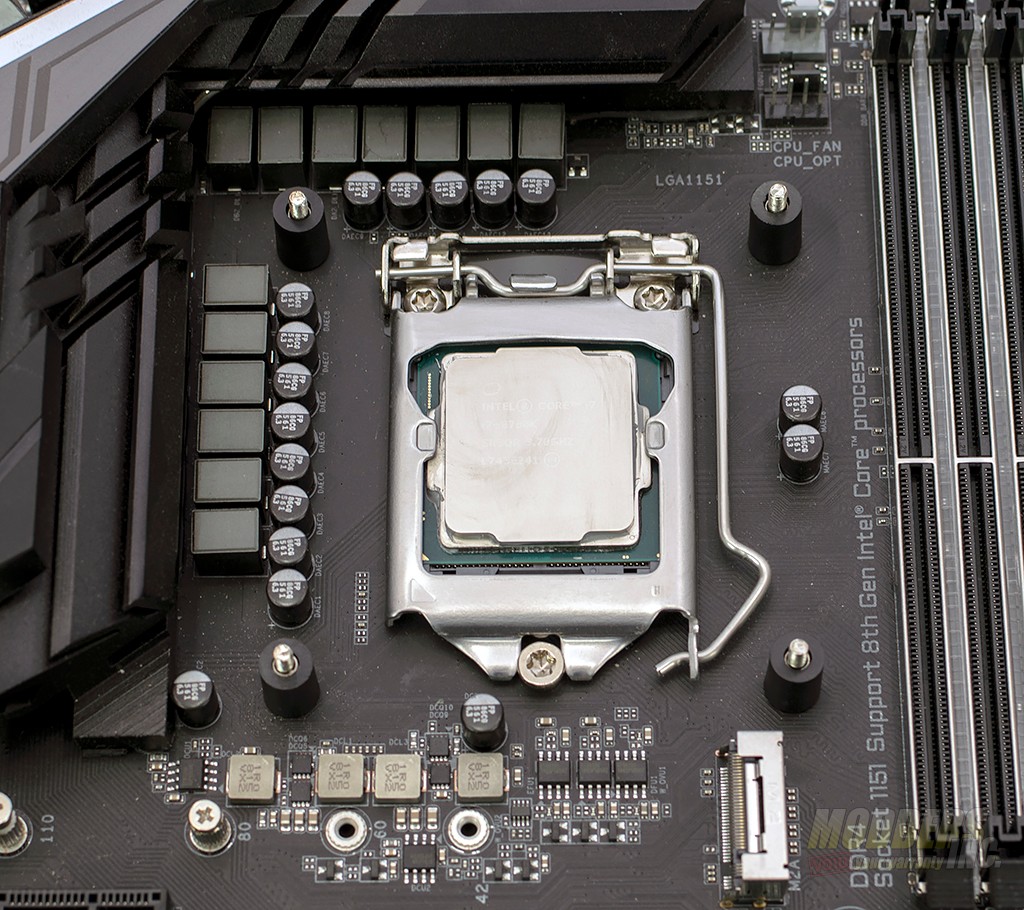
To start off with, you’ll need to prepare the back plate for installation. The plastic backplate will be in use for 11xx sockets from Intel and the AM4 for AMD. You’ll need the back plate, studs, and caps to get started. For this review, we will be using an Aorus Z390 Pro and the Intel i7-8700K. The manual does cover the installation for other sockets as well.
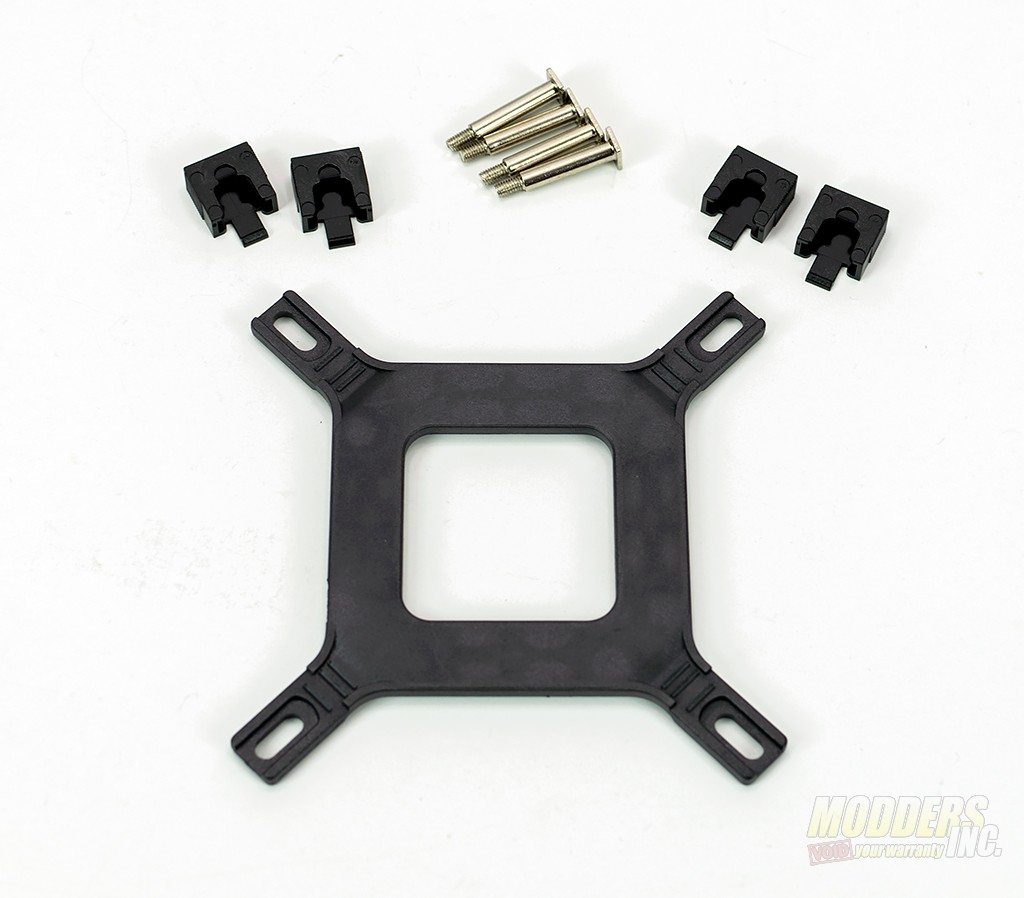
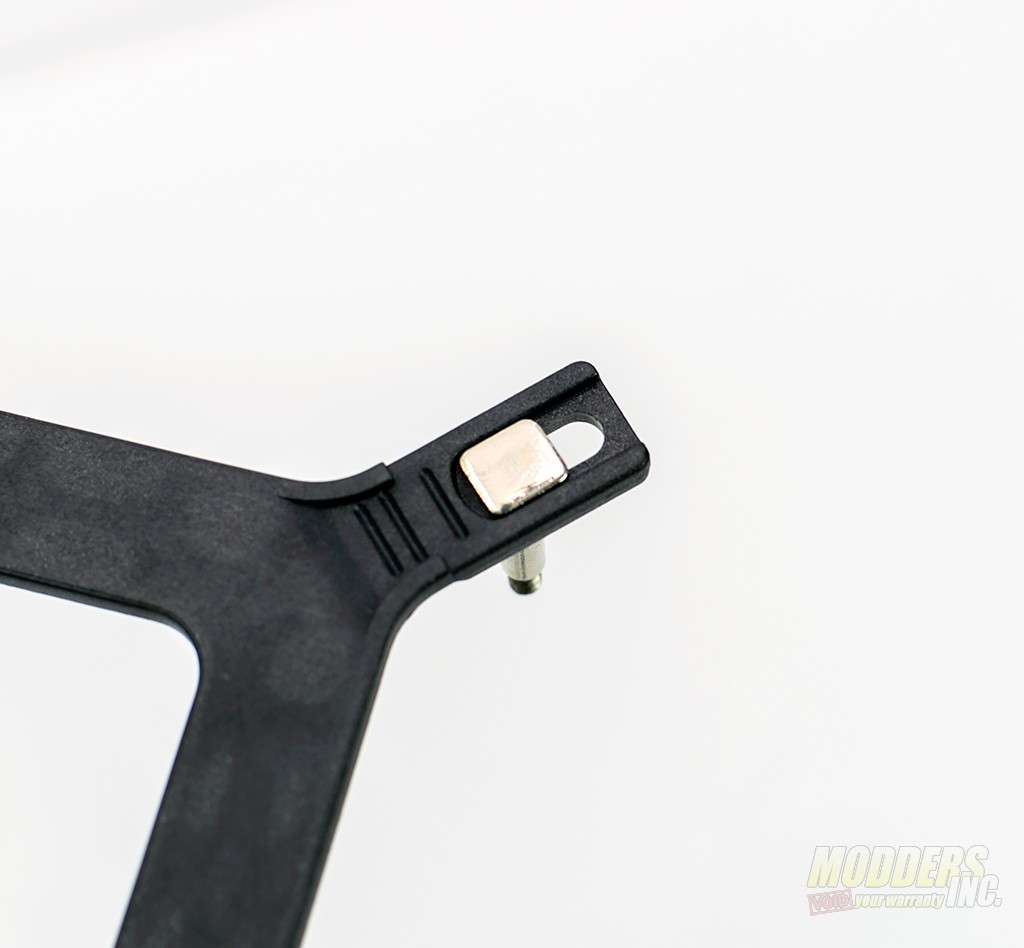
First, you’ll insert the studs into the backplate as shown. There’s a slot the head of the stud sits in and is designed to slide back and forth for the different socket installation.
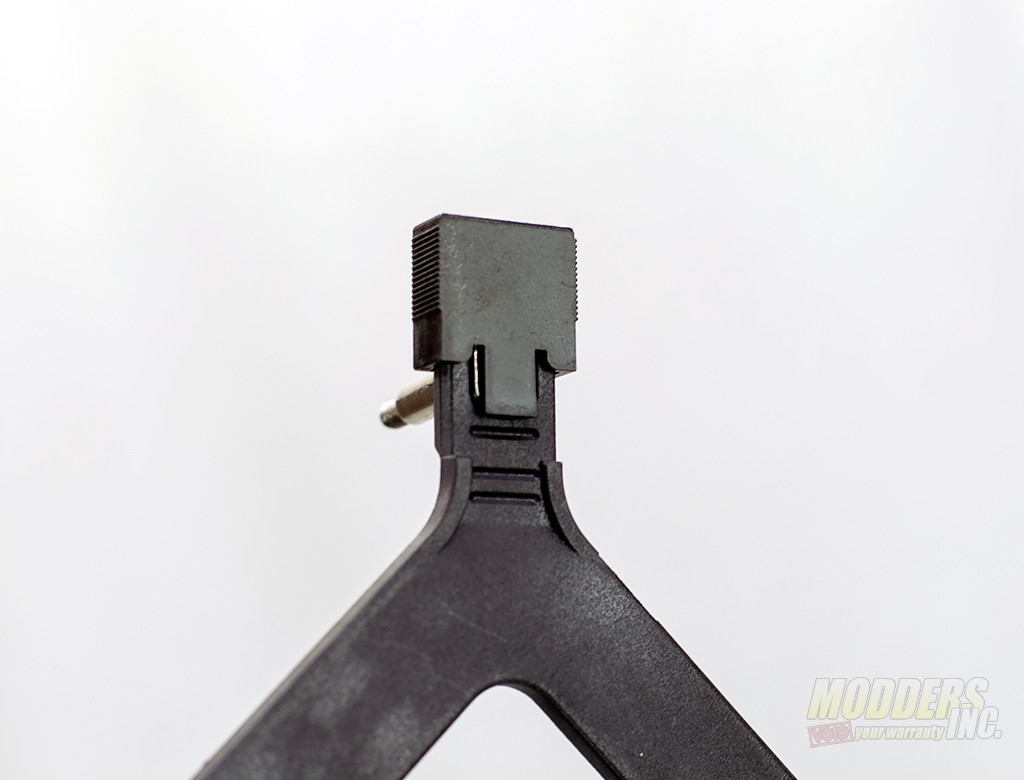
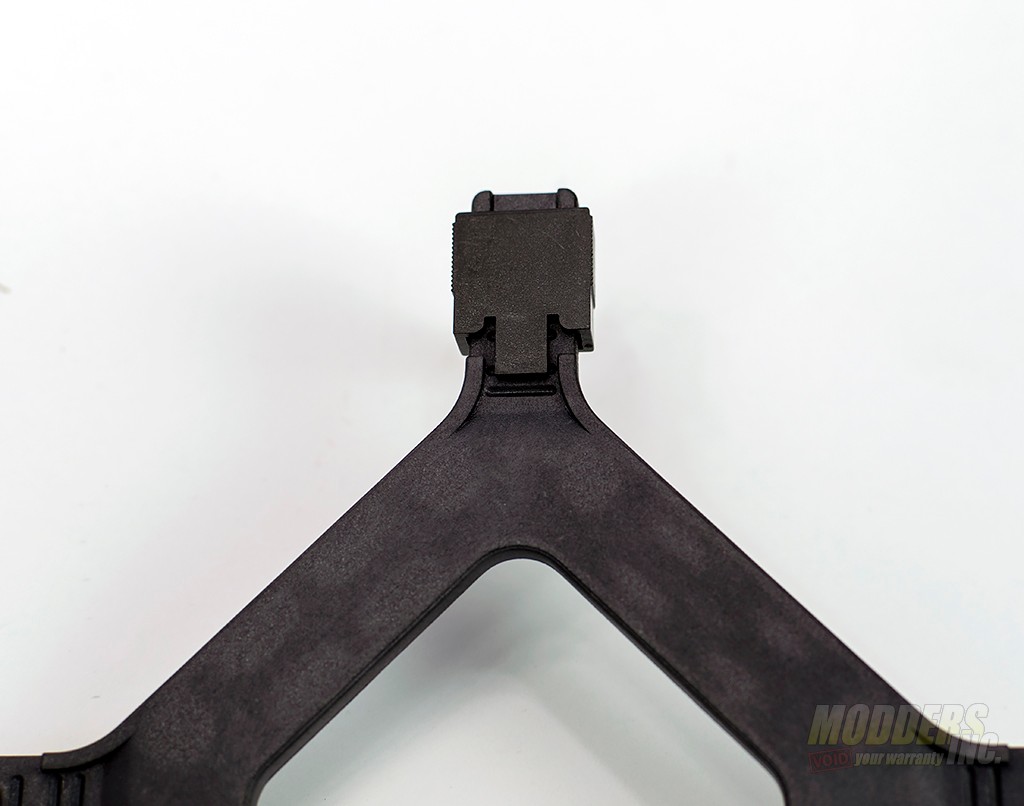
Next, you’ll need to slide the cap over the end of the backplate with the stud installed. There are slots for the “finger” of the cap to snap into. Each slot represents a different socket.
Once the backplate has been assembled, you’ll insert the studs through the cooler mount holes on the motherboard.
Before attaching the pump to the studs, you’ll need to install the provided spacers. They simply slide over the studs.
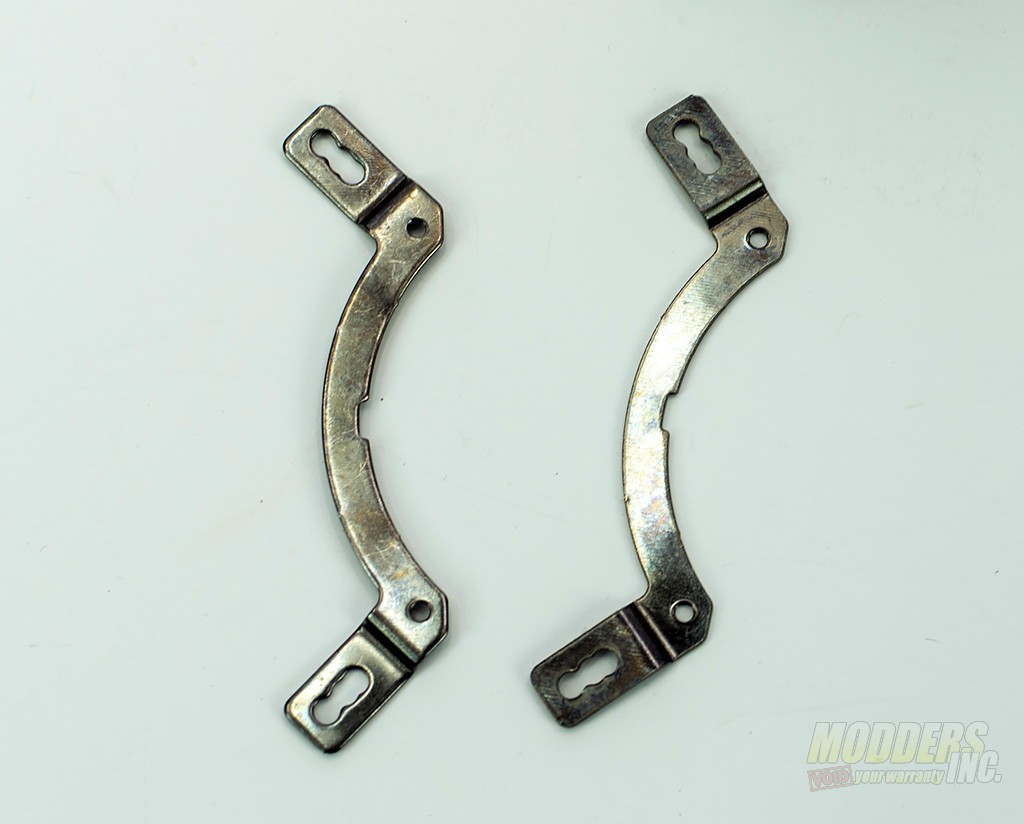
Next, you’ll have to do some minor assembly on the pump. You will need the two Intel brackets and four screws.
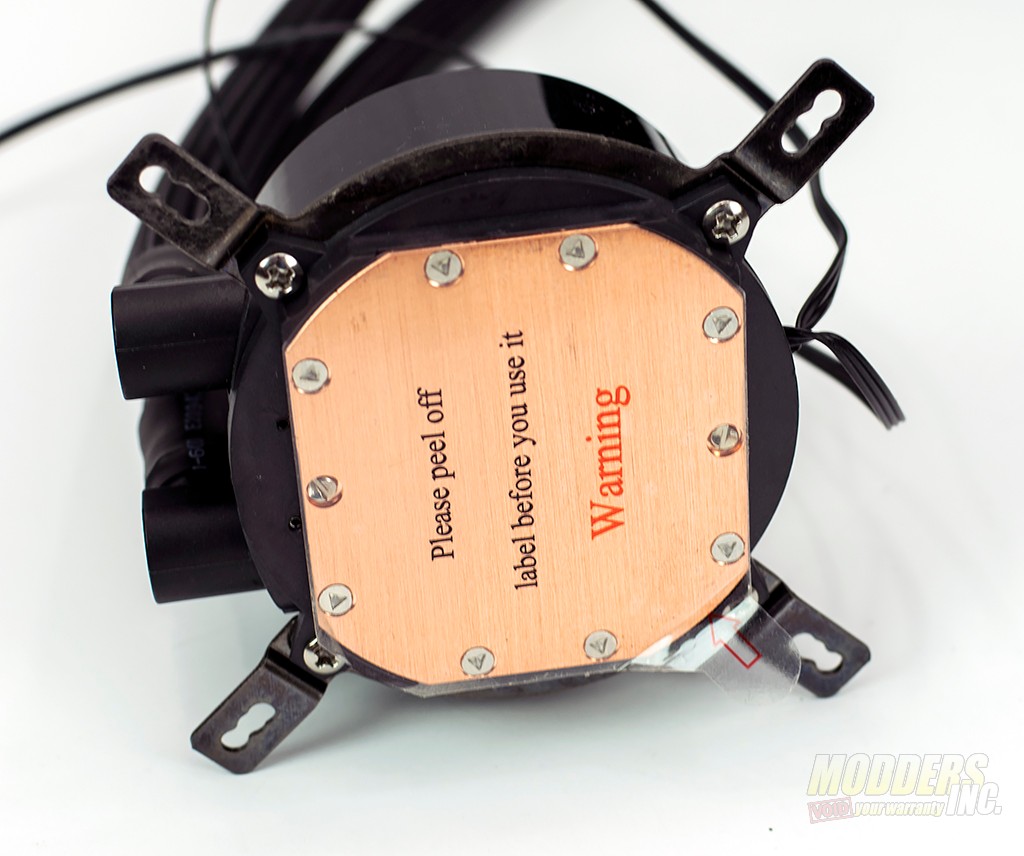
There is a small ring around the base of the pump. Also, notice the brackets are threaded. Simply secure the bracket through the base and tighten down the screws. Once the bracket is attached to the pump, it’s time to remove the plastic from the bottom of the pump, apply thermal paste, set it on top of the CPU, and tighten it down. Use a criss-cross pattern when tightening down the CPU to ensure even thermal paste spread.
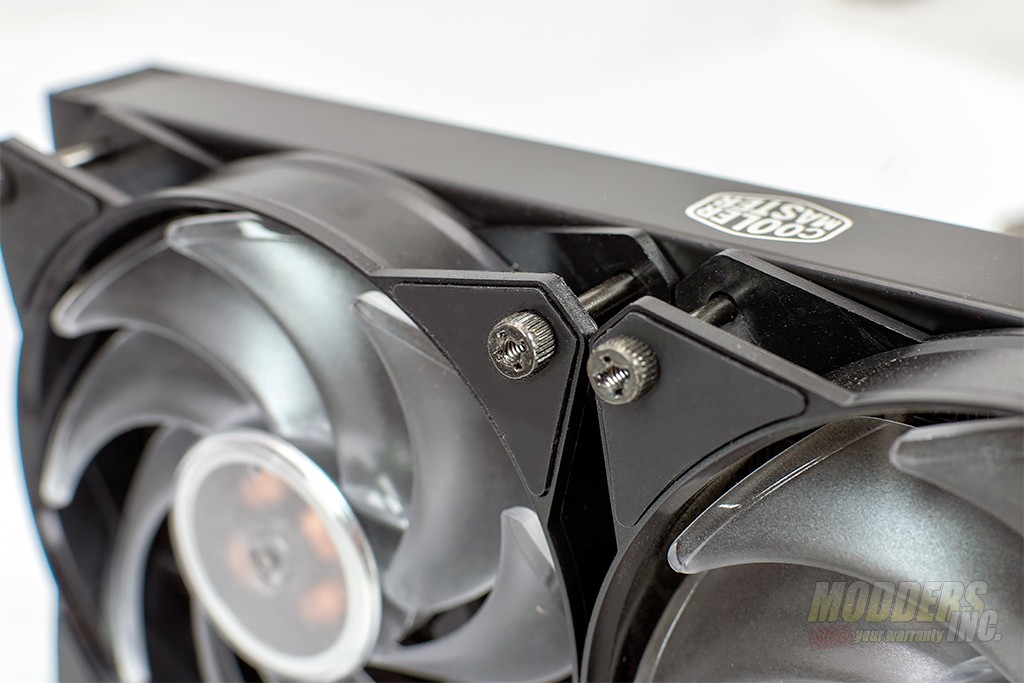
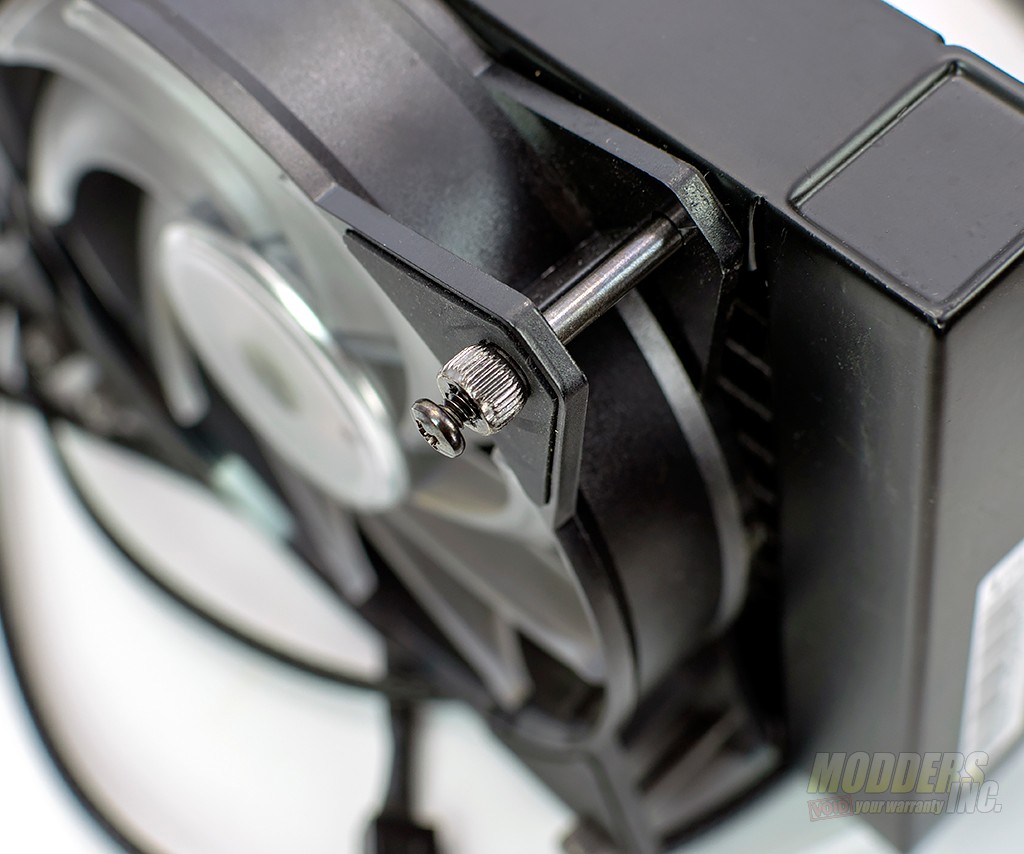
The fans go on next. They are secured with a thumbscrew. This thumbscrew actually is threaded in the center. This allows you to use the fans and attach them to the case if you choose to use a push/pull configuration.
