Cooler Master MasterLiquid ML240R RGB AIO CPU Cooler
A Closer Look Continued
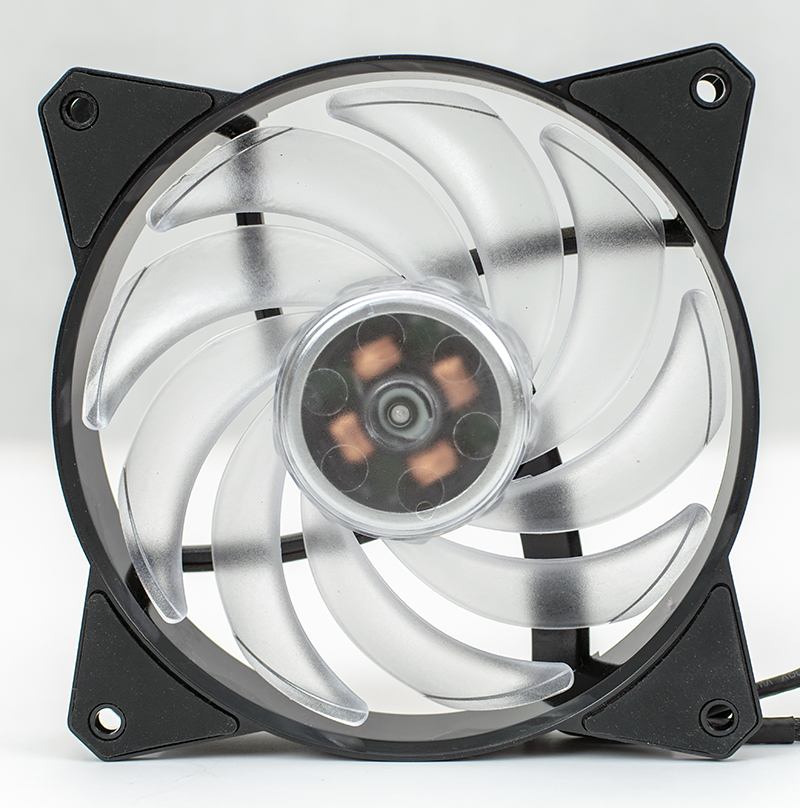
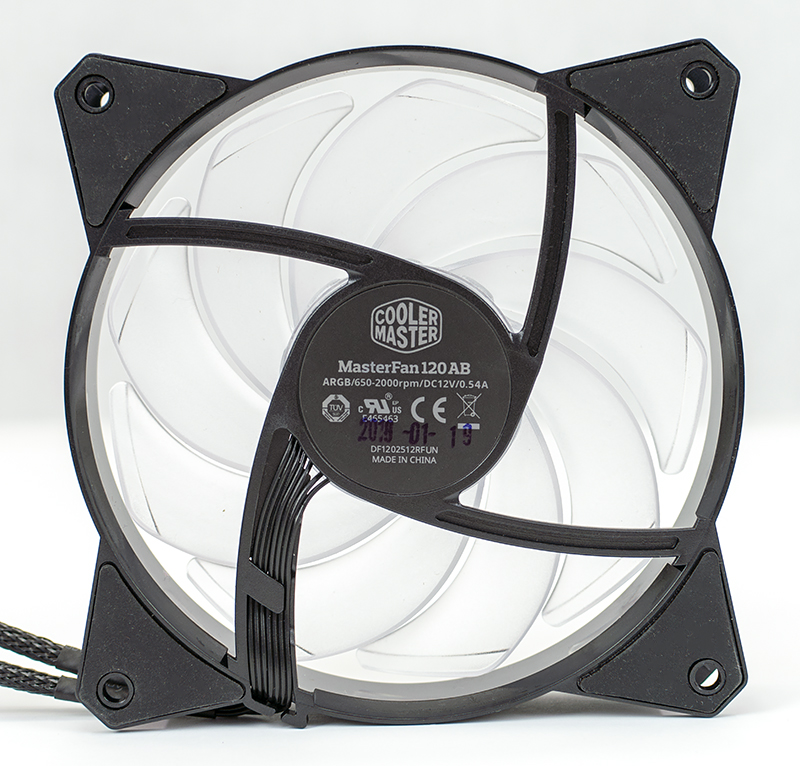
With the main part of the cooler out of the way, we can start to take a look at the additional parts the come with the MasterLiquid ML240R. First up are the fans. While I list them as “additional parts”, in reality without fans, you’re not going to cool much. The included fans are the MasterFan MF120R ARGB 120mm. As you can see from the name, they are 120mm fans and have ARGB lighting. The fan blades are made of translucent plastic. You can see the stator of the electric motor in the semi-clear hub of the fan. The blades are a hybrid design. Cooler Master used a mix of its Jet Engine and Helicopter blade design thus giving the needed static air pressure without a large hit in airflow. On the back of the fan, you can see these fans are rated for 650-2000 RPM. Cooler Master has a stated specification of 66.7 CFM and 2.34 mmH2o with no stated noise level on the CPU cooler page. The fan specification page states 31 dBA.
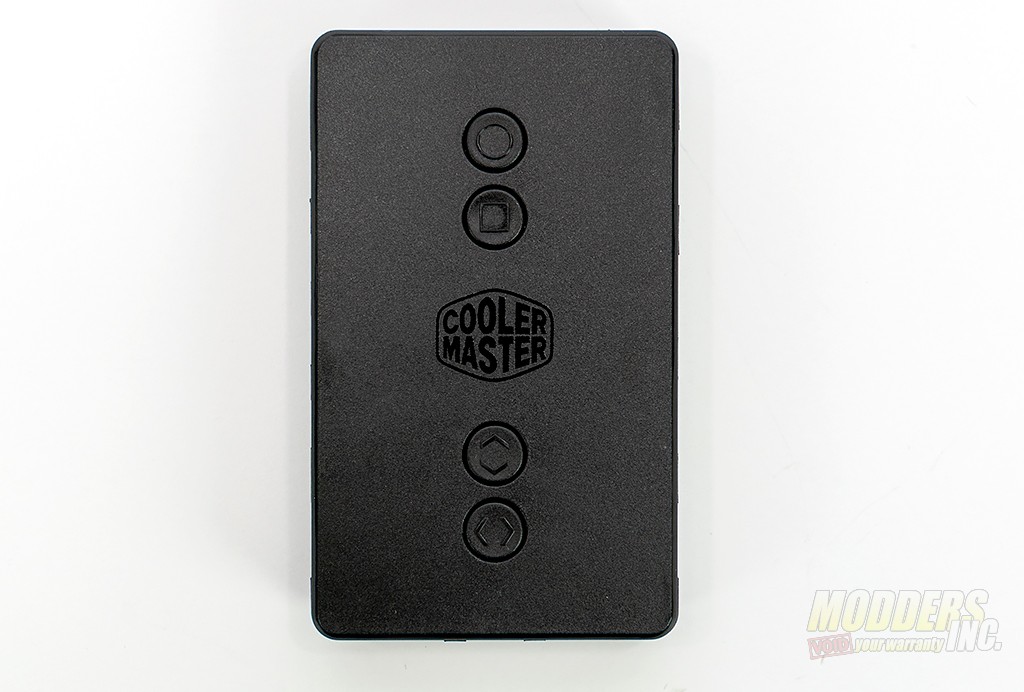
The final piece of the kit is the ARGB controller. Most of the wiring seen in the kit belongs to this accessory. There are four buttons on the top face. Starting from the top down the buttons are LED mode adjustment, RGB & ARGB mode, Color Adjustment, and Lighting Effects Speed Adjustment. The back of the controller is magnetic and does a pretty good job of keeping the controller in place.
The left side of the ARGB controller has five ports. Starting from left to right the ports are as follows; Reserved, Mirage Effect, Case I/O Reset, Motherboard Reset, and an RGB port. Note the bottom port is NOT ARGB. If you plug an ARGB accessory into the port you will fry the LEDs in the accessory. The ARGB cable will fit. Just a warning. In my tests, I used a couple of RGB LED strips from Deep Cool. They worked perfectly fine.
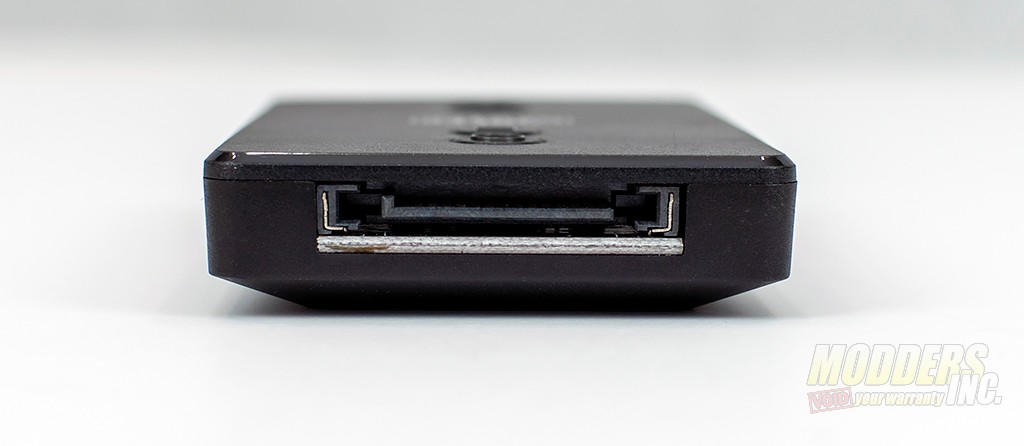
The top side of the controller features the SATA power port. This is pretty self-explanatory and provides power to the unit.
The right side of the device features for ARGB ports.
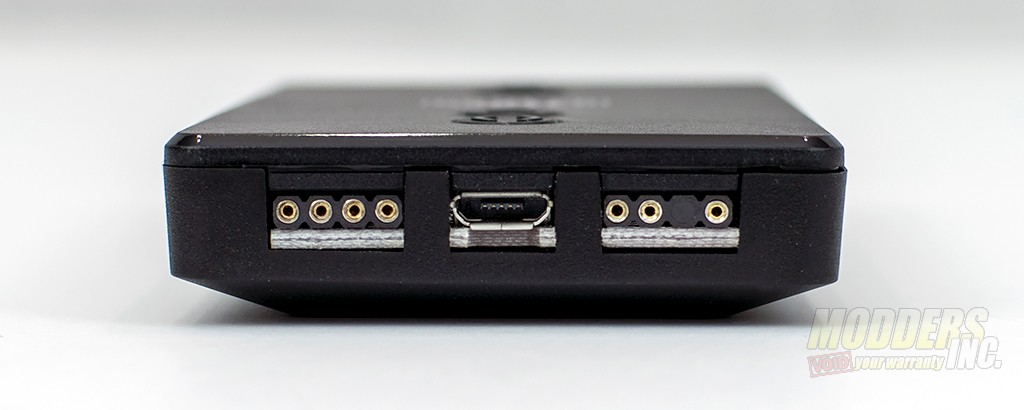
Finally, the bottom side of the ARGB controller that ships with the MasterLiquid ML240R feature three ports, a 4-pin RGB connector, a Micro USB connection, and a 3-pin ARGB connection. These are used to connect from your motherboard to the controller. It acts as sort of a pass-through from the motherboard to the RGB/ARGB accessories. The USB port connects to the motherboard or Cooler Master included an extension, that can be used to run to an external USB port located on the back of the I/O panel of the motherboard.
Cooler Master made a video describing the non-software set up for the controller.
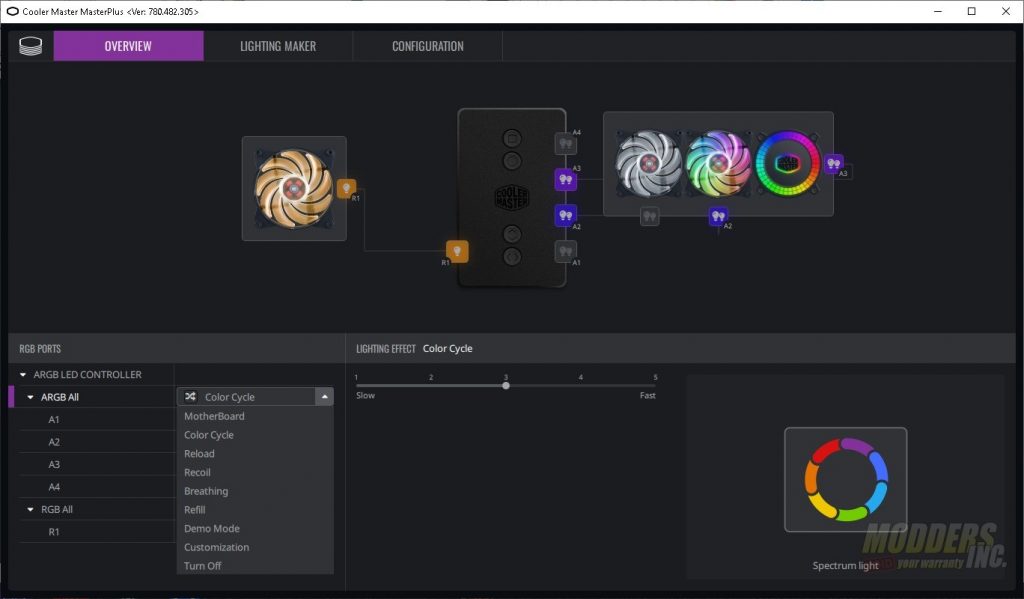
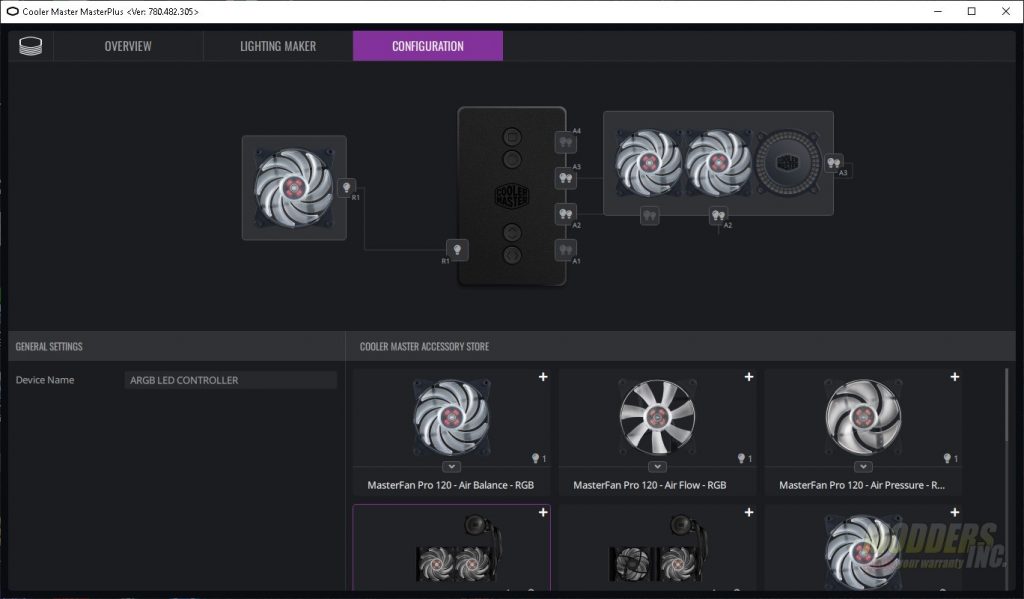
Along with the controller, there’s software. The software only controls the lighting. Once you get the controller plugged in via USB you can bring up MasterPlus. This is where you’ll set the ports for fans and/or LED accessories. You’ll also be able to set lighting effects. The effects that come with the software are Color Cycle (i.e. unicorn vomit), Reload, Recoil, Breathing, Refill, Demo, and off. Motherboard control is an option here as well. Customization allows you to customize every LED on the fans and pump.
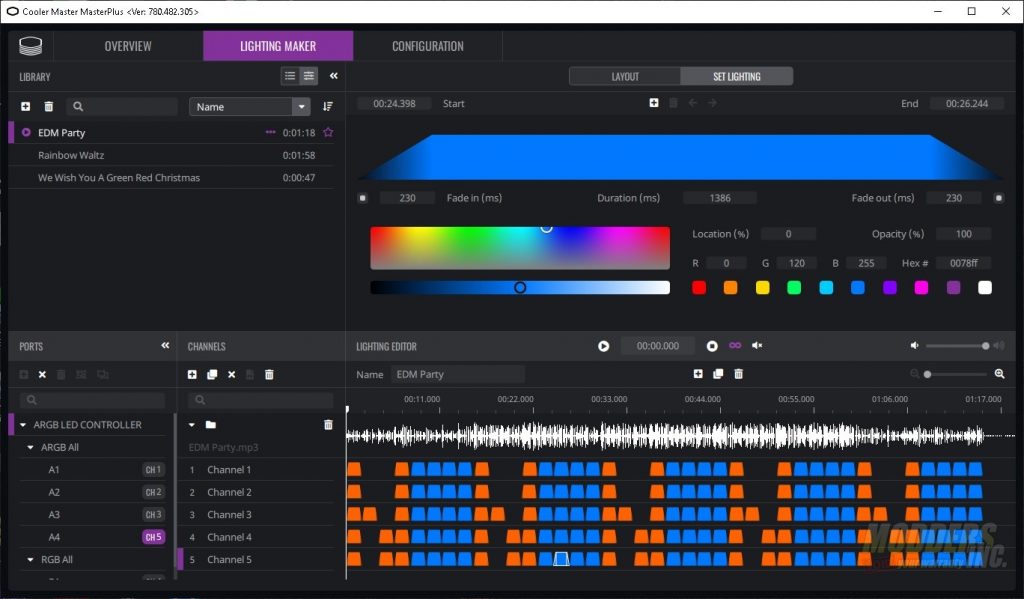
In the Lighting Maker tab, you can set your LEDs to react to music by pre-programming them. Simply insert an MP3 and set your lighting as you wish. There are three built-in demos for you to see how it all operates.
The configuration tab is where you’ll set the port to accessory option. If you have Cooler Master accessories, you can set them here.
