Cooler Master Masterliquid ML240P Mirage AIO Cooler Review
The Master of Coolers does it again!
Installation
Generally, all hardware is tested on my standard test bench that includes a Primochill Praxis wet bench. However, 99% of AIO coolers don’t fit on the Praxis as its really made for a custom loop. So, for this review, testing was done on an open-air test bench. However, it was then installed in an NZXT H340 Elite.
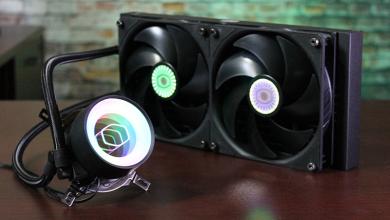
The Cooler Master ML240P Mirage can be used with all modern Intel sockets going as far back as LGA 775 ad all AMD Sockets going as far back as FM1 and AM2. This included Intel LGA 2066 and AMD’s TR4 sockets. Installation was rather simple. Although at first glance, it looked a bit confusing. However, most of that was the ARGB controller and the wires.
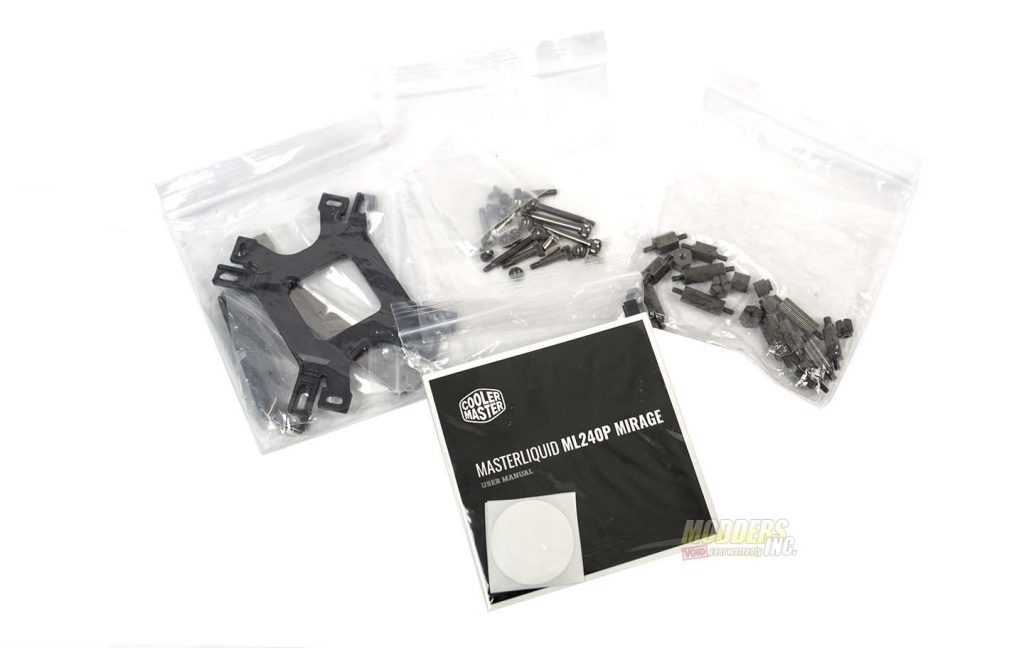
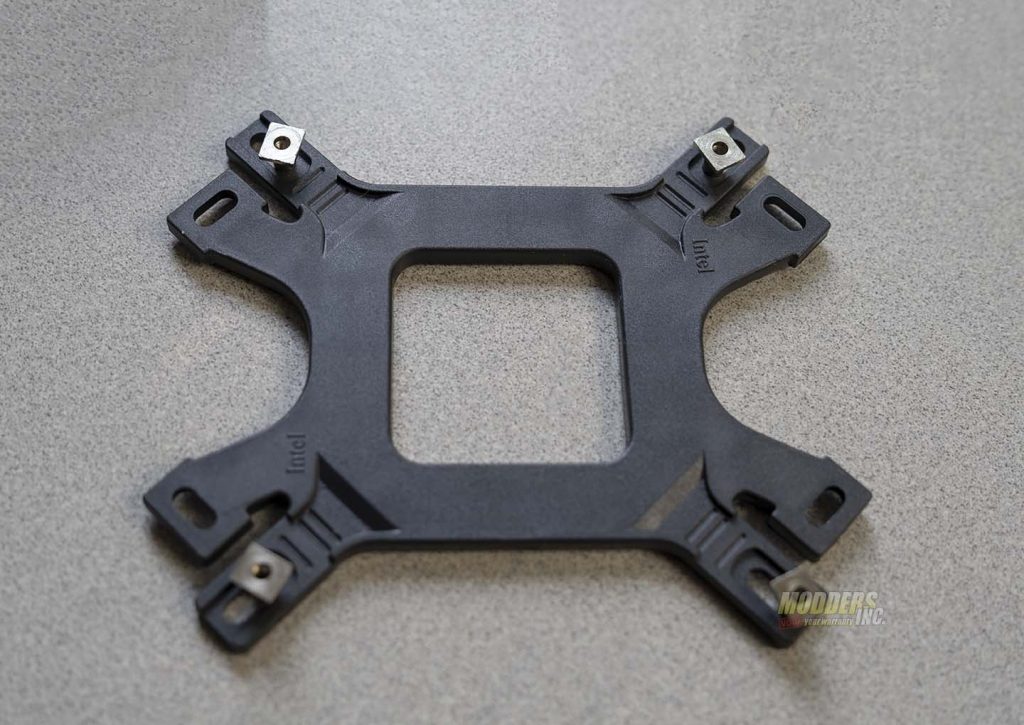
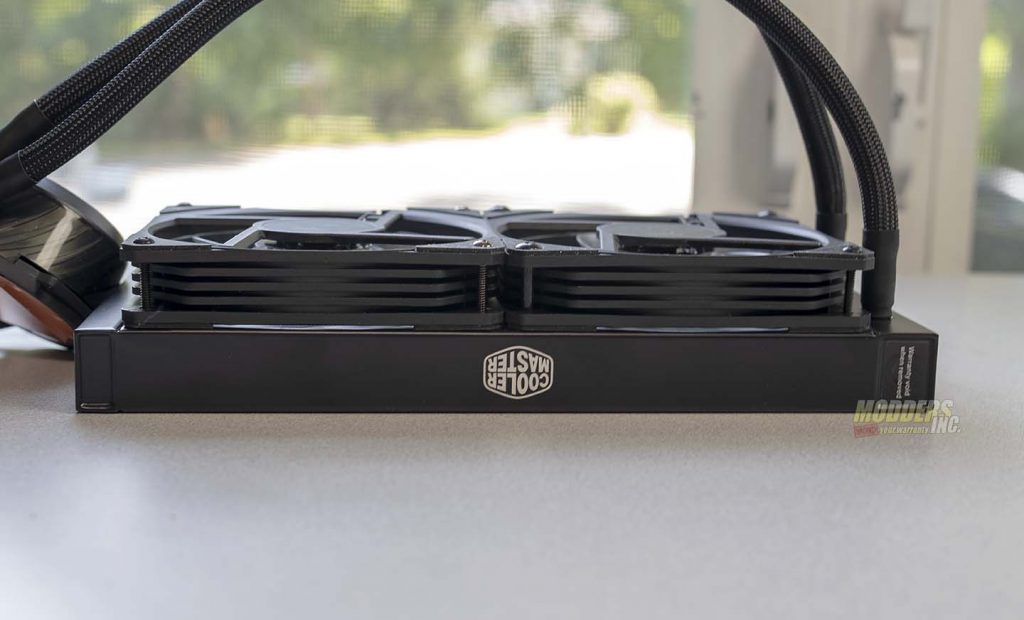
The MasterLiquid ML240P Mirage comes with a universal backplate. One side is Intel and the other is AMD. There are two sets of mounting brackets. One for Intel sockets and the other for AMD sockets. There are different sets of mounting hardware for several different sockets. There are also mounting screws for both the fans and the and the radiator. However, our sample only had enough screws for one fan to be mounted to the radiator. Last, there is an installation guide, warranty information and my personal favorite, two stickers.
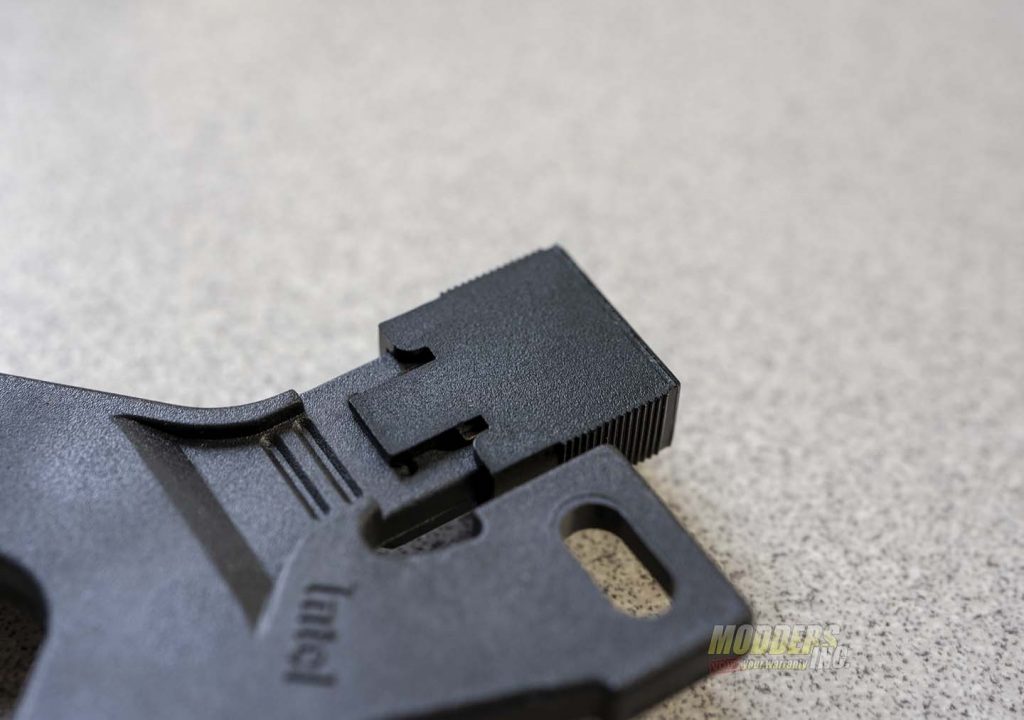
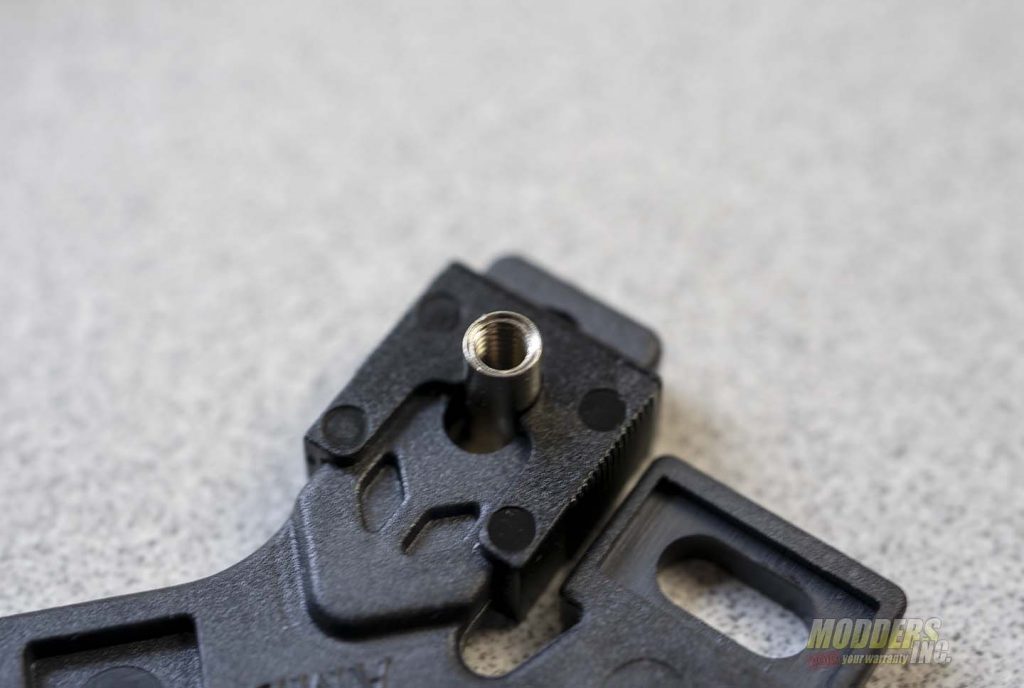
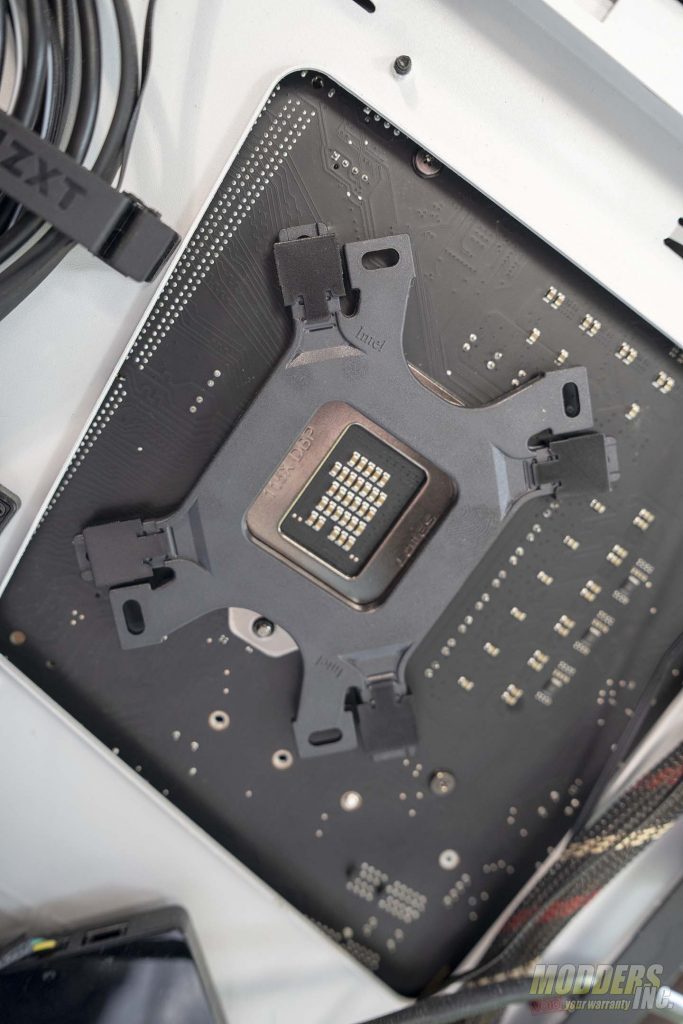
The first part of the installation process is setting up the backplate. There are standoffs that sit in the holes on the backplate. The plastic clips affix the standoffs to the backplate. The backplate itself has three grooves for the clips to snap into. One for LGA 775, one for LGA 1366 and the other for LGA 115X sockets. The middle grove is for the LGA 1151 socket on the Z370 Gaming 7 we used for this review.
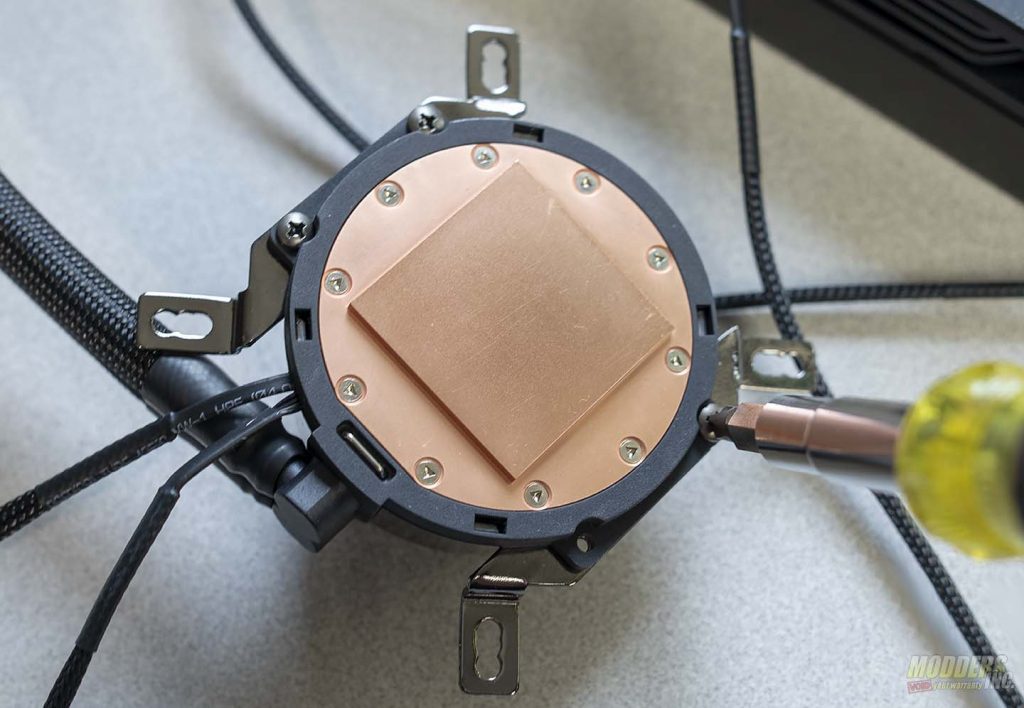
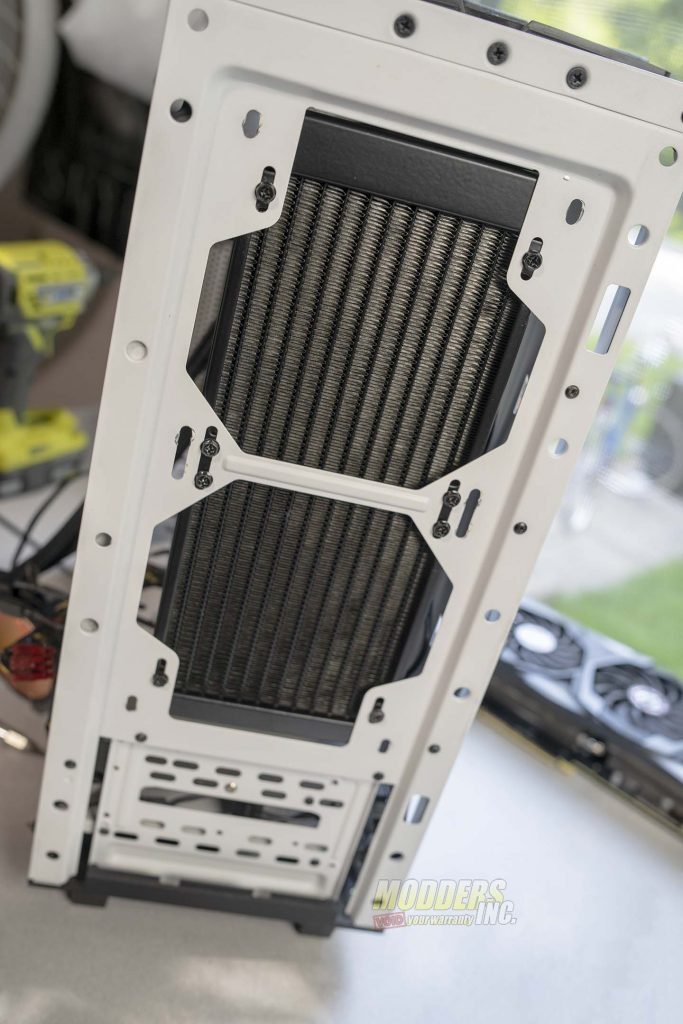
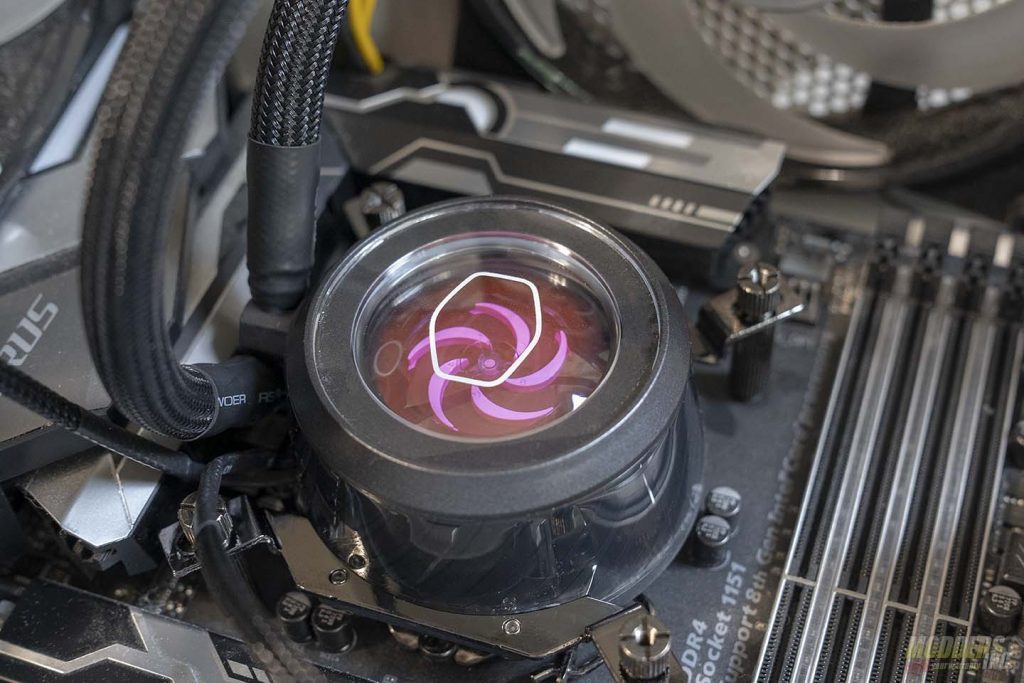
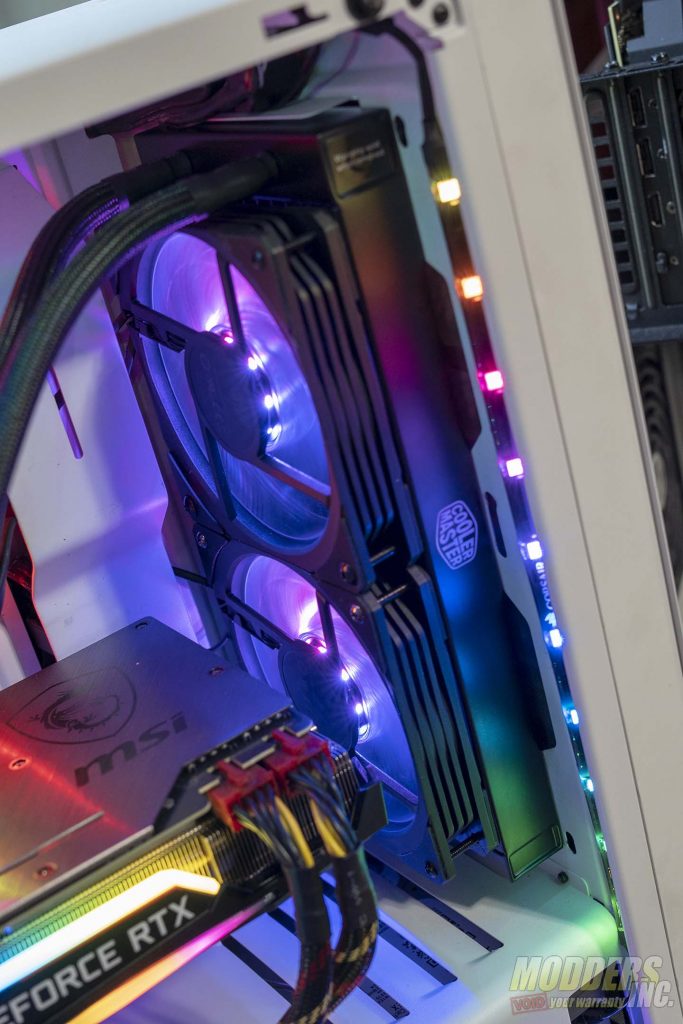
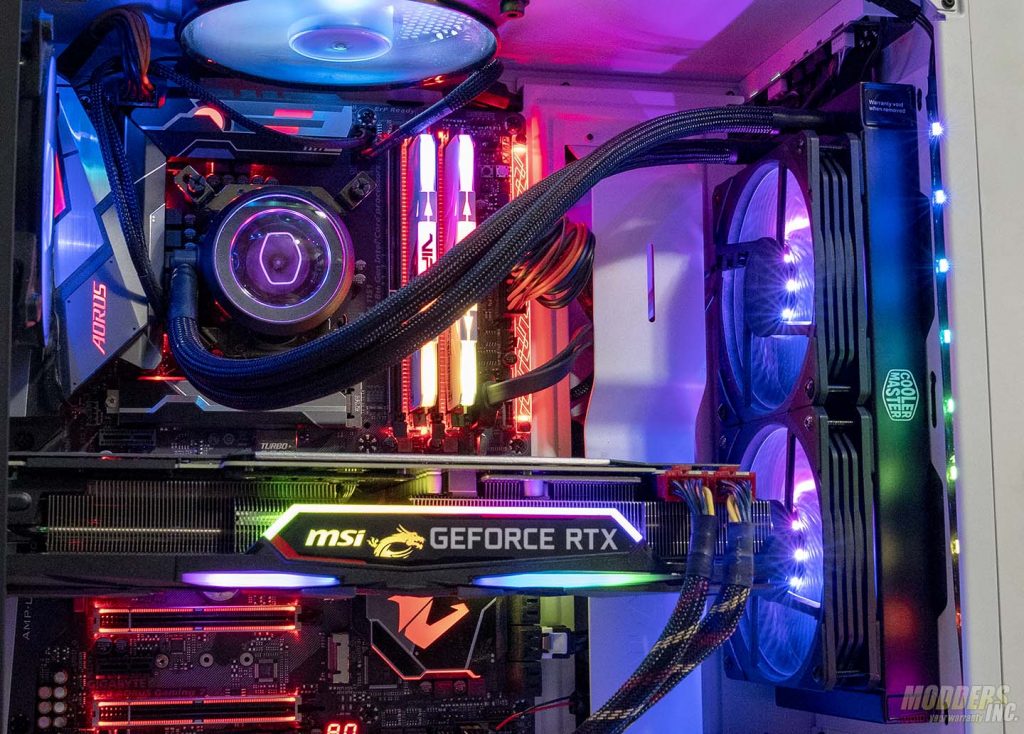
Next step, we attached the mounting brackets for Intel consumer sockets to the pump and block combo. Then we attached the fans to the radiator and mounted it to the case. Since we were using the H340 Elite, the radiator had to be installed on the front of the case.
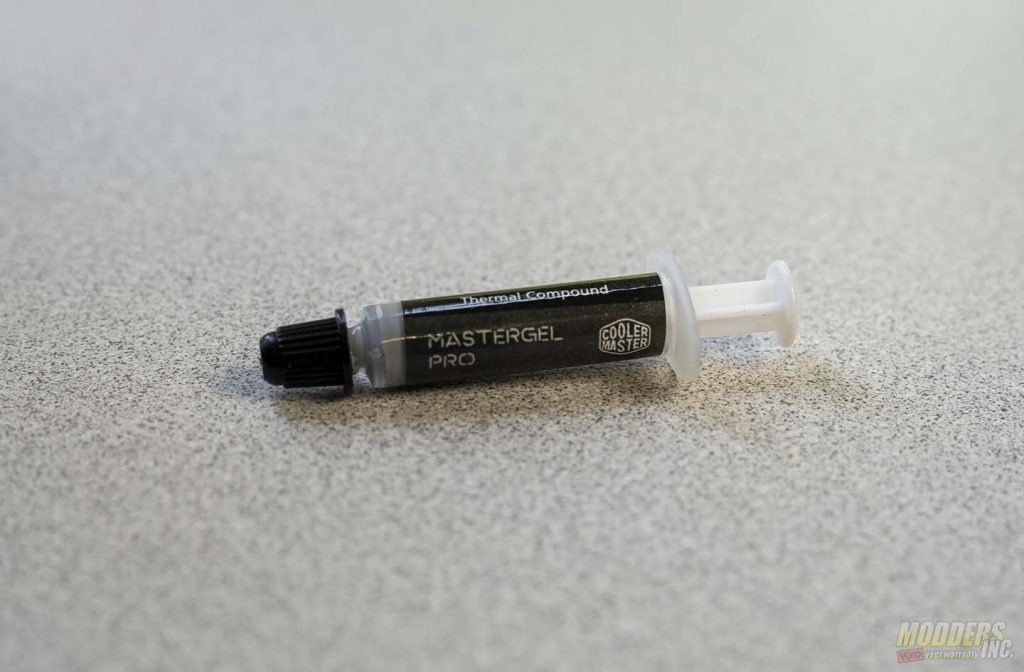
Once the radiator was installed, we attached the back plate to the motherboard using the proper hardware. Then, using the included MasterGel Pro thermal paste, installed the pump on the I7 8700k used in this review.
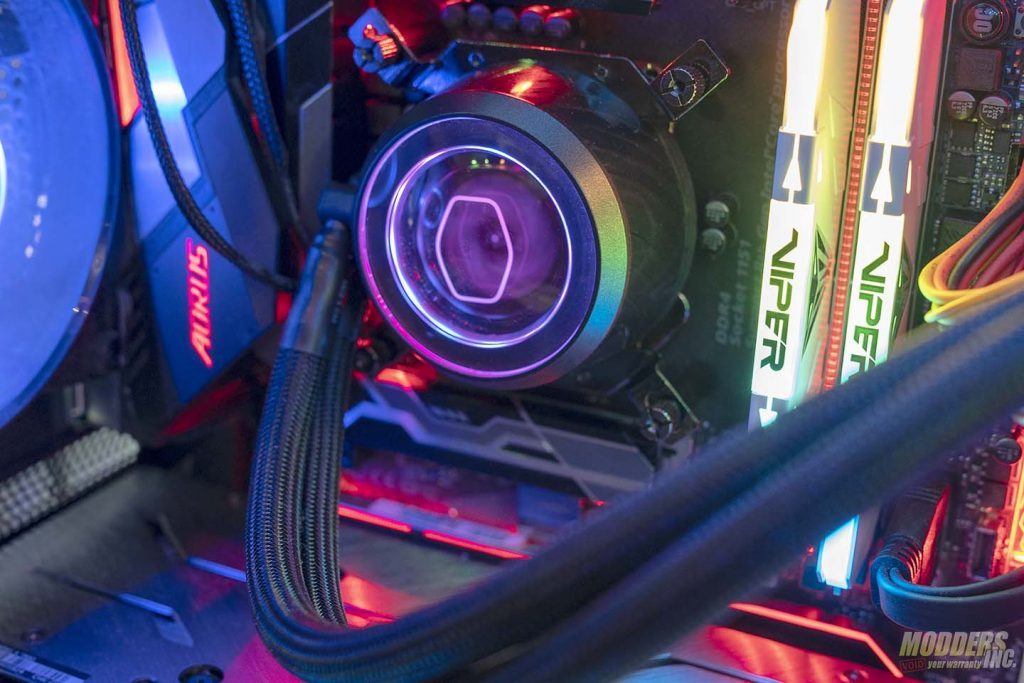
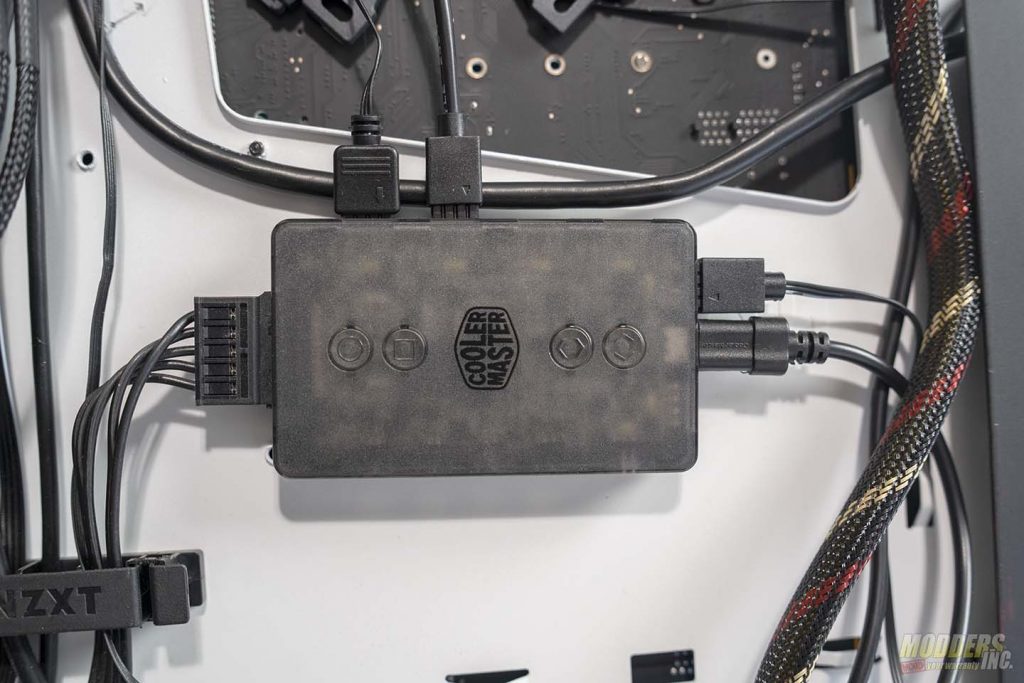
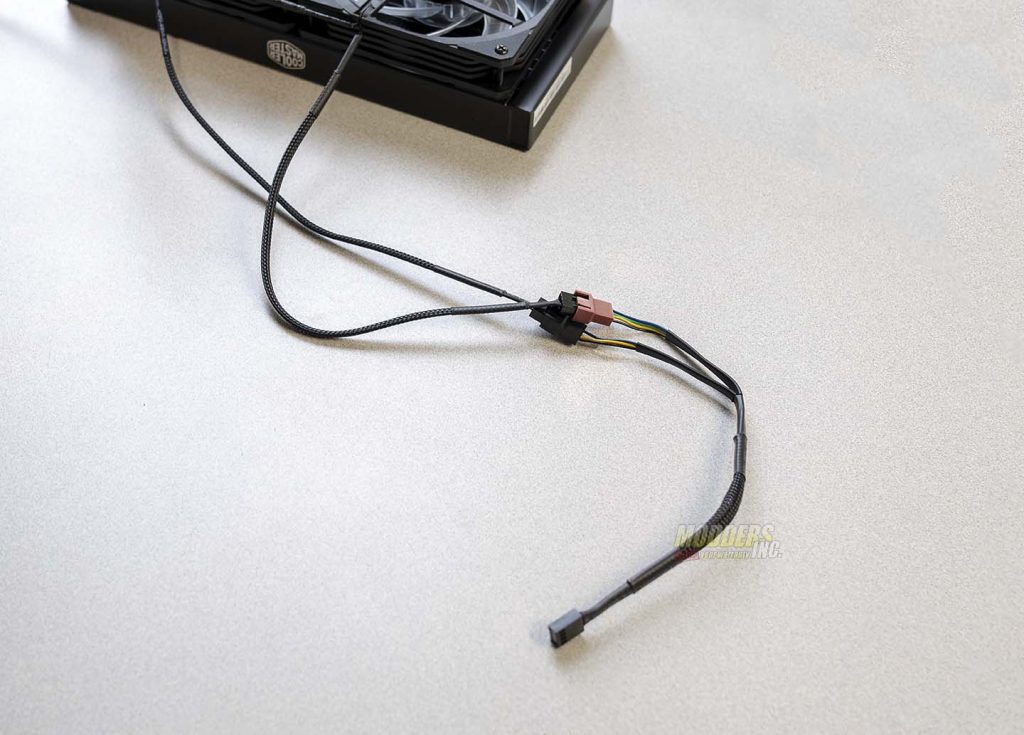
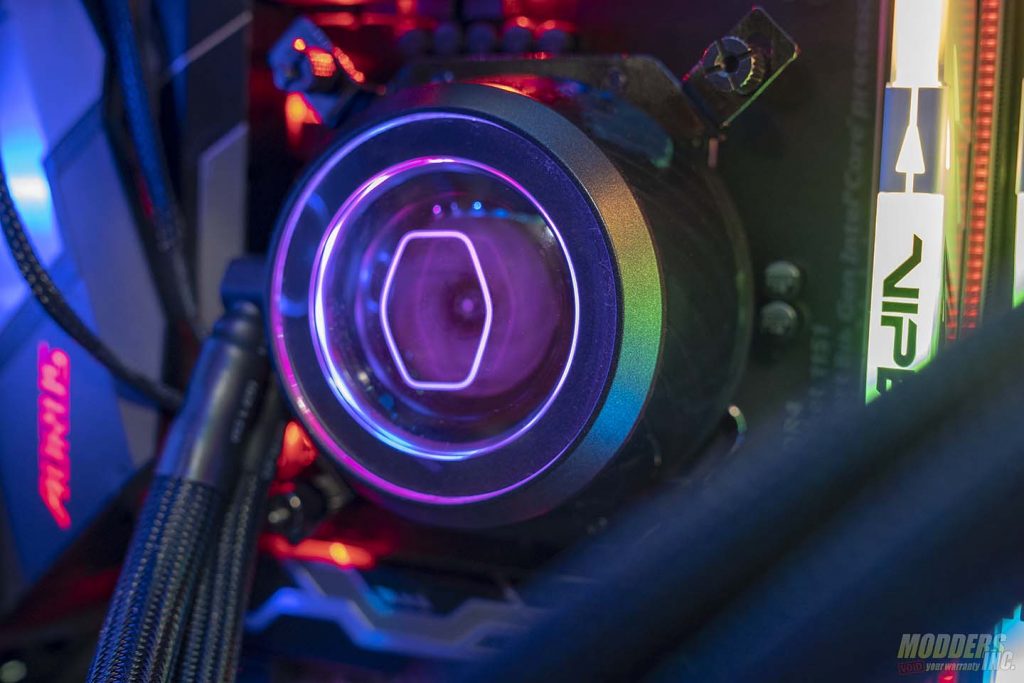
The last step in the installation process was to install the ARGB controller with its rat’s nest of cables. That being said, it wasn’t hard to install, once the cables were separated. But there was still a fair amount of cables. This did make cable management a bit more difficult than necessary. However, the end result was worth it. Aesthetically, it looks great. One thing that really did help in the cable management process was the caps that snapped over the RGB connectors. They not only looked good, but the prevent the RGB connectors from coming apart when you inevitably give up on cable management altogether, cram every single cable behind the motherboard tray and all but duck tape the back panel one. The ML240P Mirage also comes with a fan splitter for the two fans. This is especially useful for someone with a board that has less than enough fan headers on it.



Good review. I could use one of these.