Cooler Master MasterLiquid ML240L RGB Review
A Wallet-Friendly Closed Loop CPU Cooler
Installation
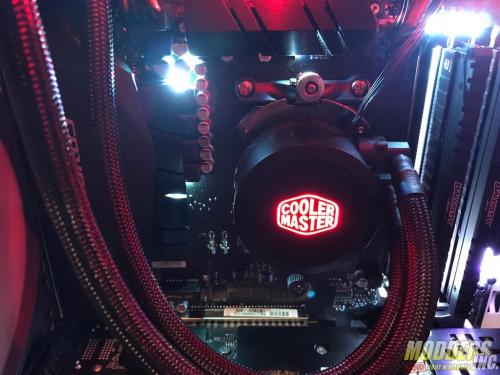
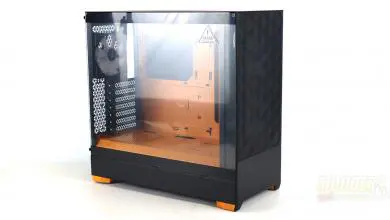
Installing an AIO can often become frustrating, but on our AM4 X370-based system, the mounting hardware was easy to set up and the unit was ready to run in short order. 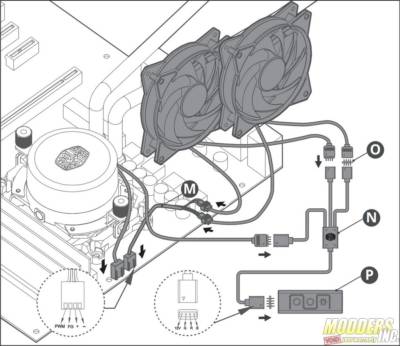 A lot of the difficulty you’ll encounter with installing AIOs is due to poor case design, so choose your enclosure carefully. We used a Phanteks Enthoo Pro Tempered Glass Edition case, which has top and front panels that pop off easily to make installing an AIO easy. Ideally, you’ll want to install the ML240L RGB’s radiator in either of these two locations.
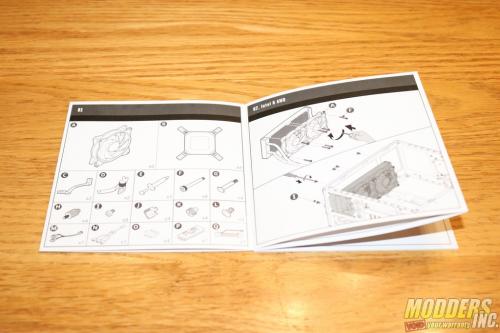
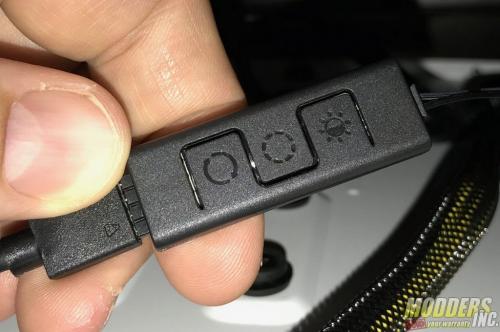
The installation manual is almost completely wordless, so you’ll have to rely on more-or-less straightforward diagrams to put the ML240L RGB into your system. Once installation was complete, the three-button controller is what you’ll use to tweak the fan and water block/pump LED colors. There’s a button that cycles through six effects presets, a color selection button in the middle, and a brightness-level button. This controller is okay as long as you don’t mind just setting up your color preferences and then letting the controller snuggle in with the mess of cables behind the motherboard tray. If you’re finicky with your color choices, however, mounting this controller someplace convenient may be a challenge.
Testing

