Cooler Master MasterLiquid Maker 92 Review: Palm-Sized Liquid Cooling
Installation of the Cooler Master MasterLiquid Maker 92
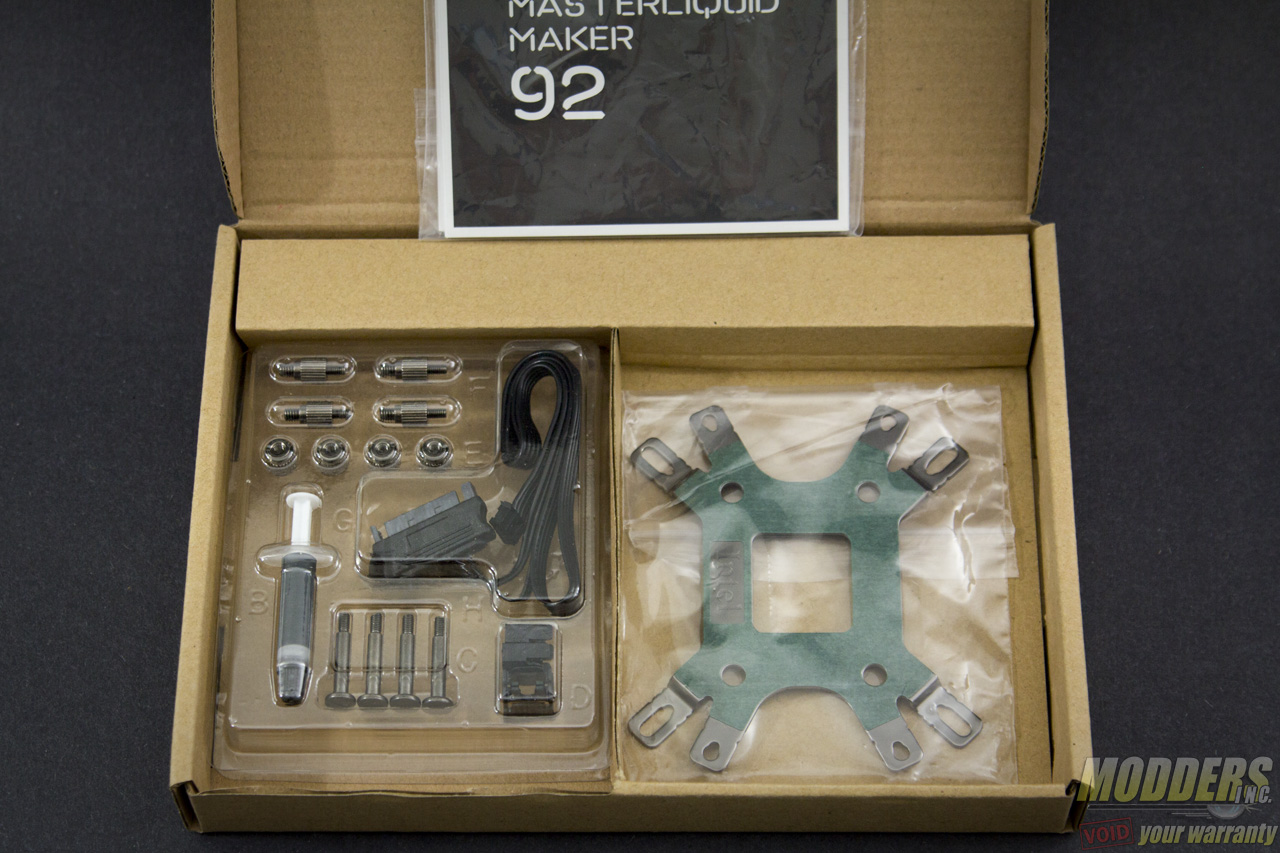
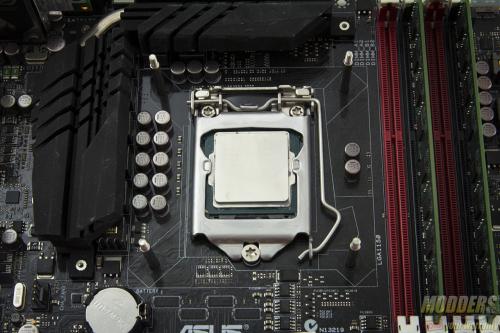
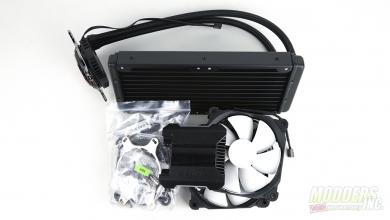
Before proceeding with installation, lay out all accessories and cross reference the package content with the illustrated user’s guide. With the exception of Intel LGA2011 mounting, the Intel LGA 115x installation requires the use of the universal backplate provided. One side is for AMD and one side is for Intel but since the MasterLiquid Maker 92 only officially supports Intel sockets, the other side will not be used. This is the same backplate used with Cooler Master’s other liquid cooling units, hence the shared design.
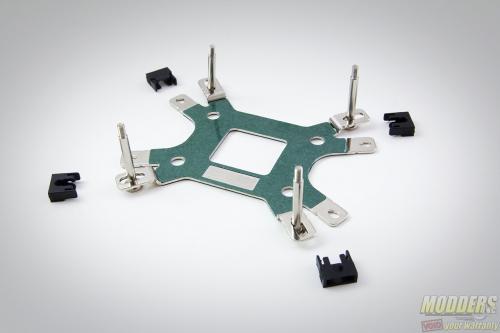
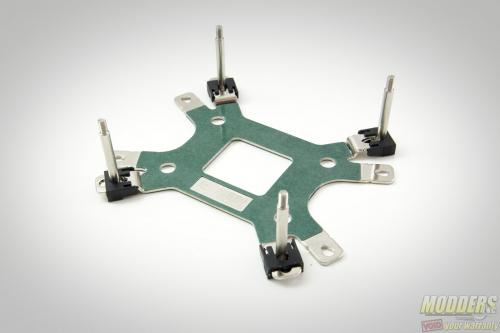
First, the mounting posts must be assembled at the tip of the corresponding mounting hole and it is made up of the metal post and the plastic lock that holds it in place. If you find that the mounting post is not fitting correctly through the motherboard mounting hole, make sure that the post and the plastic lock is secured completely with no gaps on the edge.
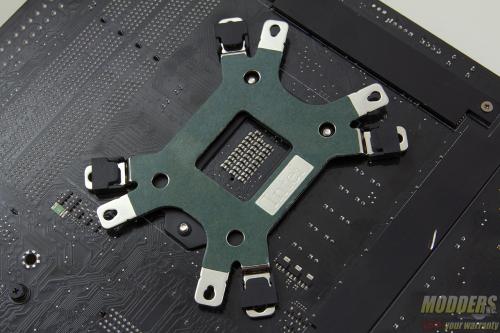
With the backplate assembly done, it can be put in place on the motherboard and it should be snug enough to hold in place even on a vertically mounted motherboard. On LGA2011 systems, instead of this backplate assembly, users simply just need to install the LGA2011 stand-offs instead. The brackets are already pre-installed so after the stand-off assembly is completed and in place, the next step is just attaching the MasterLiquid Maker 92 to the motherboard.
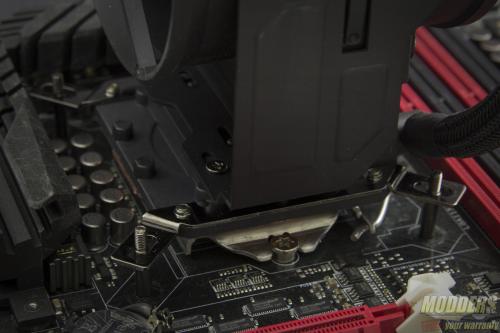
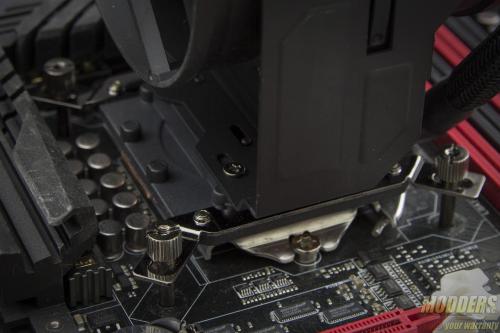
Remove the plastic covering the contact surface, apply some thermal compound and then place the MasterLiquid Maker 92 with the mounting bracket going through the protruding stand-off mounting posts. After it is in place, secure all four posts with the locking nut and tighten partially each corner in a criss-cross fashion so as to evenly distribute weight and pressure on the CPU integrated heatsink surface.
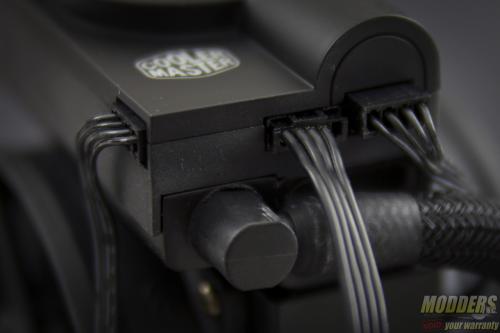
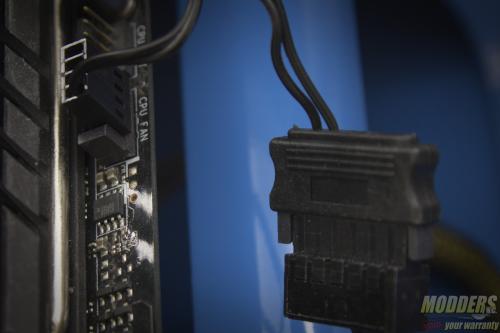
The last step is plugging in the unit so attach the bundled cable into the pump hub on one end and then attach the 4-pin fan header and SATA power connector on the other. The SATA header powers the entire MasterLiquid Maker 92 unit including the fans, the fan headers are for the PWM control from the motherboard so that users can control it instead of running them at 100% all the time.
Clearance Compatibility
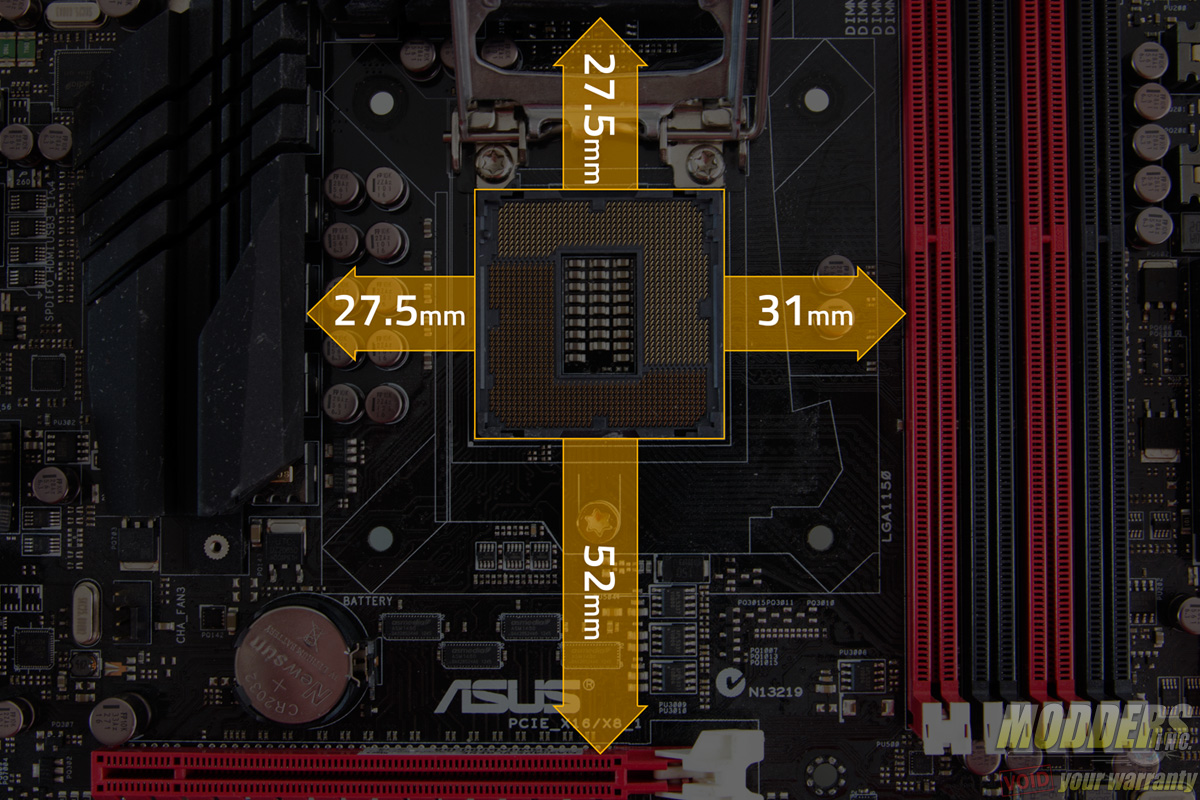
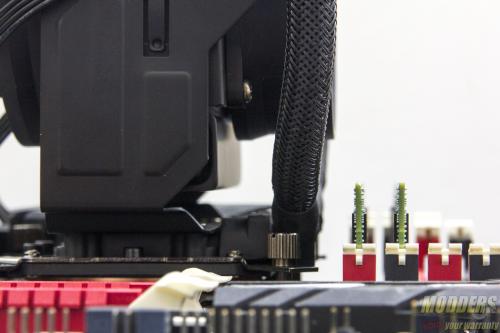
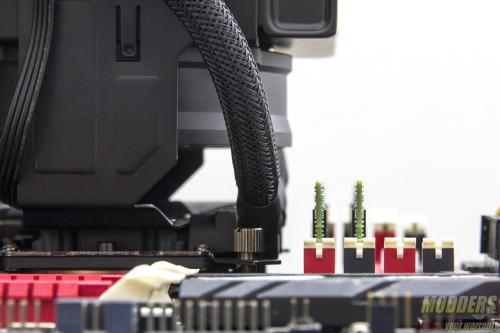
The test motherboard is an ASUS Maximus VI Gene micro-ATX motherboard and measuring from the edge of the socket (the gray plastic part), there is a 31mm gap between the CPU socket and the first DIMM slot as well as a 52mm clearance between the CPU socket and the topmost PCI-E x16 slot where the graphics card is installed.
Both vertical and horizontal mount provides unobstructed clearance for all four DIMM slots to be populated. On the horizontal mount, the first DIMM slot has an additional 36.75mm of clearance from the top of an installed bare PCB DDR3 module until it gets obstructed by the edge of the MasterLiquid Maker 92. The tallest DDR3 module I know of is the first-generation Kingston HyperX Predator DDR3 kits which stand 53.90mm tall from PCB contact to heatspreader top so the 66.75mm clearance that the Maker 92 has on the first DIMM slot is not going to be a problem at all.
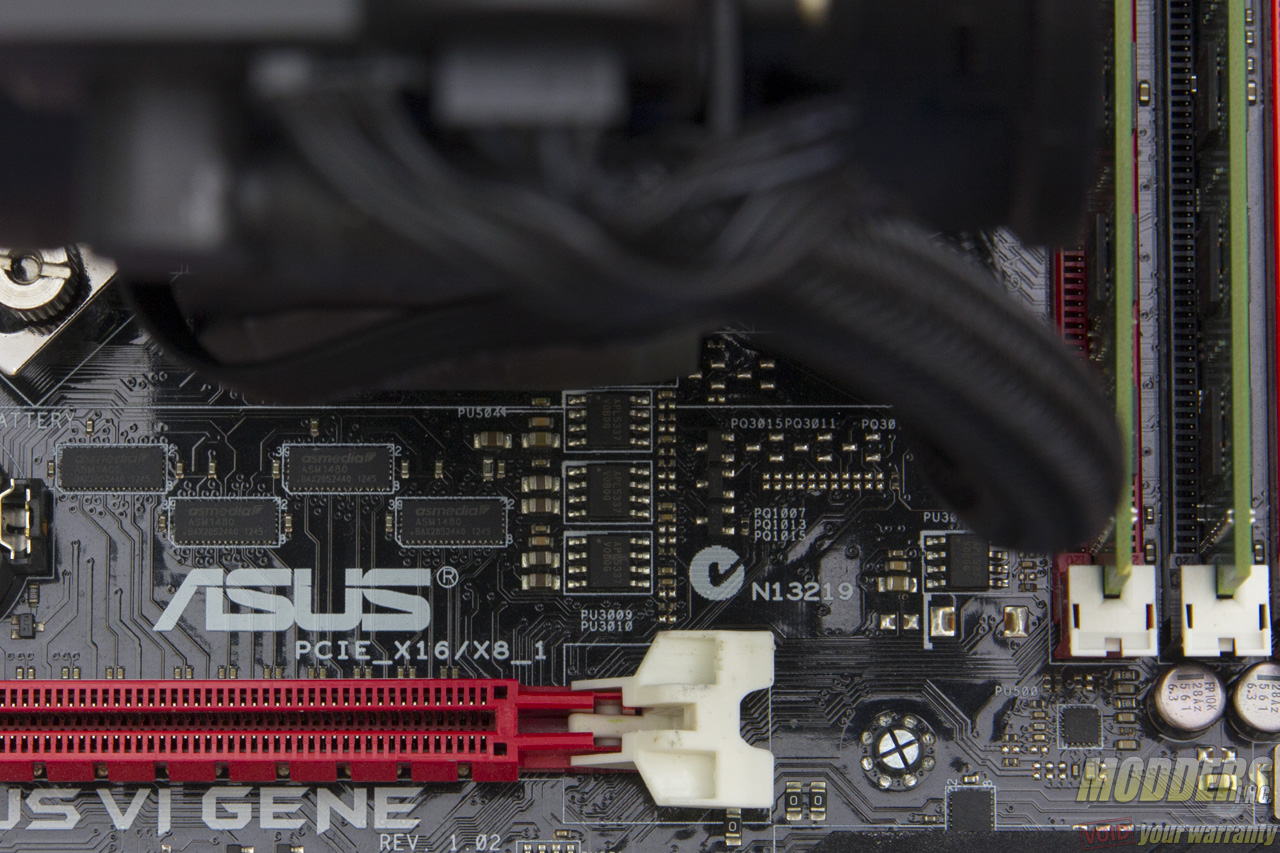
PCI-E clearance is not an issue as well with only the tubes going as far as the top end of the bottom DIMM latch. With a video card installed, users can also easily reach the release latch on the PCI-E slot since there is a lot of space between the AIO and the video card.
