Cooler Master MasterKeys Pro L Keyboard Review: Spectrum Ad Infinitum
A Closer Look at the Cooler Master MasterKeys Pro L Keyboard
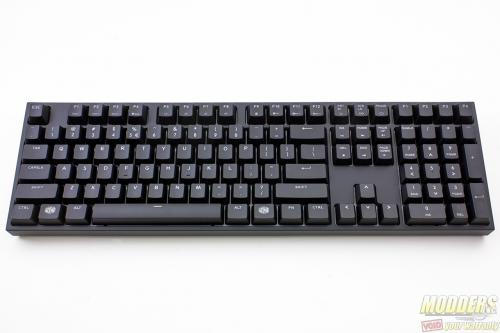
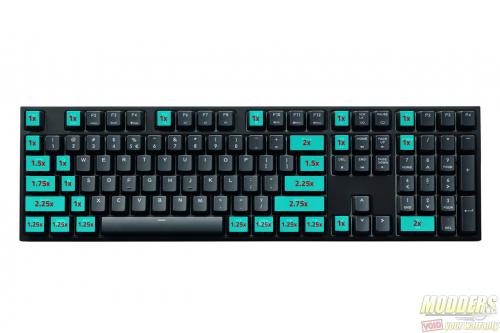
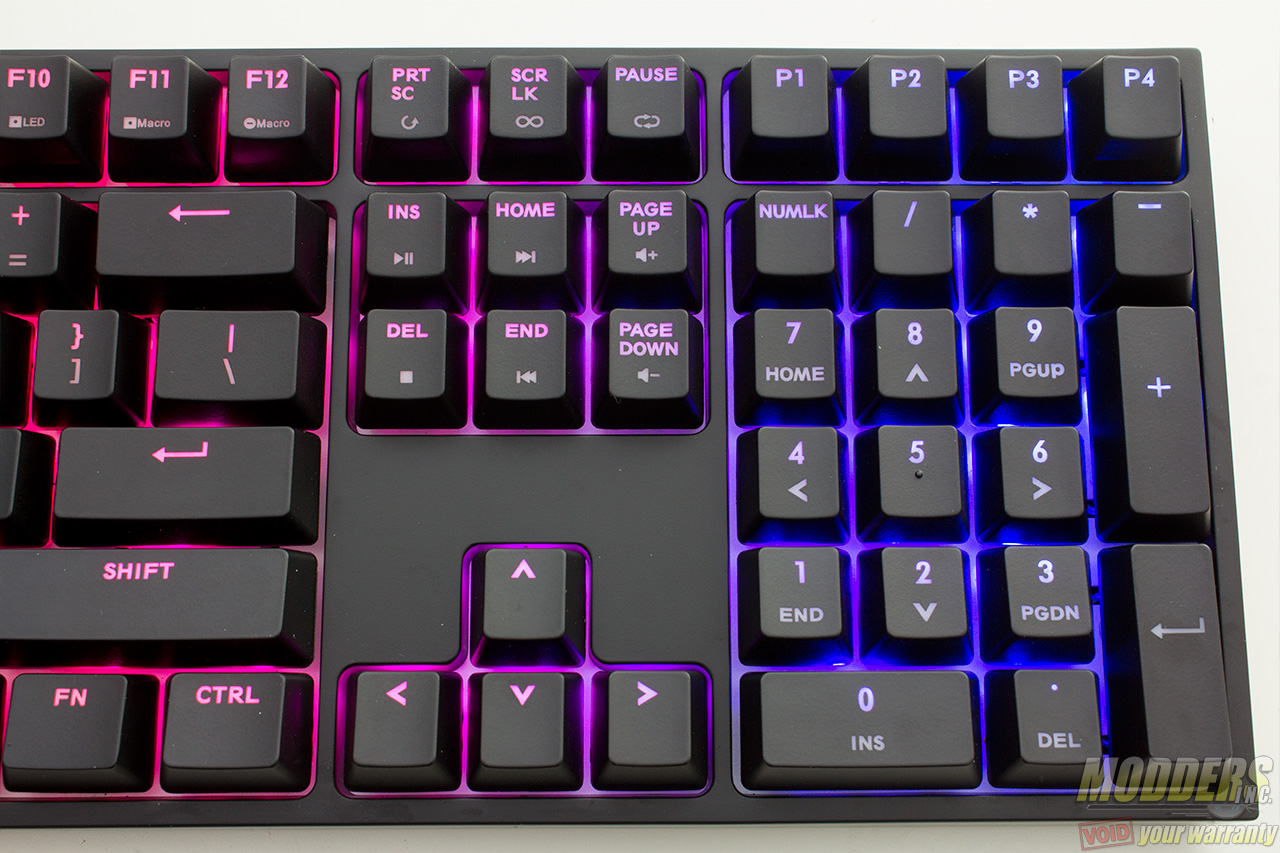
The Cooler Master MasterKeys Pro L follows a similar layout as the QuickFire XTi: A full ANSI 104-key design with four additional keys above the numpad for profile selection. Keycaps sizes are compatible with previous QuickFire Rapid and QuickFire XTi keyboards having 1.25x bottom row so finding custom keycaps is not going to be an issue compared to other Cherry MX keyboards using alternative keycap sizes.
Similar to the QuickFire XTi, there are channels straight and towards the left and right side for routing the detachable USB cable. A detachable cable makes the MasterKeys Pro L easier to transport or mod.
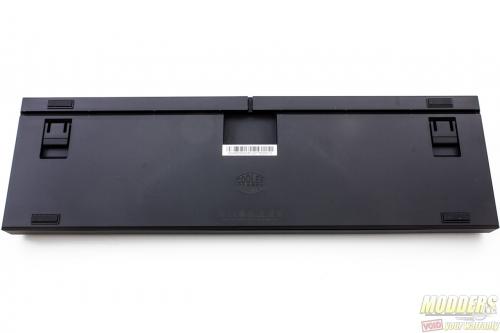
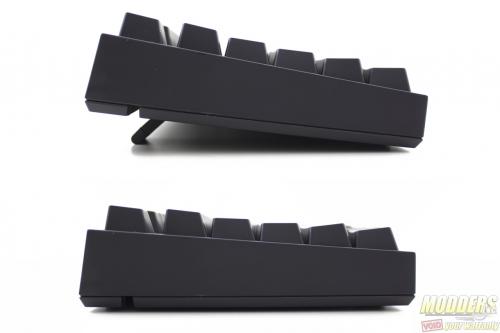
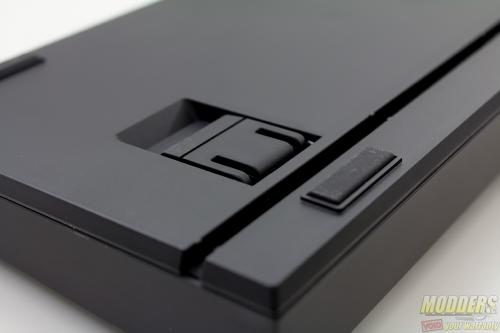
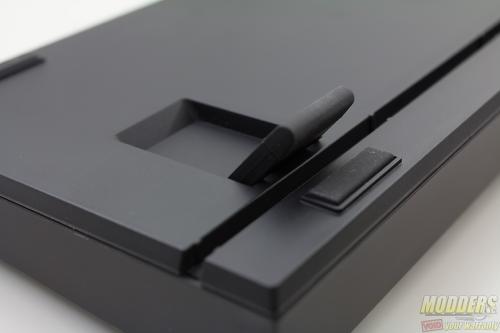
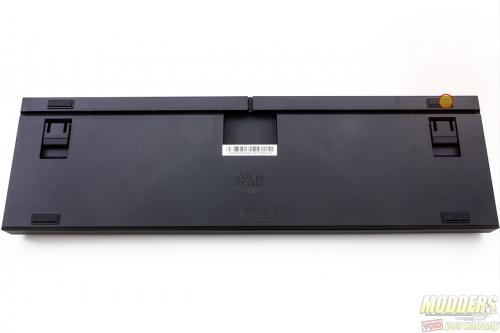
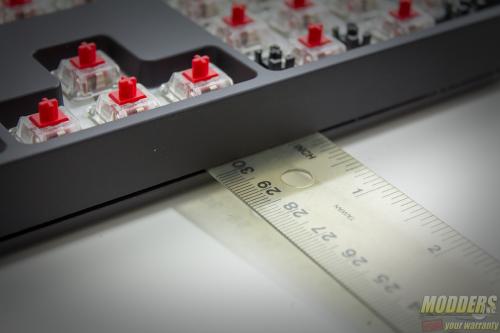
The keyboard can also be raised at the back by 1.6cm so that users can type at an angle. Two legs flip out towards the back which have rubber coated soles for grip as well.
Unlike the QuickFire XTi which was limited to 35 colors, the MasterKeys Pro L sports Cherry MX RGB switches with SMT LEDs that can change various color combinations per key (supposedly up to 16.8M choices) or load several behavioural presets.
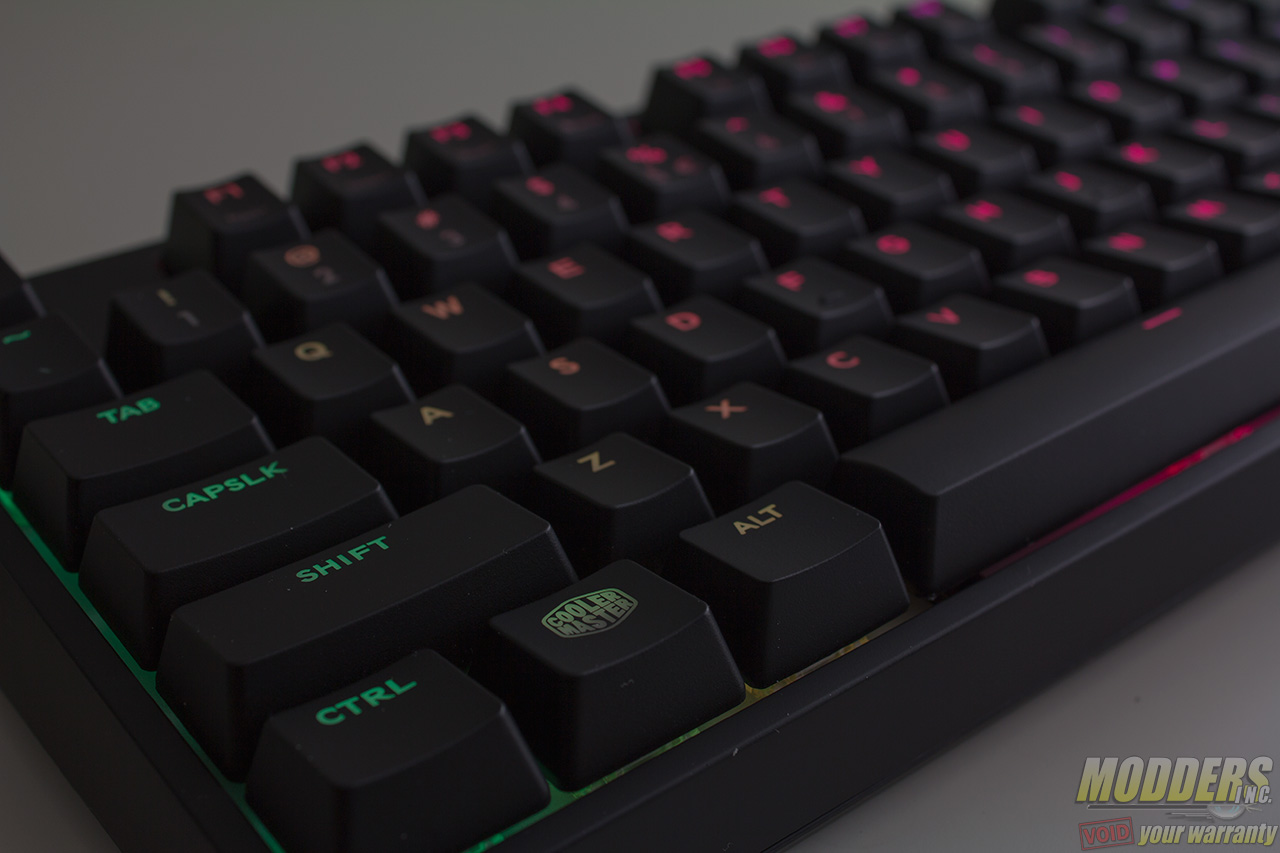
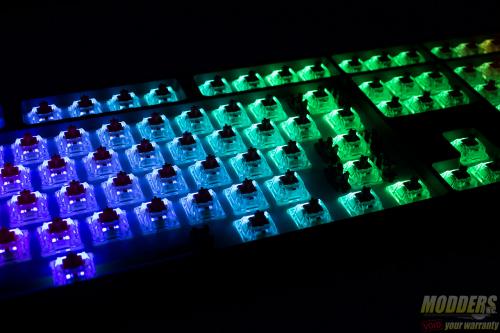
The legends on the keycaps are positioned towards the top where the LED is situated as but the white mounting plate and the clear housing of the switches allows for greater light to shine from the surface mounted LEDs compared to other RGB LED keyboard solutions.
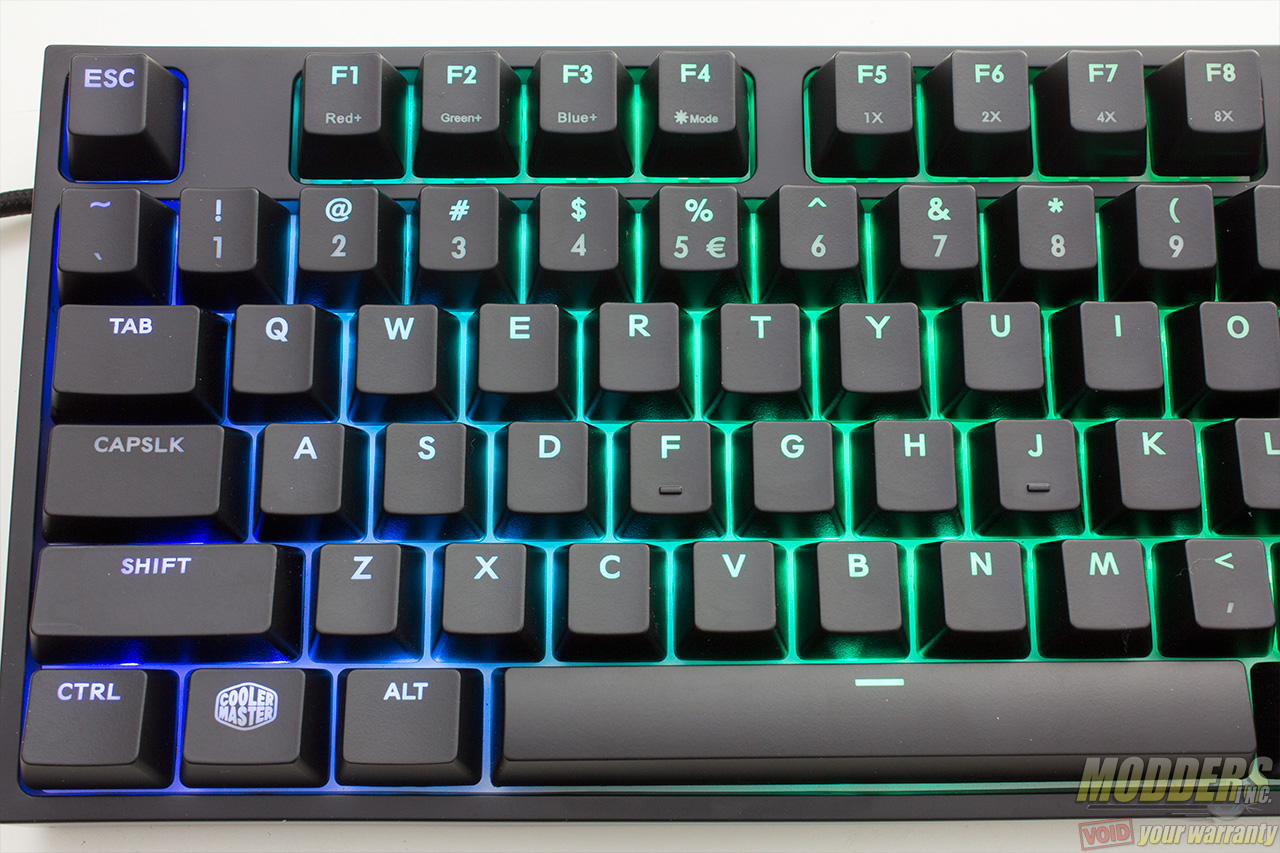
Secondary features are accessed with combining certain keys with the FN key, located where the usual Windows context menu key is located. FN key + F1 through F4 allows users to control the LED lighting modes. Holding down the FN key turns the F1, F2 and F3 LEDs to their respective Red, Green and Blue colors that users can then increase or decrease in combination to produce the desired total color effect (levels 0 to 9 per color). Additional color options are available via MasterKeys software.
FN key + F4 allows users to cycle through the LED presets residing on keyboard’s memory storage. FN+F5 through F8 involve repeat rate adjustment up to 8x.
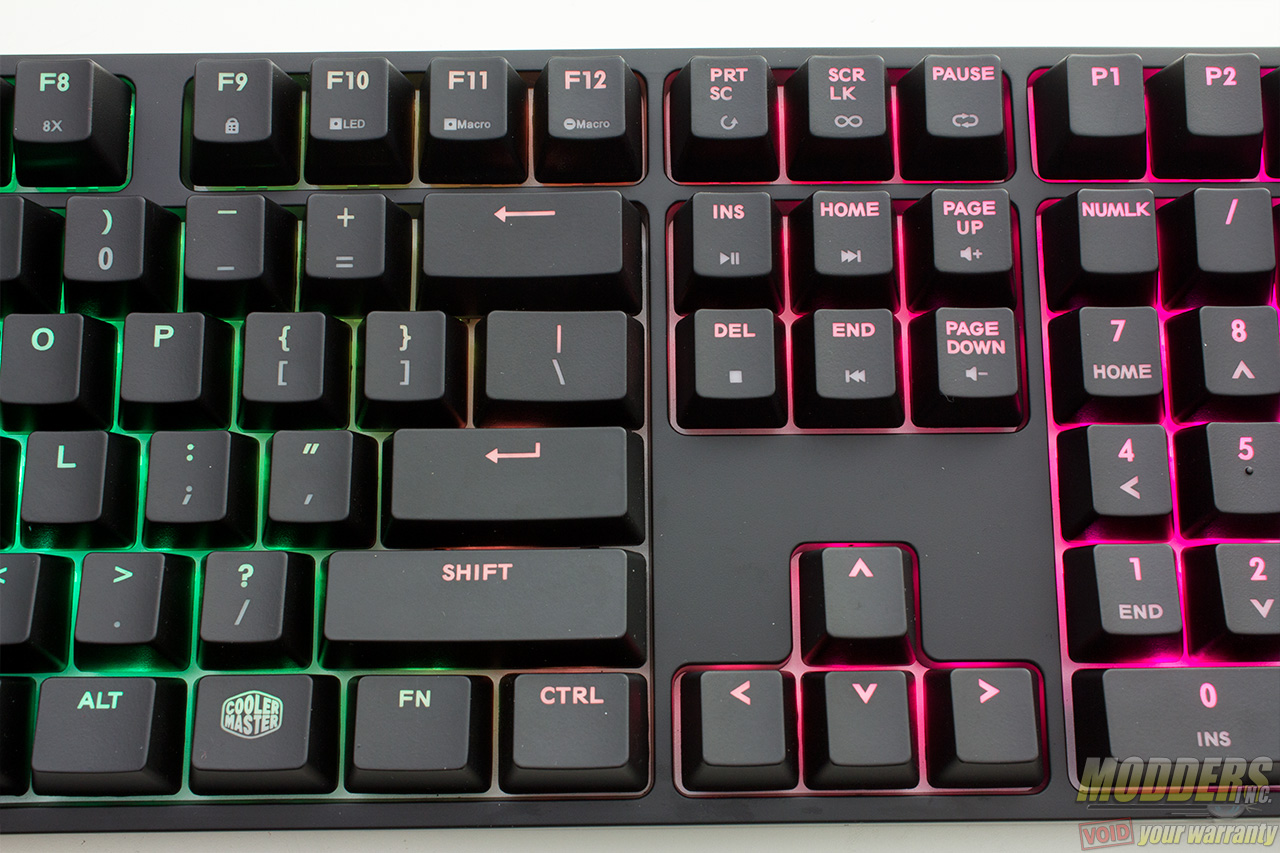
FN+F9 is for toggling the Windows key so that it cannot be pressed accidentally while gaming. FN+F10 is for recording LED backlight while FN+F11 and F12 are for live macro recording and macro deletion respectively. When recording a macro, users can choose between three input types: single loop, toggle mode or loop mode designated under secondary functions for the Print Screen, Scroll Lock and Pause buttons.
Multimedia and volume controls are accessed with the FN key in combination with the INS, DEL, HOME, END, PG UP and PG DN buttons so they are easily accessible with only one hand compared to the original QuickFire Rapid which had multimedia keys placed F5 through F12.
Four profiles can easily be loaded and switched between from since they have dedicated buttons situated above the numpad.
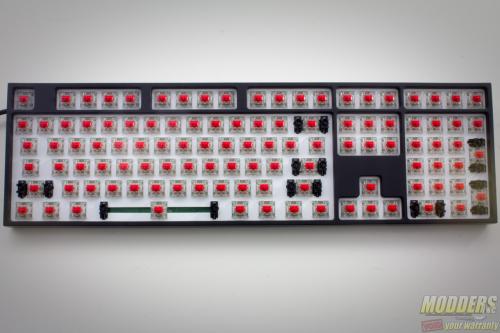
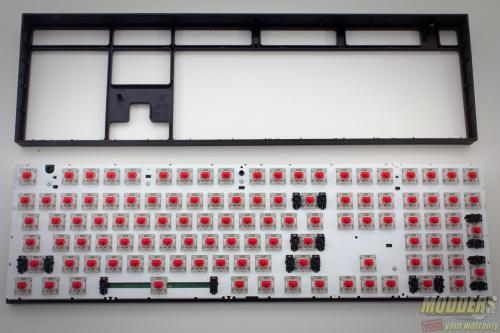
View of the MasterKeys Pro L without the keycap covers; Cherry MX dummy stabilizers are used for the modifier keys.
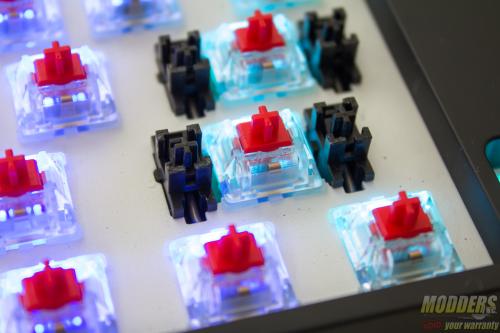
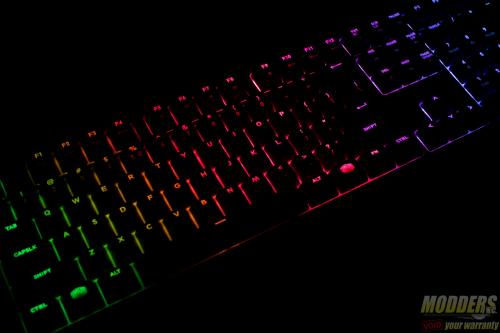
The RGB LED view with keycap and without in complete darkness shows how effective the clear switch housing is in creating a uniform and distributed light compared to previous Cherry MX LED solutions with a black switch housing and the LED is limited to the top area.
Disassembly and Modding Options
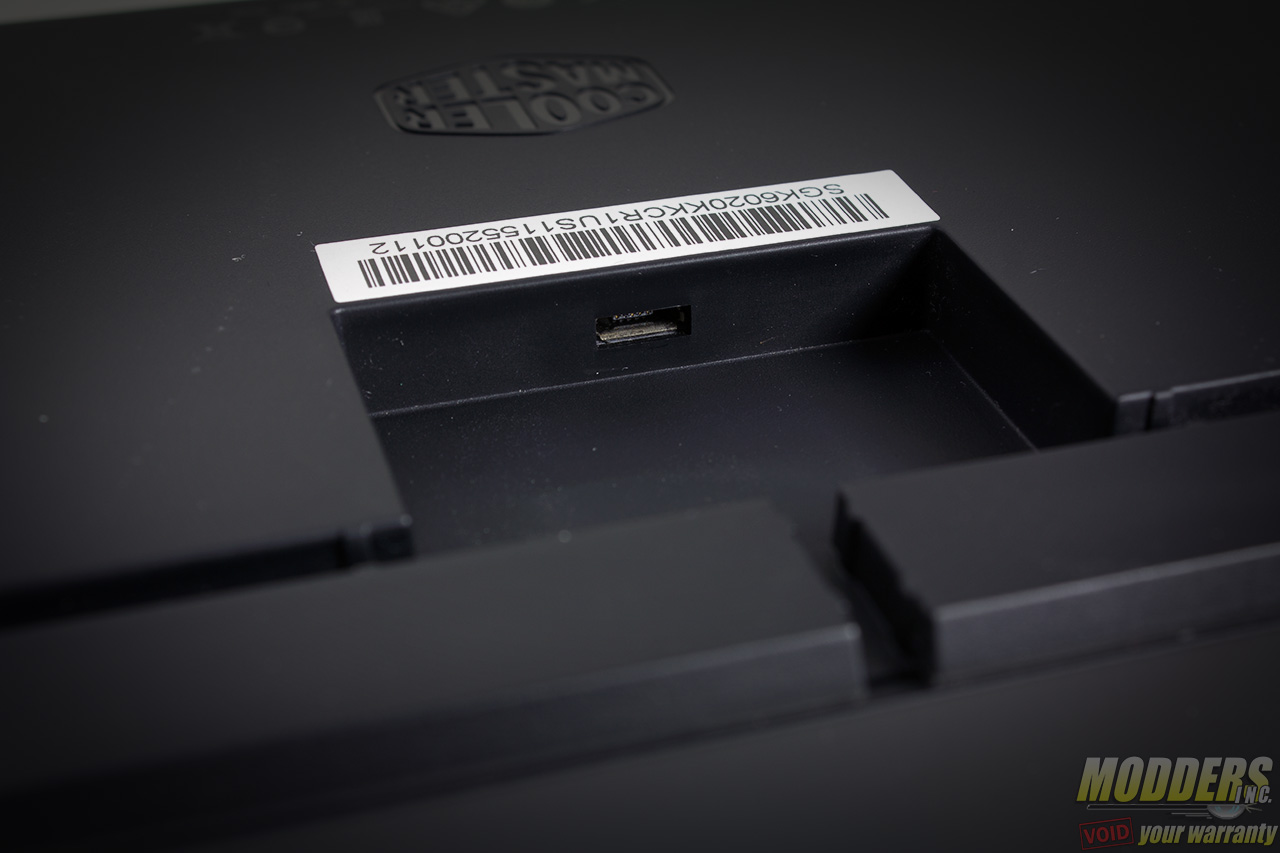
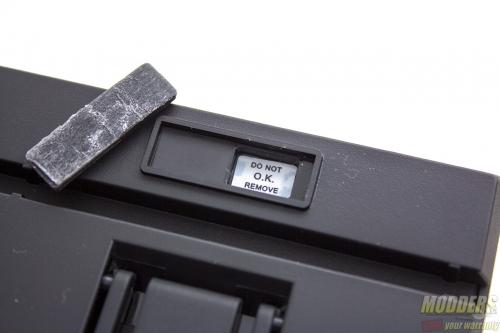
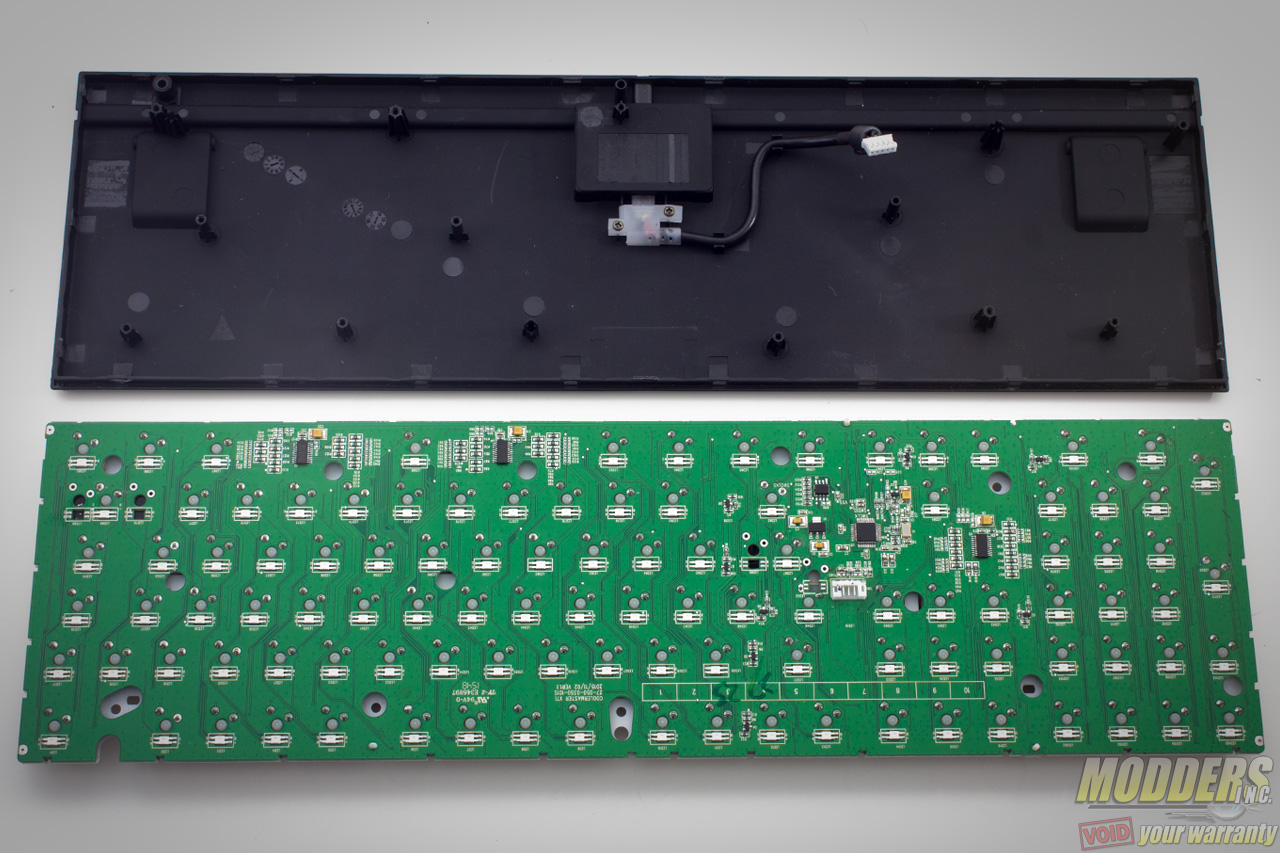
Only a single screw needs to be removed in order to free the housing and it is located at the top right corner from the bottom view. There is even a sticker which voids the warranty if breached, so don’t try this at home unless you are planning to mod the MasterKeys Pro and comfortable with invalidating the product warranty. A small Phillips screw driver is required.
The top and bottom housing latch together like in the QuickFire Rapid, QuickFire Rapid-i and QuickFire XTi. I usually start at the bottom middle as there is always a gap there compared to the back. Use something thin and wide such as a ruler, knife or CD to pry open each latch surrounding the MasterKeys Pro slowly until completely free. I use a ruler or a CD because it is dangerous if you slip with the knife, or at the very least, cause unneeded damage to the housing.
While it is not necessary to remove all keycaps to unsecure the PCB plate from the back, removing the F4, F5, F8, and F9 will allow access to the screws that need to be unsecured from the plate. There are four in total, three on the top Function key row and one is right between the arrow keys and numpad. Just like the single screw at the rear, this requires the use of a small Phillips head screwdriver.
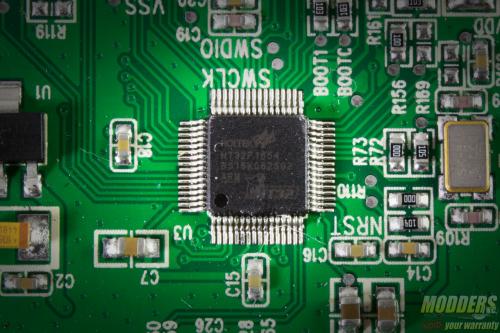
With the back cover removed, the MasterKeys PRO L PCB shows some impressively clean soldering work. The PCB is marked COOLERMASTER XTI as it shares the housing and PCB base with the QuickFire XTI. Closer inspection reveals that Cooler Master’s claims are correct as there is a 64-pin LQFP Holtek HT32F1654 ARM Cortex M3 present that handles the main duties on this board. This microcontroller unit operates up to 72MHz which is faster than what most use. For example, Corsair’s K70 RGB uses an NXP LPC11U3x which is a Cortex M0 MCU that operates at 50MHz.
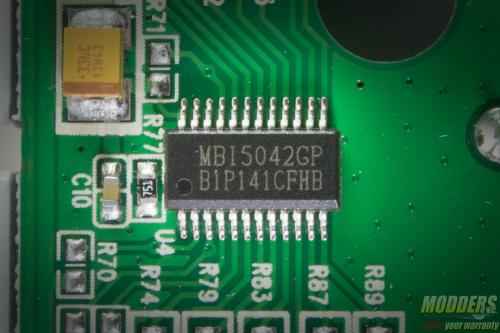
For the LED driver, three Macroblock MBI5042GP ICs are used which are commonly found in other RGB solutions including the Tesoro Lobera Spectrum and Thermaltake Poseidon Z.
