Cooler Master MasterCase Pro 6 Review
Hardware Installation and Clearance Compatibility
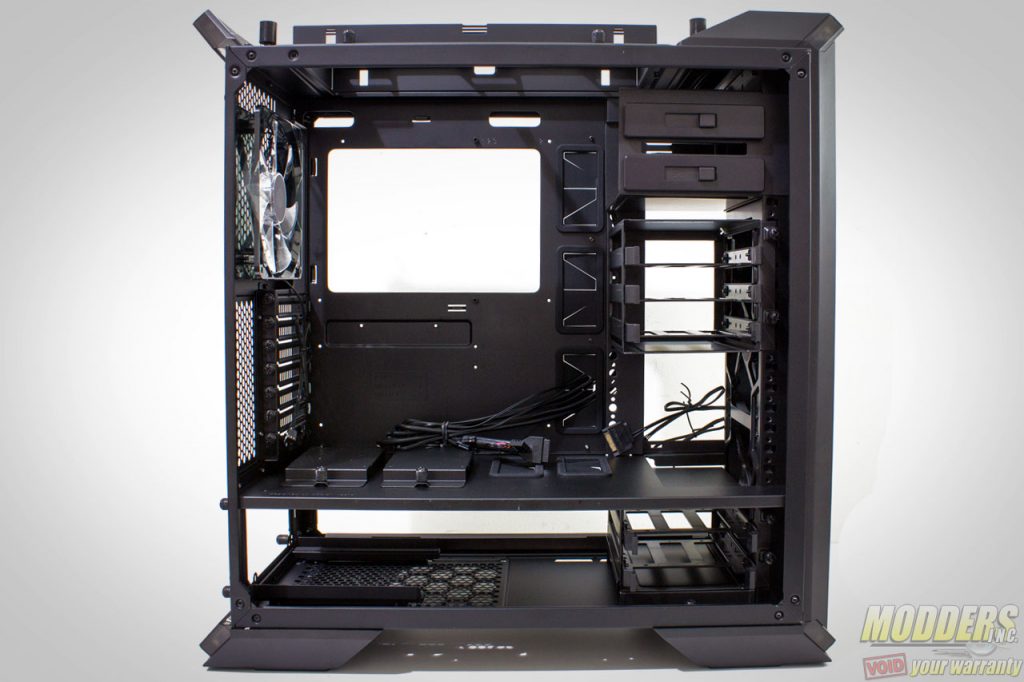
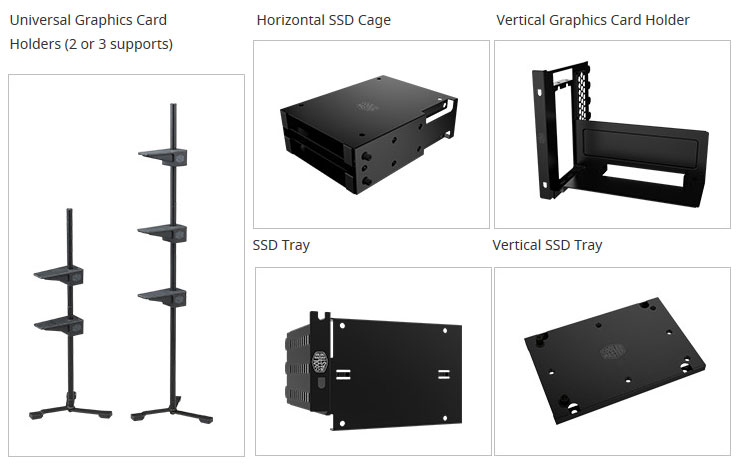
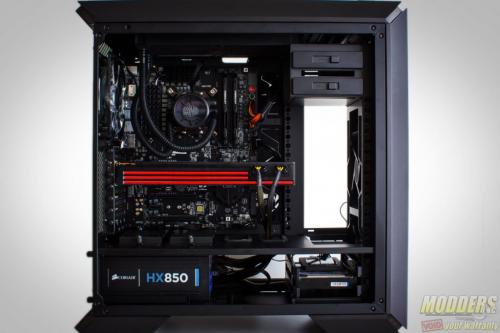
The default layout of the MasterCase Maker 5t is just one way to install components inside, the rest of the pieces are reconfigurable in multiple ways in order to support a particular build or component. Cooler Master offers these individual pieces separately as well, giving users the option to add-on mounting cages if they require so later on. Every single item that is within each criteria in Cooler Master’s FreeForm Modular system is compatible with each other so users can swap out parts from each case or upgrade incrementally.
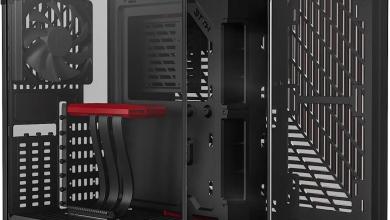
Users can choose to add the fan controller, LED strip, LED light controller and MasterGraphics card holder from the Mastercase Maker 5t and even replace the panels with tempered glass. In addition to those accessories bundled in other MasterCase model chassis, users can also get various SSD tray mounting options, as well as a vertical graphics card holder adapter. Although Cooler Master does not seem to offer any PCIe extension cables yet in their stores for this adapter.
Front mounted radiator:
- Up to 3x 120mm or 3x 140mm fans
- 120, 140, 240 or 280mm radiators
- Internally up to 78.5mm clearance gap inside the PSU chamber tray if bottom HDD cage is moved/removed (not including space for fan in between case and front panel).
Rear Radiator:
- Rear 120 or 140mm fans or radiators supported
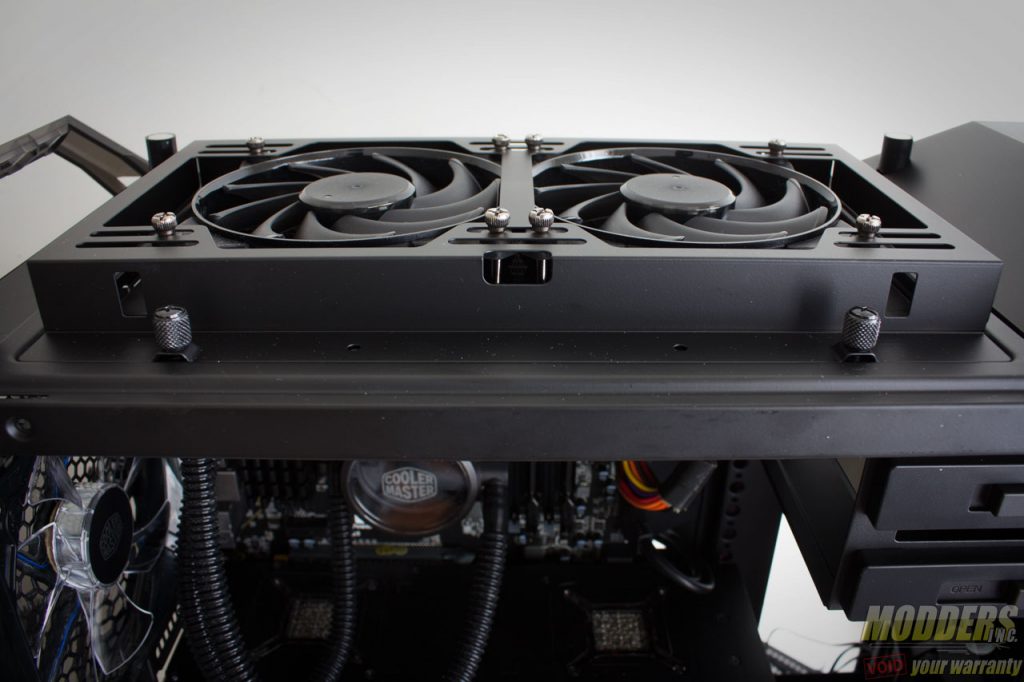
Top Radiator:
- Up to 2x 120mm or 2x 140mm fans
- 120, 140, 240 or 280mm radiators (maximum 297mm radiator length inside ceiling.
- There is 65mm of space between the ceiling and before the motherboard begins.
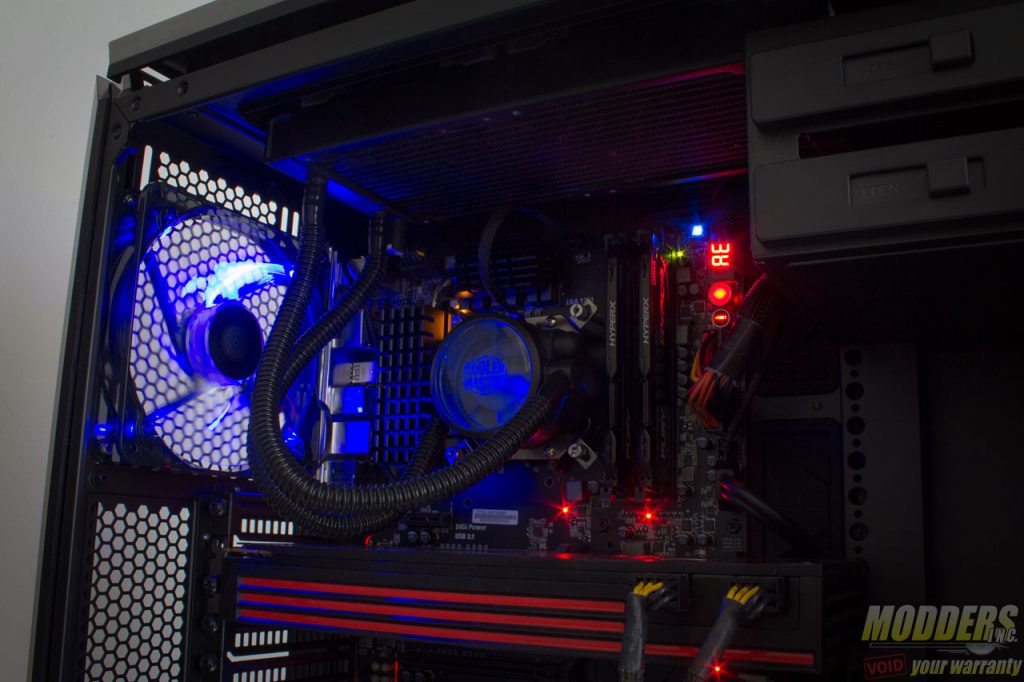
- Radiator thumb screws such as the one provided by Cooler Master for their MasterLiquid series AIO coolers CAN be used and still close the top panel, unlike the Cooler Master MasterCase Maker 5t
Power Supply:
- Removable installation plate makes it easy to slide PSU move in and out.
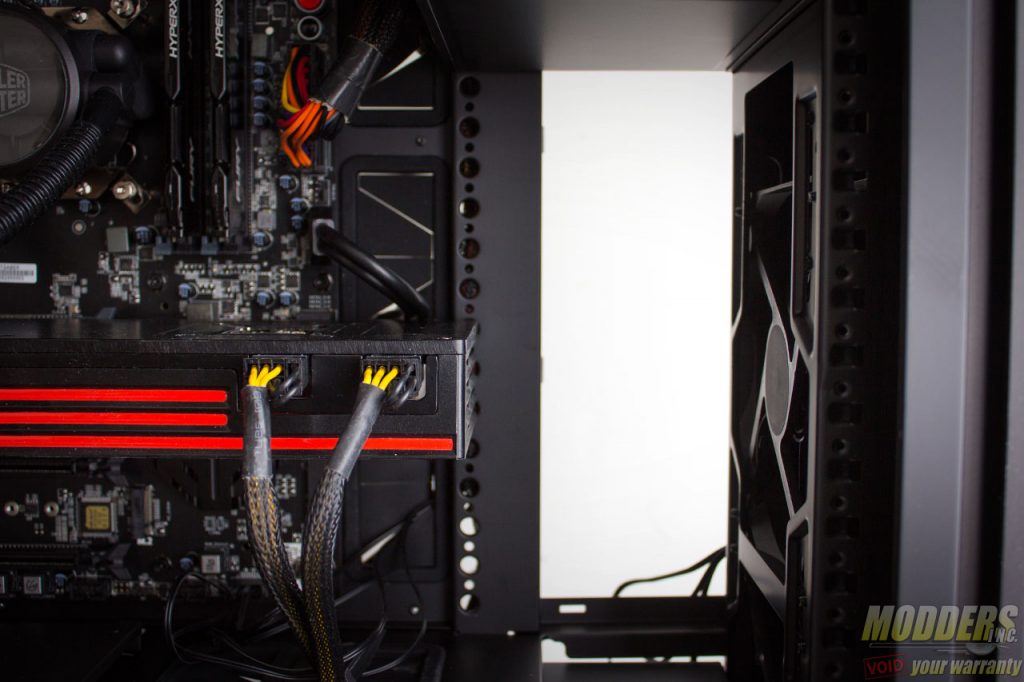
- Completely backplane free PSU area is very easy to manage cables around in.
Video Card clearance:
- If the HDD cage is moved out of the way, there is a 412mm clearance total. Otherwise, there is 300mm of clearance before the reaching the HDD cage.
- On motherboards where the PCIe x16 slot is positioned at the second slot from the top, the three-drive HDD cage will hinder installation of dual-slot video cards.
CPU Tower coolers:
- CPU heatsink height clearance is generous and was able to fit the 165mm tall NH-D15S easily.
- 190mm total height clearance
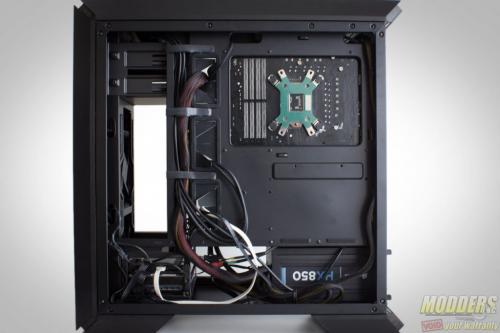
- Large CPU backplate cutout
5.25″ installation:
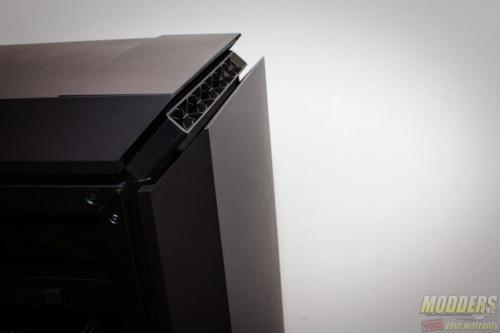
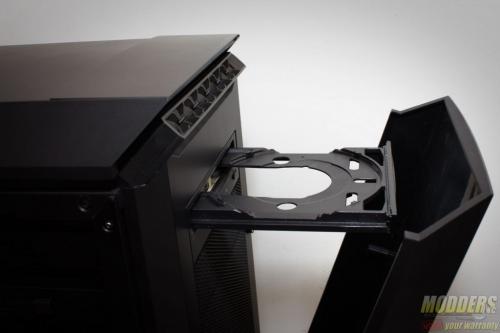
- Optical disc drives can be used even with front cover if positioned at the top most part (front cover is plastic hinged and magnetic locking)
- Tool-less installation on left side but can be reinforced with screws on the other side.
- Can be removed entirely for extra fan room for front intake.
3.5″ HDD installation:
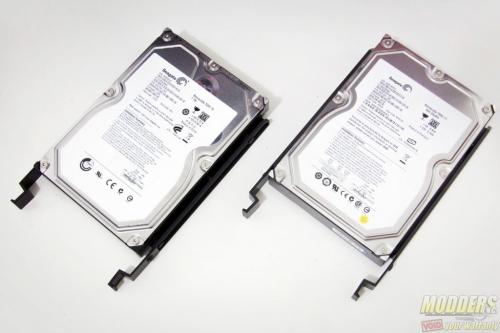
- 3.5″ HDD cage is made of metal while the caddies are made of plastic, 3.5″ drive installation is tool-less (can be reinforced with provided screws)
- The 3.5″ HDD cage can be moved back two spaces from the default position to provide front radiator / fan clearance.
- The 3.5″ HDD cage can be positioned up or down if necessary. The bottom 3.5″ HDD cage can be moved to the top compartment as well, but the three-drive 3.5″ HDD cage cannot be moved down to the lower compartment.
- Right angle SATA cables are not recommended for the 2.5″ drive if directly above a 3.5″ drive in the HDD cage, otherwise straight SATA cables are recommended.
2.5″ installation:
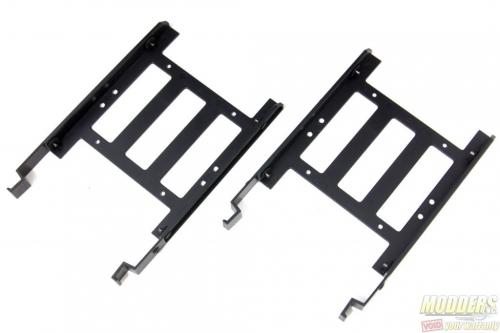
- Two 2.5″ metal brackets are provided which supports up to two 2.5″ devices (one inside and one at the top held in place by screws ).
- 2.5″ brackets can be installed either behind the motherboard tray or on the PSU chamber tray.
- Due to tight clearance on the bottom 2.5″ device, a straight angle SATA power/data cable is recommended if using two drives on one bracket.
- The 3.5″ HDD caddy also supports 2.5″ drive mounting with screws at the center.
Cable management:
- There are nine routing holes in total, unobscured, four of which have grommets.
- Behind the motherboard tray, there is 24mm of clearance for cable management, and on the HDD level, there is 39.5mm of clearance so straight SATA cables can be used.

Any Idea as to when this will be made available in the US?