Cooler Master MasterCase Pro 6 Review
A Closer Look at the Cooler Master MasterCase Pro 6
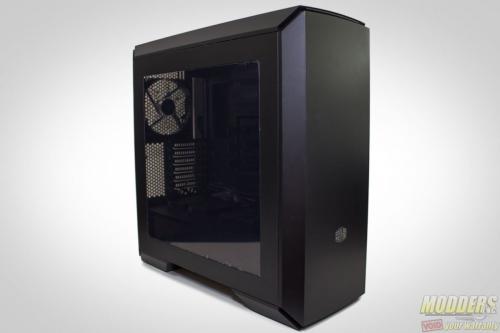
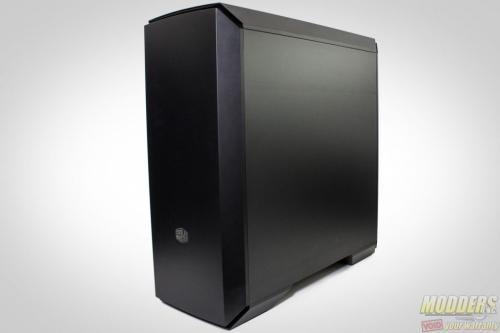
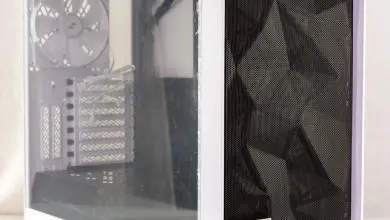
All of Cooler Master’s MasterCase line shares the same base chassis but differs in many features added on to it. Aside from the magnetic top and front covers, the MasterCase Pro 6 comes with a windowed acrylic side-panel for showing off internal components and a host of other features designed to stealthily hide many other components for a sleeker look. It comes in a dark gray color and measures 544 mm long, 235 mm wide and 548 mm tall and supports up to ATX sized motherboards.
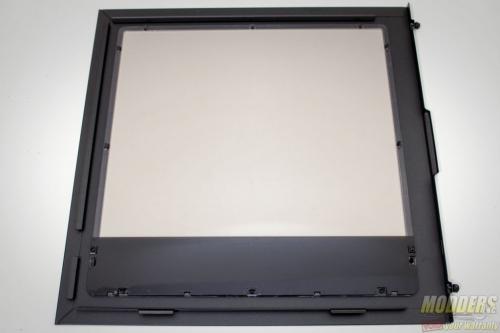
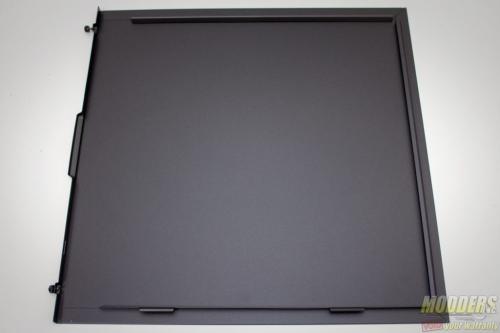
The side panels are held in place by thumbscrews which remain in place when unlocked so as not to be lost when the panels are taken off. These panels are surprisingly heavy and thick, much more than typical mid-tower panels. The left side panel has a wide viewing area with a touch of smoke and at the bottom of it has a black strip that further obscures the components inside when installed, right around the power supply height.
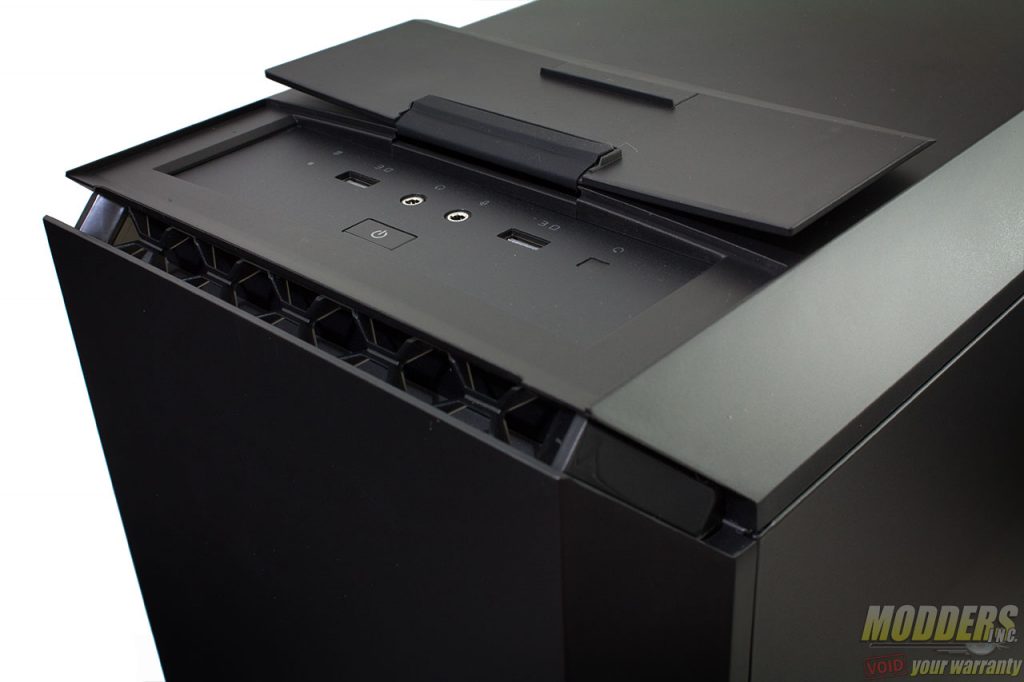
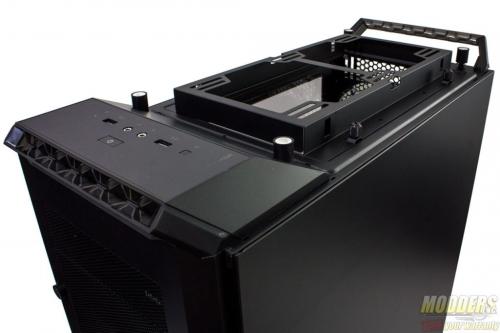
The front IO sits at the top front and is somewhat stealth covered with a magnetic flip-top lid. This lid uses a rubber strip as a hinge. In here, two USB 3.0 headers are available (colored gray) with the HDD activity LED on the left of them and the sunken reset button to the right of them. In the middle are the two 3.5mm audio jacks for the microphone and headphone with the LED lit power-on button below them.
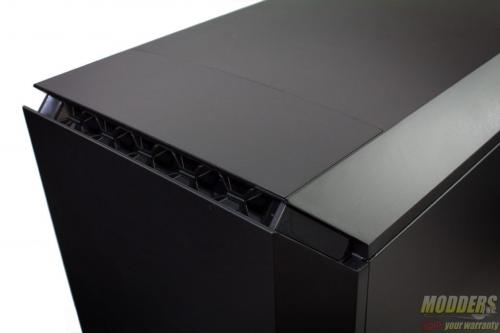
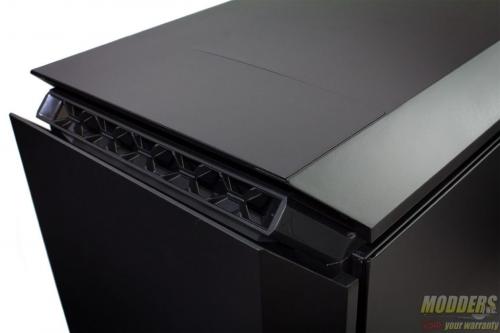
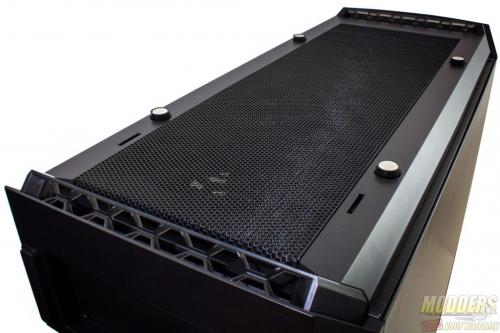
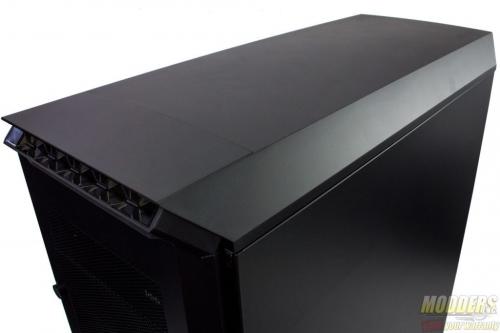
Both the top and front magnetic panels can be “popped-up” to move a few centimeters to allow greater airflow to flow inside. Most of the air intake comes in at the top front and bottom front corners otherwise.
At the bottom, the feet are sturdy and wide with strips of rubber sole to hold the case in place on hard surfaces. Unlike the premium MasterCase Maker 5t however, it is not made of metal although because of its size, it can carry all the extra weight.
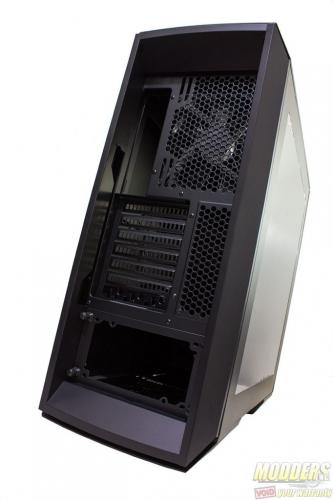
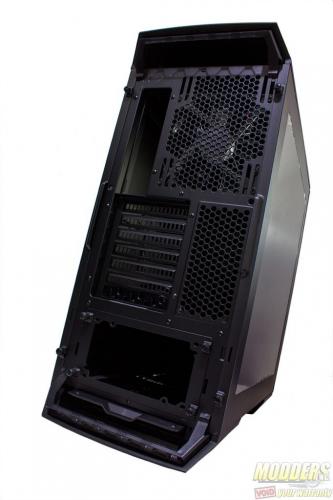
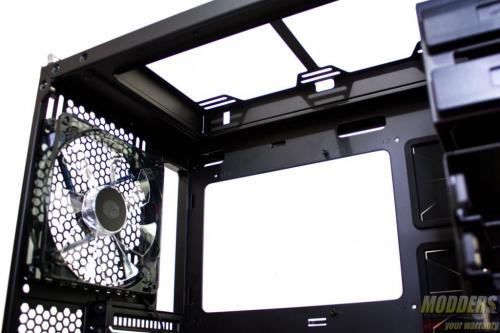
At the rear, a removable frame cover can be used to hide some of the connector cables in the rear IO and expansion slots. This is also held in place by magnets. A standard seven expansion slot layout is provided, all with reusable slot covers. The seventh cover is a CM Storm Guard cable protector for users who take their systems to LAN parties so their peripherals are not stolen. A 140mm fan comes pre-installed, but this mounting area also supports 120mm fans with variable height adjustment to allocate radiators or other component clearance.
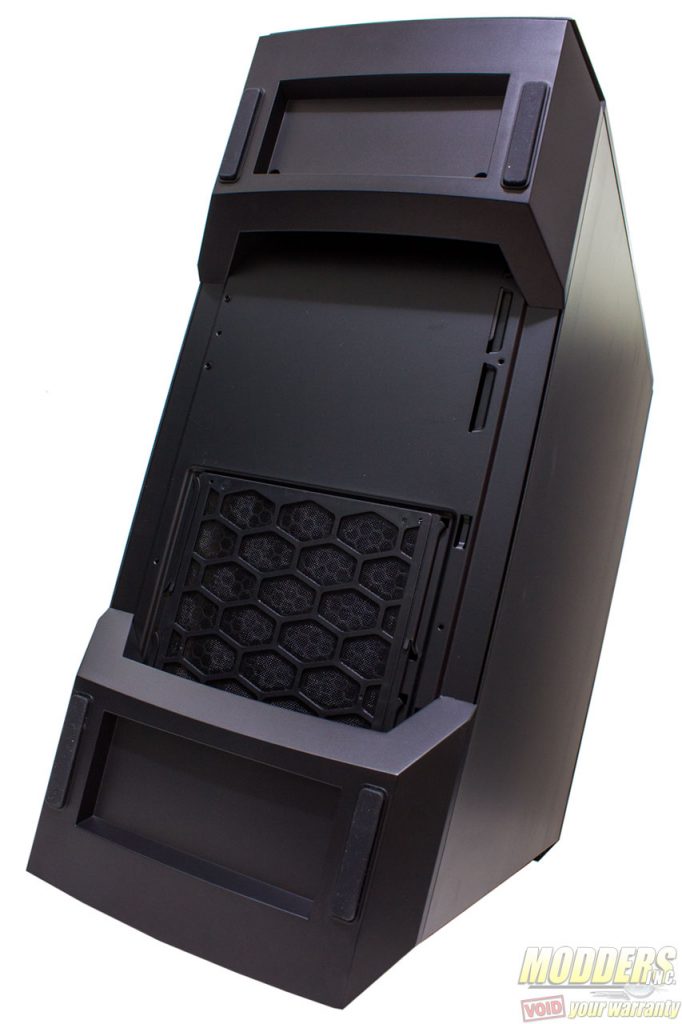
When the front cover is removed, the two other bundled 140mm fans are revealed pre-installed as intake fans. The two 5.25” bays at the top and the cover for these fans are fully mesh and can easily be removed for dust-off servicing. Users can still use a 5.25″ optical drive even with the front panel cover in place, the panel just makes way for it and opens up at an angle similar to a case door, except the hinge is at the bottom.
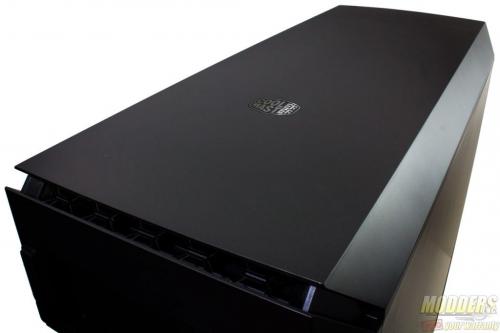
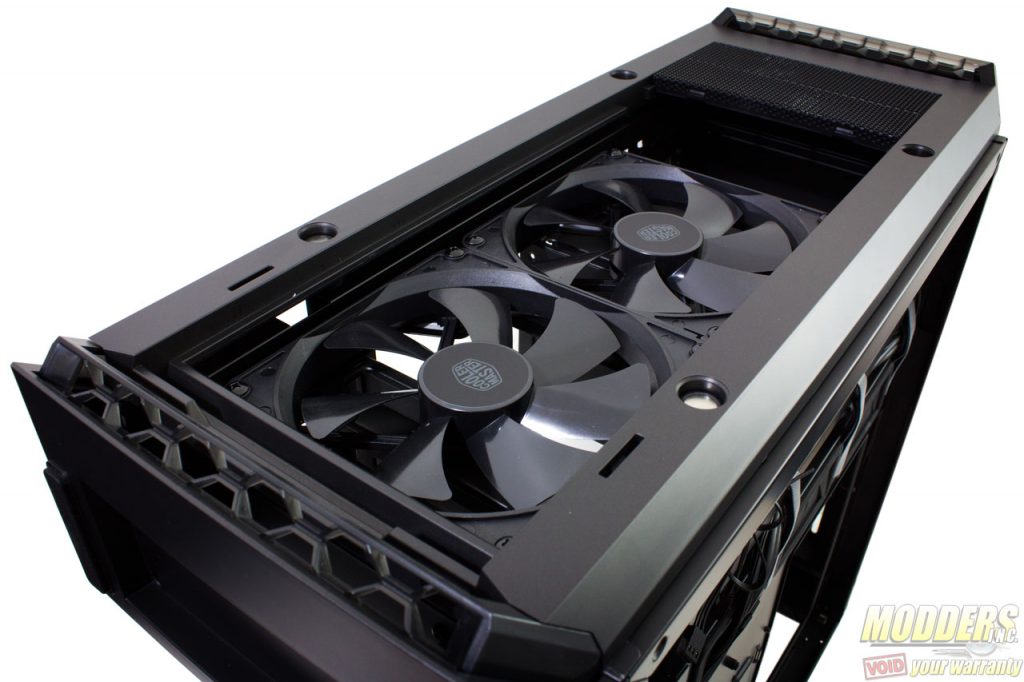
The entire top panel is held in place by magnets so accessing the area underneath is convenient as well. The front IO is decoupled from this top panel cover, so it stays i place when it is removed. There is a mounting area for a pair of 120mm or 140mm fans and since this area is recessed, a 120/240/140/280mm radiator can be installed here as well. The entire fan/radiator mounting bracket actually comes off and is held in place by thumb-screws.
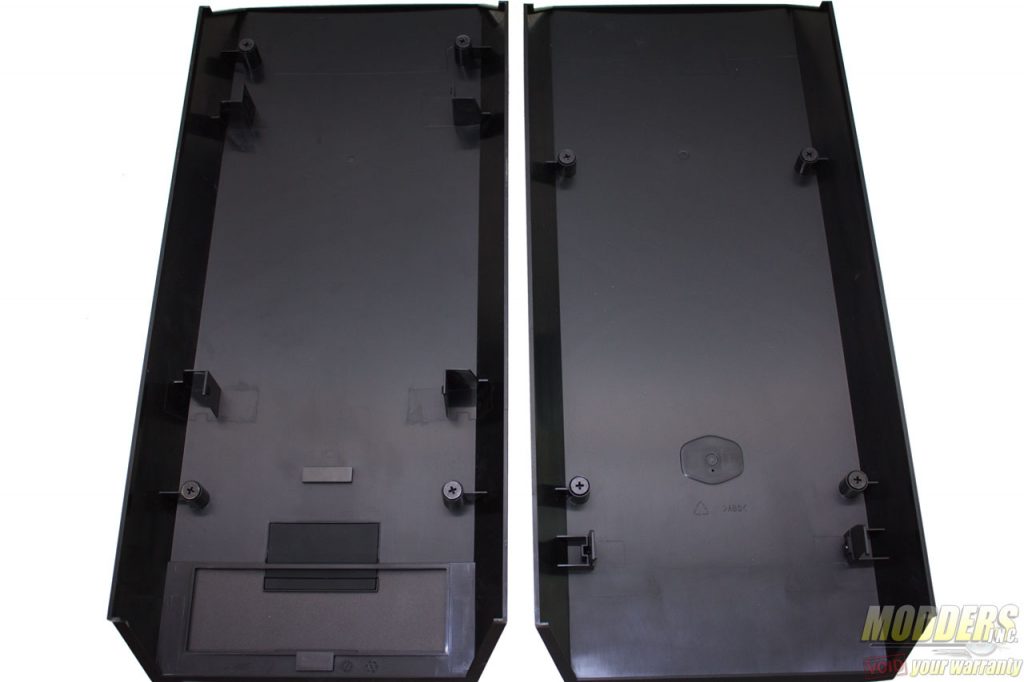
One thing the user needs to be careful with when removing the panels however is that the remaining plastic corners are not load bearing and should not be used as handles as they can break off. All the magnets are on the MasterCase Pro 6 chassis itself which attaches to the removable panels via metal screws in place. Modders can add noise dampening materials here or easily repaint it or customize it to their liking anytime since removing them is quite easy and requires no tools.
As with the rest of Cooler Master’s current chassis line up, the MasterCase Pro 6 uses the free-form modular design, meaning almost everything can be taken apart and almost everything can be upgraded, replaced, moved around or even swapped out with other MasterCase models depending on the user’s preference. This makes it an ideal platform for master modders and to entice beginners to personalize their build.
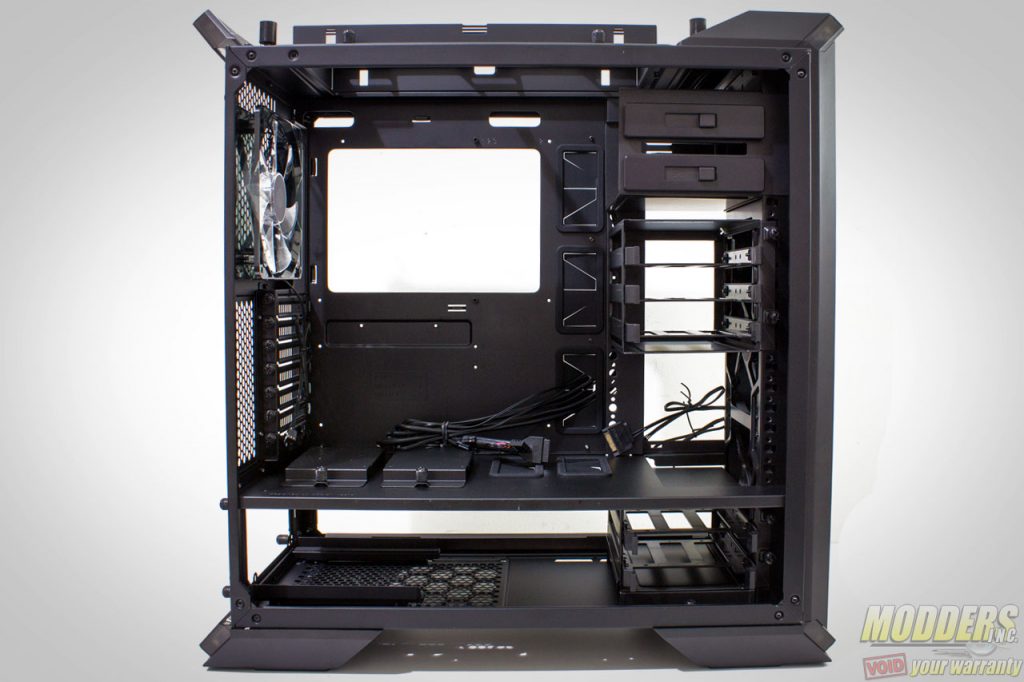
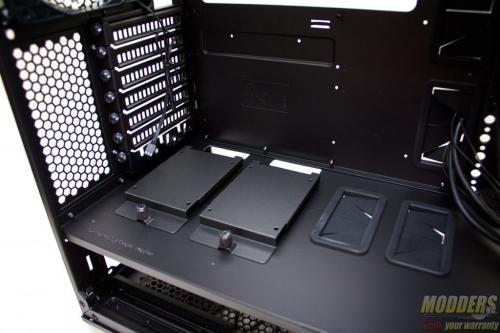
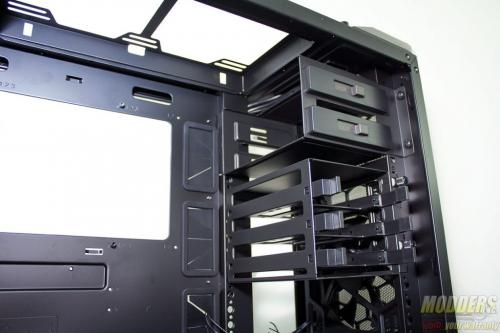
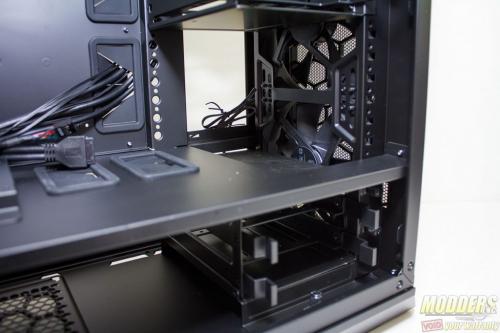
The default storage space includes a 5.25″ cage with space for two 5.25″ devices (with tool-less mounting), one HDD cage with space for up to three 3.5”/2.5” drives located right below the 5.25” bay, and one more HDD cage in the PSU chamber with space for up to two 3.5″/2.5″ drives. These HDD drive cages use tool-free mounting caddies for 3.5” drive installation, although the screws provided in the accessory pack have to be used for installing 2.5” drives onto them. Additional 2.5” SSD drives can be installed on top of the PSU chamber cover.
All of these drive cages can be moved up or down depending on the user’s preference. They are all held by screws and can even be removed entirely. The bottom HDD cage in the PSU chamber can be moved further back to support thicker radiators installed in the front.
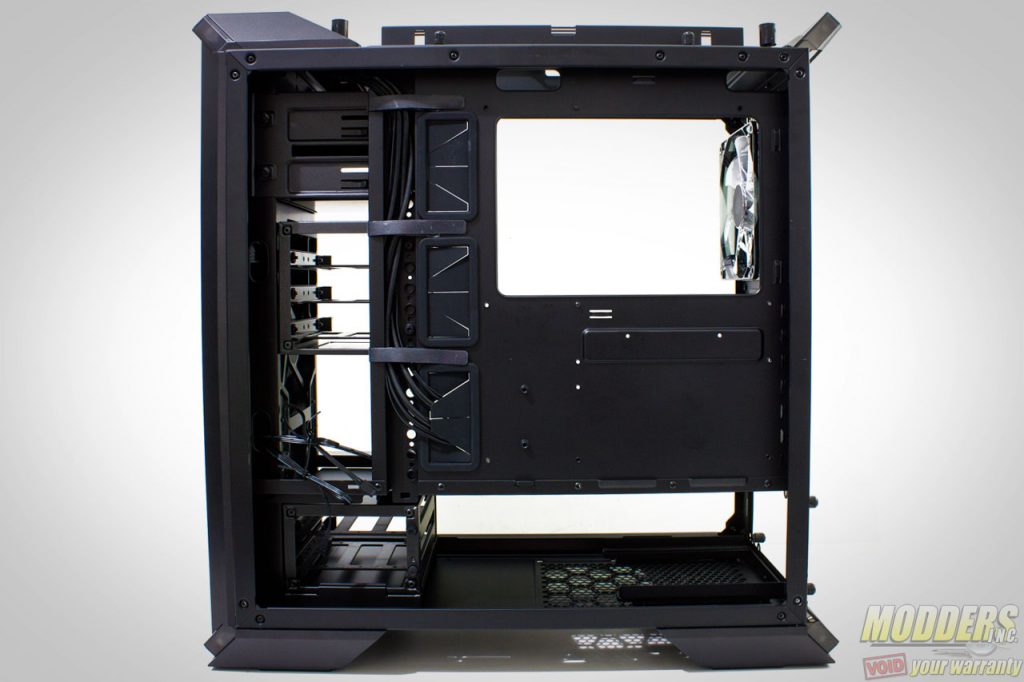
There is plenty of room for cable management behind the right side panel as there is about 25~35mm of clearance behind the motherboard tray. There are mounting slots here that users can also mount the 2.5″ drive trays found on the top of the PSU chamber cover. The entire back side of the bottom chamber is completely open so cable management is a lot easier to handle. There are also the requisite grommets along the side of the motherboard with velcro straps available to further hold the cables in place.






Any Idea as to when this will be made available in the US?