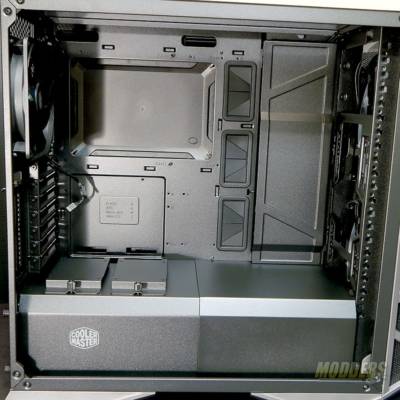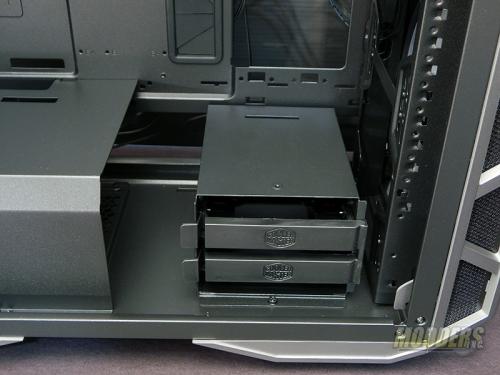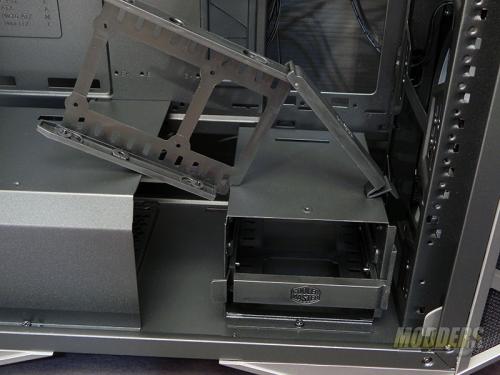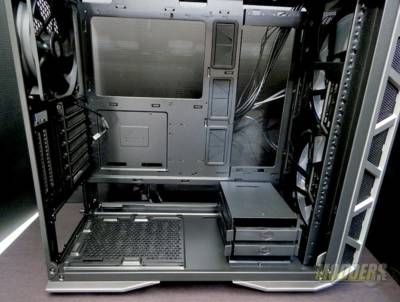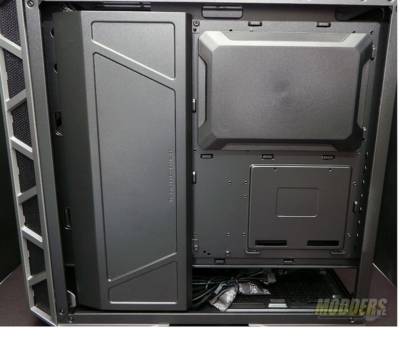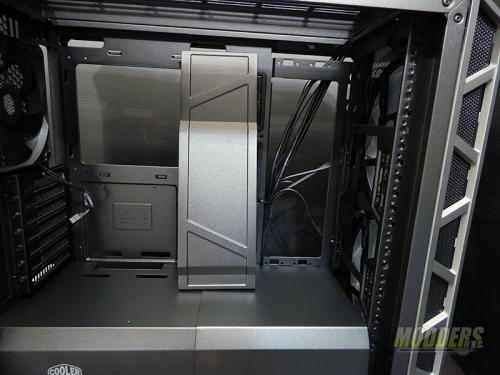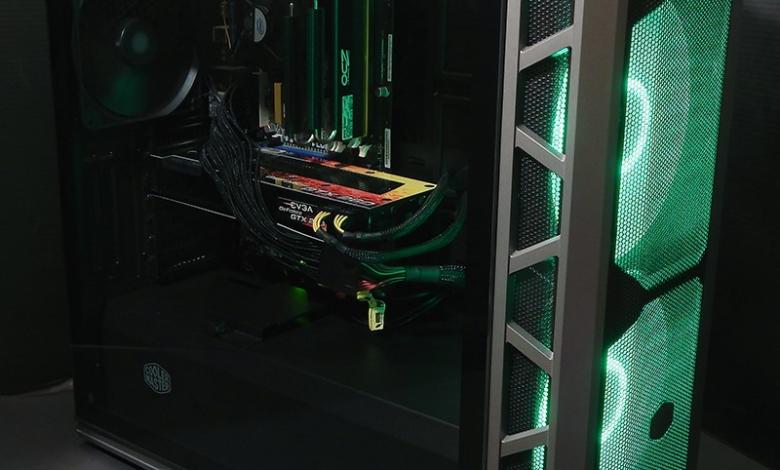
Our first look inside the Cooler Master Mastercase H500P mesh reveals a wide open layout. At the bottom is our PSU cover. On top of the cover are two SSD mounts. Beyond that is wide open territory, and a few hidden surprises.
So the first hidden surprise is the 3.5″ drive bays. Beneath the right-hand cover at the bottom is a removable drive bay with two 3.5″/2.5″/2.5″ SSD racks. If you would rather have space, this rack is removable from the case.
Then to the left, of course, is the PSU area. From this shot, you can really get a feeling for the expansiveness of this the Mastercase H500P Mesh. Behind where the PSU mounts is a nice wide opening to pass power cables through. You also get to be let in on two more surprises from this case. Let’s expand on those next!
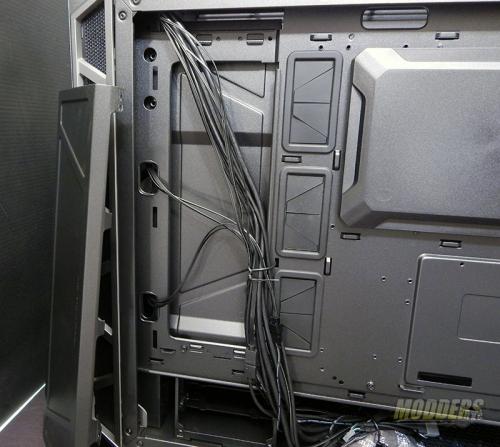
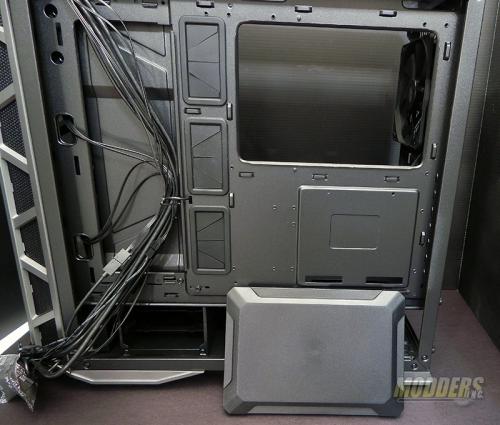
Looking at the Mastercase H500P Mesh from the back panel area we see that everything seems to be covered up. There are no cable pass-throughs or access to the CPU area of the MB to mount the cooler. What gives?
Cooler Master has built into the Mastercase H500P Mesh a sleek and clean cable management system that is just beautiful! The panel on the right comes off with the removal to two screws, revealing the I/O and cooling fan cables, and the rubber grommets for routing other cables. If you need additional space for cables, the panel on the Motherboard side of the case is also removable
To the right is a plastic cover that snaps off to reveal the CPU area of the motherboard. Mount your cooler and clip this on for a nice sleek look.
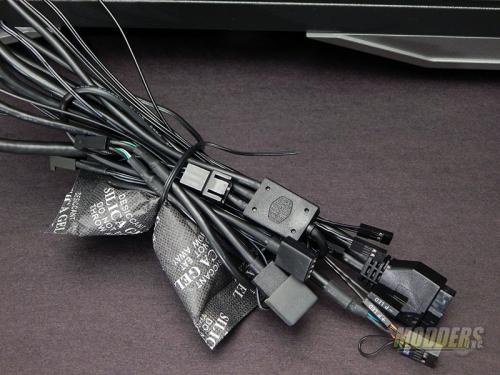
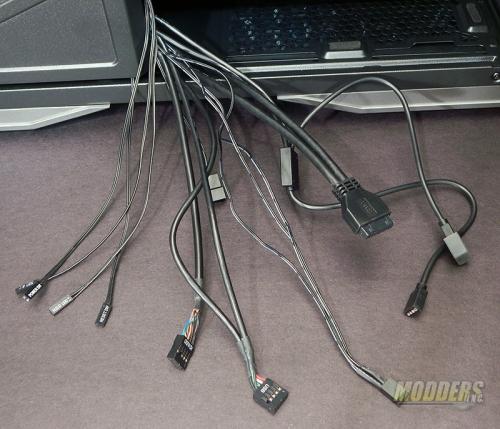
The Cooler Master Mastercase H500P Mesh comes with a mass of cables for the I/O panel and the front fans. They come nicely bundled with a desiccant package to keep everything inside dry. Spread out we have from left to right Reset, Power + and -, HDD connectors. The HD Audio, 2.0 USB, and fan power. The 3.0 USB. And the RGB plugs for the 200mm front fans. The RGB cable can be connected to any MB that has RGB control and has a splutter on it for additional RGB equipped devices.
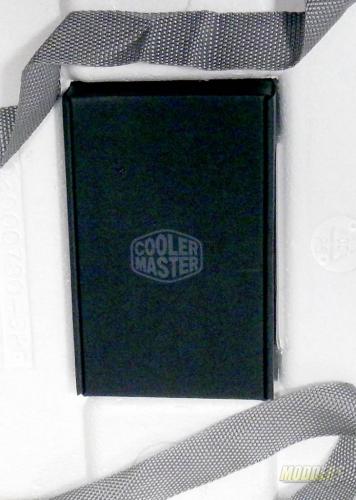
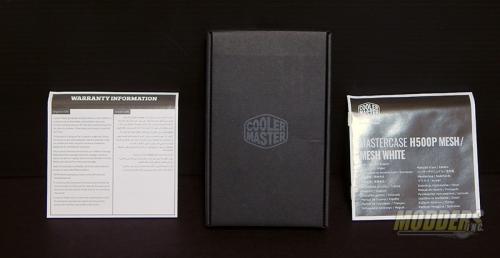
If you look close at this picture. You’ve seen it before. This is the center of the top foam support packaging for the case. In this box Cooler Master has put all the bits and pieces you need to finish your build of the Mastercase H500P Mesh. Cooler Master didn’t leave it to rattle around inside the case and come open, scattering all your precious screws. It’s nicely packed and secure.
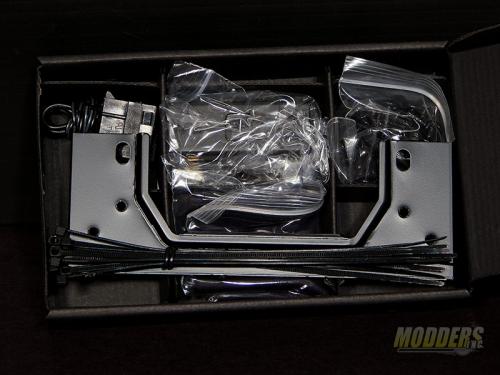
In this box, we have a variety of the parts we have come to expect in any case. They did a good job packing a lot of parts into a small box.
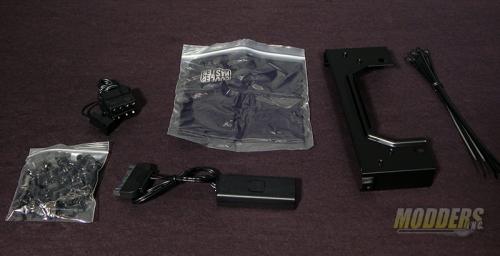
The parts kit for the H500P Mesh contains all the necessary screws. A power plug for the cooling fans to connect to your PSU. A lint-free cloth for keeping the outside of your Mastercase H500P Mesh pristine. The bracket is to mount smaller fans to the front of the case in place of the 200mm fans. A select number of zip-ties. Cooler Master has also included an RGB controller for the 200mm fans just in case your MB does not have an RGB controller. Power comes from a SATA power cable and the RGB connector plugs into the other side. If you remember earlier when I was talking about the Reset switch on the I/O panel, I said it serves a dual purpose. Rather than plug it into your MB, plug it in here next to where the power cable is. Now you control the color and flickering effect of the RGB fans! Just press the reset button to cycle through the colors.
