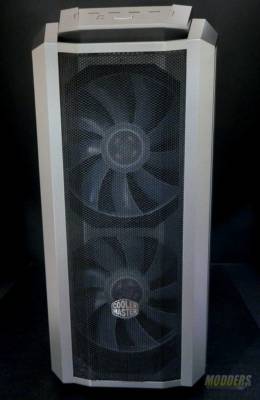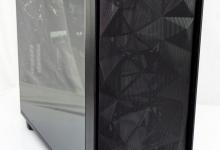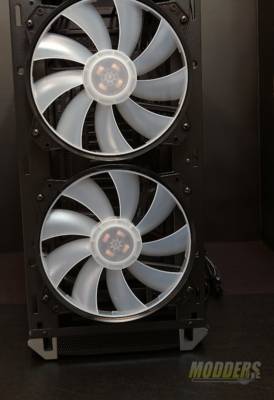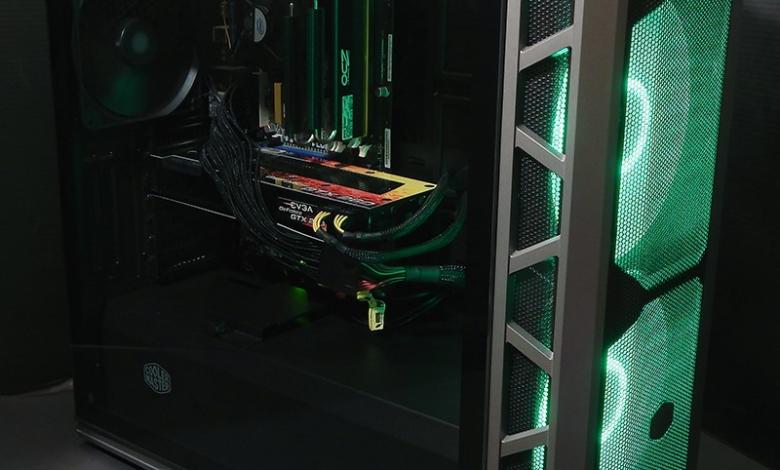
Our first look at the Cooler Master Mastercase H500P Mesh case shows us the two massive 200mm RGB fans installed in the front. At 800 RPM, these fans will move an incredible amount of air through the case. With these two fans and the 140mm at the rear, most conventional builds won’t need anything else. But, there is so much more to this case than just these fans.
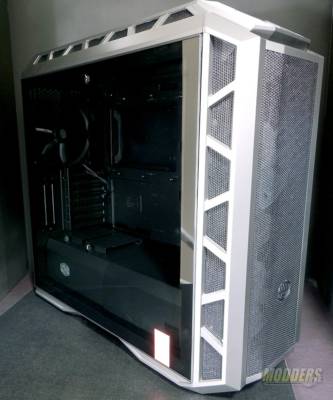
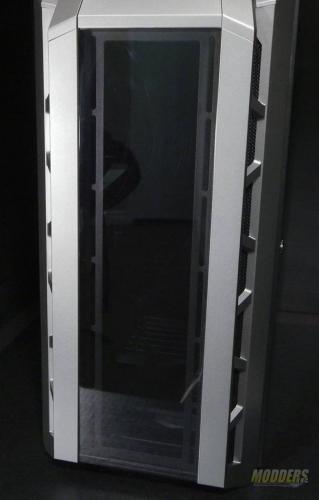
This angled on shot of the Mastercase H500P Mesh shows us the side venting at the font of the case. This is on both sides. There is also additional venting at the top. More about that later. We also have an expansive tempered glass panel that exposes the entire side of the case. This panel is kept closed by a single turn latch (a quarter works great).
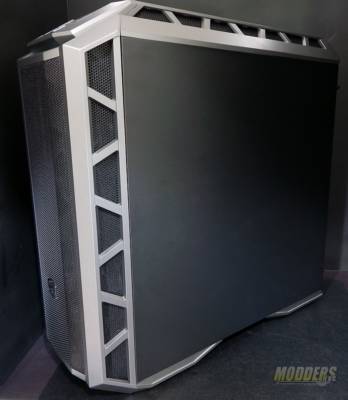
The blank side is a simple flat panel. It has two thumb screws and comes off easily. Slide back, tilt out, lift off. Here you can also see the venting on the front panel and top.
With the front cover removed, you can see just how massive these fans are. 200mm and 800 rpm, these RGB equipped fans will cool this case very nicely.
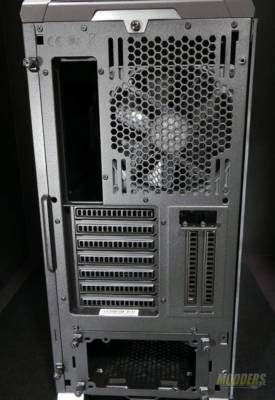
The rear of the case at first glance looks like any other. Take a closer look. One interesting specification is the Expansion Slots. Total of 7 slots. 5 of which are horizontal for your typical card layout. And two vertical slots. Vertical? Well, with the proper cable, you can run that primary, or secondary video card in a vertical configuration to show it off! Cool concept!
Notice the slots for the rear cooling fan? These slots will let you install a 120 or 140mm Liquid Cooling radiator! The PSU bracket is held by 4 thumb screws. Attach your PSU and just slide it in. Pay attention to that thumb screw at the top center. More about that later!
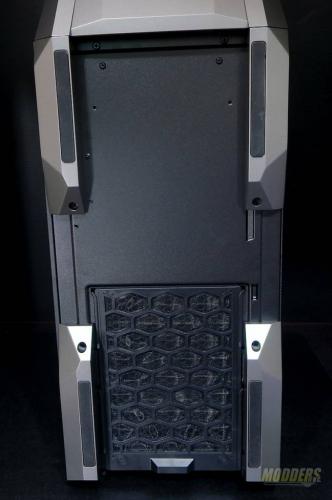
Here we have the Bottom and Top of the Mastercase H500P Mesh. The bottom has four large feet with rubber inserts. These feet hold the PSU filter a nice distance from the floor for good air flow.
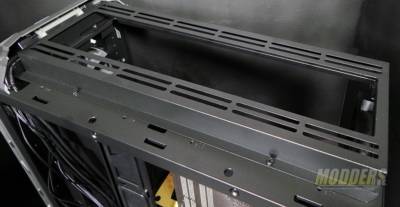
Remember that thumb screw? When loosened, it allows this smoked Plexi case top to be removed. What you can do with that removed is simply wonderful!
Underneath that cover, you can move the two 200mm fans from the front and put them here. You can mount 3 140mm fans. You can mount Liquid Cooling from 120mm all the way up to 360mm (max clearance 55mm)! Oh, and I failed to mention, if you move the 200mm fans here, you can put Liquid Cooling from 120mm to 360mm up front?! Cooler Master has given us so many cooling options with the Mastercase H500P Mesh, it’s hard to believe all this has been fit into a Mid-Tower case!
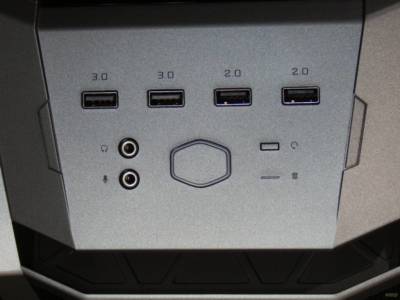
The front I/O panel is elegant and simple, yet loaded with what we all want in a front panel. There are two 2.0 and two 3.0 USB connectors. The Mic and Headphone jacks are well marked. A large power button, in the shape of the Cooler Master logo, of course, is easy to find. To the right of that are a very small reset button (that has a mysterious dual purpose) and the HDD light.
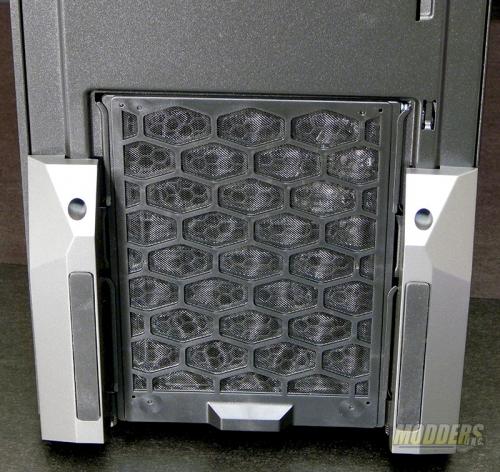
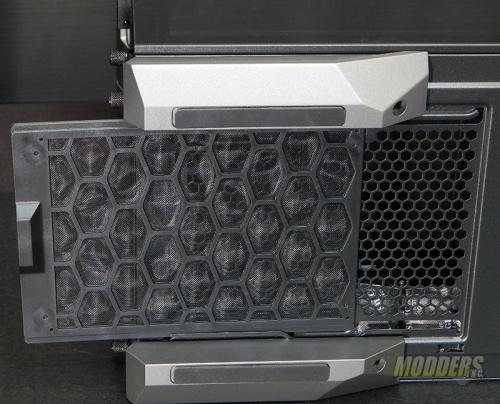
Lastly for the outside of the case is the all-important filter over the bottom mounted PSU. The filter is a nice fine mesh and is easily removable from the back side. There is plenty of space beneath the case to slide it out without having to lift up on the case. Always a nice feature.
Let’s go take a look inside!
