Closer Look MasterBox Q300L
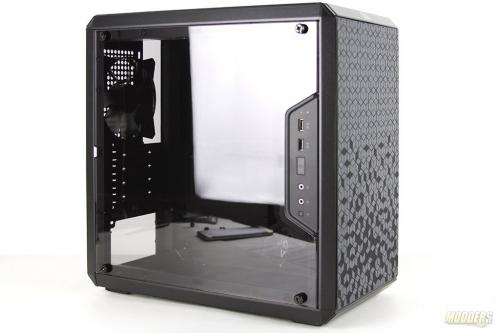
MasterBox Q300L has above average paint of coat and finish. The case looks great by itself and is very light. By itself the case weights close to 10Lb.
The entire case is made from rolled steel which makes this case overall extremely stable at the joints. There are some plastic areas such as the plastic window, IO Panel, and small corners. These parts are made of ABS plastic.
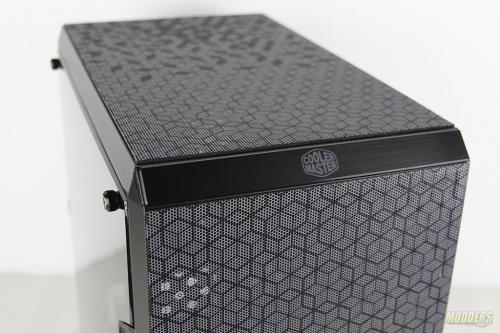
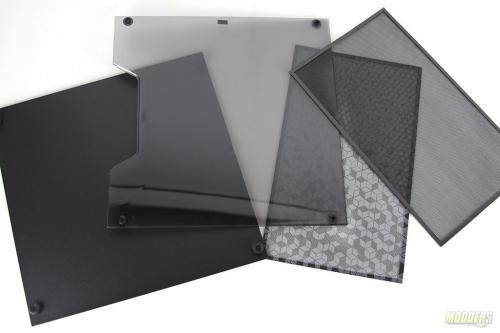
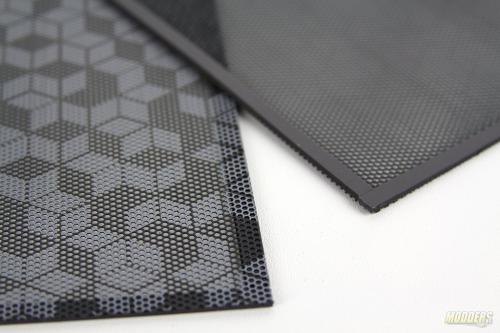
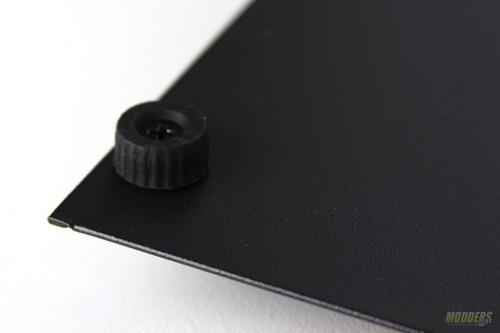
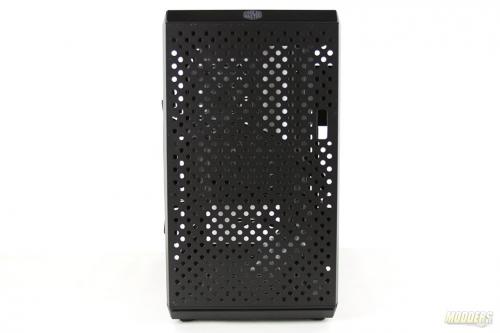
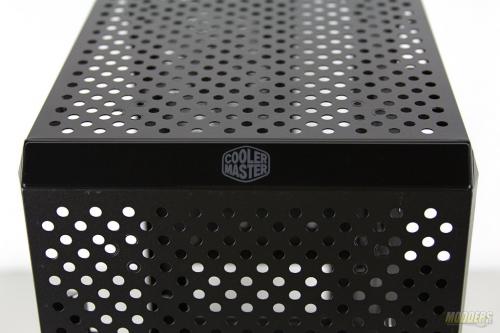
The right door of the case is completely made from steel and could be used as a base so if you prefer this case to be on the side, you can. The side mounting of this case is supported by four screw-type rubber feet. What I thought was a great feature was the magnetic/removable side panels. The design of these panels is pretty standard (honeycomb) however the painted design from CoolerMaster is completely new.
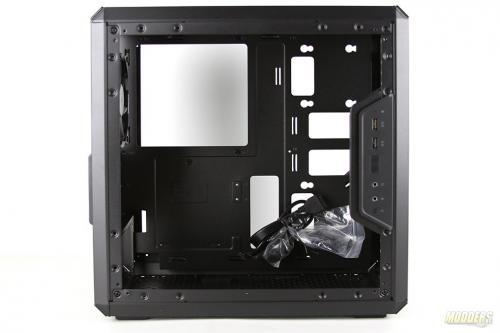
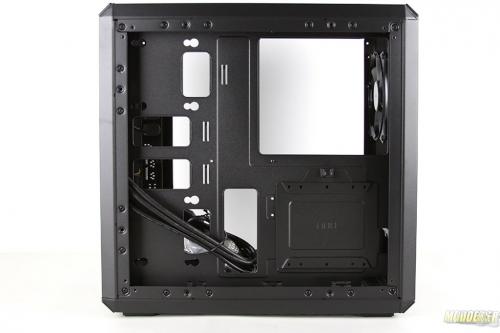
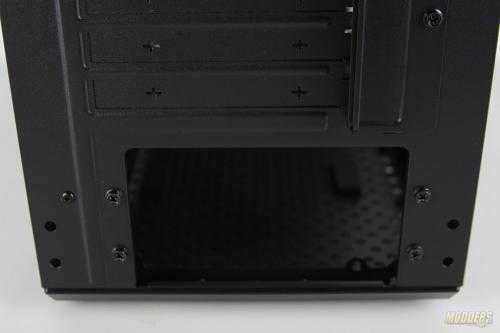
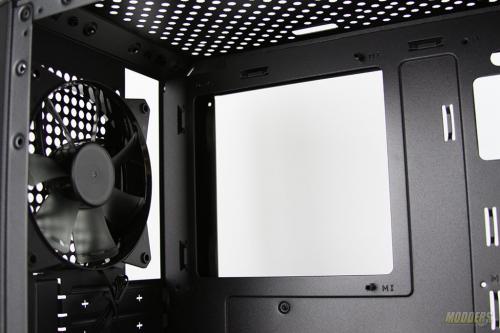
As I have mentioned earlier the skeleton construction of this case is very solid. Joints are single butted but provide great support. The IO panel which is mounted on the left side of the case can be moved around to the top, bottom or right. The motherboard tray is nonremovable however it does have large enough service window to work on the CPU installation.
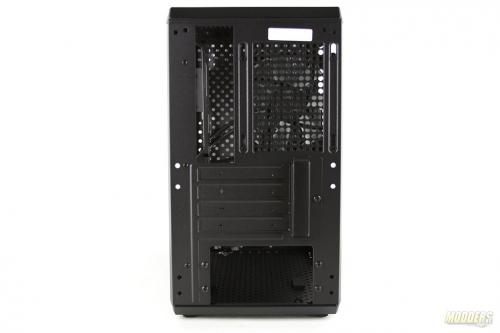
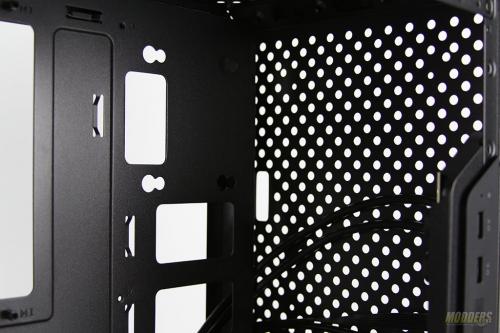
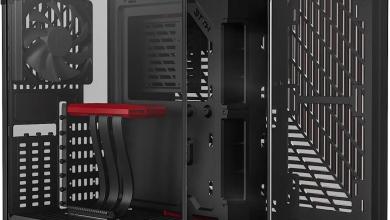
When magnetic bezels are removed you are left with a bare case. Even without the magnetic bezels, the Q300L doesn’t look half bad. There are no 5.25″ slots here, so if you are planning to have a Blue-Ray player, then that is a no go. The back of the case is pretty straightforward. On the top, we have an included 120mm fan that pushed air out of the case. As far as the PCI support goes there are 4 PCI slots to be used for Video Cards and other dedicated devices. The power supply is mounted on the bottom of the case. There is a PSU bracket which is mounted from the inside.
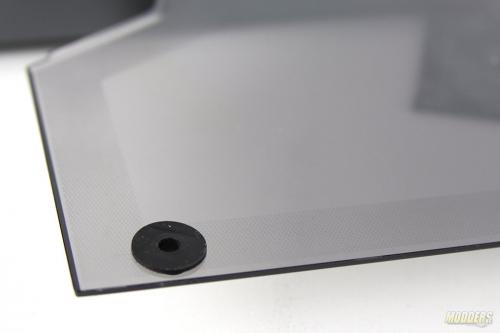
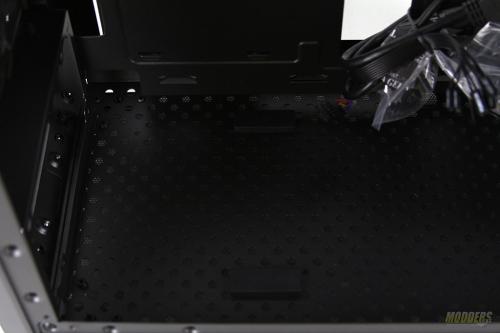
The power supply area is not blocked off (no shroud) from the main area of the case. The PSU will have to be exposed to the inside of the case. To mount PSU you would need to attach mounting bracket first and then attach it to the case from the inside. To minimize the vibrations of the case, the Q300L has two rubber mounts for the bottom of the PSU.
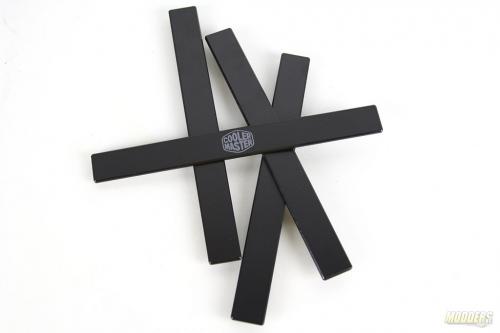
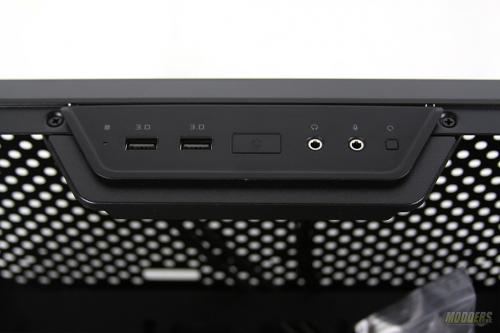
Small bezels of the case could be easily removed if you are planning to paint this case and add your own style to the case. Small bezels are made from ABS plastic and very easy to remove. As I have mentioned at the beginning of this article the IO panel could be moved to the top, right or bottom of the case. The IO panel consists of HDD status indicator, two USB 3.0 connectors, Power button, IO ports for headphones and microphone and a reset button.
The motherboard tray has a generous clearance between the rear fan and motherboard IO panel. I like the fact that there is a large enough window for CPU maintenance. SSD and HDD mounting is somewhat limited in this case. What we can fit in this case is two 2.5″SSDs and one 3.5″ Hard Drive in the back of the motherboard tray.
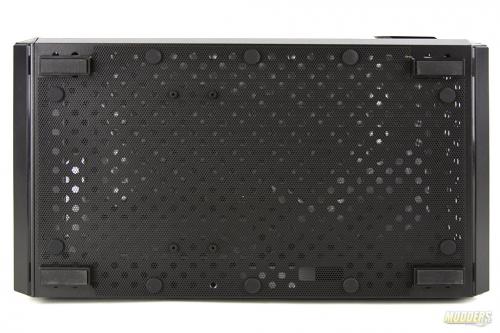
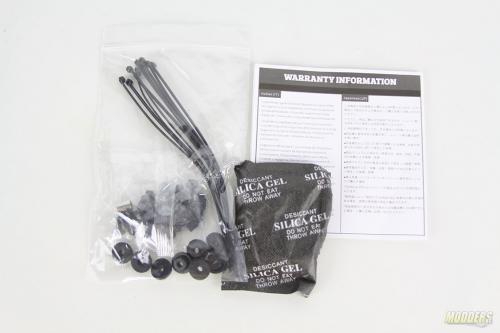
Dust filtering is being controlled by two magnetic filters on the front and top of the case and plastic insert based filter on the bottom of the case. This filter covers the entire bottom of the case and could be easily removed for cleaning. Accessories for this case are very limited. What I found was a bag of miscellaneous screws, a dozen of zip ties, SDD/HDD mounting rubbers and a booklet with Warranty Information.
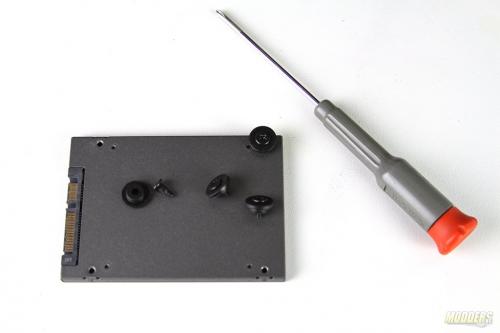
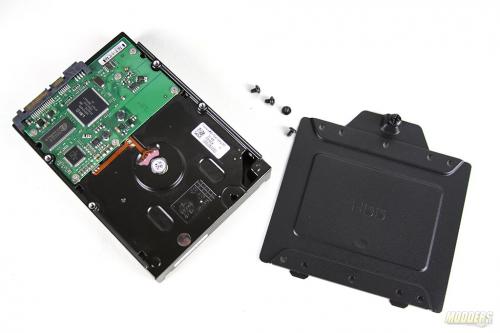
To install SSDs you would need to screw in the rubber mounts into SSD and slide it into the correct spots. To install 3.5″ Hard Drive you would need to mount it on the HDD mount with four screws and then attach it to the back of the motherboard tray.

Can you install a 240mm radiator to the top? Specification does not say but the top panel seems to be the same as the front…
Can you clearify one issue for me ? Because the specification table on the first page says CPU cooler clerance is 157 mm, but on the 3rd page you said it can support about 160mm CPU Cooler Height, which makes me confused which one is right. Plus one thing i see the cooler you used on the installation is may be Cooler Master Hyper 212, right ? I love this case so much from the fist sight and i dont want to replace my Thermalright Legrand Macho either. So you guys can help this issue ? Cheer and love your review.
I’m with Tuan. Does it really fit 160mm coolers?
Tamas,
Is it possible to fit a 240 up top, yes it is. However keep this in mind there are no mounting for it. There are no mounting holes however, If you REALLY want to put a 240 up there you can. It would be a pain because you will have issues with the motherboard being in the way. IF you go that route, go with a slim 240mm radiator. If I remember correctly, most manufactures make them in 37mm height.
Hope this helps.
Tuan,
So here is the deal. I measured the distance from the motherboard tray all the way up to the window. So this is why you see 160 in my notes. However if you want from the motherboard tray to the window, e mail and i will re-measure it for you.(alex@modders-inc.com)
The cooler I am using is in fact Hyper 212. If I am not mistaken the whole cooler is about 158mm. But I would not use it in this case. Get a AIO 120mm solution. It will look much cleaner.
Cheers,
Him I built a my first pc with this and right now I’m trying to install fans the, Corsair LL120 RGB but when I try and use the screws that came with the fans they are to big and the screws that came with the case are to small. If anyone knows a way around this I’ll be looking, plz reply ty
Would it be possible to insert a full ATX MoBo by flangin it behind the PSU? I really like this case, but I just bought an ATX motherboard.
Yes it could but with some compromise:
https://pcpartpicker.com/b/4tNQzy
I just fit a cooler master 212 turbo cpu cooler in my cooler master case with a few mm to spare and so I u can fit up too a 163mm cpu cooler in ur welcome:)
I have tried 140mm on the top of the case and it does contact the motherboard when installing them up there so i recommend installing the fans first and pushing the motherboard down towards the psu area to stop it from contacting the fans.
What is better: Q300L or Lite 3.1?
I unscrewed the HDD panel and it came out and I was able to screw it back but it won’t let me take take the HDD panel off again. How could I take it out?