Cooler Master MasterAir Pro 3 and 4 CPU Cooler Review: Living Up to a Legacy
Installation of the Cooler Master MasterAir Cooler Series
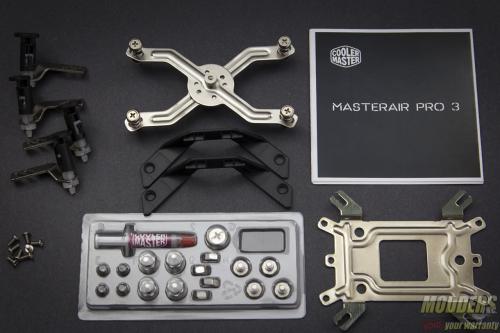
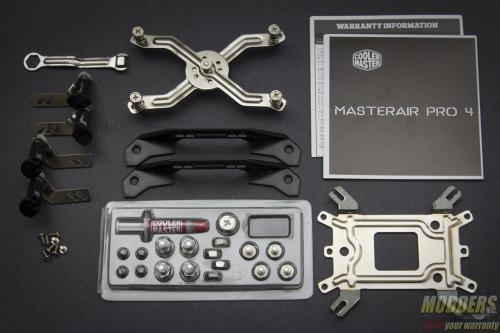
Both MasterAir coolers have almost identical mounting kits and share the same procedures. Users are able to mount either via push pins or by the classic crossbar method employed by the original Hyper 212+ unit as well. Push-pin installation is very straightforward, requiring users to screw each leg on the base of the cooler and secure each corner in a criss-cross fashion similar to how a stock Intel cooler is mounted, taking note of the socket type of course and adjusting for size. Remove the pre-assembled bundled fan first before proceeding.
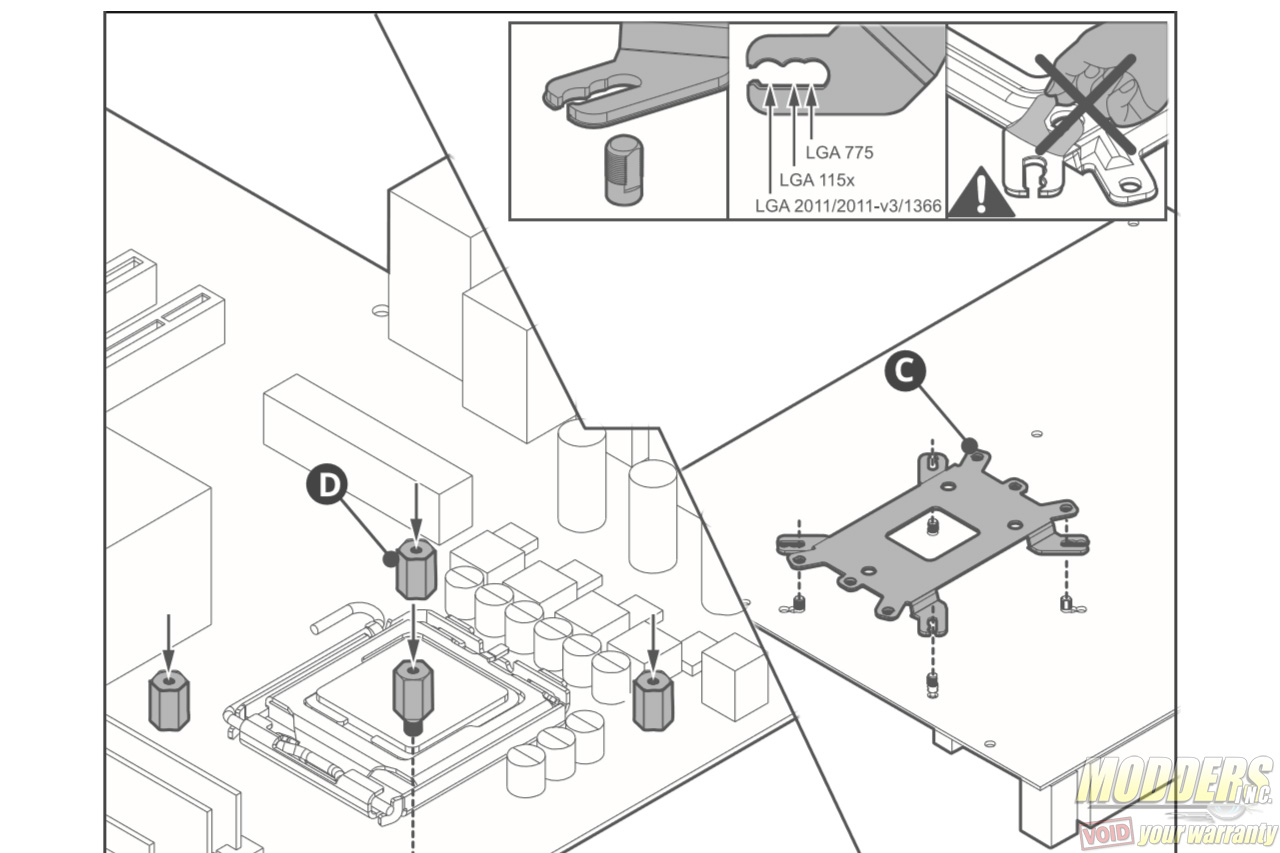
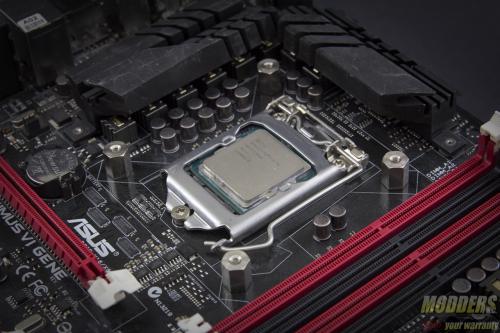
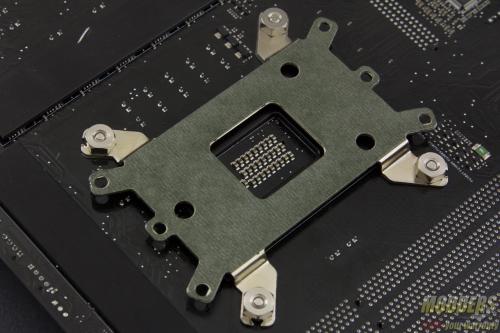
Both Intel and AMD setups require the backplate installation first for the cross-bar method. The universal backplate has Intel mounting holes on one side and AMD on the other. The insulated end making contact with the back of the motherboard is the proper side to install with. The AMD system has a rectangular shape mounting while the Intel systyems have a square shape mounting with variable mounting hole distances. This backplate is then held in place temporarily by pushing through the stand offs from the topside of the motherboard. These stand offs have a flat edge on one side corresponding with the backplate while the rest of the thread is rounded so take note of this when trying to push it through. The nuts with the screwdriver mounting adapter is then used to secure the backplate assembly in place. For LGA2011/LGA2011-V3 motherboards, the backplate is not required and alternate stand offs are provided in the accessory kit which just needs to be secured in place on the integrated locking mechanism mounting holes.
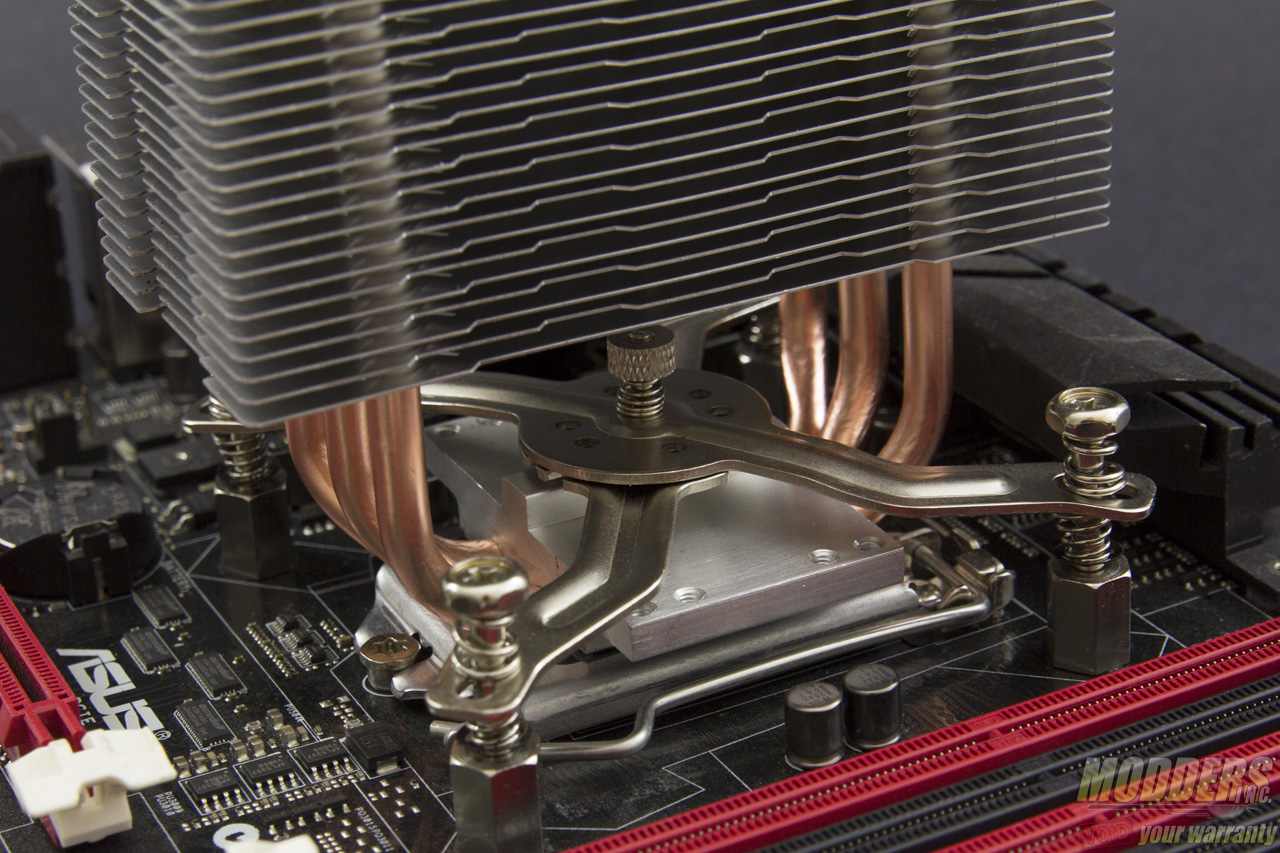
After deciding which orientation to mount the cooler, remove the protective sticker at the contact surface, apply thermal compound and then secure it in place on the backplate assembly with the crossbar. Make sure to position the crossbar so that the wider separation of the legs have the heatpipes in between them. Also make sure to properly center the crossbar so that it is right in the middle of the heatsink base. A small nipple and a tiny pilot hole serves to aid in doing this. Secure by screwing each corner partially one after another in a criss-cross fashion so that pressure is even and the thermal compound spreads under the weight of the cooler. If the tension is too strong, users can ease the crossbar pressure by slightly unscrewing the spring-loaded center.
The fan mounting clips are already pre-installed on the bundled fans so users simply need to put them back in place and plug the fans to a motherboard header.
Clearance Compatibility
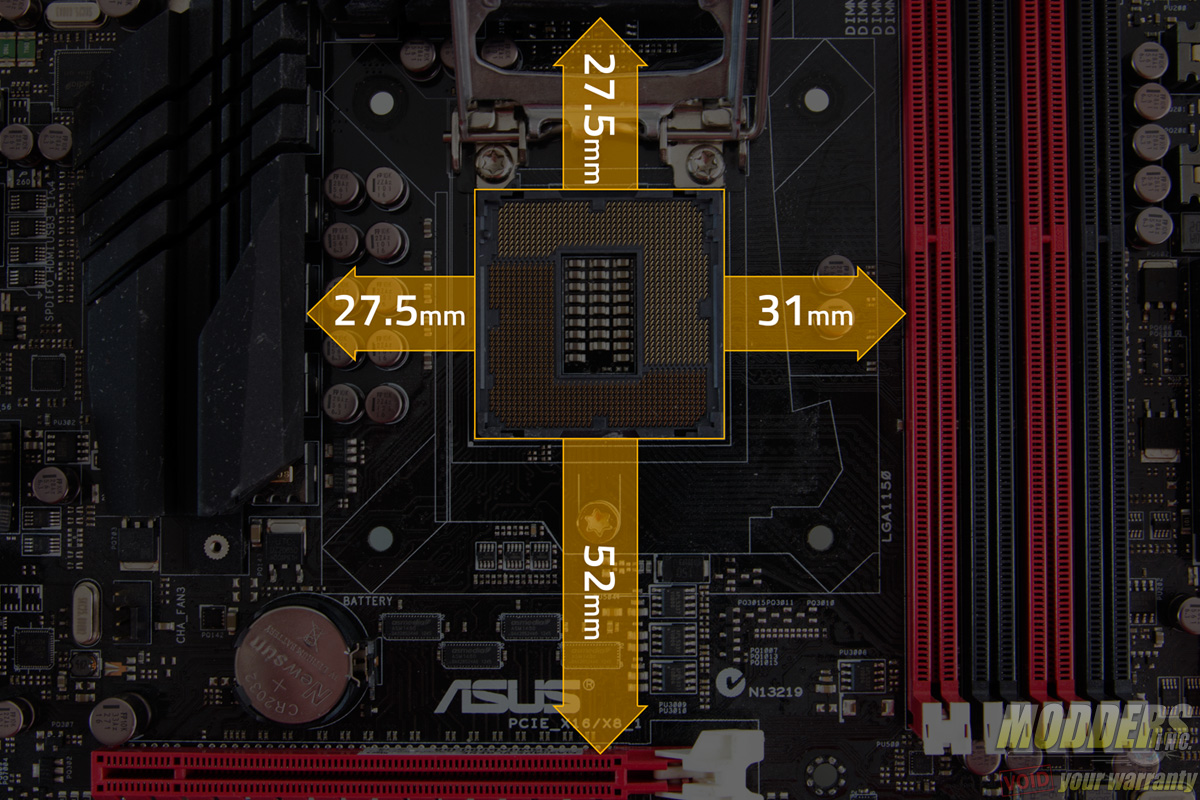
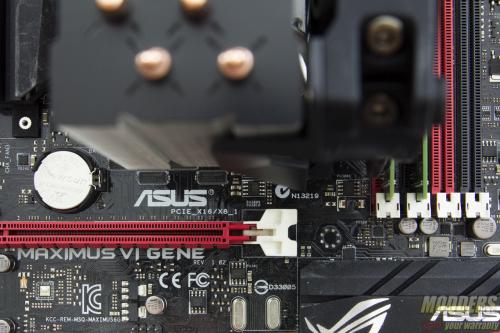
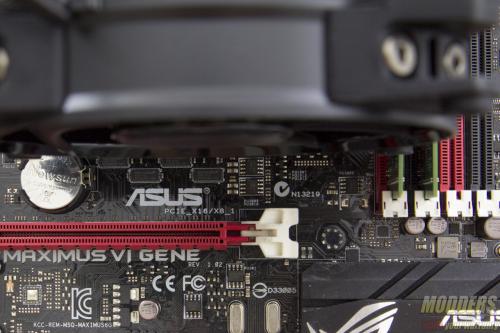
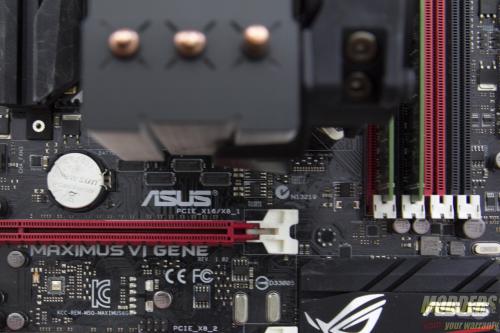
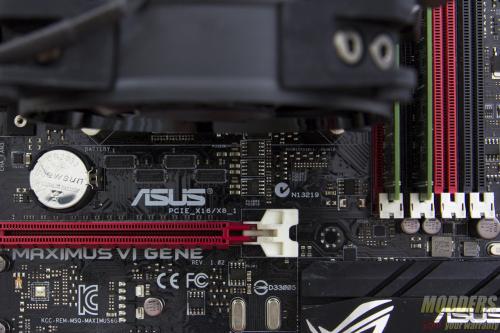
The test motherboard is an ASUS Maximus VI Gene micro-ATX motherboard and measuring from the edge of the socket (the gray plastic part), there is a 31mm gap between the CPU socket and the first DIMM slot as well as a 52mm clearance between the CPU socket and the topmost PCI-E x16 slot where the graphics card is installed.
MasterAir Pro 4:
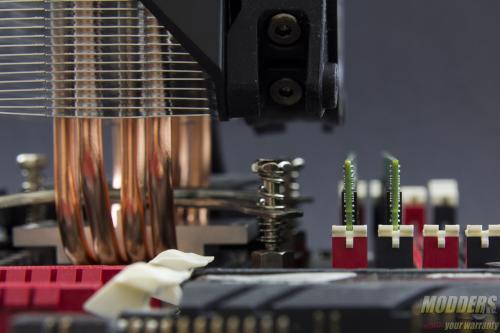
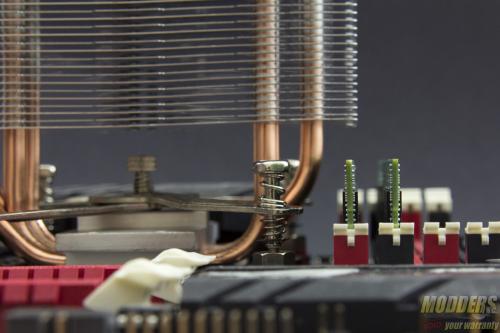
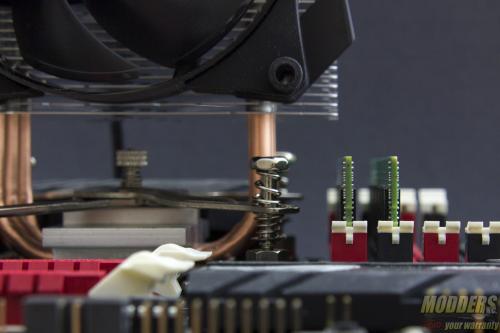
PCI-E clearance is not an issue at all in both orientations. DRAM clearance allows for full usage of all four DIMM slots. The standard east/west mounting provides the most compatibility although the north/south orientation limits the first DIMM slot to 40mm tall modules as the radiator fin is partially on top of the first DIMM slot. Bare PCB and standard height memory modules can still be installed even with the heatsink in the way as it is only a partial obstruction.
MasterAir Pro 3:
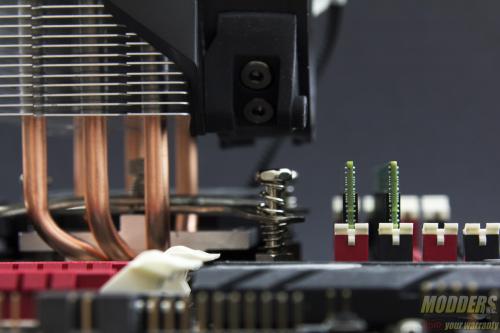
Both orientation methods provides full clearance for both memory and PCI-E devices comfortably. There is also 10mm more space before the heatsink aluminum fin array begins above the bare DDR3 RAM PCB. Users can fully populate all four DIMM slots and PCI-E without concern.
